Topic: My F150 project
Long story short, my friend Mike and I are restoring our friend's old '86 F150 and will be presenting it to him at his wedding in late January. As far as he knows, his old truck is just sitting in the garage where he left it before moving down to the Florida Keys almost a year ago.
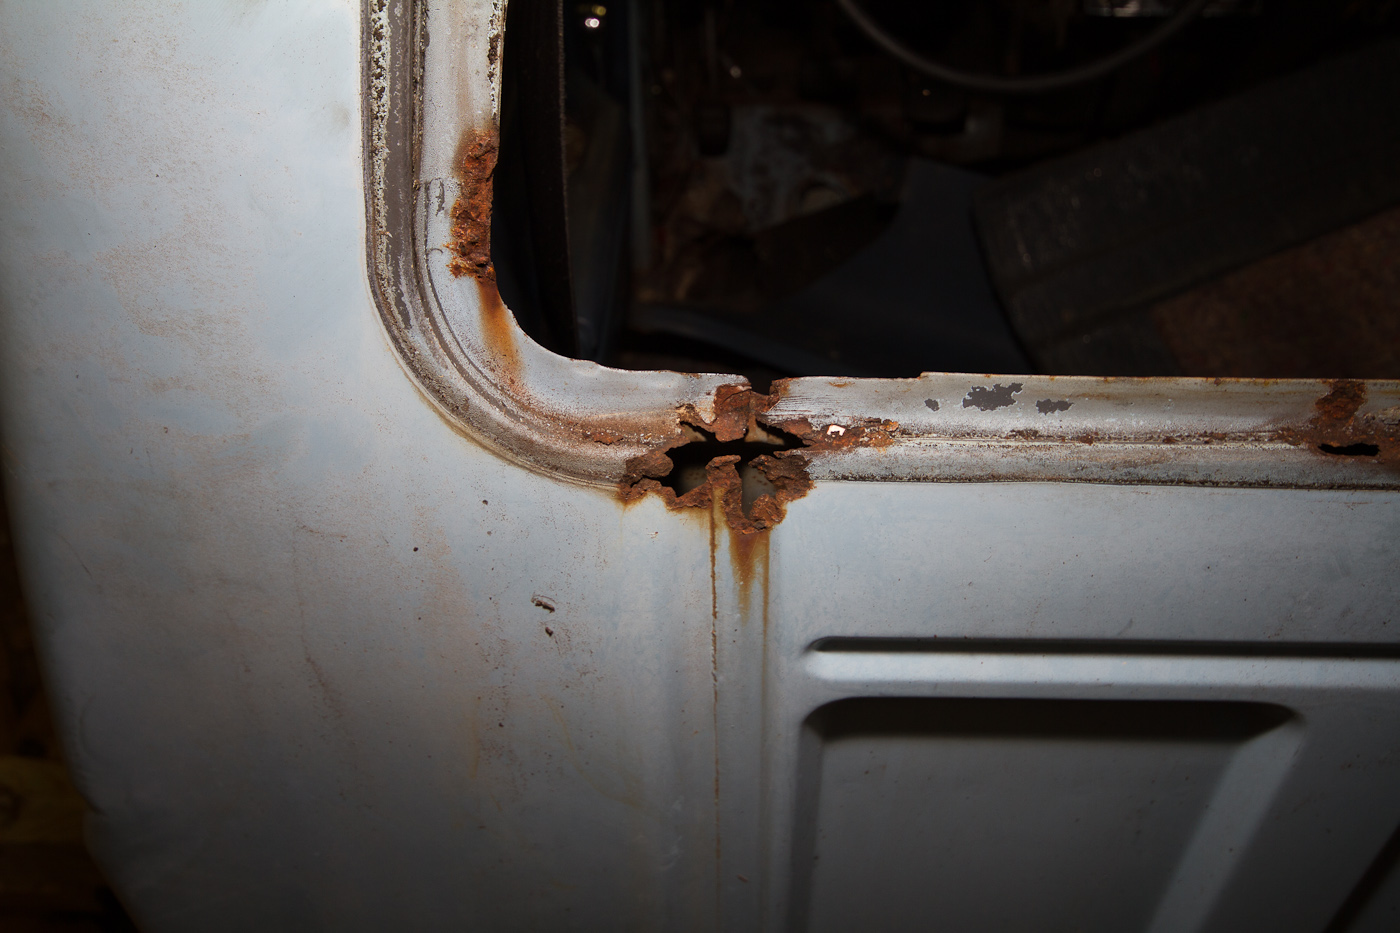
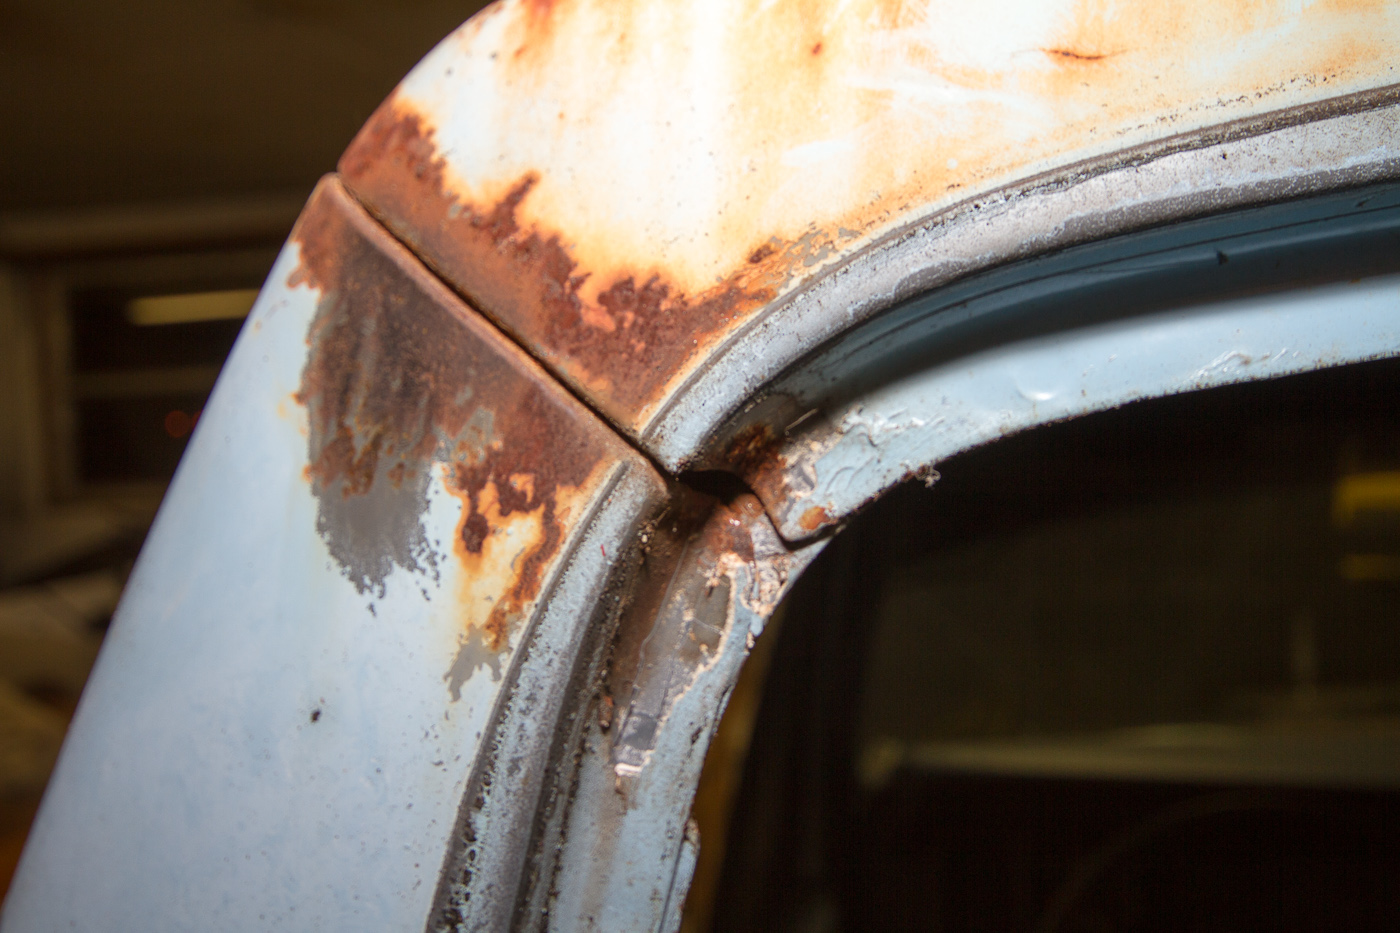
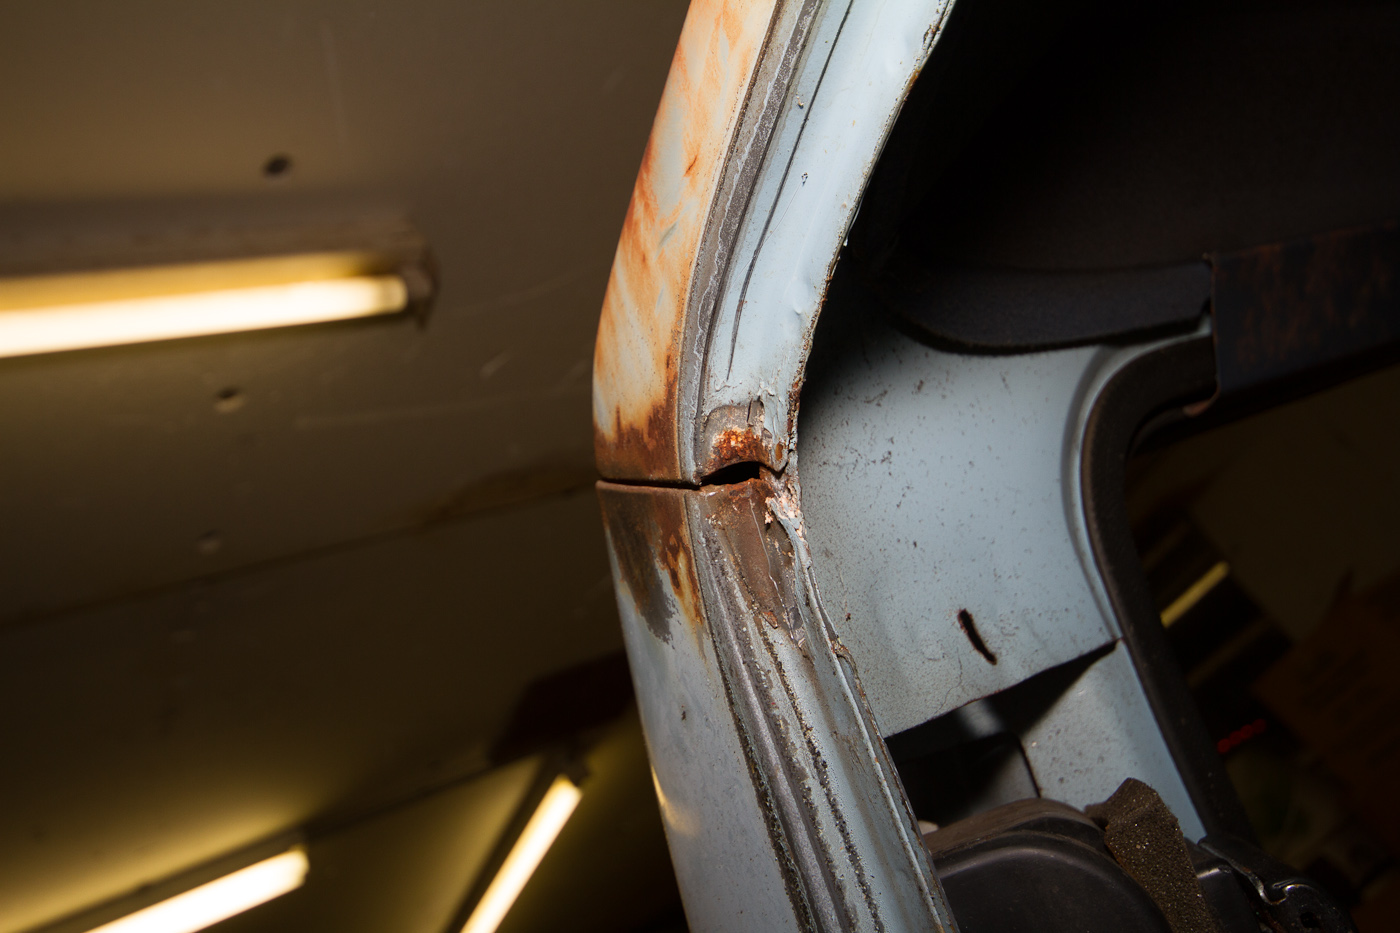
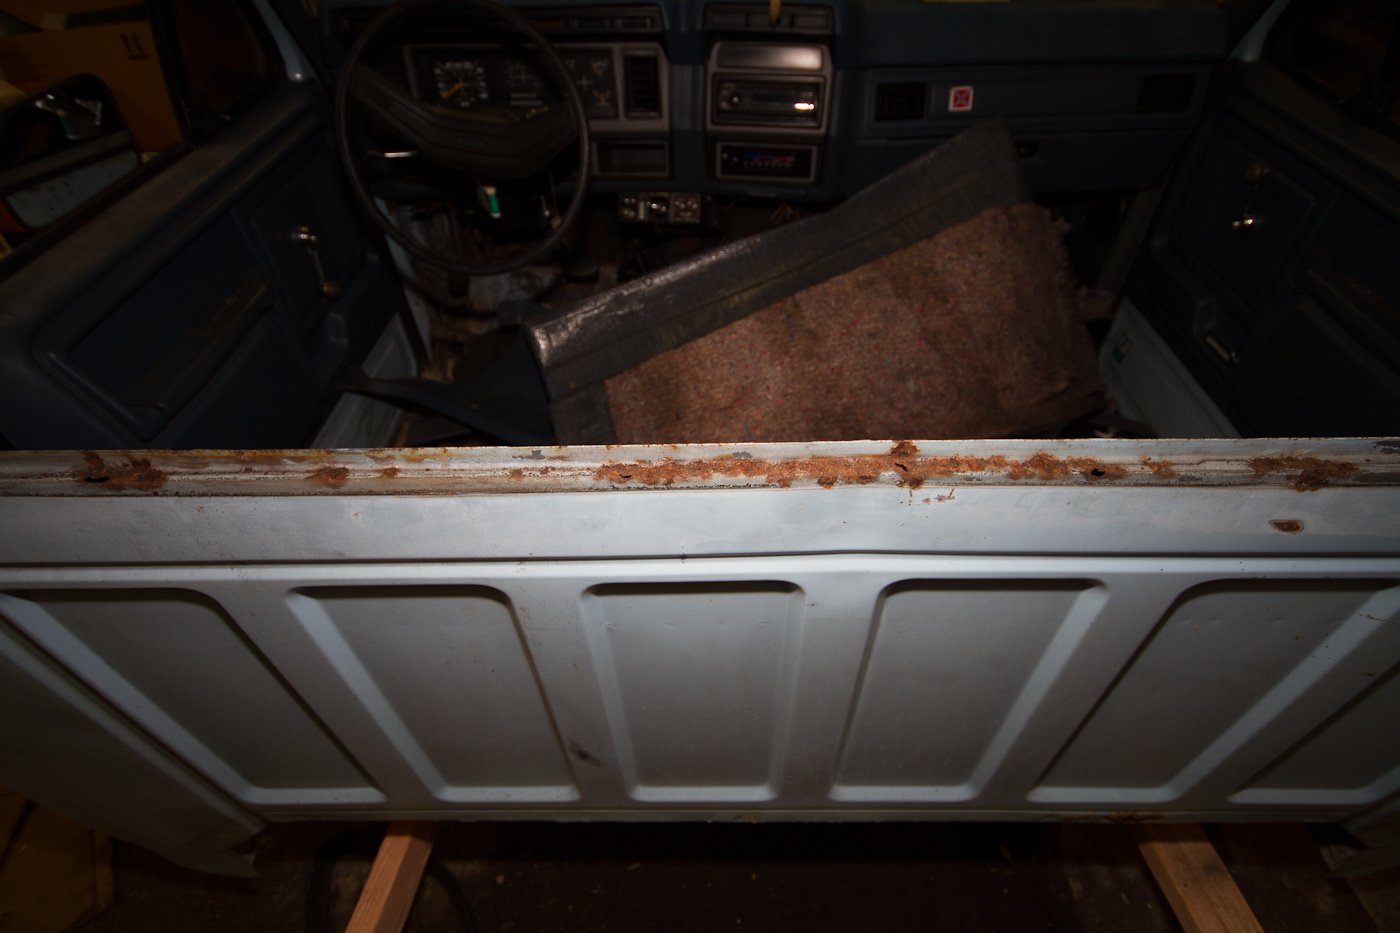
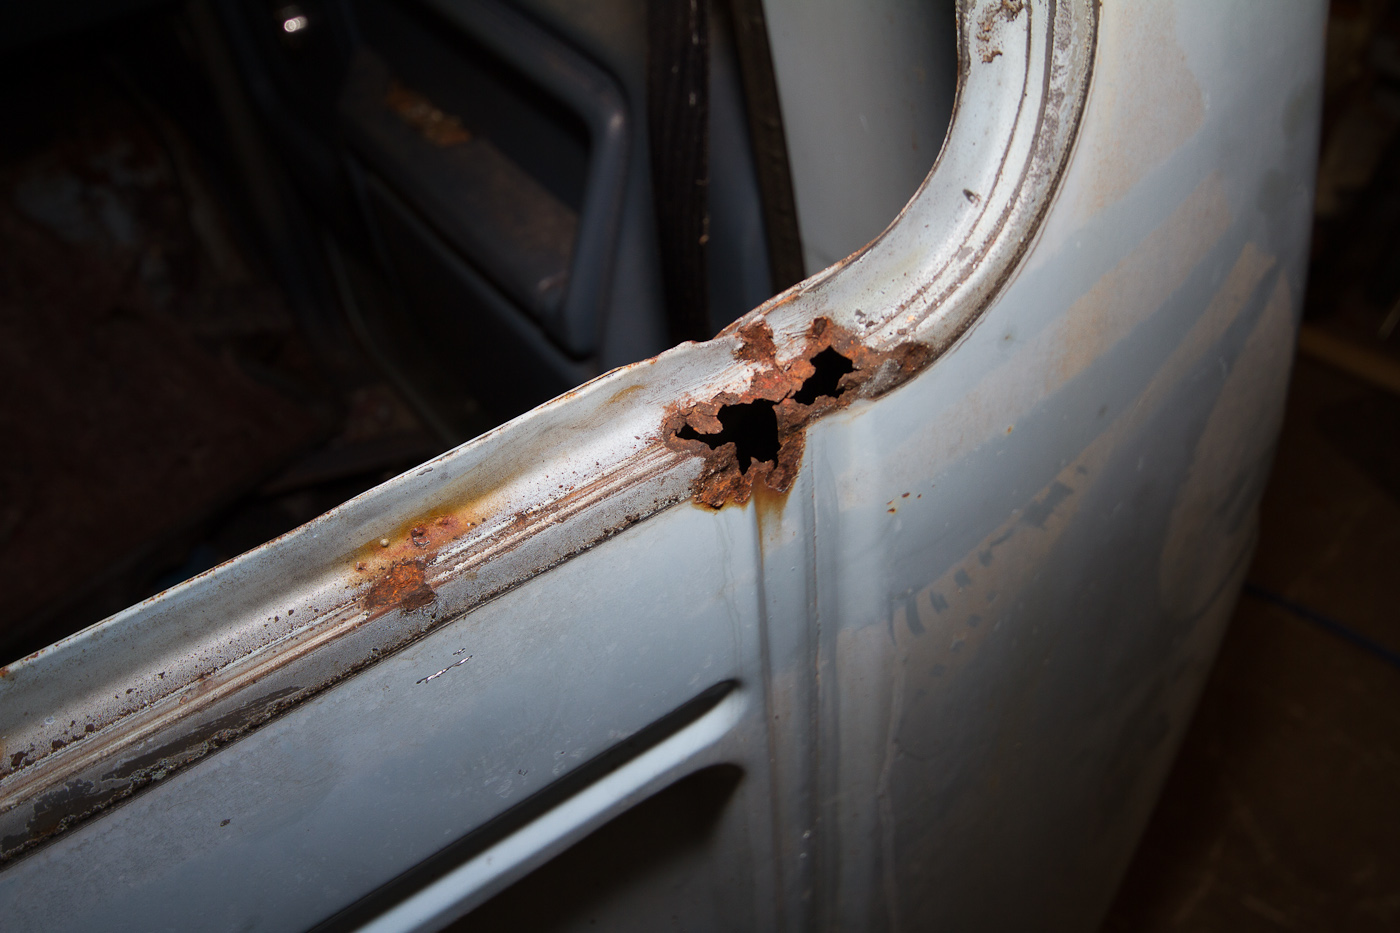
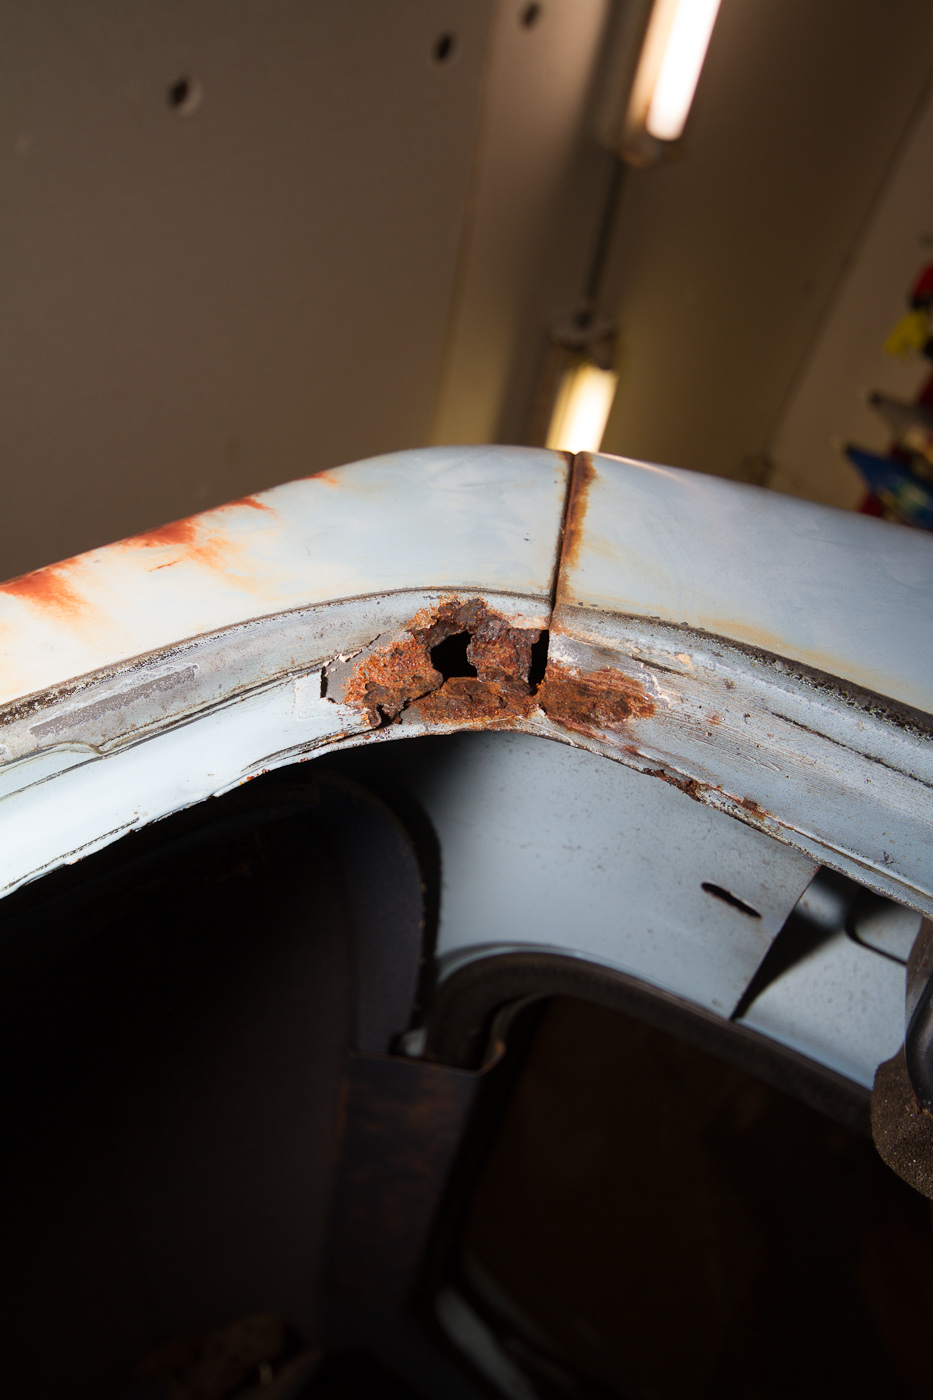
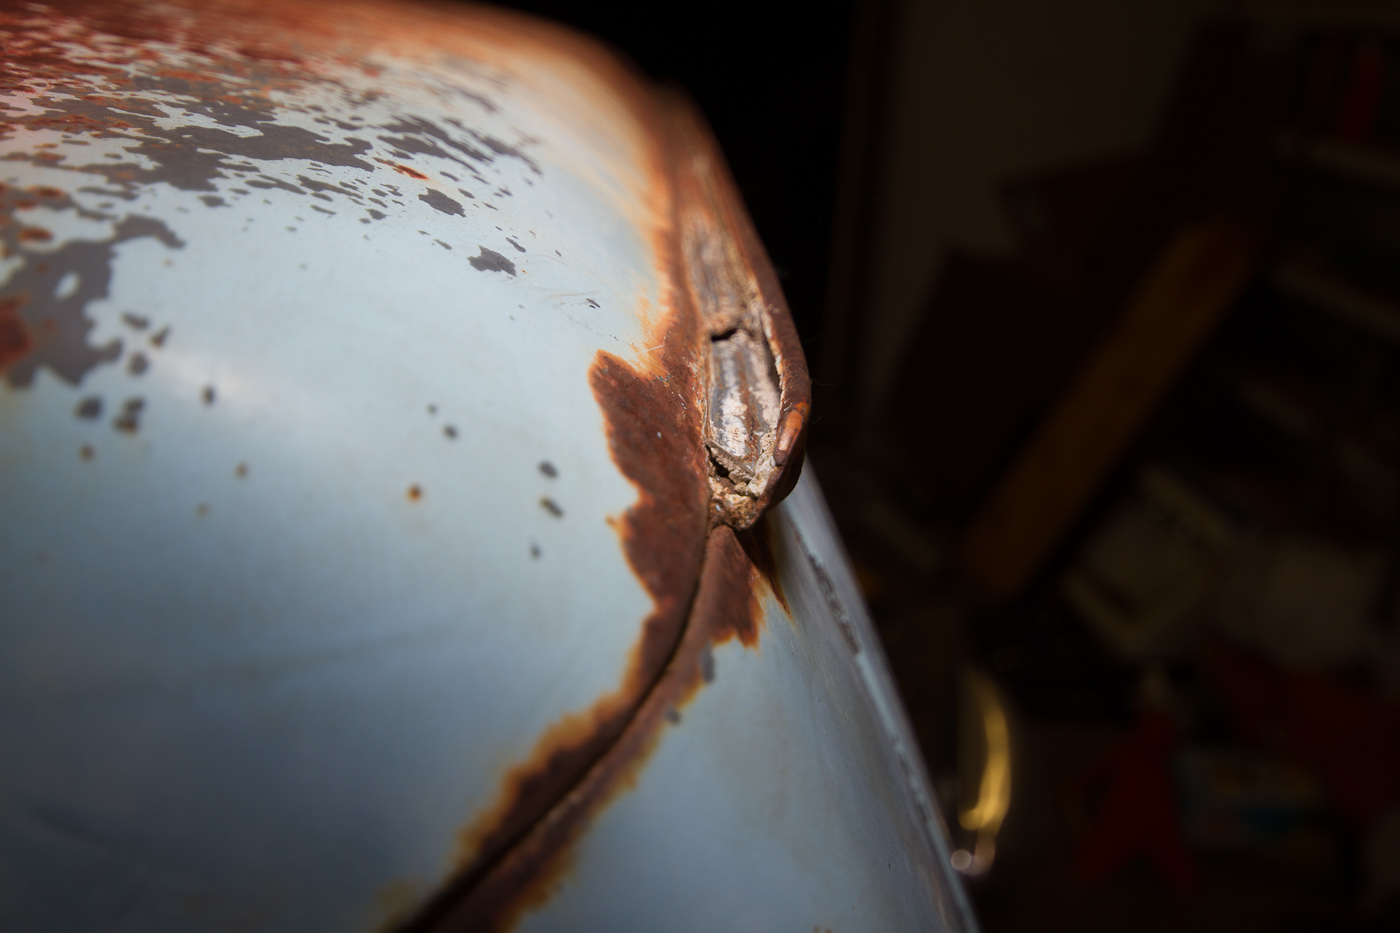
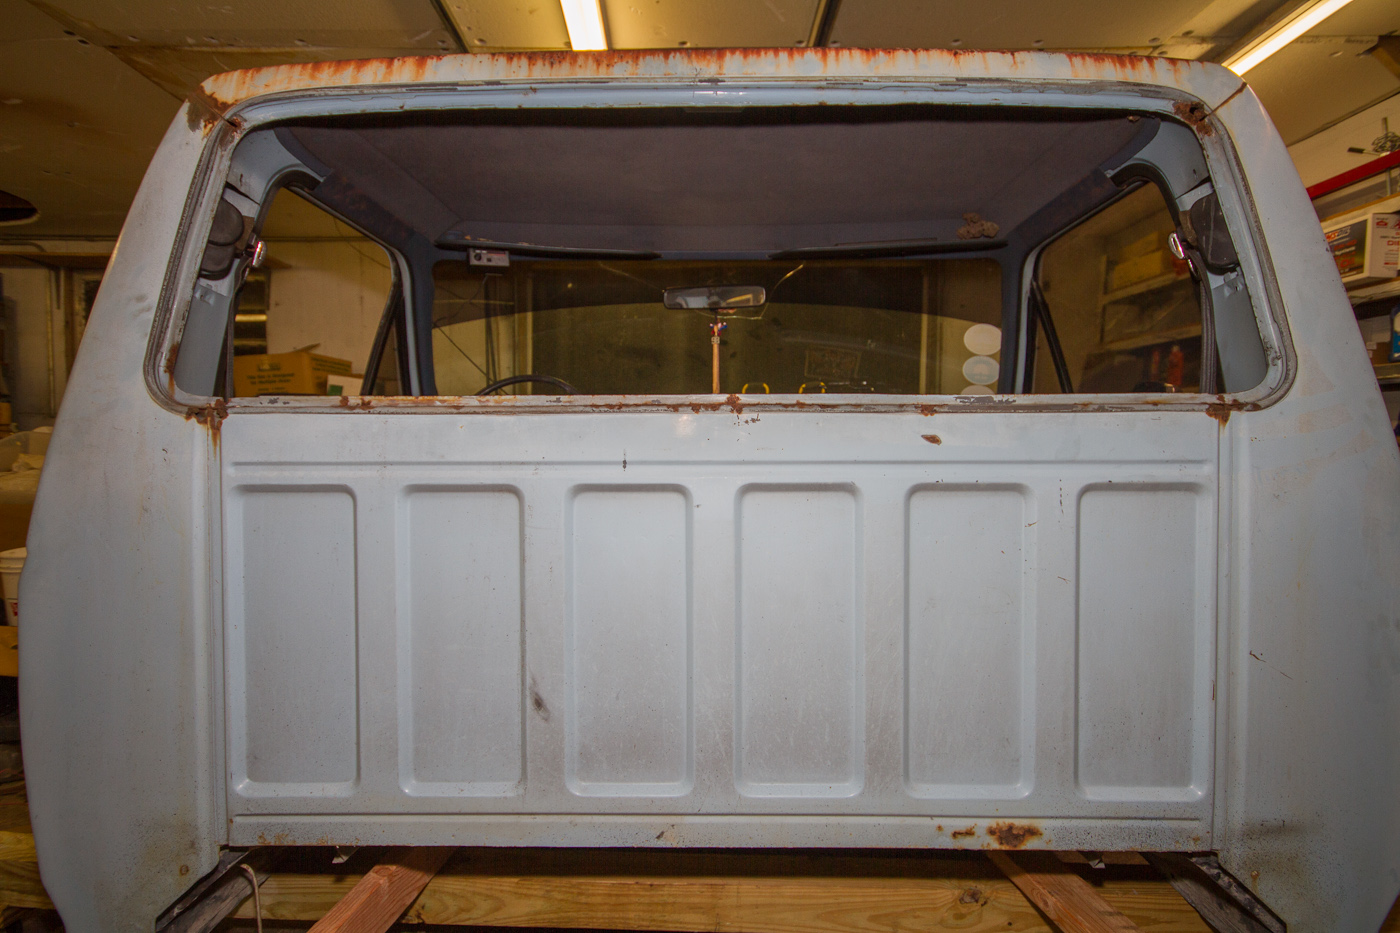
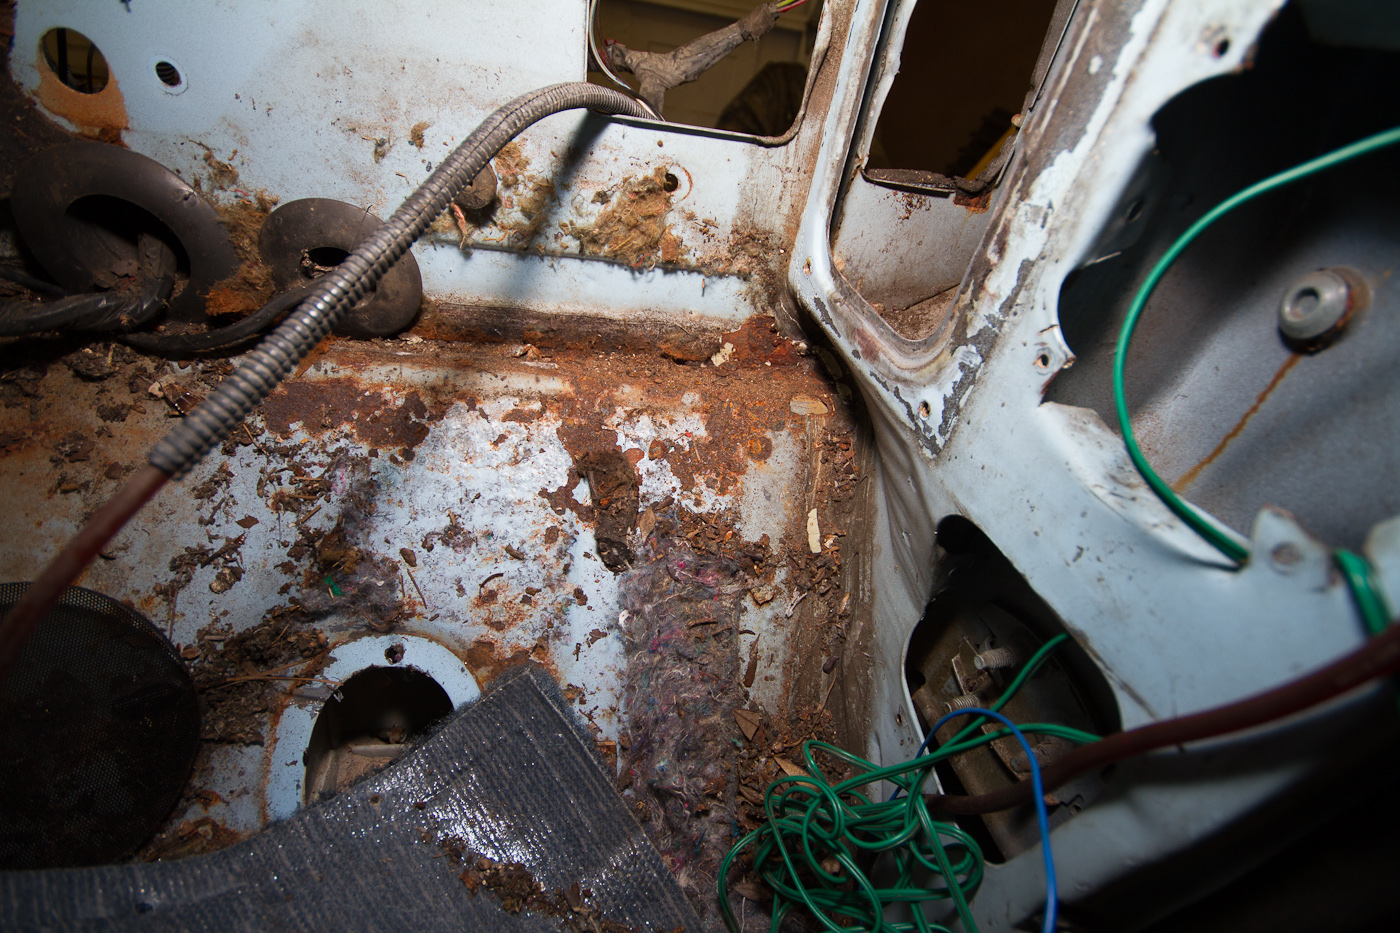
"Why pour a bunch of money and labor into an '86 F150?" you might ask, and the reason is because he loves the truck. It was his grandfather's, then his dad's, and then when he turned 16 it was given to him. It has great sentimental value to him. Unfortunately, it's been sitting pretty much since he joined the Army in 1999. When he got out in 2007, he paid to have the engine completely rebuilt. It was going to be our project, but PTSD and my move to Gainesville put the kibosh on that plan, so the motor sat in a garage drowned in assembly lube and tightly wrapped in plastic, and the truck remained outside at his dad's place, parked on a concrete slab, but otherwise completely exposed. The net result of this 12 years of sitting is completely shot paint, a cracked dash, surface rust over the entire chassis, and rust-through in a few locations, all approximately quarter-sized. The worst of it is under the rear window. We have a welder, and can fix sheetmetal - especially small areas. Anyway, his dad wanted it gone last year, so with no engine and the transmission supported on a jack, we had to get it the 4 miles over to Mike's place. We found an old landscape timber and some mechanic's wire, and used that to bridge the fenders (we put the hood, which was just laying in place, not bolted to the hinges) and tied the trans up with the wire, and hooked it up to my tow strap. We quickly discovered - in about 10 feet - that it had no brakes, so we had to come up with something. And about that time another friend of ours, who has a truck that is basically a twin of mine, just with twice the miles on it (406K last time I saw him) and he had the brilliant idea of creating a train, with his dually in front, strapped to the F150 and providing pulling power, while my dually would be strapped to the back of the F150 and coasting in neutral, doing all the braking. This worked remarkably well and soon we had the truck pushed into Mike's garage, where it sat untouched until this month.
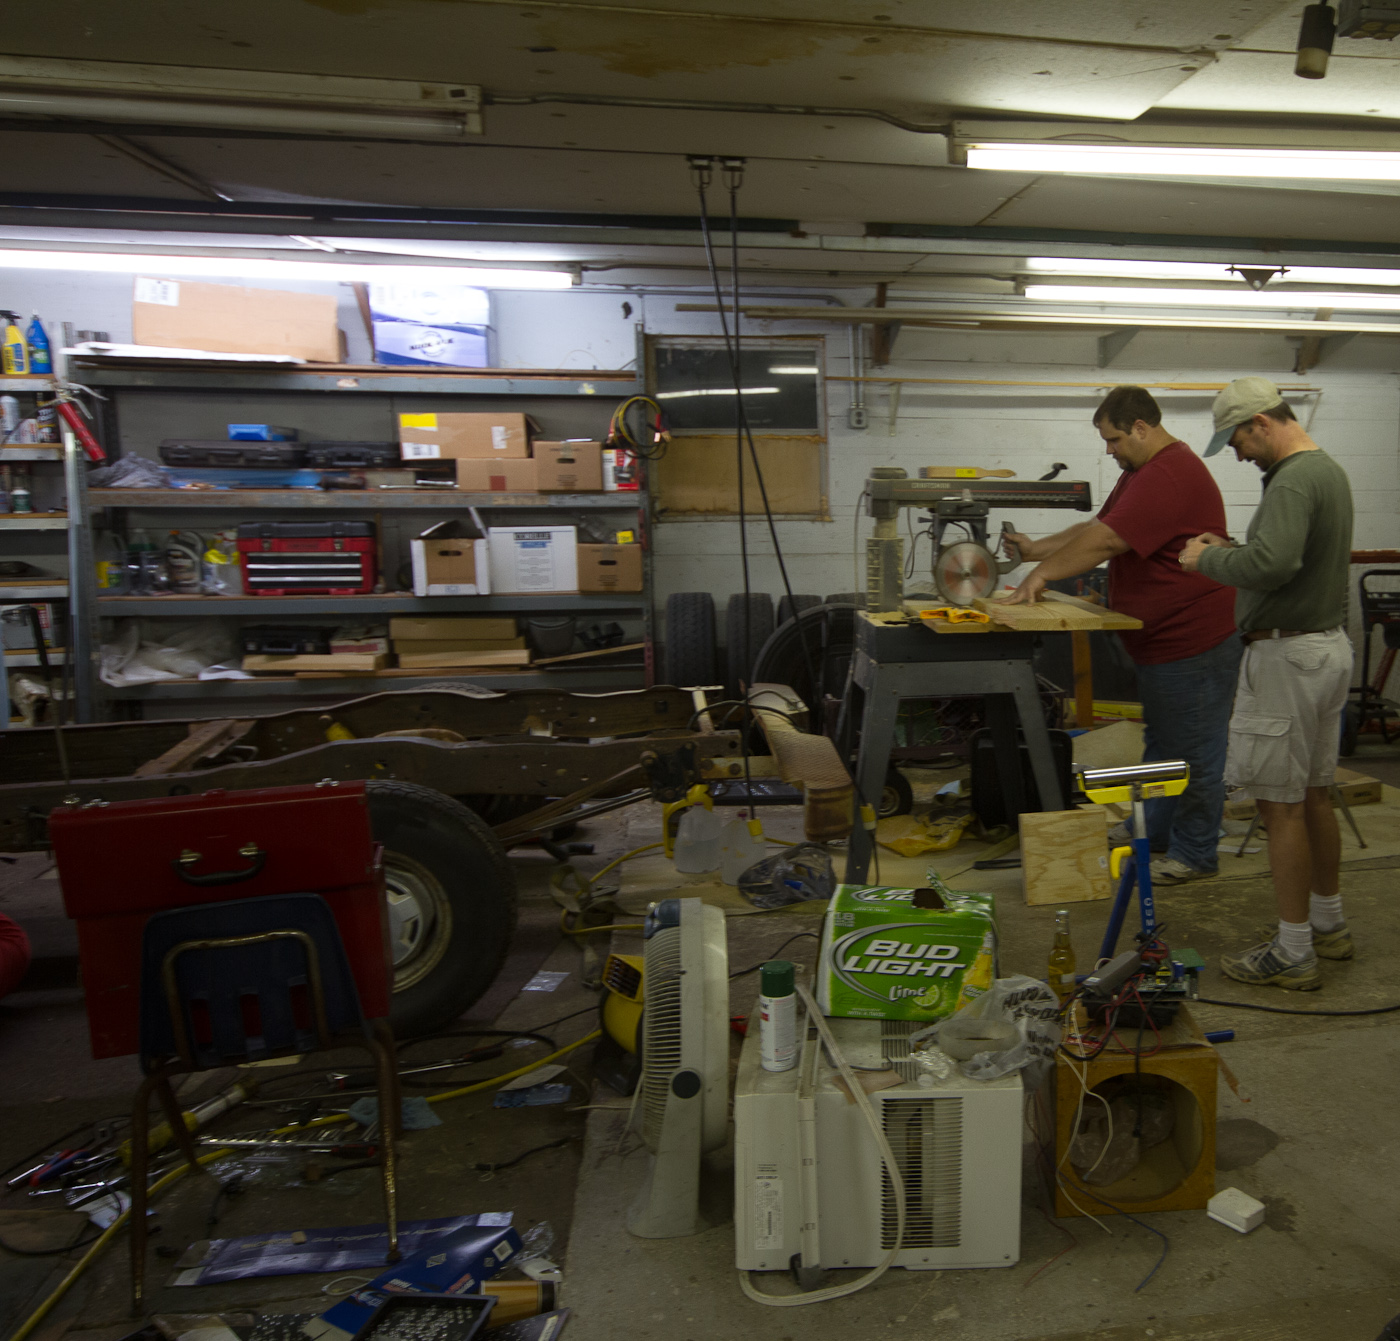
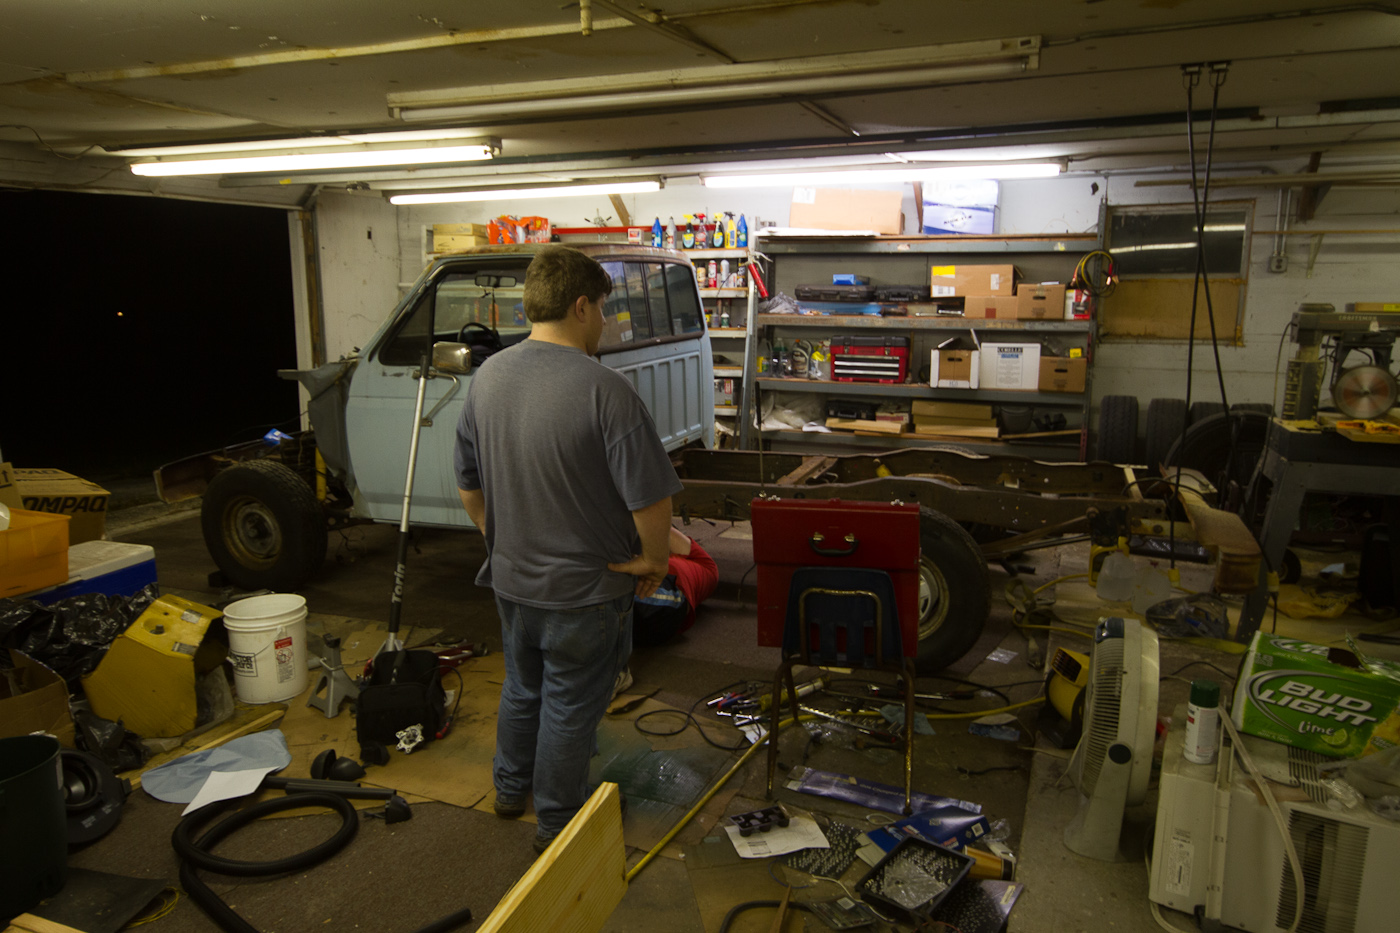
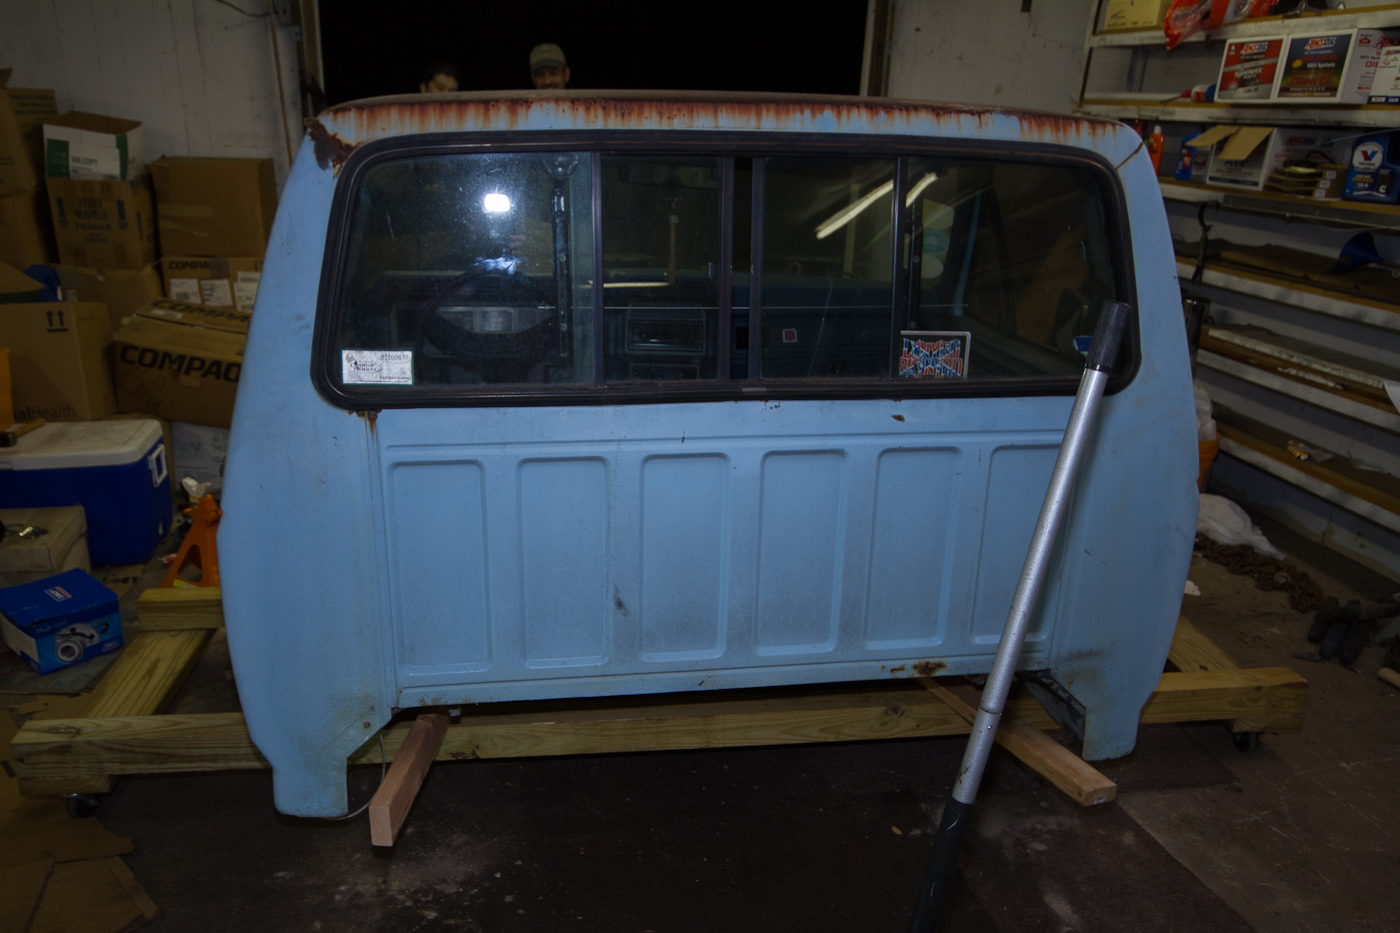
Earlier this week, after the discussion that led to our decision to "restore" the truck as a wedding present, we started to triage the thing. The other night's lighting exercise was the first step in that, and now that we can actually see in that part of the garage, it was time to do some work. We pulled the transmission out after hanging the lights and figured out what we needed to do to remove the bed, but we both had to work the next morning, so we called it quits around 2200 and left it alone until today, when I came over after work.
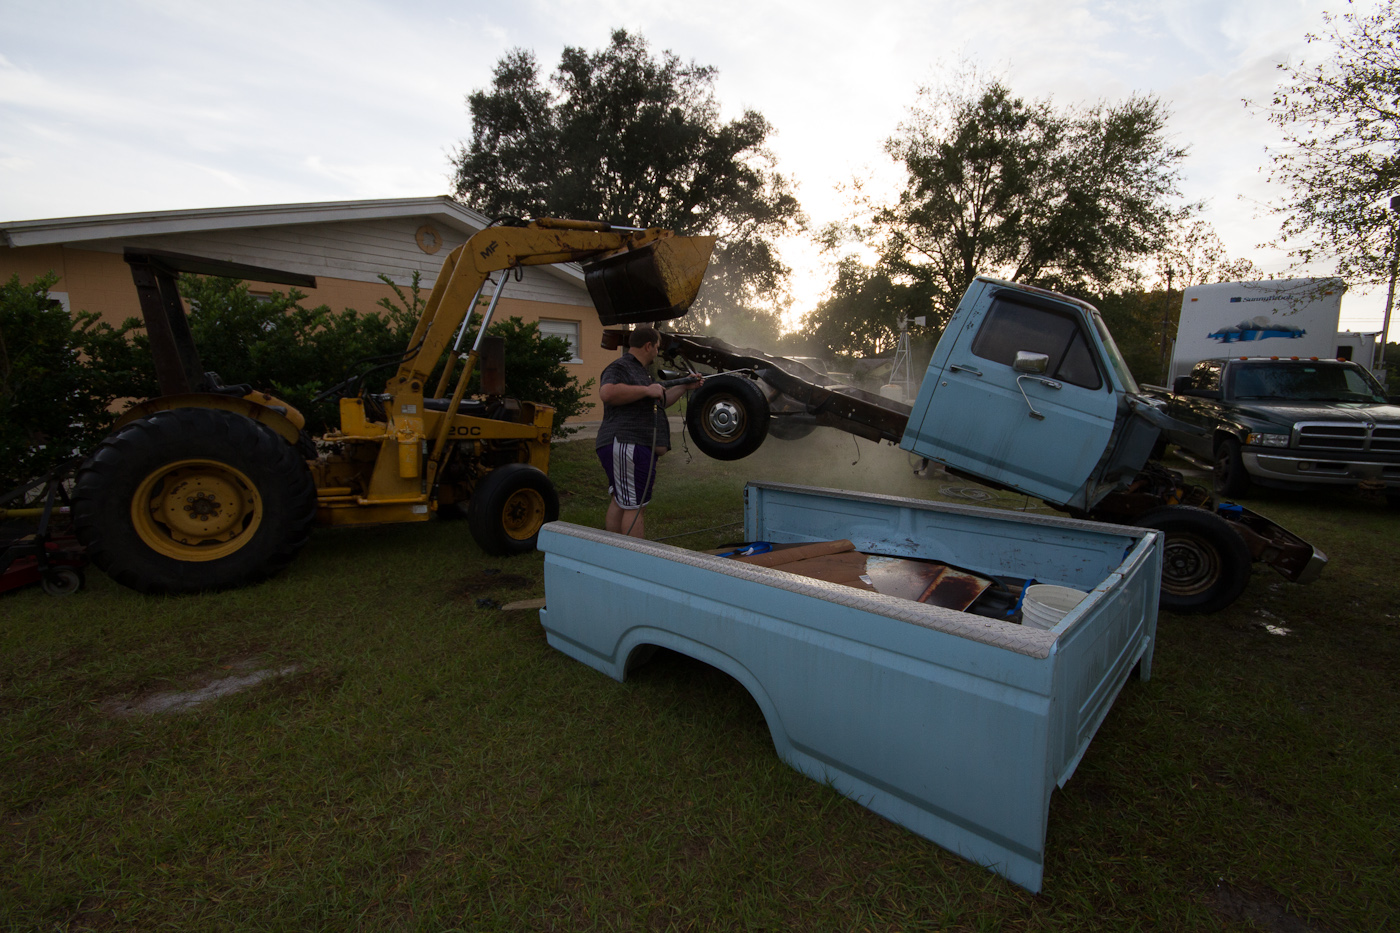
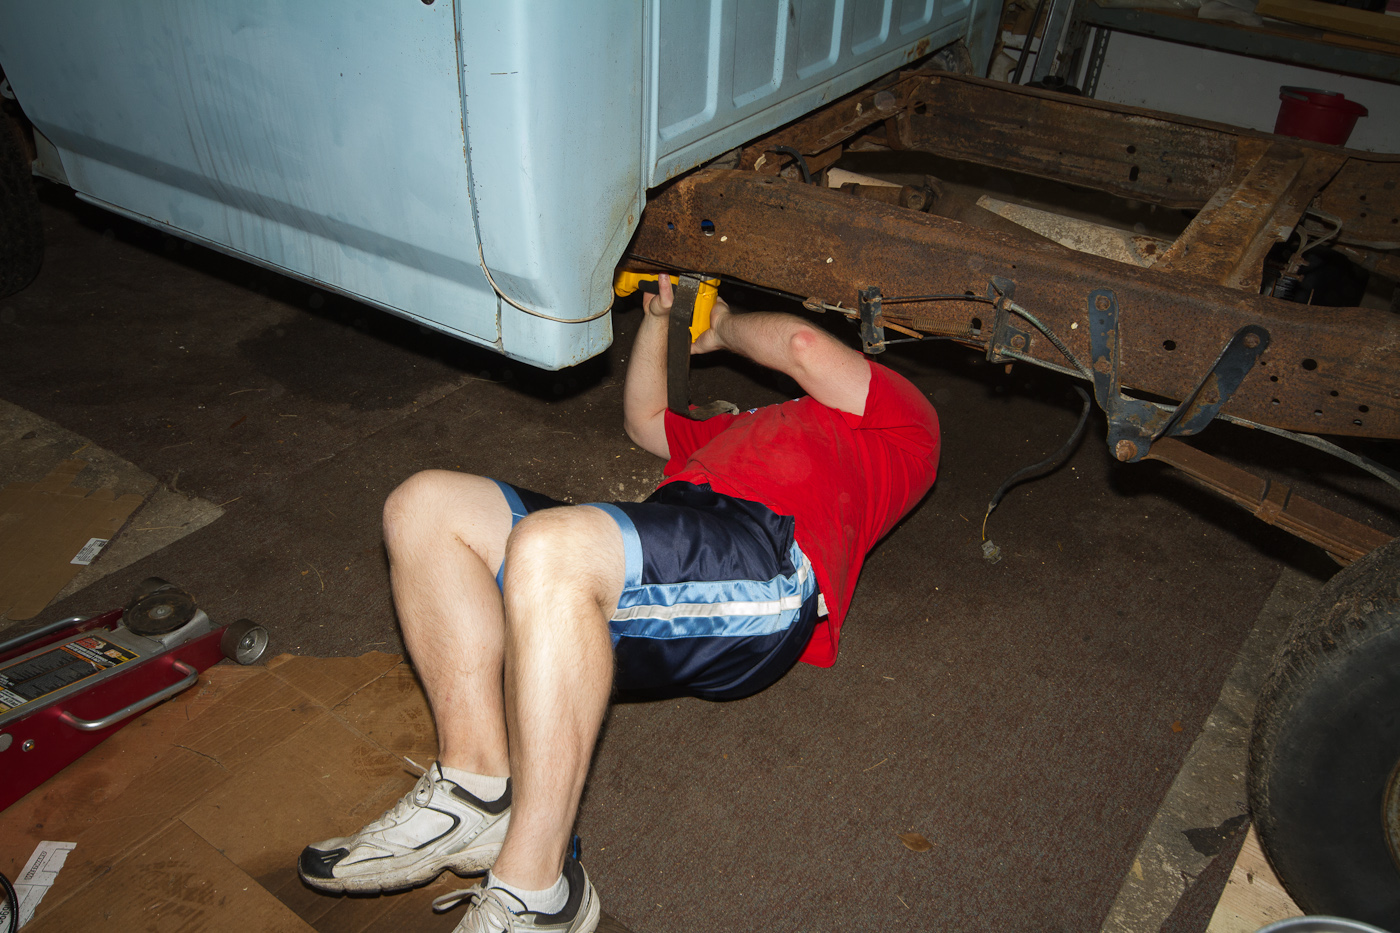
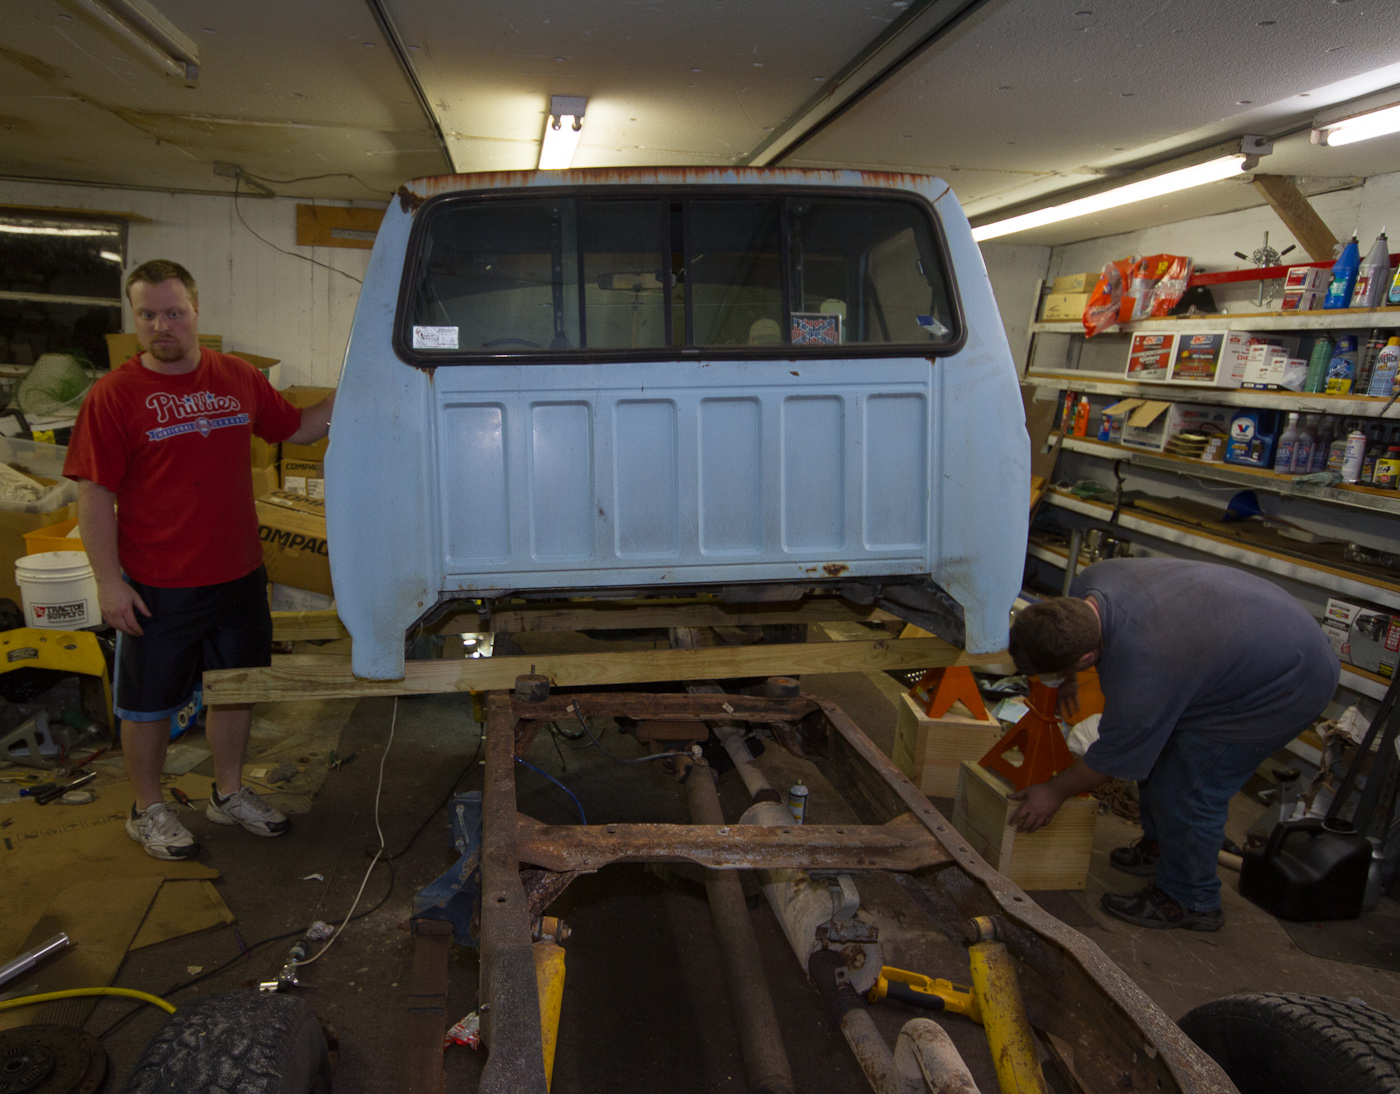
The bed has 6 through-the-floor carriage bolts to attach it to the frame. The rear 4 came off without a hitch, but the fronts were spinning in their holes, and being carriage bolts, our solution to this was to weld a 3/4" nut to the top that could be held with a breaker bar while I worked the impact underneath the truck. Soon we had the bolts loose, and then discovered that the hose clamps for the fuel filler were inaccessible. I decided to cut the hose, which was cracked and dry and in need of replacement anyway, and Mike set to work getting the wiring unhooked. We had to "finesse" the tailgate open, on account of its mostly-seized latch mechanism, so that we could get the taillights out and finish the un-wiring, and with that done we pushed it outside and I brought the tractor around...
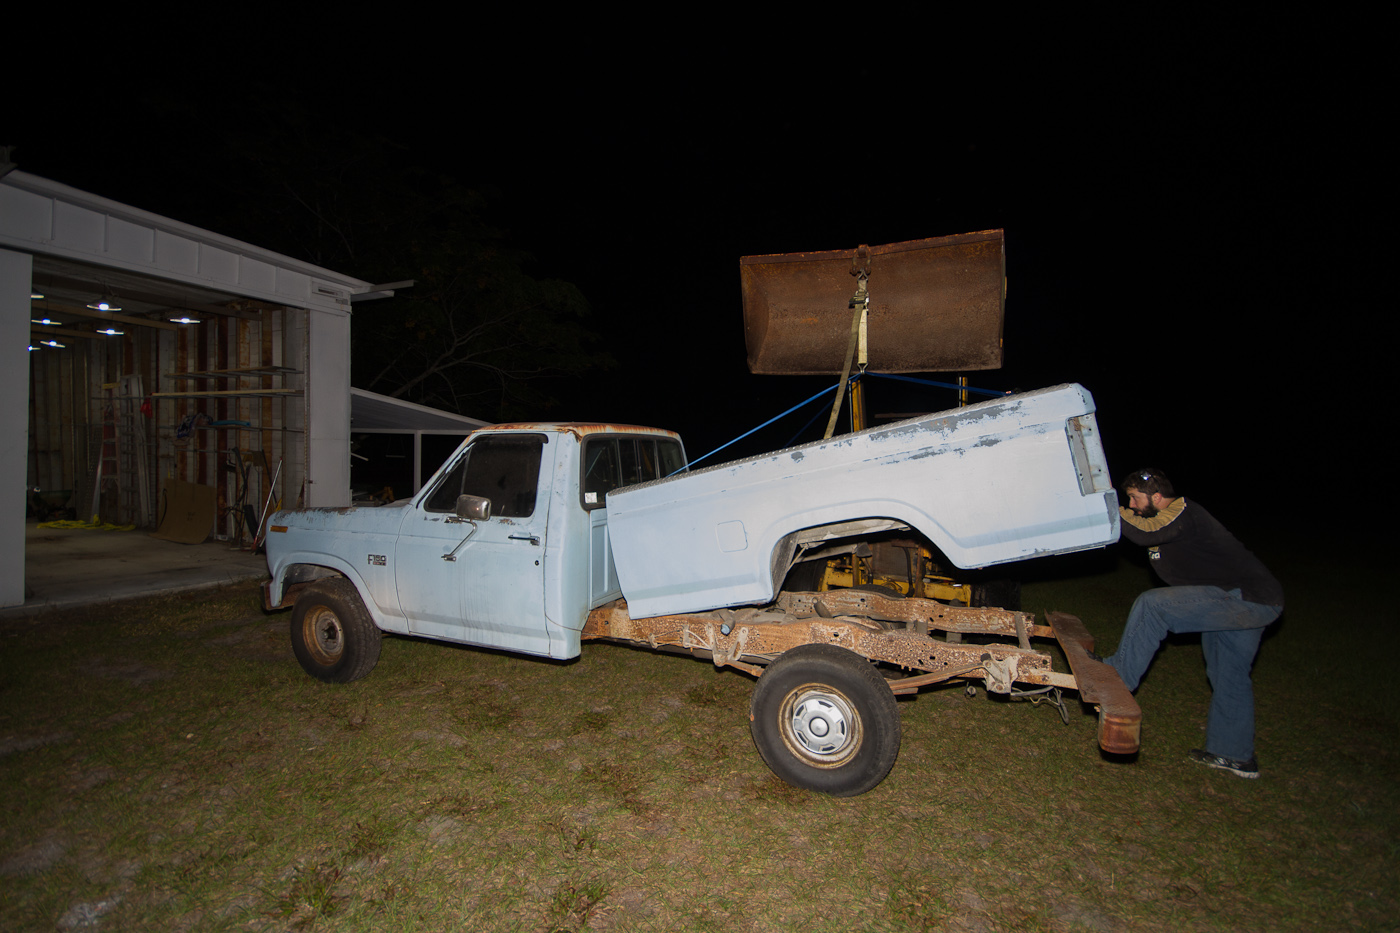
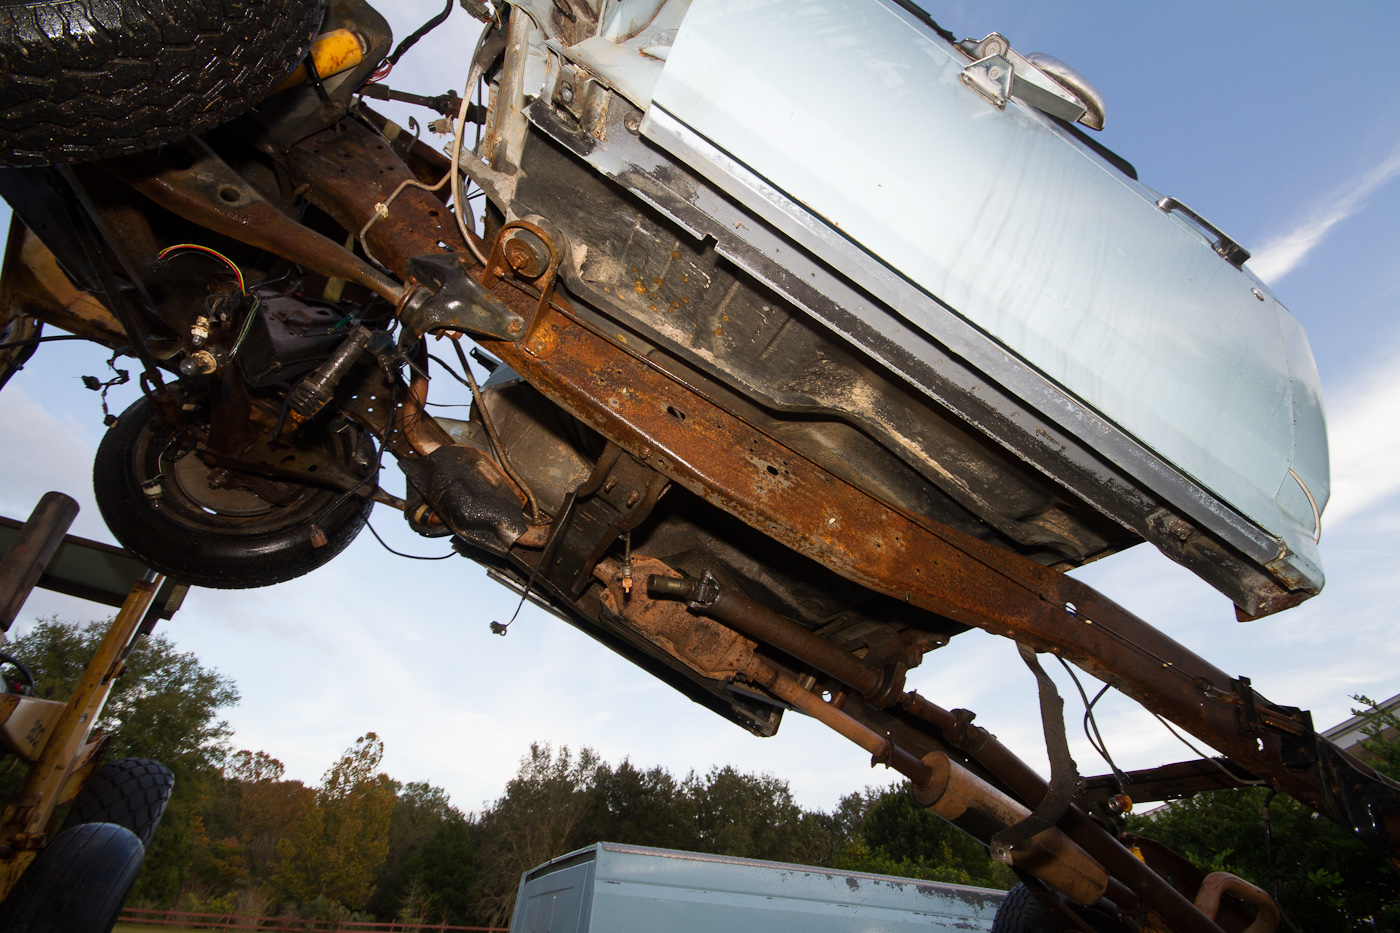
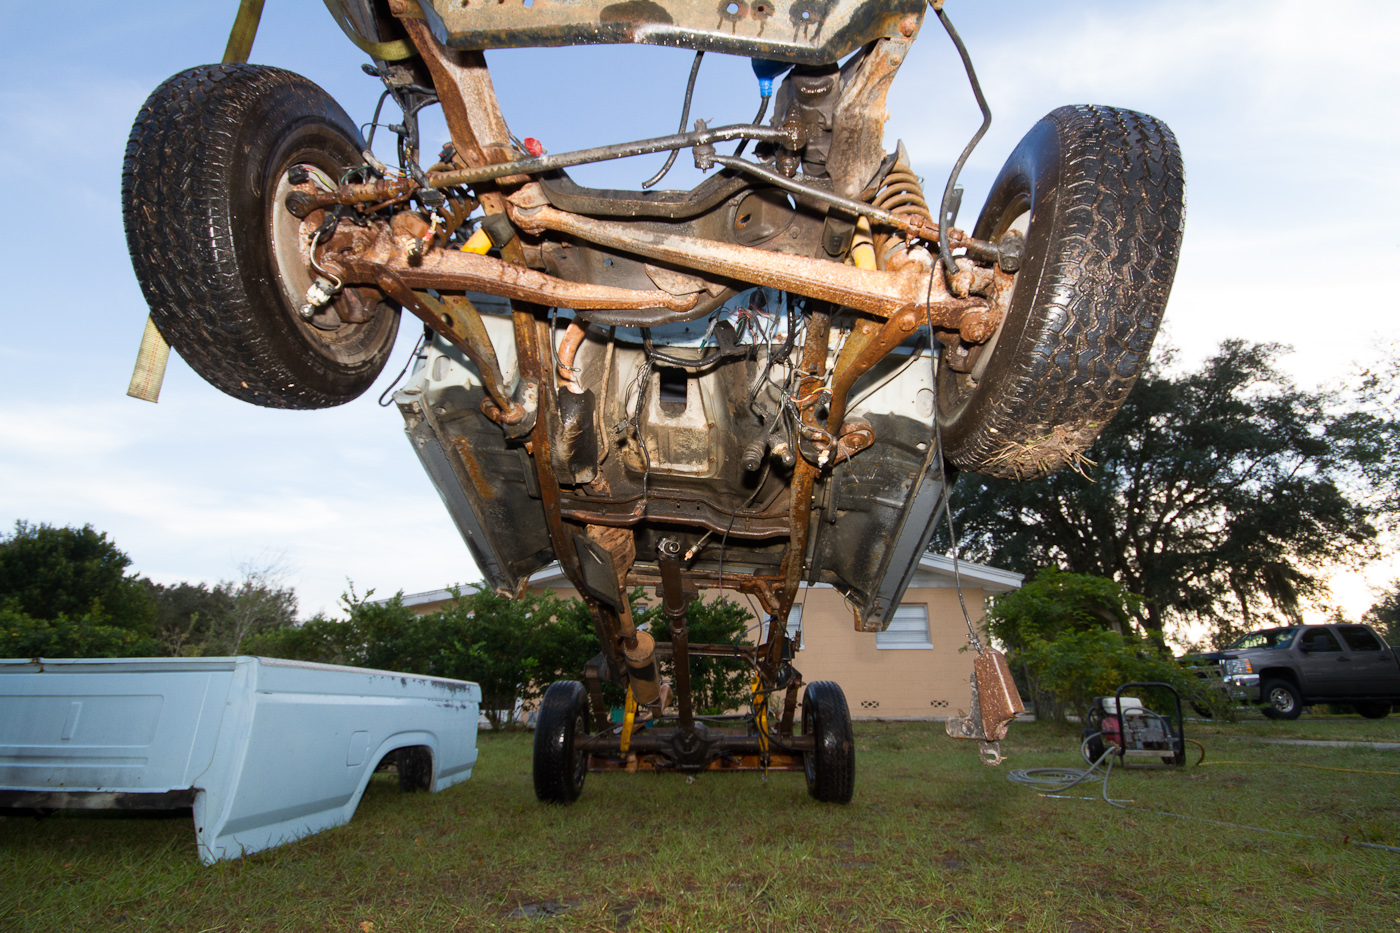
Now relieved of its bed, we pushed it back inside and set about removing the gas tank...
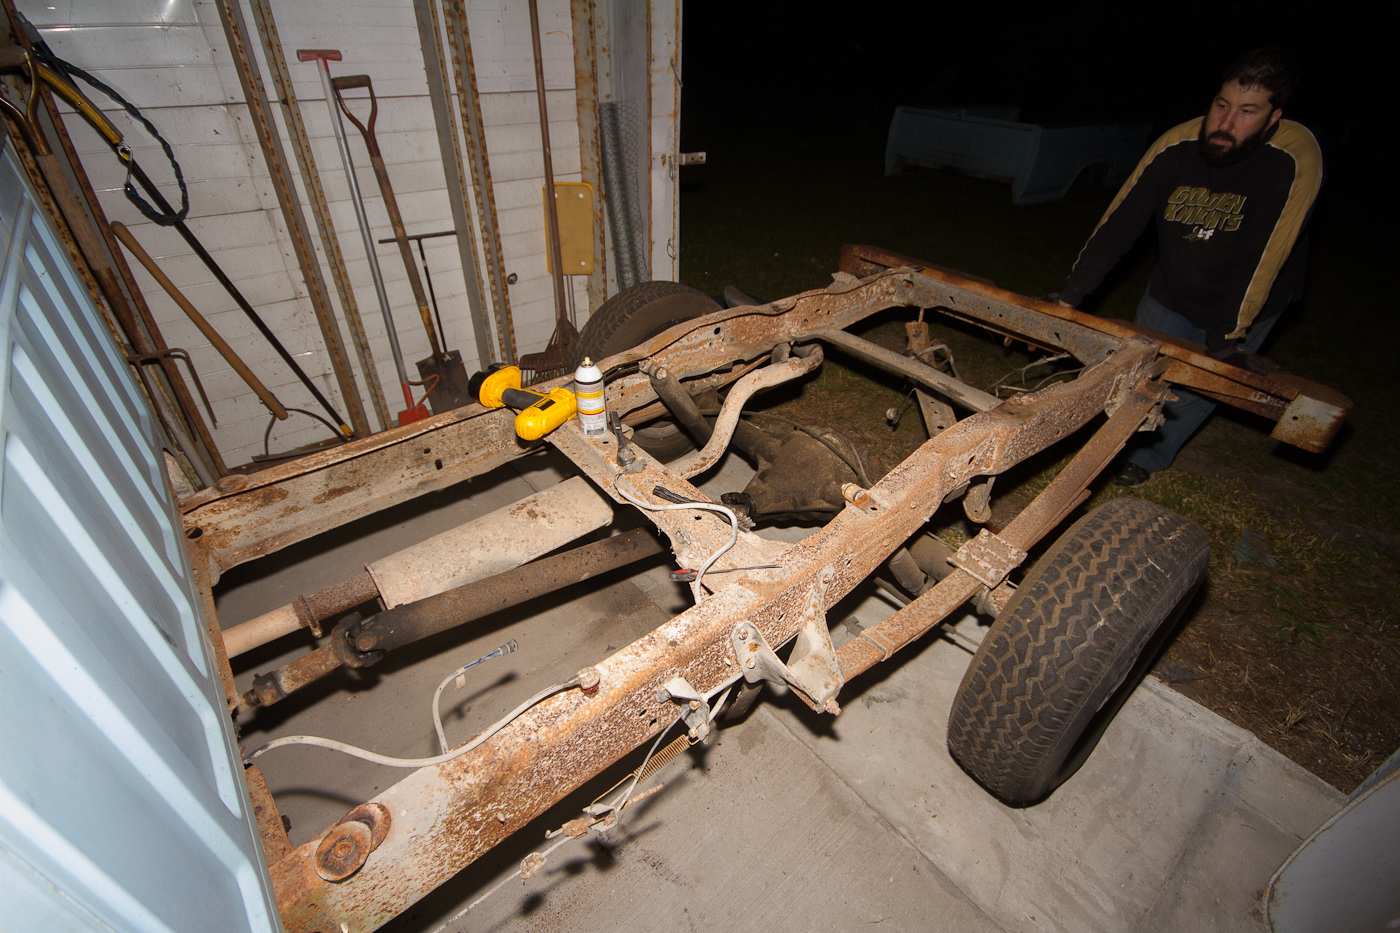
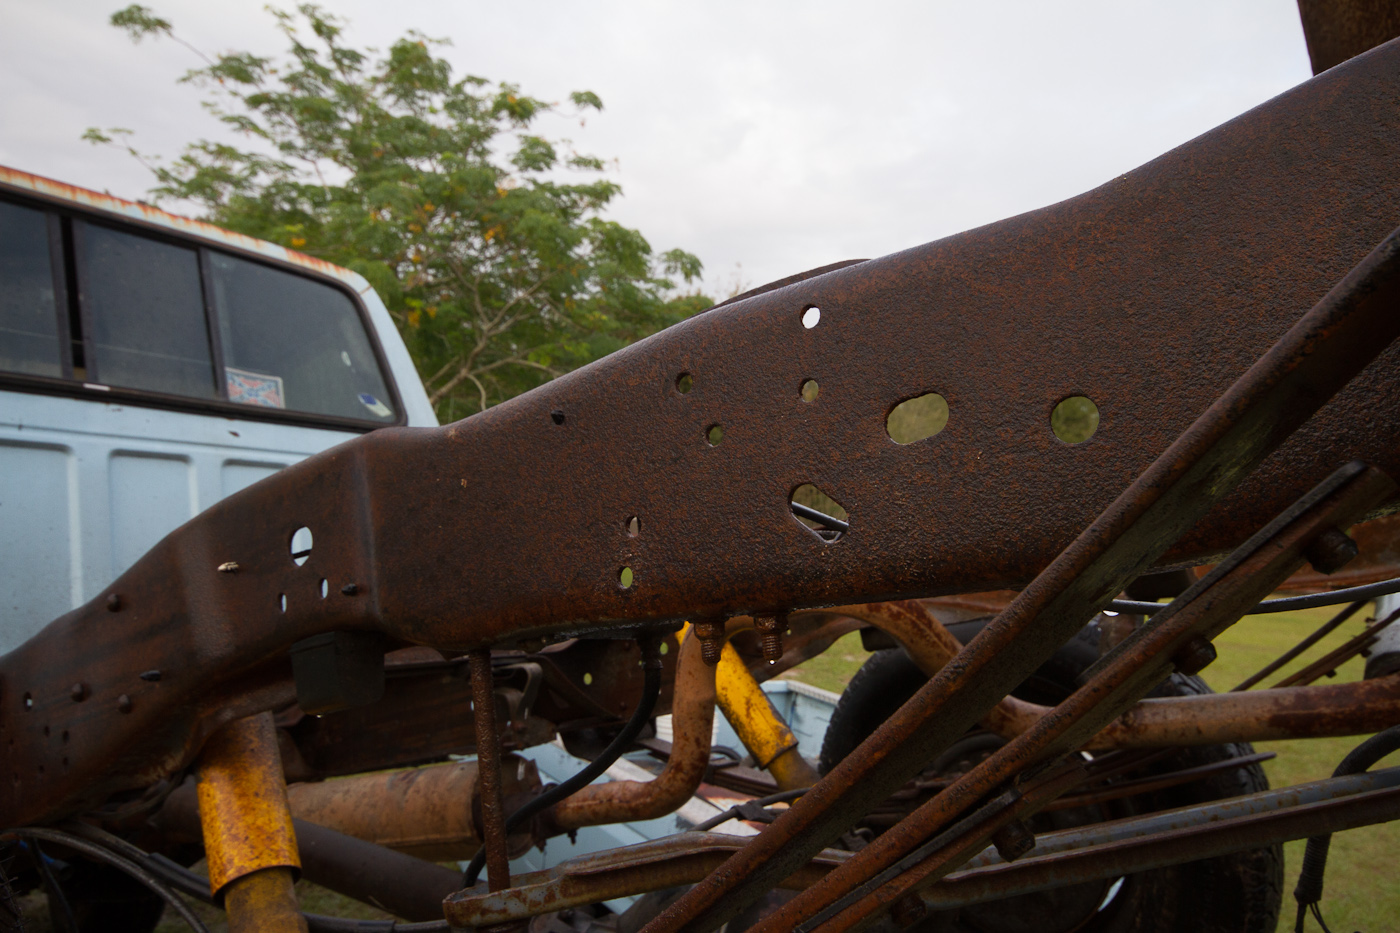
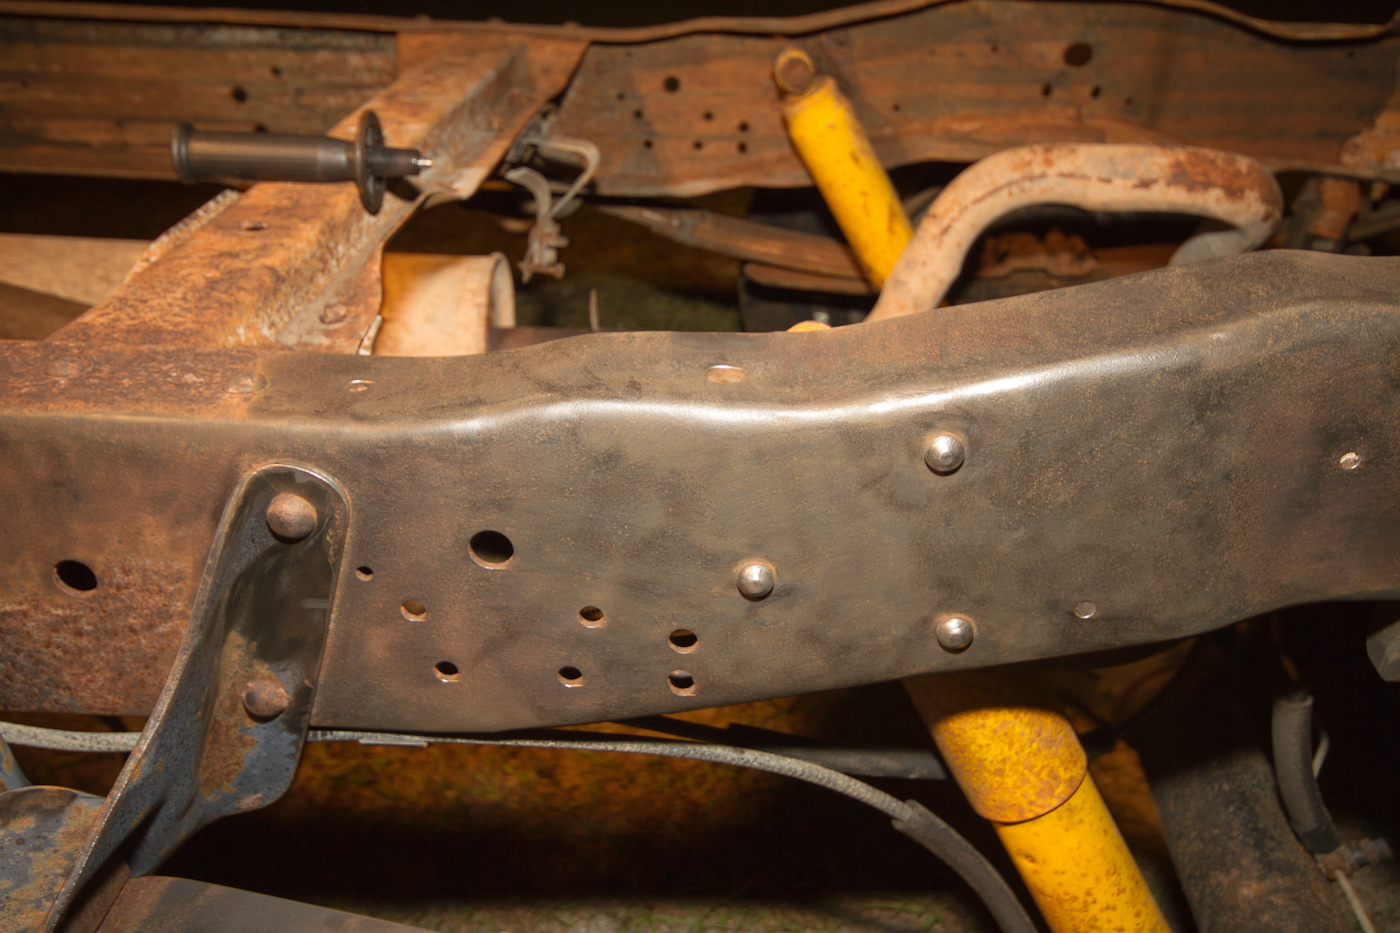
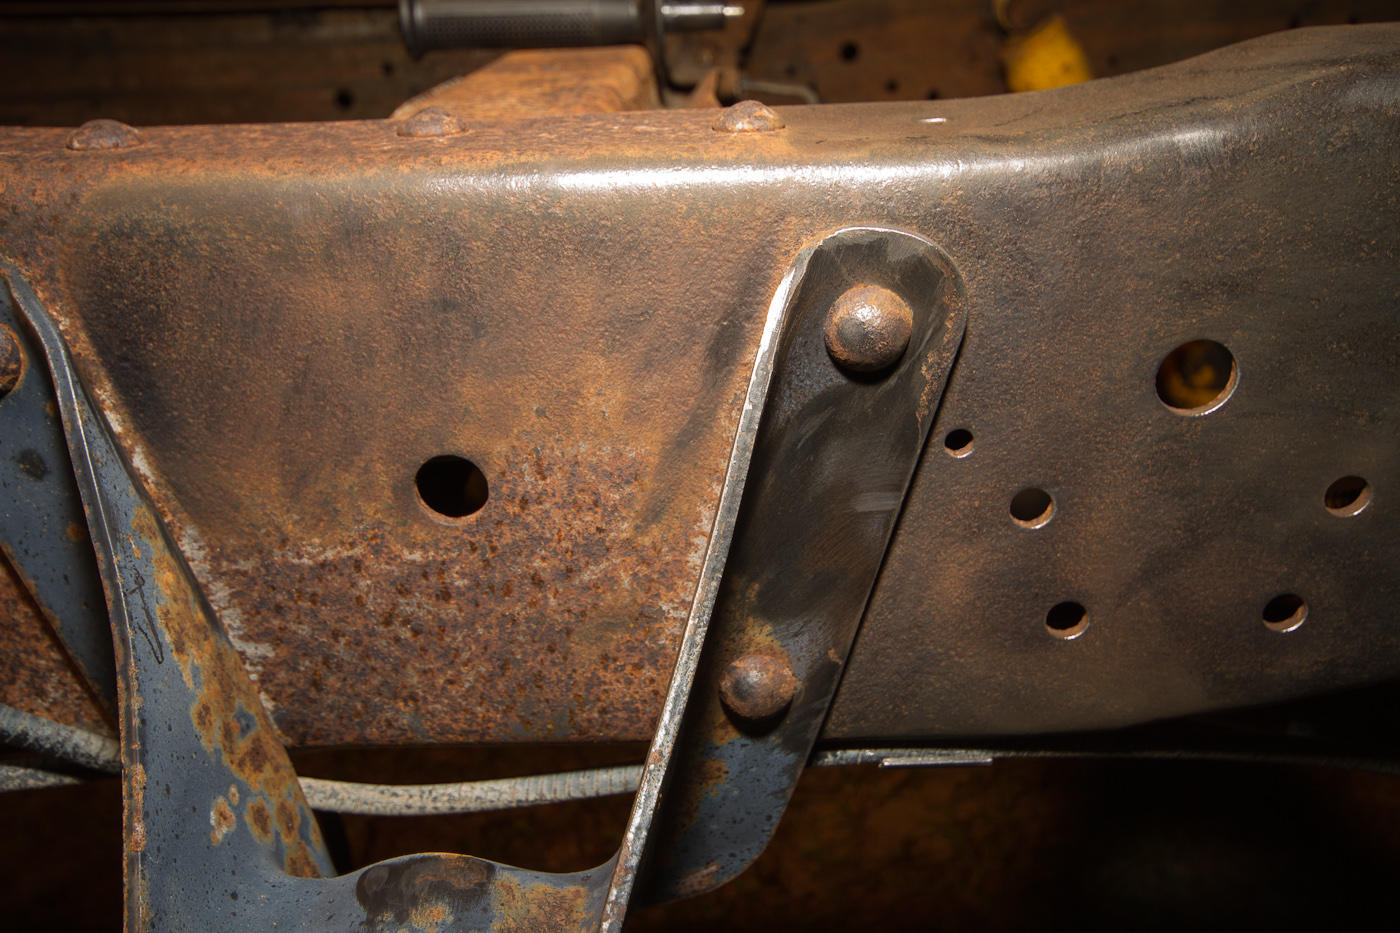
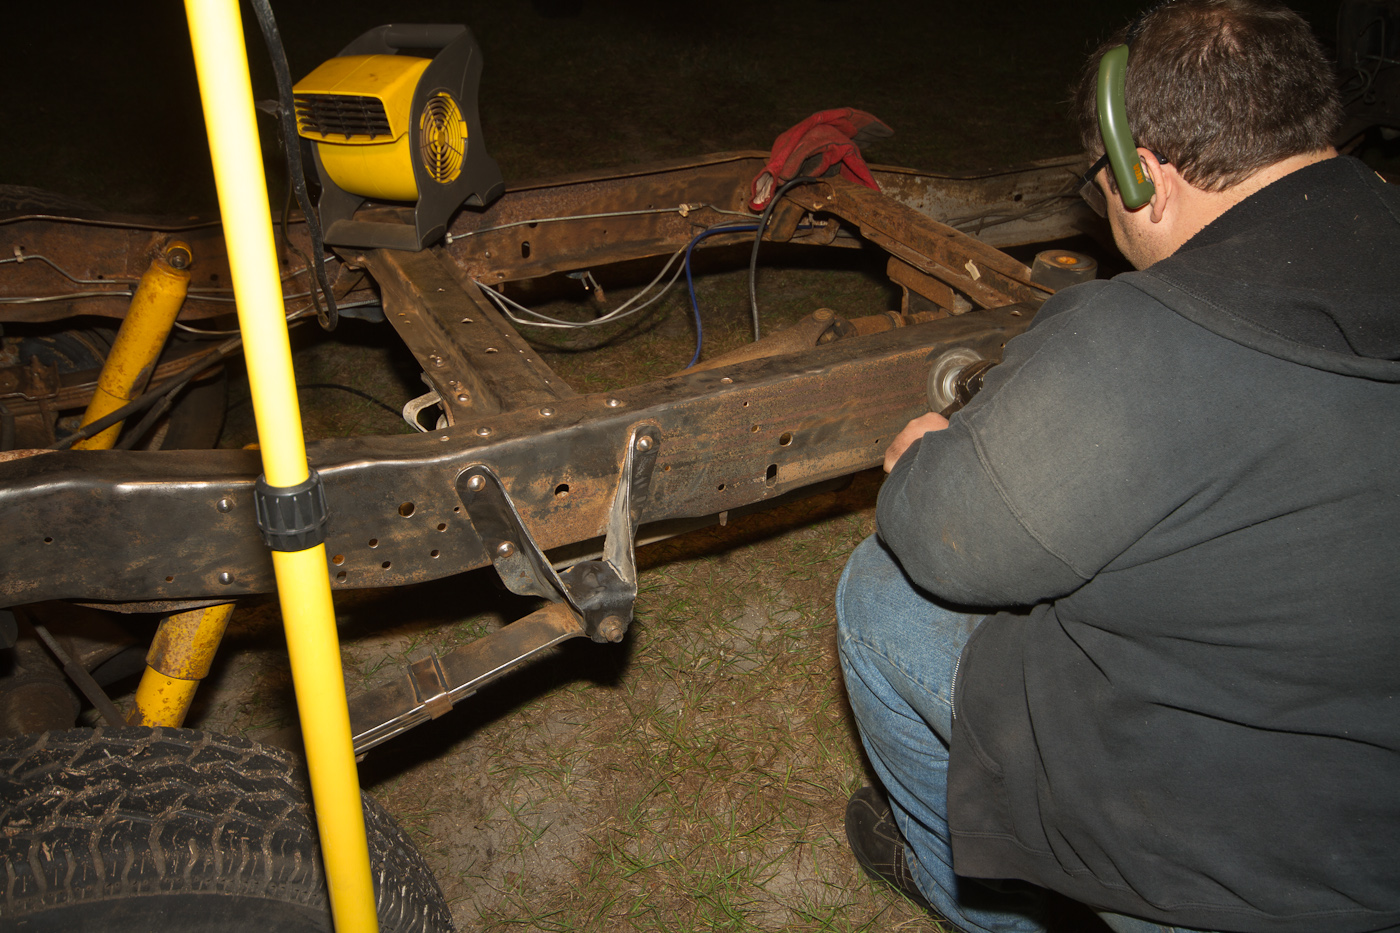
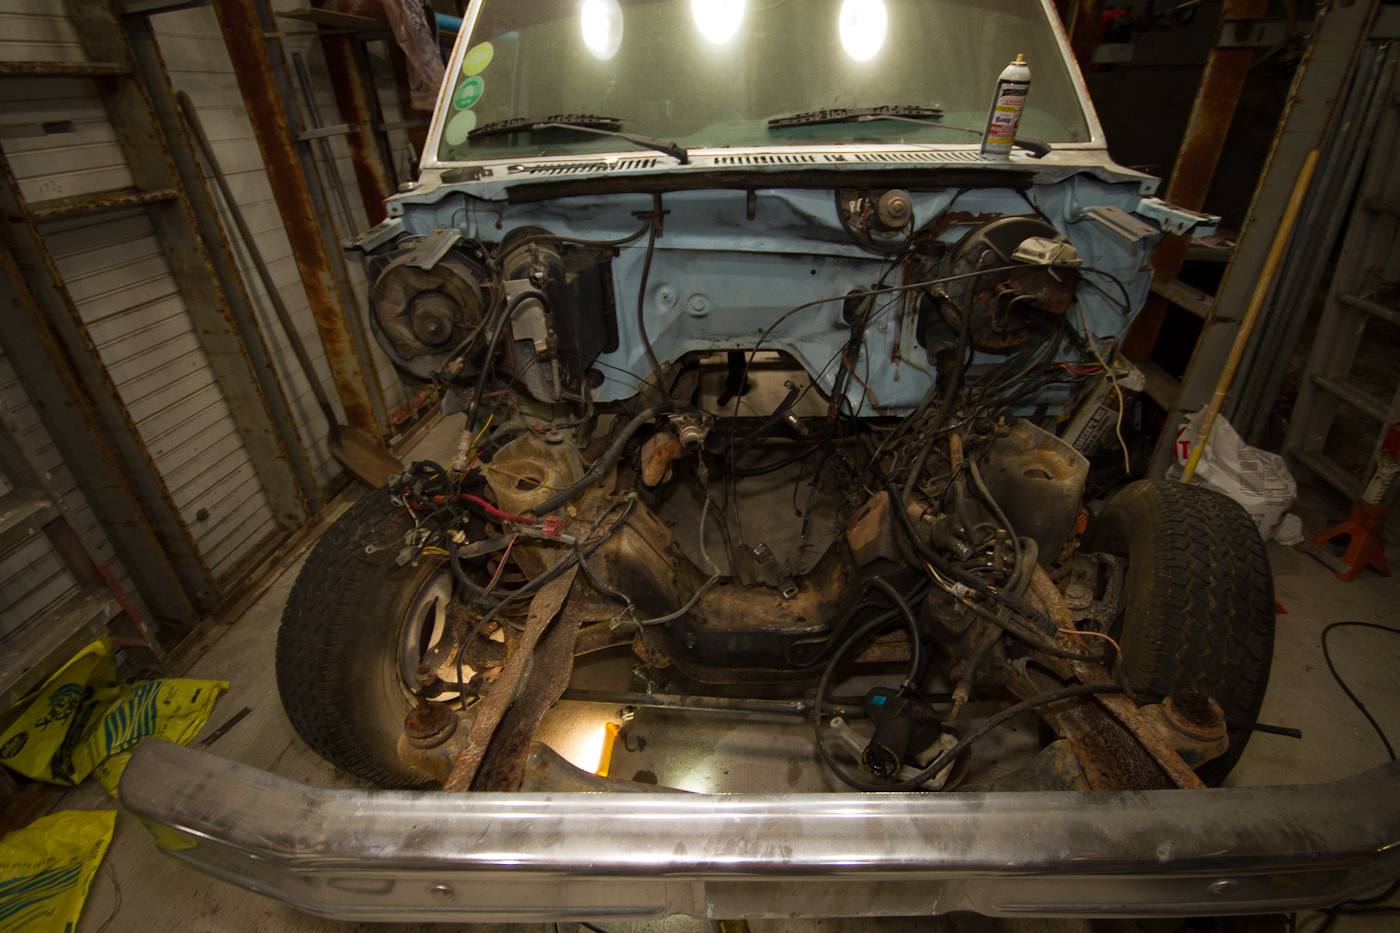
Note that what looks like thick, scaly rust on the frame is really light-colored dirt road dust mixed with a light surface rust. It rubs off with a simple paper towel, so once we get the cab off and thoroughly pressure-wash the thing, it'll only need a little prep work before a coat of satin black Rustoleum.
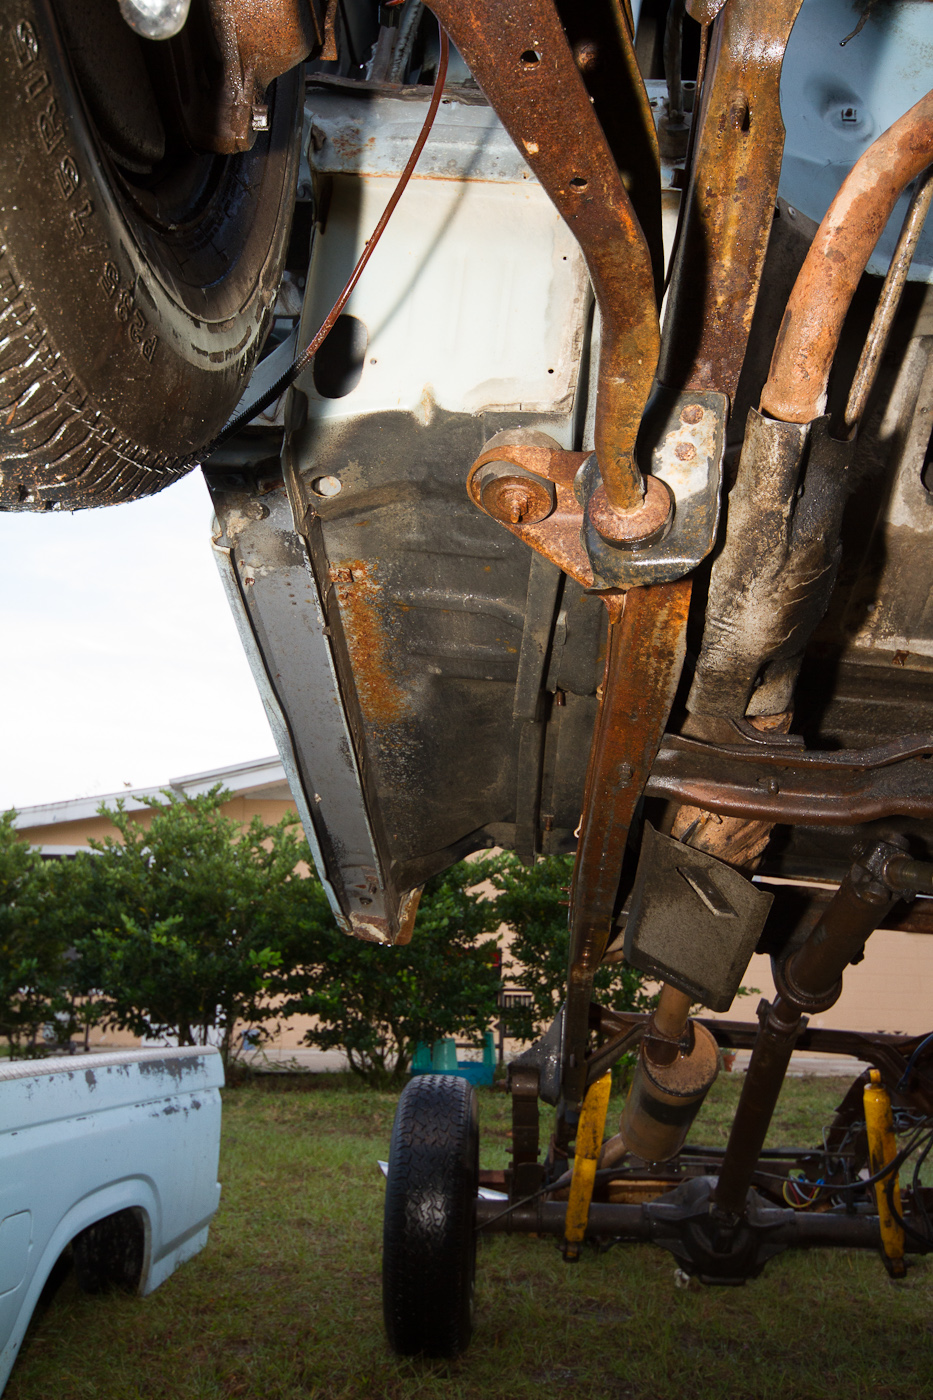
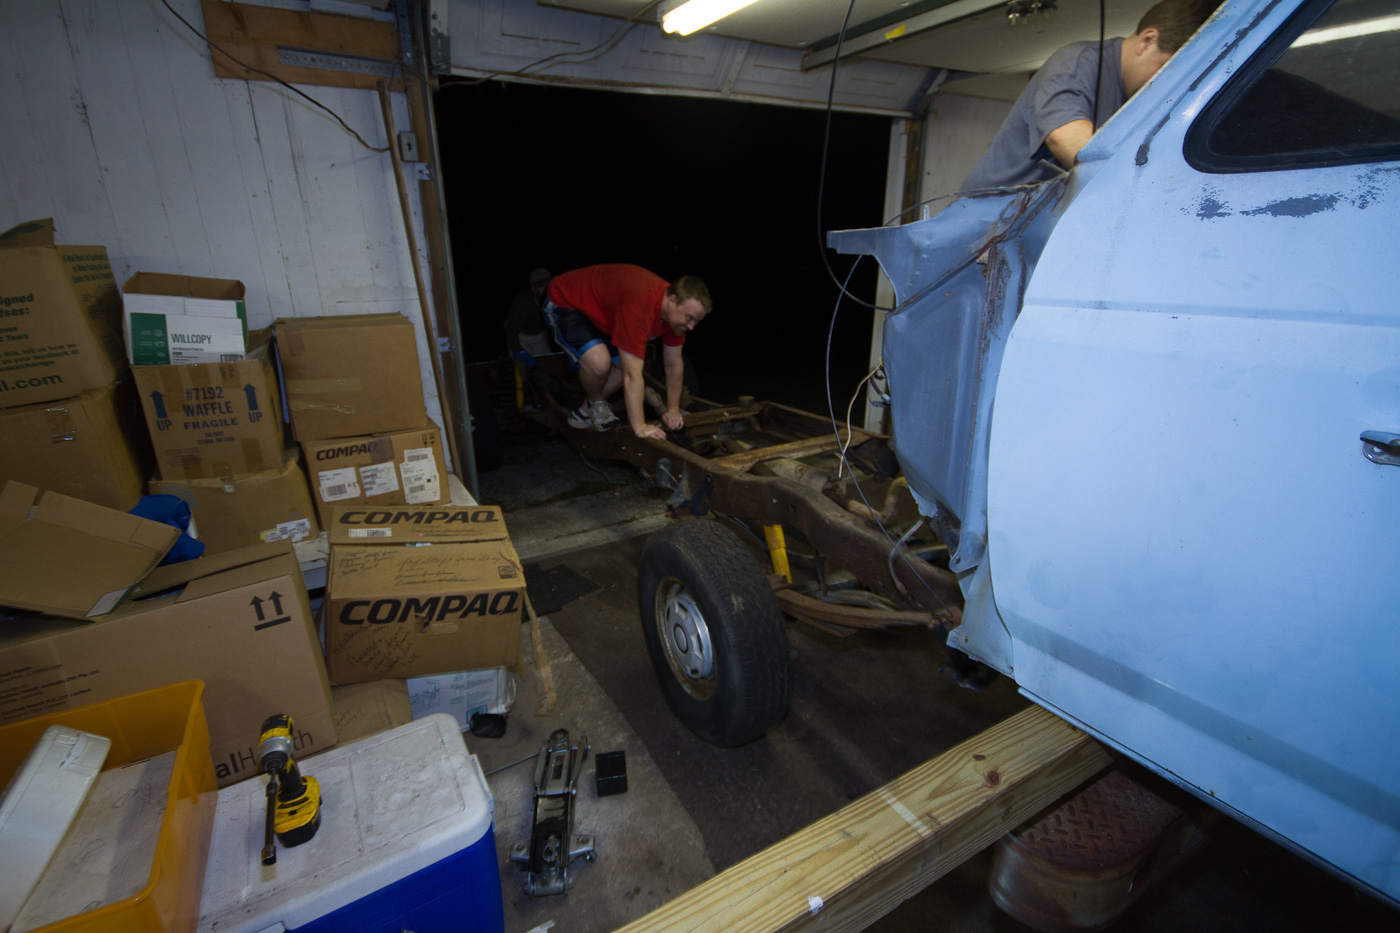
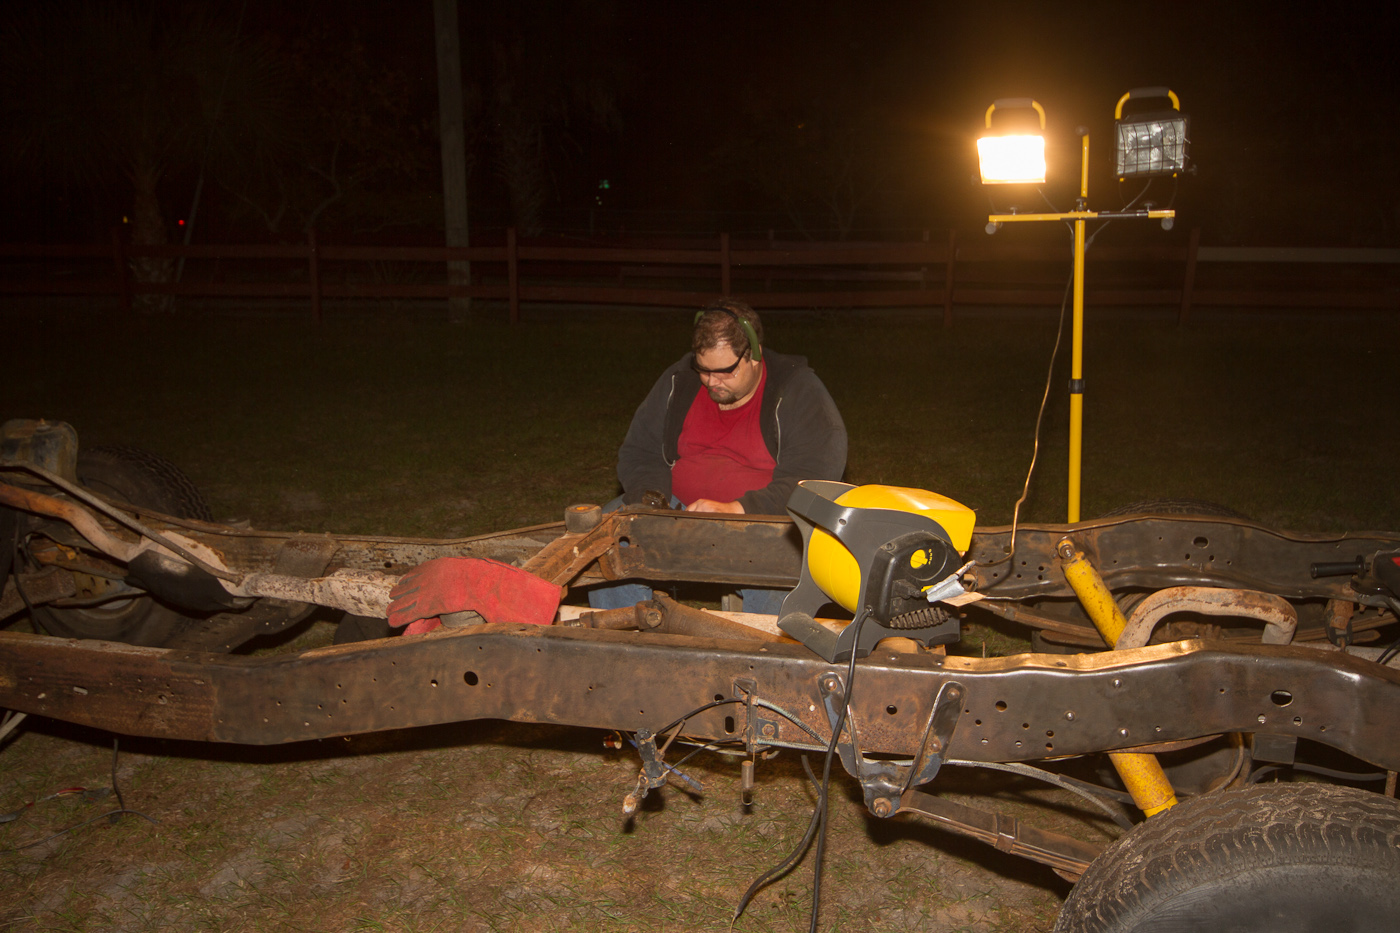
Since that went much more quickly than we anticipated, we decided we minus whale get started on the front end. Our goal is to get the truck stripped down to the bare frame, so we can hit it with stiff wire brushes on angle grinders and get it ready for treatment with Ospho and then painting. So, with that in mind, the first thing to do is remove the fenders. Ideally, the plastic inner fender would come out before trying to access the bolts that tie the fender to the bottom half of the core support. I had to use a stubby 8mm Gearwrench and I have several scraped knuckles and bleeding cuticles to show for the driver's fender. When it comes time to find a replacement fender for the pass. side, I'll bear this in mind. Having never removed an F150 fender before, and not yet remembering that we had the Book of Haynes nearby, we started pulling stuff loose. 30 minutes later, we had a completely removed fender to show for it. Cool beans.
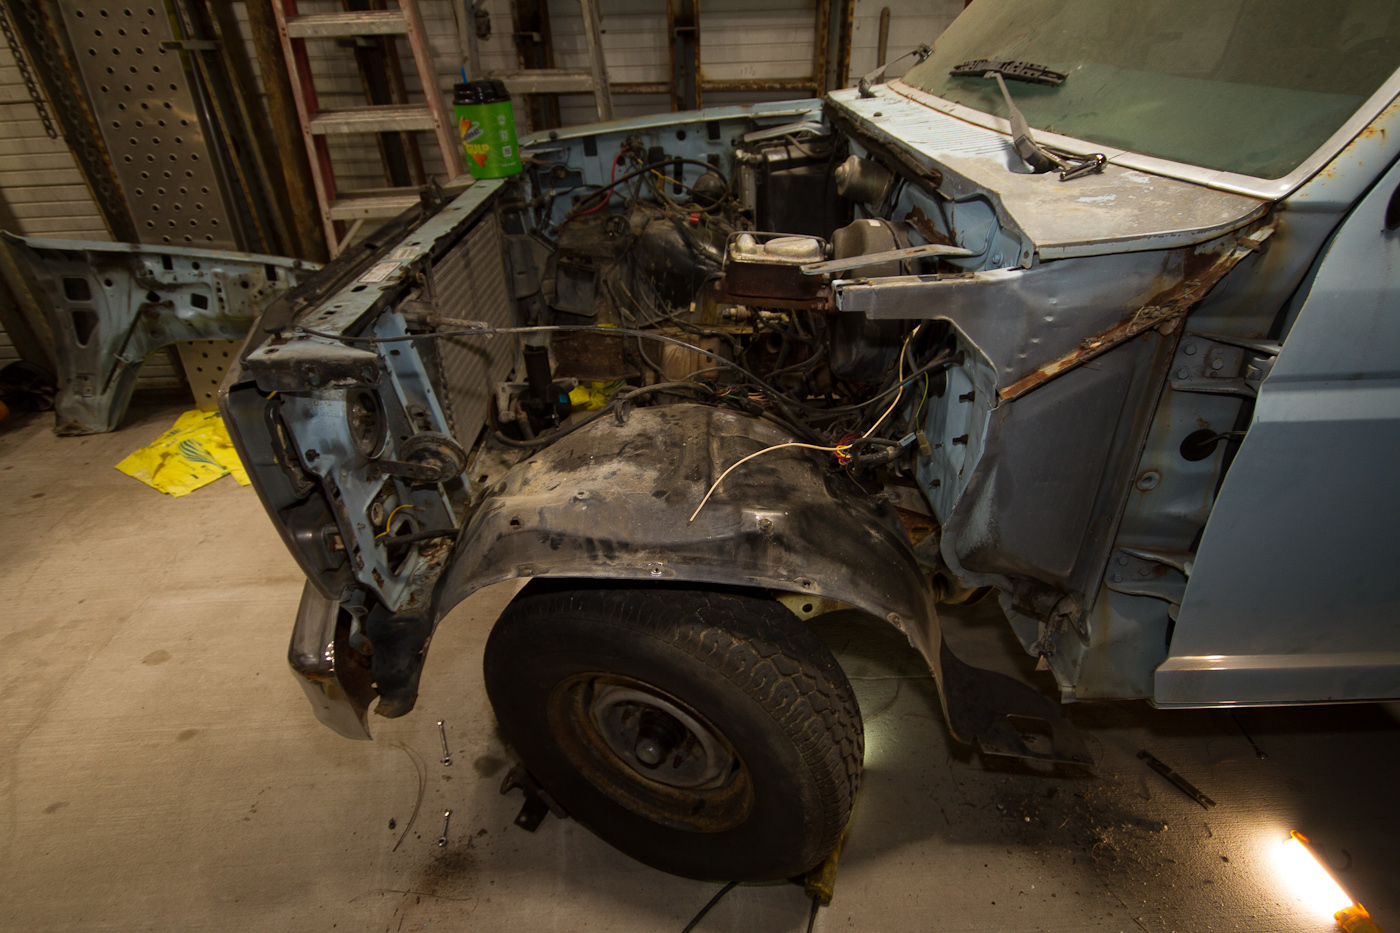
The other side was easier, except for the bolts that go up from underneath, just behind the bumper. The rust on the fender combined with the rust running down from the battery box made this a pain in the ass, but we got it done even faster than the driver's side.
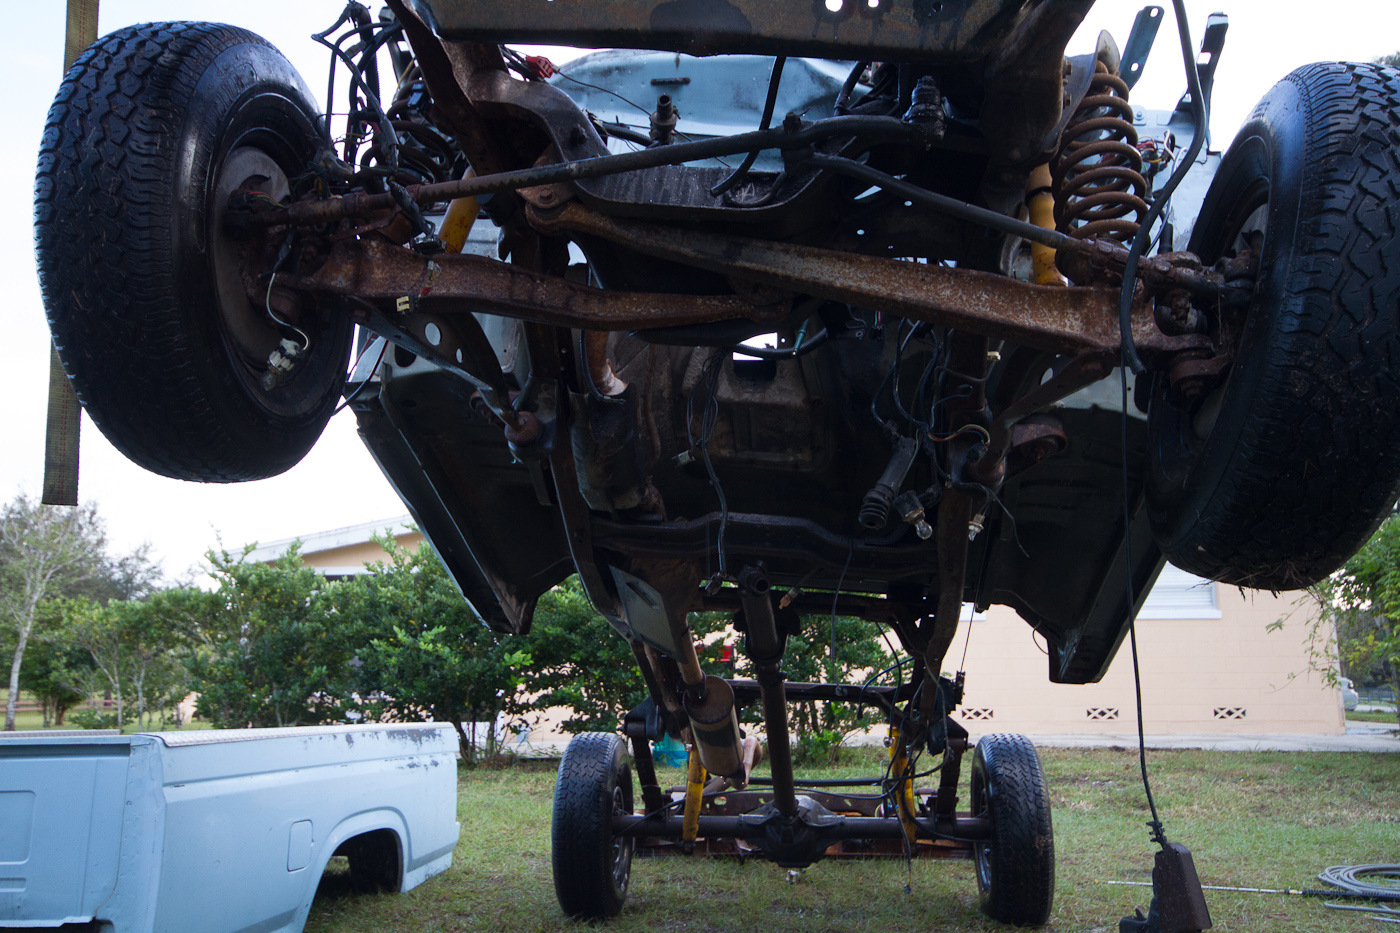
Next up were the inner fenders, which came off easily and gave us plenty of extra room to work on getting the two big bolts that hold the core support to the frame. Straight 18V impact wasn't working on the nuts, nor was the breaker bar. Proper application of lots of PB Blaster, plus the heat wrench and then some more impact had them loose in a jiffy, and the entire front face of the truck came off in one piece.
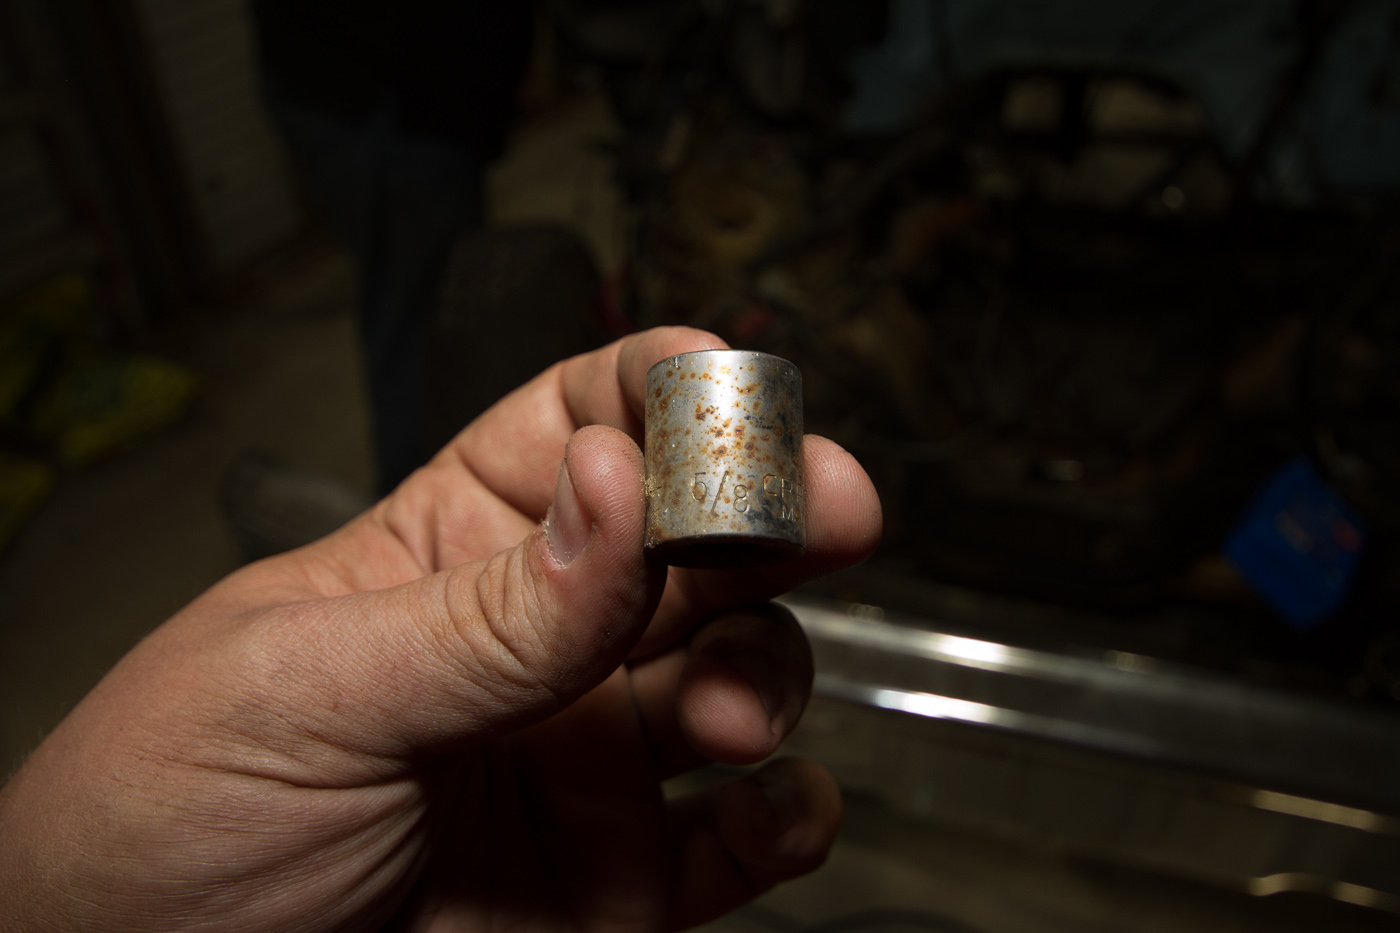
Oh, and during this process, what should fall out of the deep, dark places of the truck but a 5/8" 3/8-drive Craftsman socket. I'm pretty sure I dropped this down in there back in 12th grade.
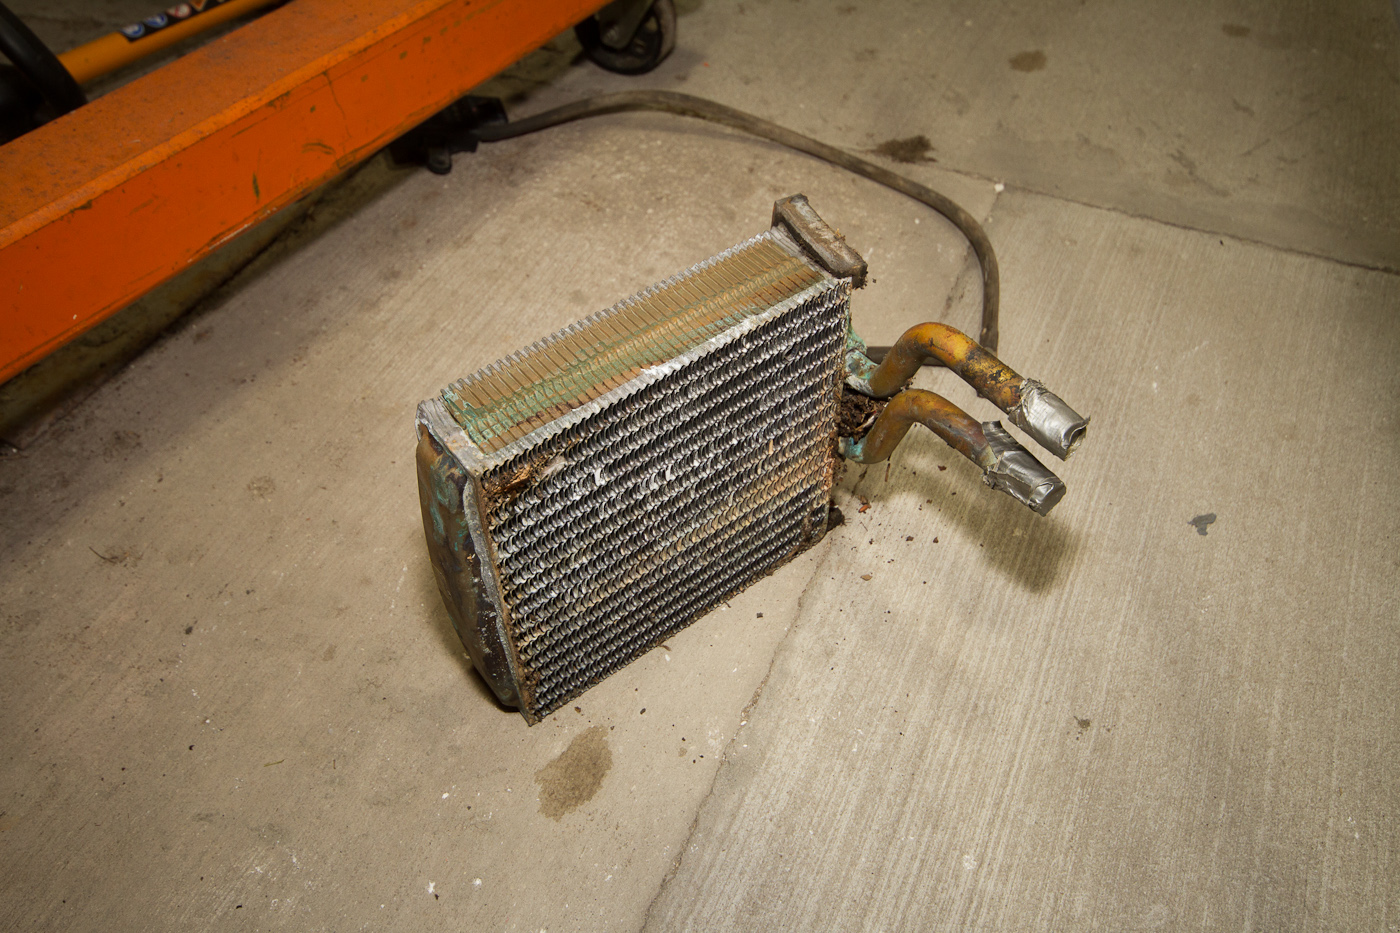
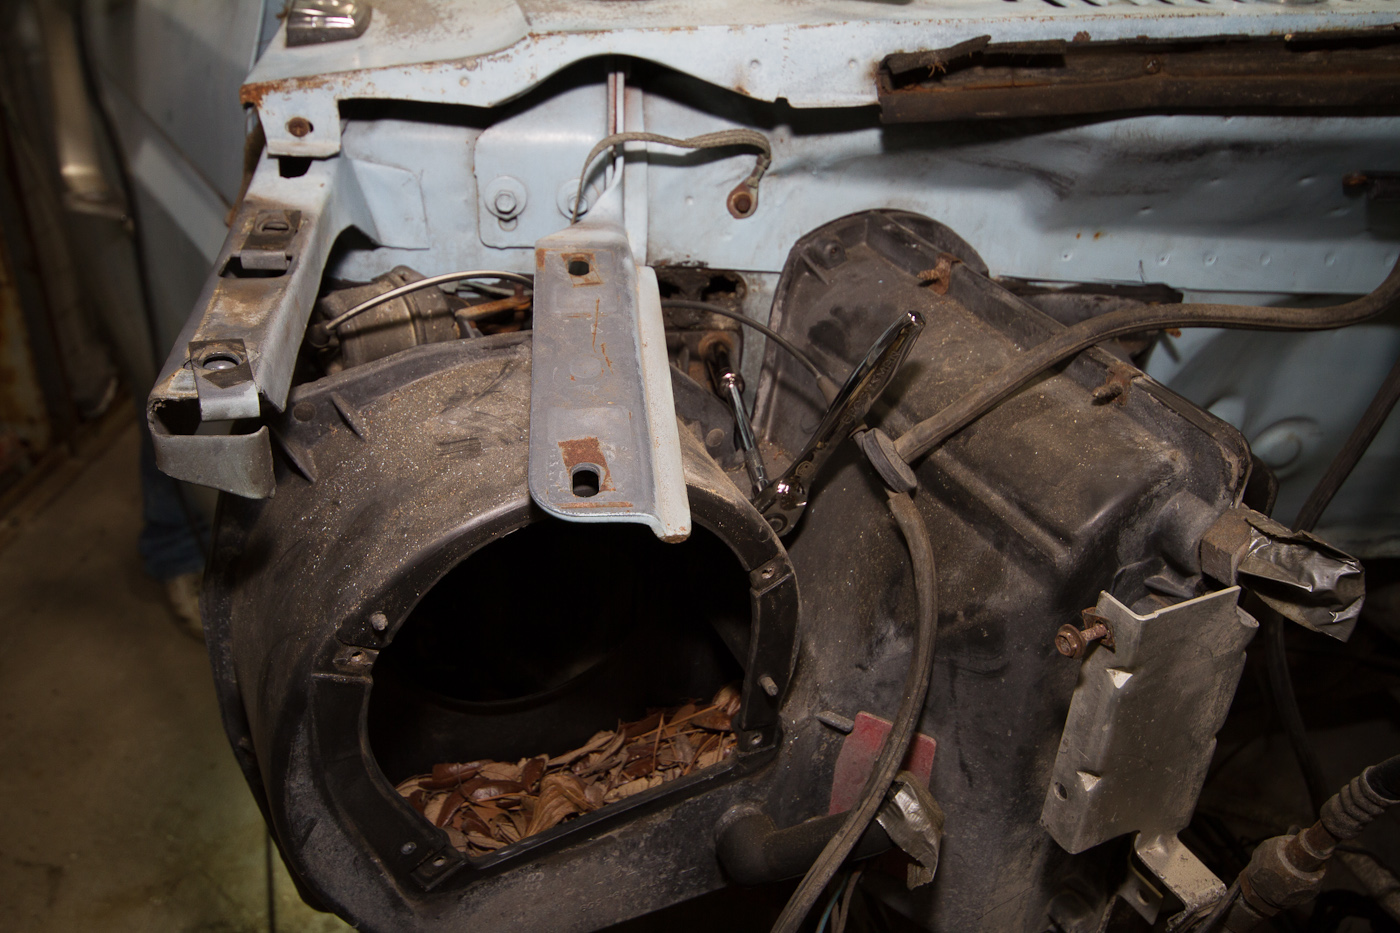
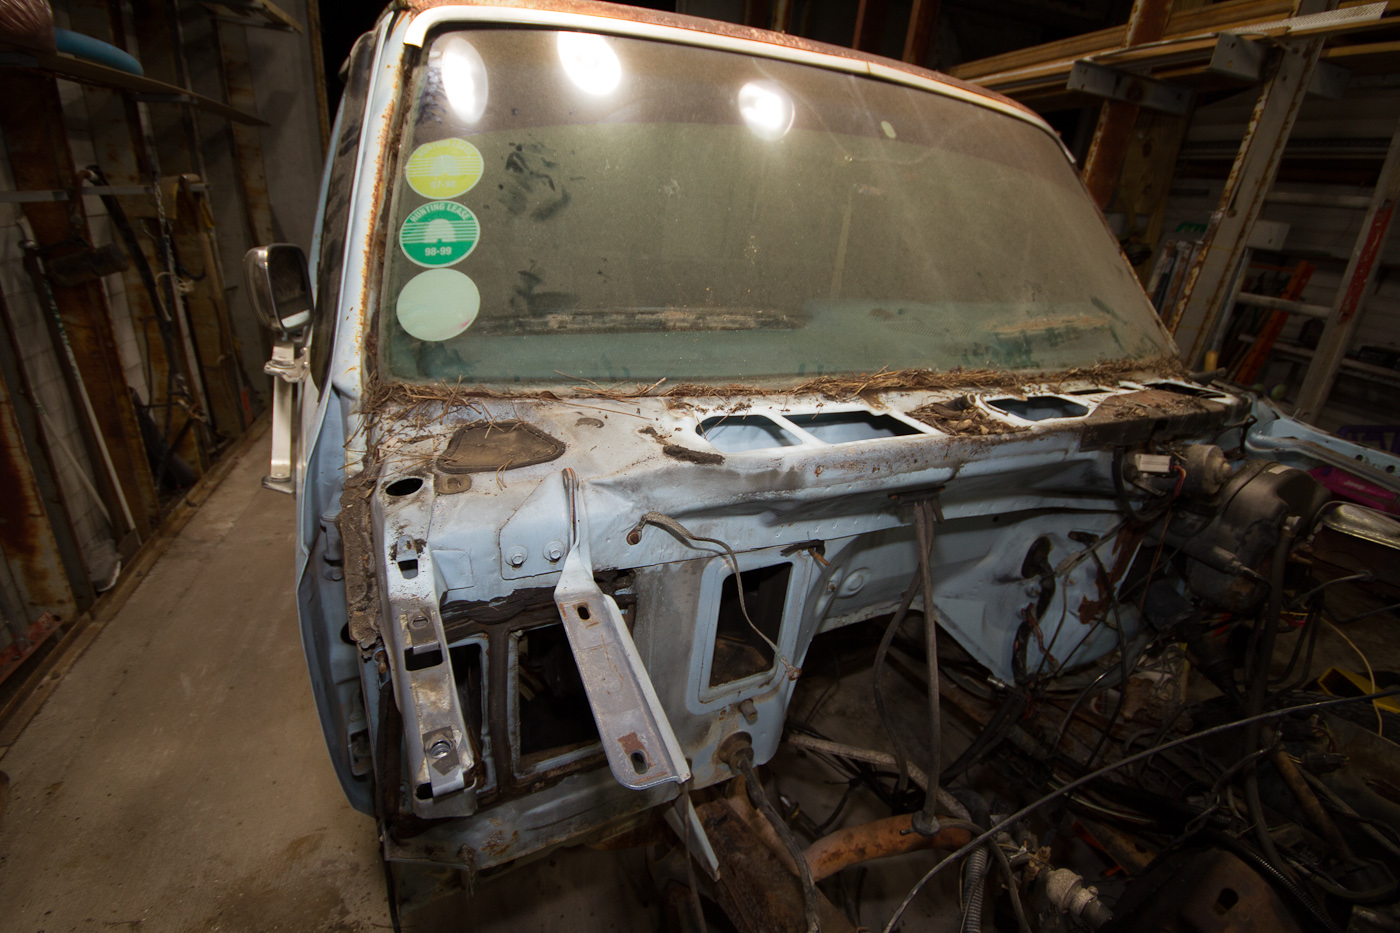
At this point I was ready to start cleaning up the firewall, so I figured the best place to start would be the HVAC box. I also wanted to see the heater core, which we had bypassed at some point in the '90s. Not knowing exactly what was involved (but assuming the worst, i.e. dash removal) I decided to once again consult the Haynes. "Remove the glove compartment and locate the 7 screws that retain the heater core cover and remove the core. Installation is reverse of removal."
So saith the book.
So saith we all. 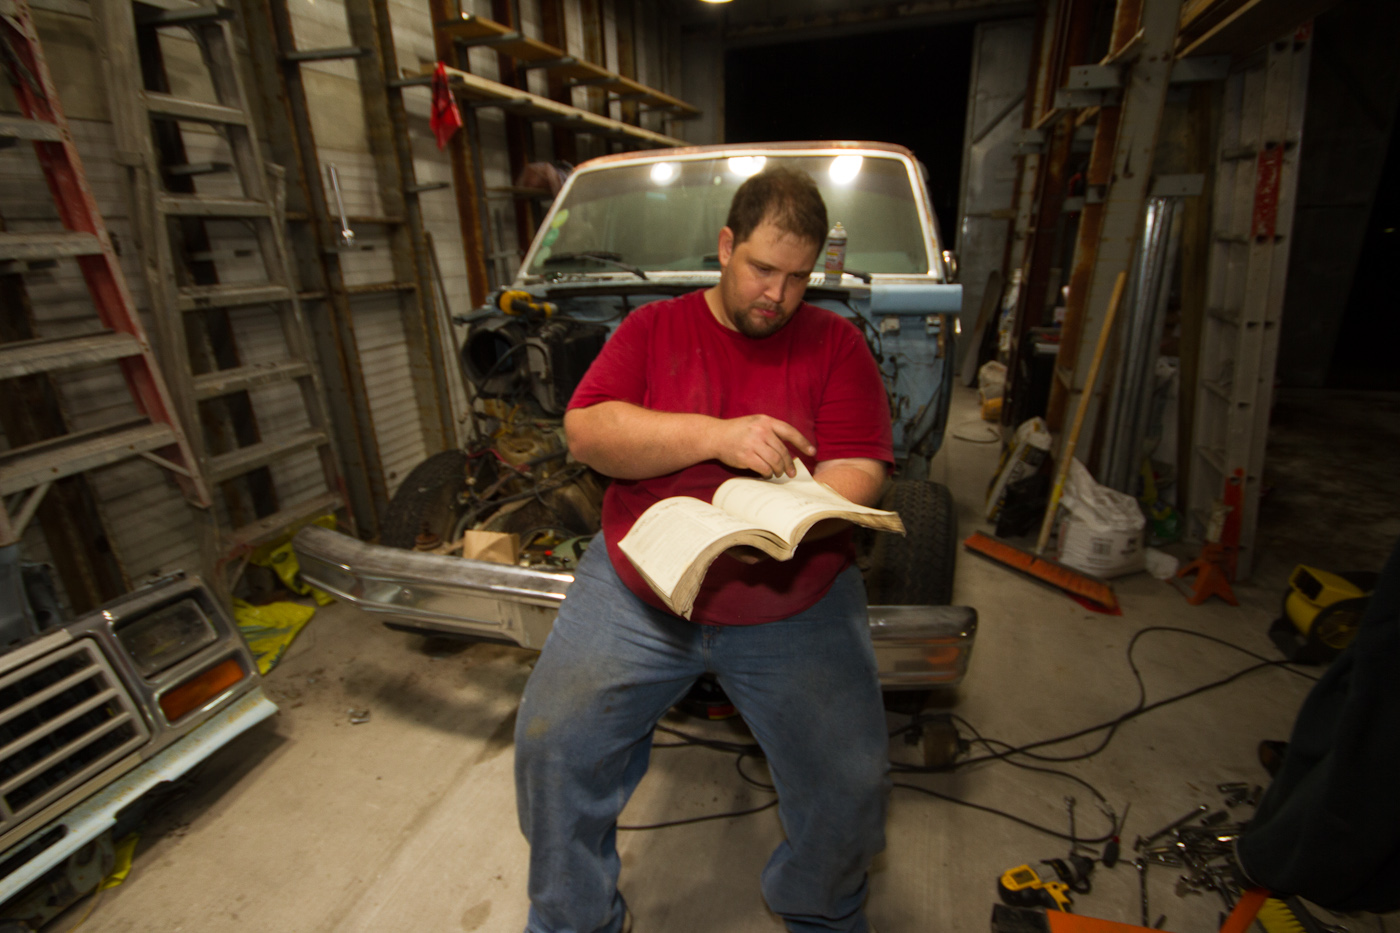
So, I snatched the heater core out, and yup, it looked fucked.
Next, after removing all the accessible nuts from the outside of the HVAC box, I had one that was just spinning in the hole. Like the bed, these are also carriage bolts, and this one's square shank was spinning freely in the plastic housing. We finally got it free with Vise-grips holding the end of the bolt and an 11mm wrench making about 3,700 15 degree turns, and the passenger side was basically done.
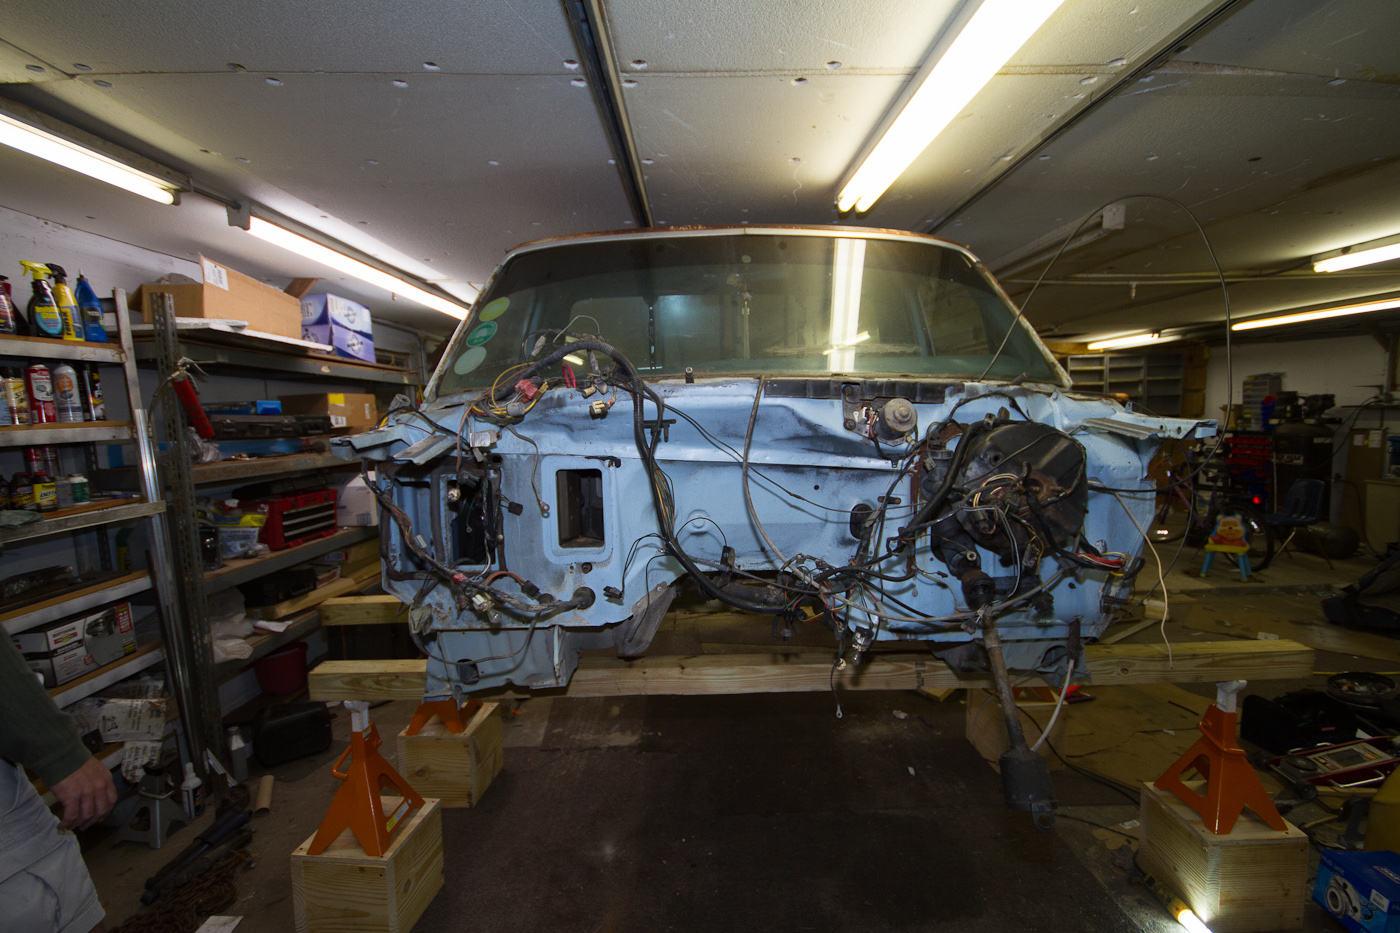
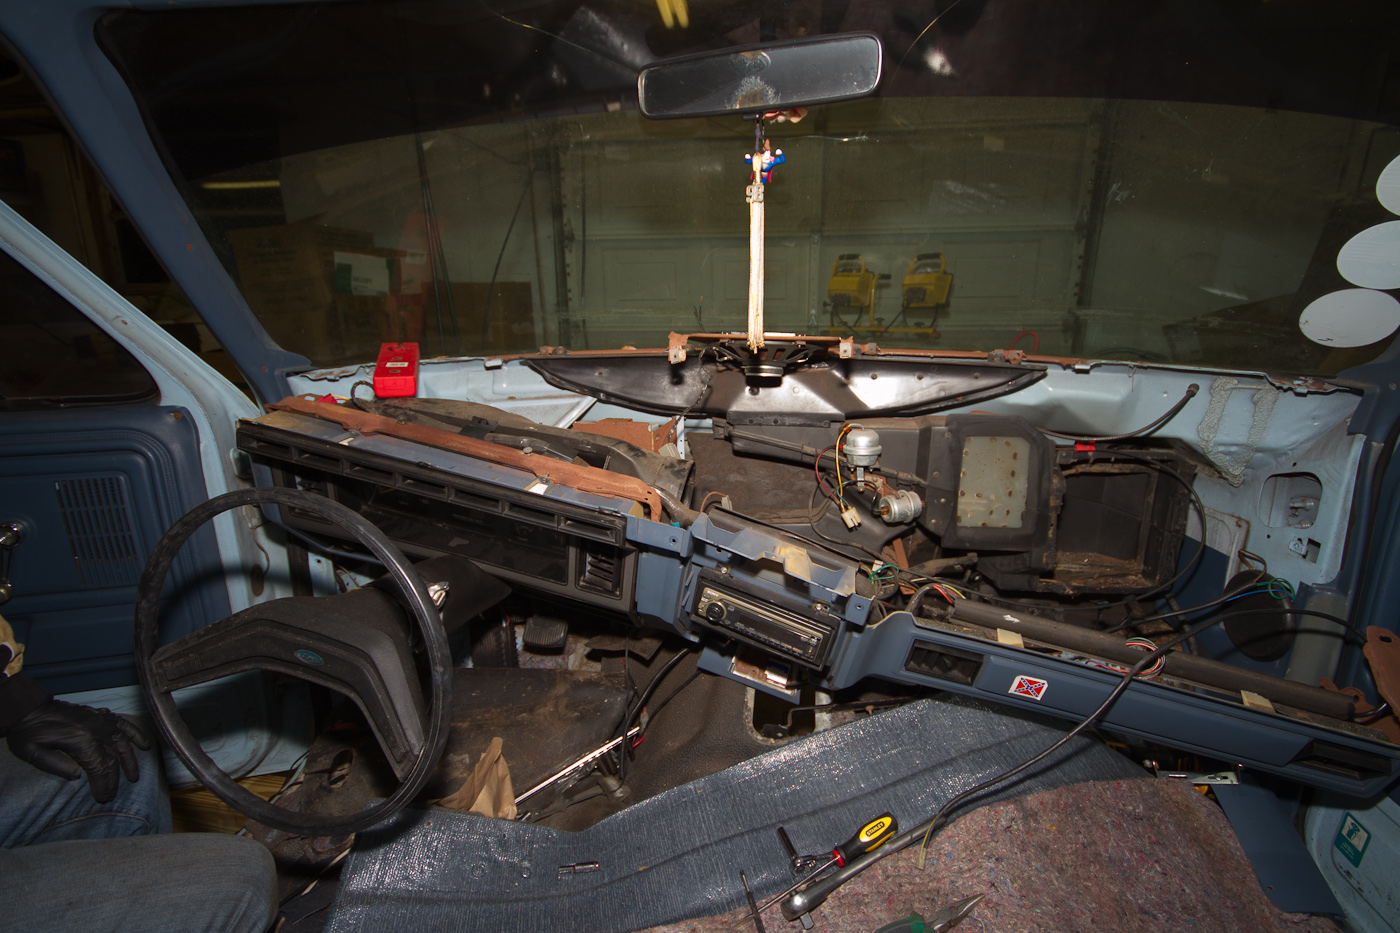
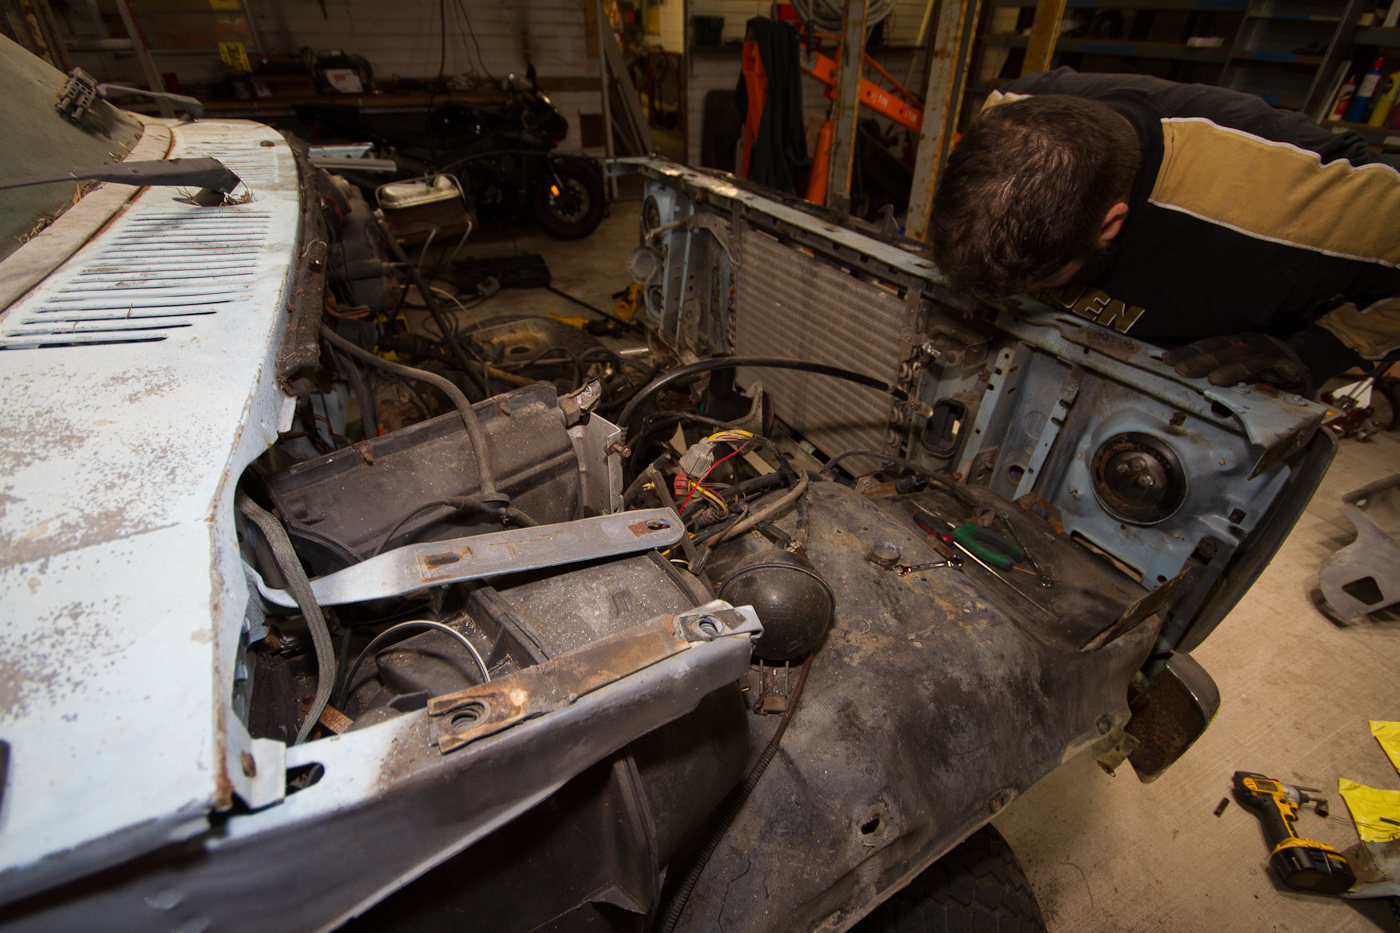
Onward next to 0100 and the driver's side, where I pulled the master cylinder (which was leaking, and bone dry - apparently the root cause of the "no brakes" thing I mentioned near the beginning) and inspected the booster. Booster has some nasty paint and a little corrosion on the rod from the exposure to brake fluid, but I don't think it's actually damaged. When I pull it off next time we work on it, it'll get cleaned up and repainted before going back on. I also pulled the proportioning valve and the attached lines that run up to the master cylinder (so they're not just floating there getting snagged on and bent out of shape) and pulled a bunch of emissions and EEC-IV related wiring and crap off. We're chopping the (clogged) cat and eliminating the air pump and feedback emissions controls (I bought a new non-feedback Carter YFA off Craigslist a couple weeks ago for $50 :eek3:) so this is all part of the plan. The computer will be going bye-bye, along with every emissions solenoid and purge canister and vacuum line I can manage to ditch. So, after some cleaning and vacuuming of the cowl, we called it a night. Here's how she sits right now,
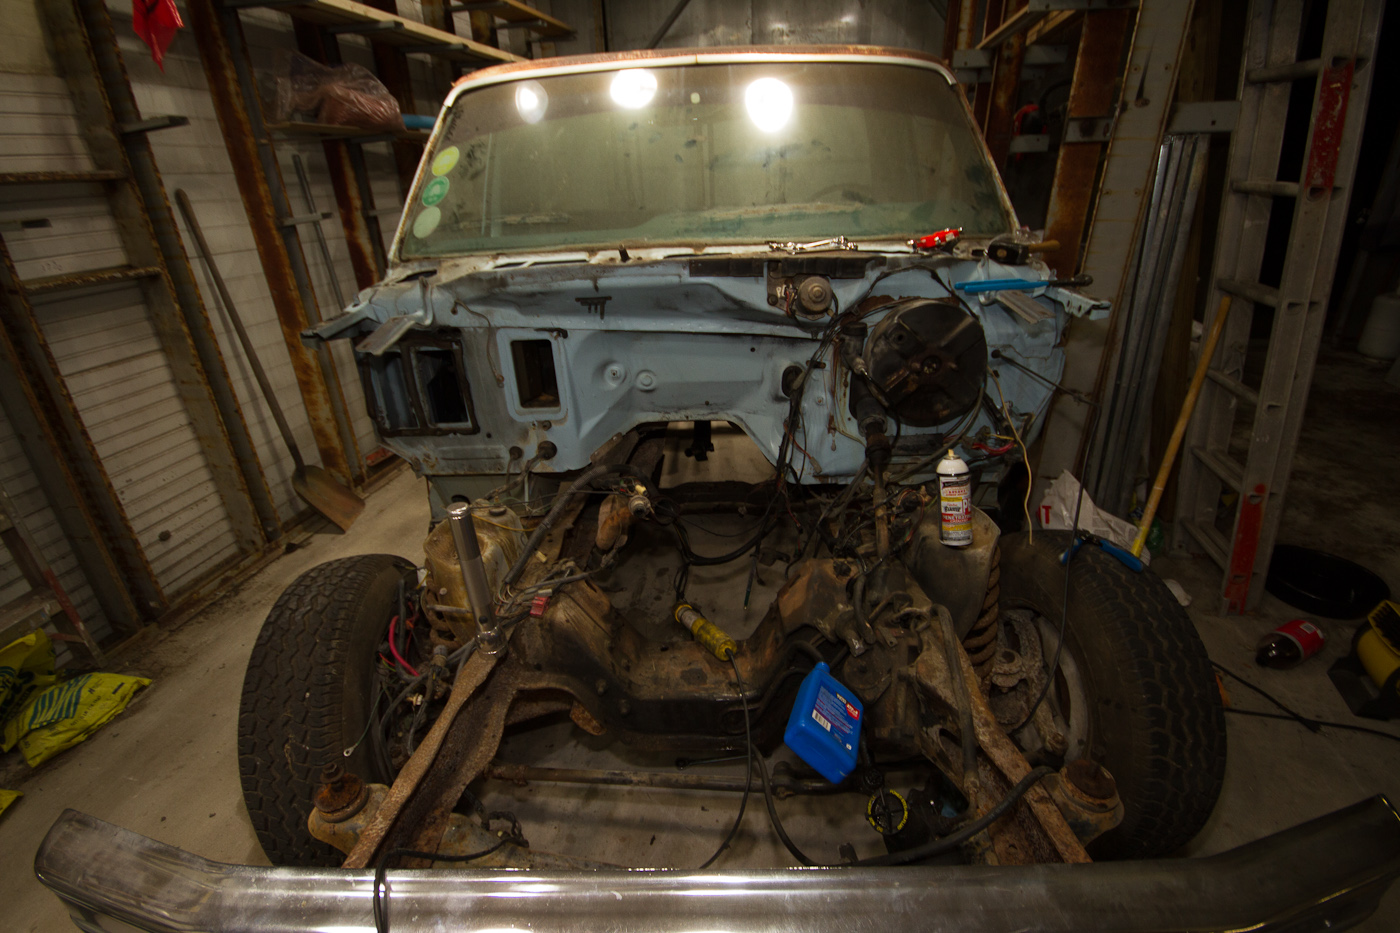
You're probably wondering why there's a bright blue Walmart ATF+4 bottle floating in there. Earlier I noticed some dripping fluid coming out the power steering reservoir cap, and deciding it needed to be drained, I removed the return line from the pump and stuck it in a 2L bottle (which is laying on the floor at bottom left) and spun the pulley. I got a little fluid out, but not a huge amount, and didn't think much of it. Afterall, it's been sitting for 12 years. Fast forward a bit and we need to move the truck around, so Mike is in the cab and I'm pushing, and I see nasty black fluid flying out the open return hose with the quickness. It takes me a moment to figure it out, but I yell for him to stop moving the wheel while I go re-retrieve the 2L and a jack so we can pump out the gearbox. I knew we couldn't possibly get it all out, so I wanted to cap it off. I grabbed a bolt and was going to simply shove it in the rubber hose and tighten down a clamp on it, when I saw the rubber strain-relief grommet for the extension cord we made for the welder the other day laying on a shelf. It looked like it would fit in the empty ATF bottle in the trash can, so I checked and sure enough, it was a tight, snug fit. I was even happier when the 3/8" rubber return line fit perfectly into the grommet. It's a wonderful solution IMO. ![]()
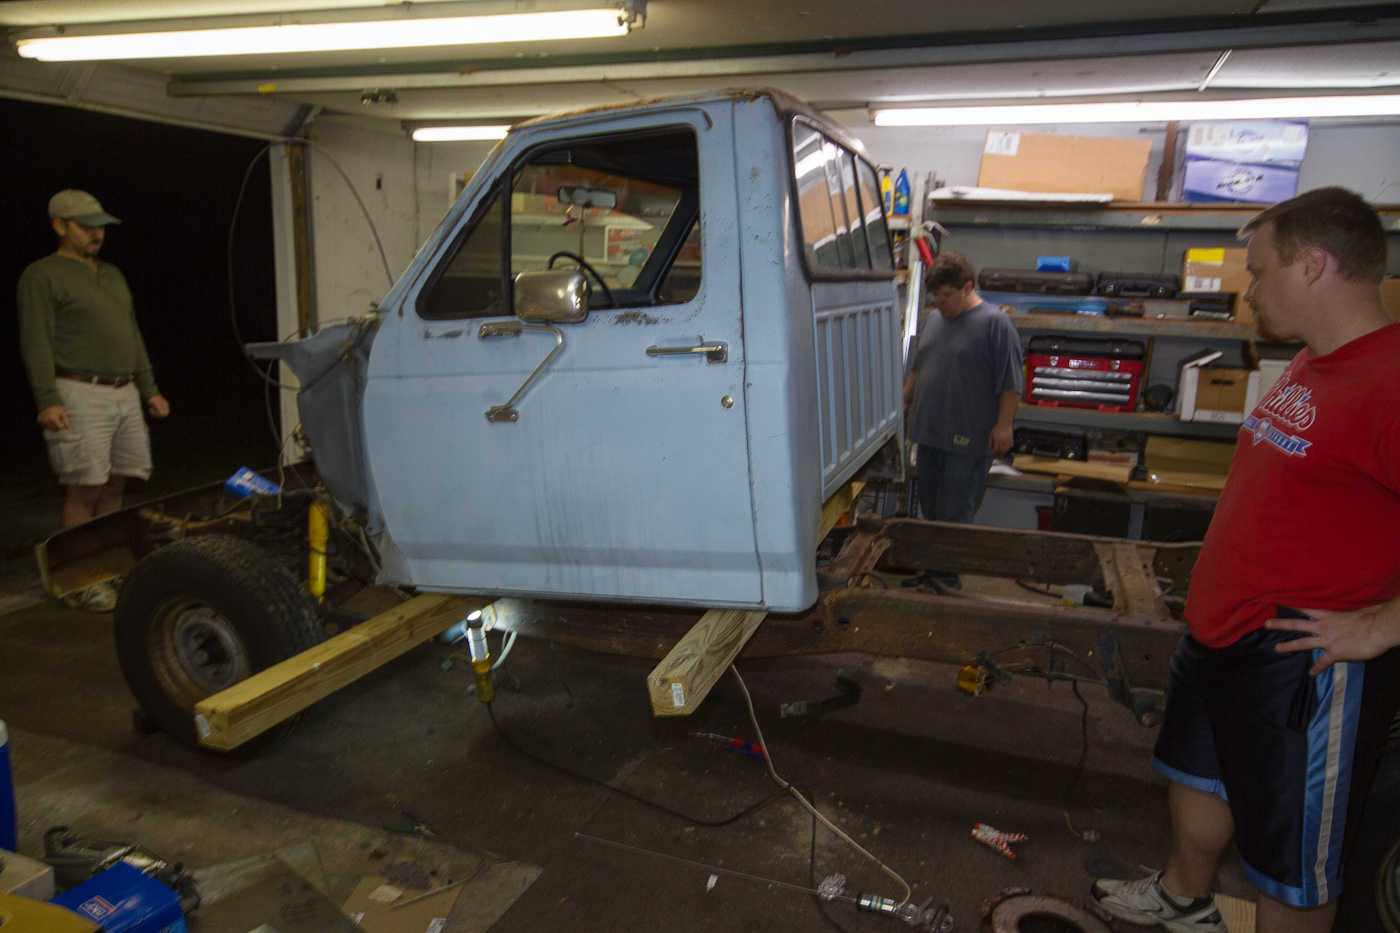
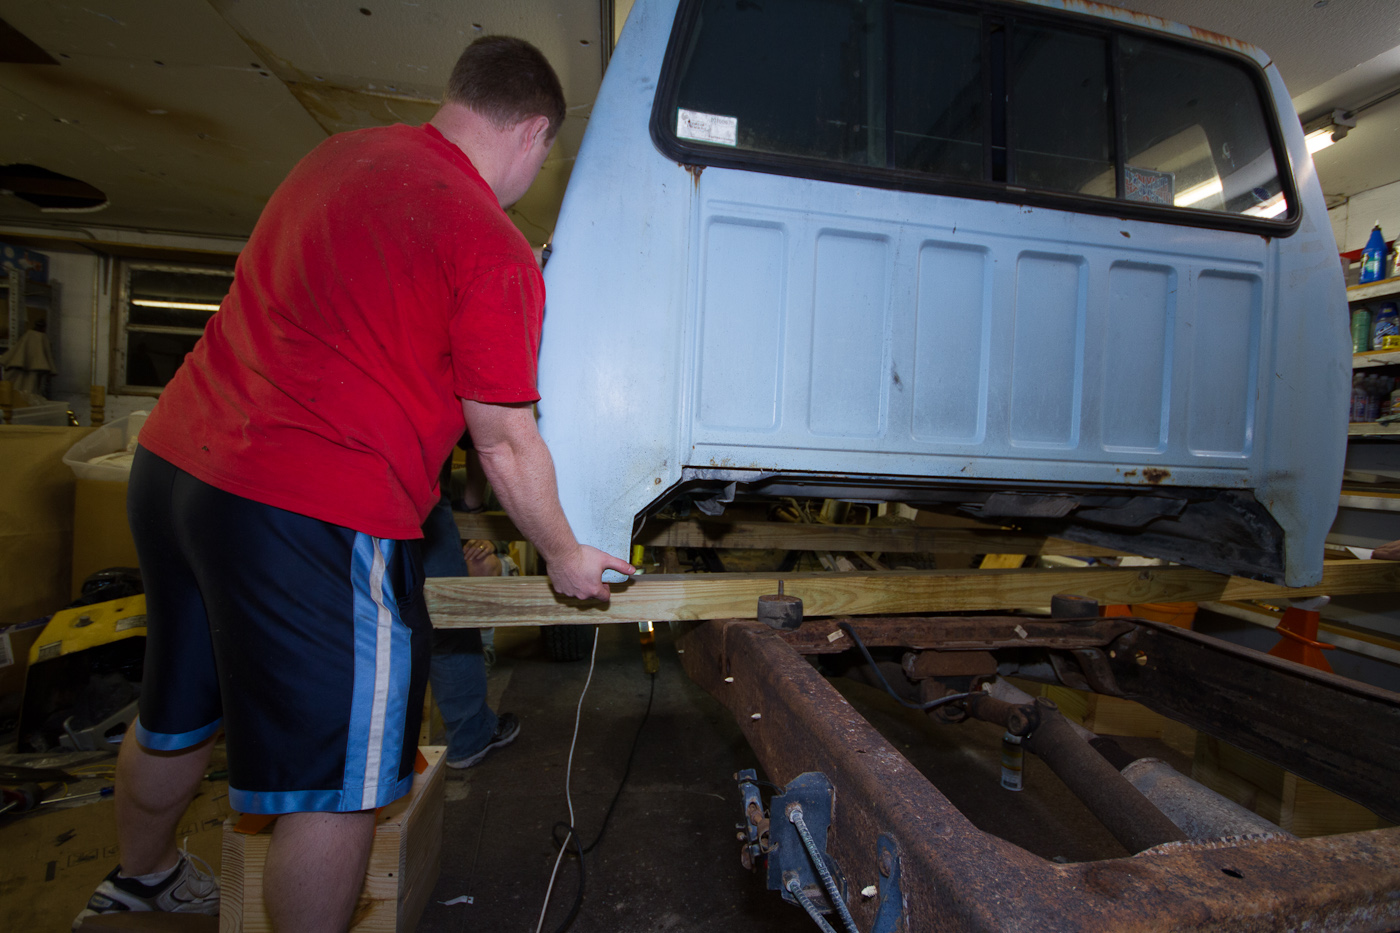
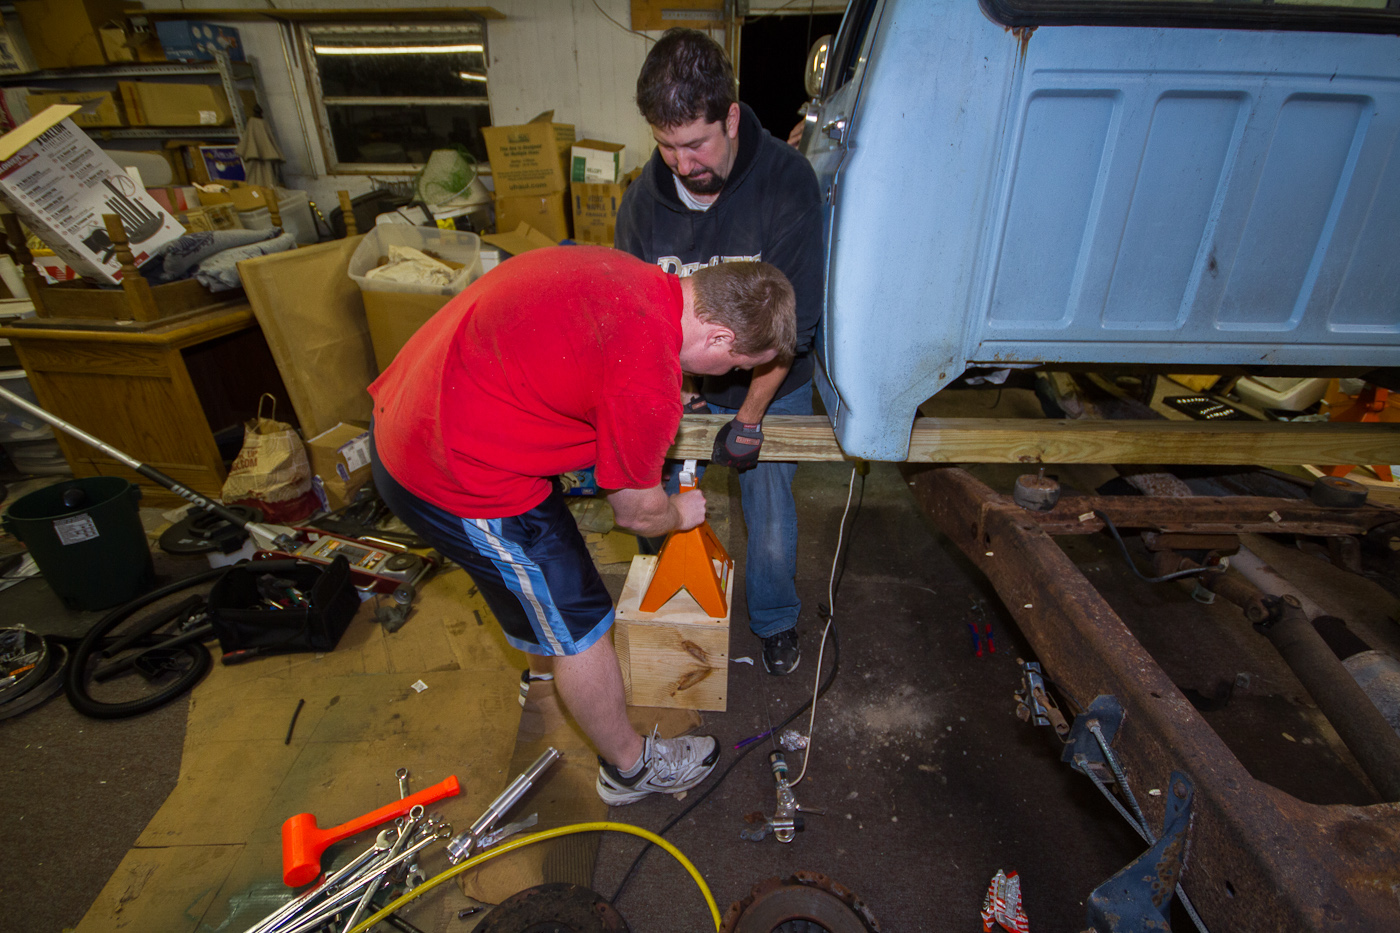
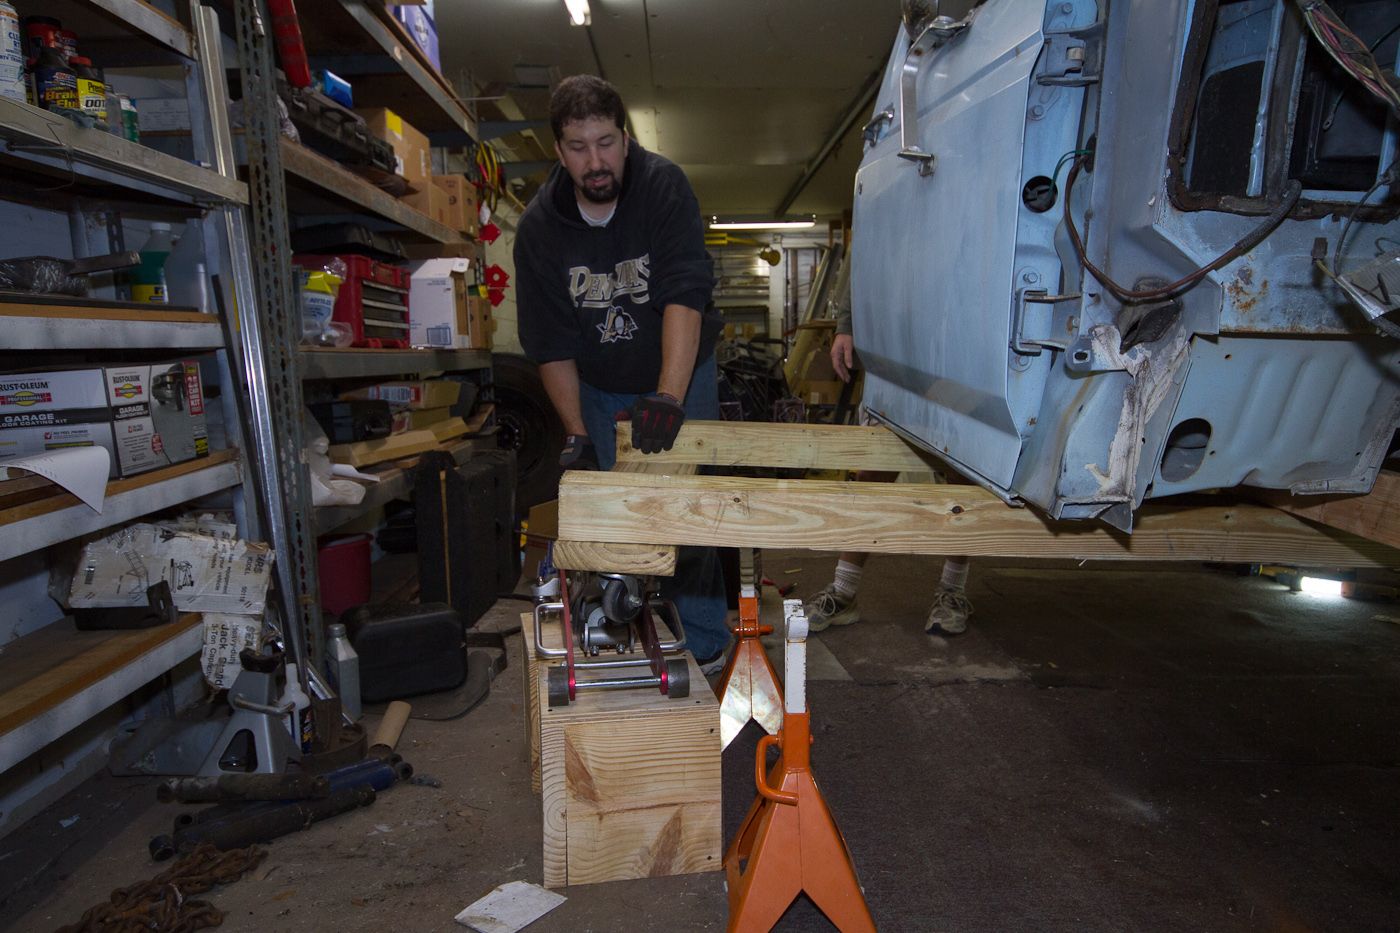
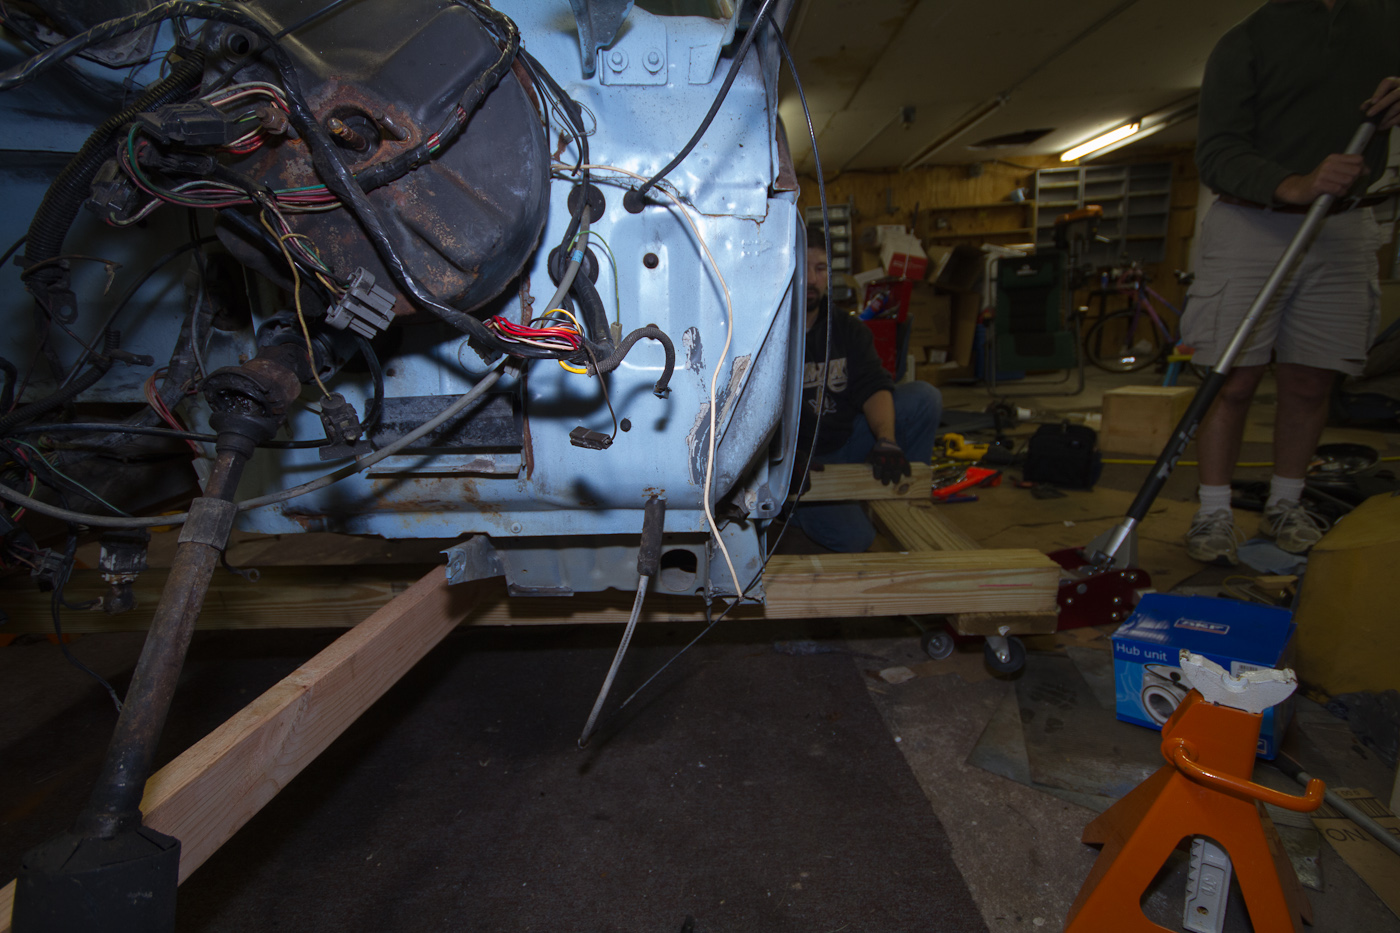
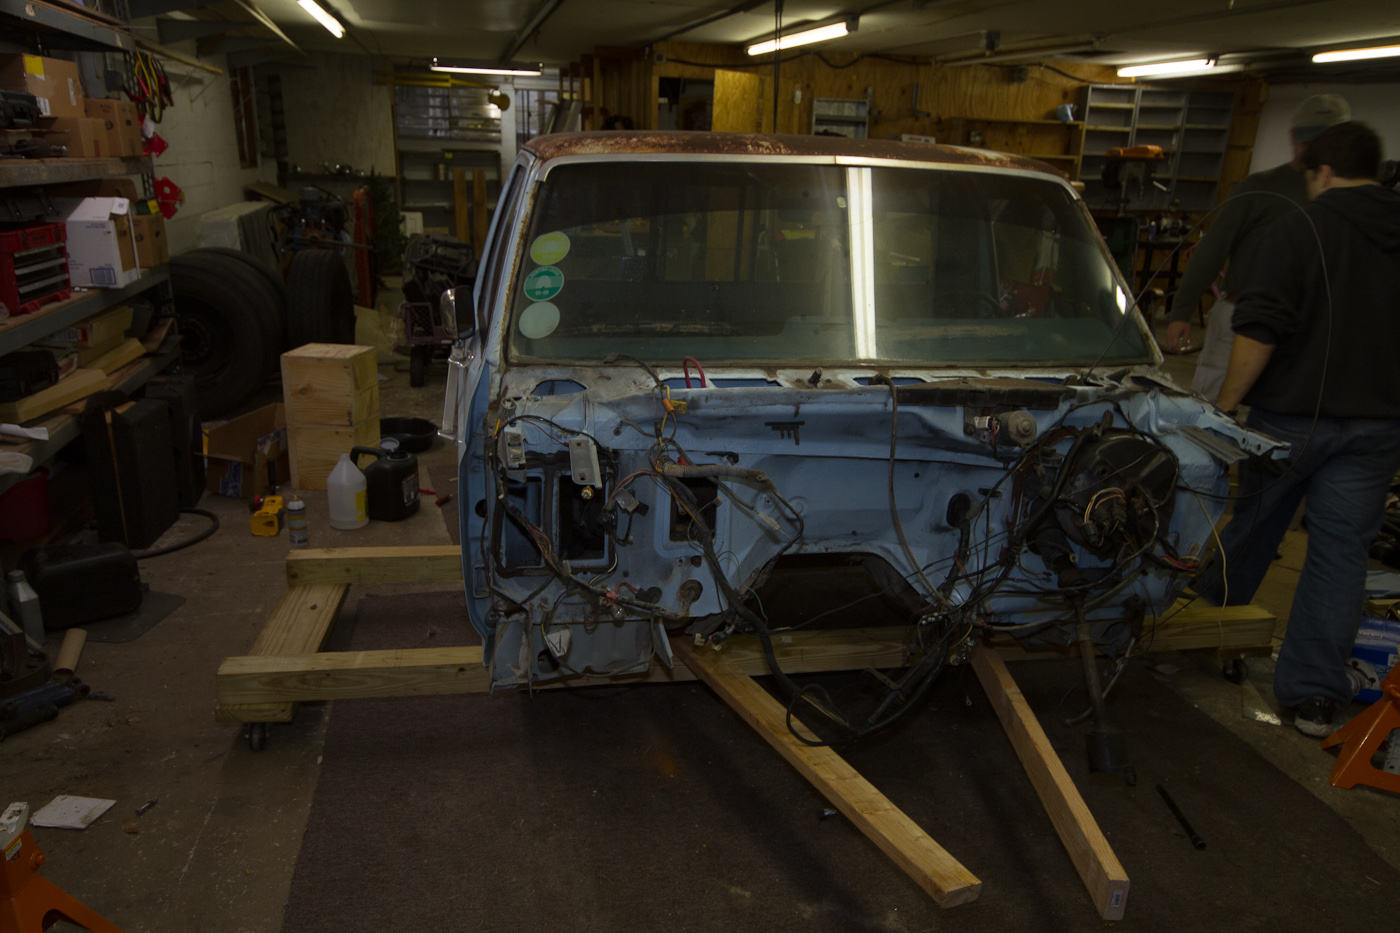
So, tomorrow (Sunday, today technically I suppose) I've got to pick up my co-worker's girlfriend's Yaris to do a water pump, belt and valve cover gasket. The money from that will go into the garage budget, and will likely be used on a paint gun and a decent air random-orbital sander. After that I have to take the Yaris and the tow dolly back, so we probably won't get a chance to work on the truck again til Wed. When we do, I'm going to pull the brake booster, the clutch cylinder, the bulkhead connector and the parking brake cable so we can prepare to lift the cab. I've also gotta pull the seat out so we can reduce the cab's weight for lifting. I think we're gonna jack it up enough to slide 2 10' 4x4s - one by the front mounts and one by the rear mounts - underneath it and then screw an eyebolt into the end of each board so I can attach big ratchet straps to make sort of an a-frame with another 4x4 laying across the roof with the straps slightly slack. Then I'll use another strap around the roof 4x4 to hook to my loader bucket and then off it'll be. I don't want to strap around the doors, or through the windows, or anything else that might cause body damage. I think my method (which is a modification of what seems to be the preferred method on the truck forums I've looked at, i.e. stuff two boards longer than the track of the truck under the cab, jack it up from those a corner at a time and then roll the frame out from underneath) will eliminate the chance of fucking something up too badly.
/knock on wood
At least it'll be easy to put the motor and trans in with no body in the way.
So, yeah. I'm rebuilding a 175K 1986 6cyl/4sp F150 with a vinyl seat, crank windows and a rubber floor as a wedding present for one of my oldest and best friends, and I have until January 15th to finish. 
Lackey-mechanic-whatever/NSF Racing
Sycophant/Judge Phil, Jay Lamm, Kim Harmon
Galaxie Driver/not Parnelli Jones