Re: My F150 project

Last night was fairly uneventful, I started out by sealing up the rear end while Mike did a little more grinding and patching. Once we were done with our tasks, though, we pondered a bit and eventually decided that the doors needed to come off, and that with the fenders off it would be very easy to get them lined back up correctly. So, that's what we did.

http://www.ronman.org/pics/f150/IMG_0391.jpg
http://www.ronman.org/pics/f150/IMG_0392.jpg

The metal behind the hinges was a little scaly, but a quick brush with the grinder proved that it was just surface rust, and would come right off. Next, Mike decided he needed to make another patch, and I figured I should pull the wiper motor and transmission, and work on getting rid of more dried-out seam sealer...

Remember above how I mentioned the rust on the P/S door that we felt was too bad to deal with? Here's a pic of it, you be the judge:

http://www.ronman.org/pics/f150/IMG_0398.jpg

Anyway, short night last night, so we shut it down by 10:30 so we could both catch up on some sleep. I believe it was at this point that Mike declared the patching work done... heh.

Official photographer/Team Police Brutality|Speedycop & the Gang
Lackey-mechanic-whatever/NSF Racing
Sycophant/Judge Phil, Jay Lamm, Kim Harmon
Galaxie Driver/not Parnelli Jones

Re: My F150 project

Today, however, was a different story. Somehow we got the crazy idea to build a booth so I could do some in-situ sandblasting of the cab without having to relocate the frame. So, off to Lowe's for some 1x3 and 4 mil plastic, and then to Tractor Supply for sand. Sadly they were out of the 60/80 grit I have been using to date, so I had to buy the much, much more aggressive (and yet somehow less effective) 20/40 grit. Oh, and I decided that a $20 siphon-feed gun was a good investment, since we have to blast the whole cab, the doors, the fenders, the core support, and the bed.
Once I arrived I got my stuff unloaded, plus the 4 quarts of Amsoil 75W90 I had in the garage here at the house for the rear.
We got the blasting booth together quickly, and while I started blasting, Mike filled up the rear.

http://www.ronman.org/pics/f150/IMG_0400.jpg

Quickly I realized that the screen in my blasting hood alone wasn't going to cut it (this extra-coarse sand somehow gets through the fine stainless steel mesh much, much easier than the finer sand) so I had to put the lexan shield back in. Naturally, Mike had to take a picture of me. neutral

http://www.ronman.org/pics/f150/IMG_0402.jpg

We also had a good idea to mitigate the high compressor head temperatures we had experienced before during prolonged uses, so Mike rigged that up as well:

http://www.ronman.org/pics/f150/IMG_0403.jpg

It worked like a charm. Instead of peak temps of >330*F before (granted, ambient was in the low 70s last time,) we never measured >250 with the fan (and an ambient near 40.) I'm gonna have to find a smaller fan and a better mounting system to make it permanent.

So anyway, while I worked on blasting, Mike started working the hood with phosphoric acid...

http://www.ronman.org/pics/f150/IMG_0404.jpg

...and a Scotch-brite pad.

http://www.ronman.org/pics/f150/IMG_0406.jpg

It came out pretty good. As best as we can figure, the few black spots are bits of rust that got converted by the acid before they could get knocked down by the pad. I think the final 320-grit sand before the epoxy primer goes on will flatten them out nicely, either way.

http://www.ronman.org/pics/f150/IMG_0408.jpg

And then there's the cab. I found two more spots that need to be patched - one small spot in the floorpan, and the other being basically the whole piece the sill plate screws into. That one is gonna be fun, because it's got a perpendicular piece on it for the door seal to sit on.

http://www.ronman.org/pics/f150/IMG_0409.jpg

The coarse sand really blows the paint off, and leaves the primer pockmarked pretty well. You can kinda see the finish here on the firewall:

http://www.ronman.org/pics/f150/IMG_0410.jpg

Sure beats the hell out of sandpaper.
I got most of the door frame taken care of tonight, and exposed a spot (near the top center on the seam) that should be able to be drilled out and filled with the welder, so no patching will be necessary... if you look on the bottom, though, you can just start to see the swiss cheese of the gutter.

http://www.ronman.org/pics/f150/IMG_0412.jpg

After seeing how much elbow grease the hood needed, Mike asked me to try the blaster out on the roof, which is in about the same shape the hood was before several hours of grinding and sanding... the result was somewhat promising, and when combined with some 120 grit on the random-orbital sander should make for much less scotch-brite padding with the acid.

http://www.ronman.org/pics/f150/IMG_0411.jpg

The recesses where the wiper arms mount were pretty nasty, and I was worried they might have some rust forming, but actually, it's not bad at all. And, the biggest relief of the night came when I started working the windshield sealing surface and found it to have no significant rust at all. cool

http://www.ronman.org/pics/f150/IMG_0413.jpg

The one good thing about the really coarse sand is that it breaks down as it hits the metal, so you start with 20, then it wears to maybe 40 or 50. Then, you suck it all up with your trusty Shop Vac (which you had the foresight to actually buy the extended warranty on, since it's going to spend its life sucking up sand and metal, and also which you emptied out before starting the sandblasting) and give it another go, using the tank as a hopper instead of the inconvenient bags. And once it's empty, you vacuum the sand up yet again, and this time it's basically the same size as the fine stuff I set out to buy in the first place - which means I'll get 3-4 more uses out of this $20 worth of sand than I would had the finer stuff been in stock.

http://www.ronman.org/pics/f150/IMG_0414.jpg

Tomorrow (Saturday) will be more blasting, plus dismantling of the core support.

Official photographer/Team Police Brutality|Speedycop & the Gang
Lackey-mechanic-whatever/NSF Racing
Sycophant/Judge Phil, Jay Lamm, Kim Harmon
Galaxie Driver/not Parnelli Jones

78

Re: My F150 project

You have sand in your crack!!

This space for rent.

Re: My F150 project

I had a ton of sand in my crack. It was not  pleasant. yikes

Official photographer/Team Police Brutality|Speedycop & the Gang
Lackey-mechanic-whatever/NSF Racing
Sycophant/Judge Phil, Jay Lamm, Kim Harmon
Galaxie Driver/not Parnelli Jones

Re: My F150 project

ronman wrote:

I had a ton of sand in my crack. It was not  pleasant. yikes

You should be fairly rust free though.

"Real ZomBees prefer Bacon"
IOE(x2) MGB/SAAB 96, Judge's Choice, Class C Win, & 2011 Hooniverse Car of the Year!
MRolla, Stick Figure/Animal House, Free Range MR2, SAAB Sonett, "The Death Flip"
2008 Exoskeleton Jag Fiasco, Concours d Lemons - Rue Britannia, worse British car.

Re: My F150 project

After tonight I'm both frozen (33 when I gave up for the night) and rust-free.

Official photographer/Team Police Brutality|Speedycop & the Gang
Lackey-mechanic-whatever/NSF Racing
Sycophant/Judge Phil, Jay Lamm, Kim Harmon
Galaxie Driver/not Parnelli Jones

Re: My F150 project

I sandblasted last night, and again tonight. The cab is now about 90% done, and just needs to be moved so I can get a couple other spots, and then Mike will weld up the last couple spots that need it and we should be good to go to tip it back so the bottom can be blasted and primed and sprayed with the frame paint (I think that's the plan...)

http://www.ronman.org/pics/f150/IMG_0415.jpg
http://www.ronman.org/pics/f150/IMG_0417.jpg

With the new $20 siphon blasting gun I can do a ton of work in a lot less time than with the small gun (which is much better suited to small pieces) but the downside is that you use A LOT of sand. And at $8 a bag it's not something you want to just throw away, so I've been using the shop-vac to suck the sand (and dust, and paint, and seam sealer, and rubber, and rust) up off the floor and then, after filling up the tank, filtering it through a screen (made from a 1x2 and some aluminum stucco reinforcement) and using one of the wooden boxes we used initially to raise the cab up so we could roll the frame out. This has been working pretty well, but I need a better filtering solution, as I'm still stopping every 10 minutes or so to clear a clog when something that fits through the screen but not through the gun stops my progress...

http://www.ronman.org/pics/f150/IMG_0425.jpg

While I did that, Mike bolted the exhaust up. Turns out the exhaust studs were *not* M12-1.5, but were *actually* 7/16-14... which is the first thing I tried and didn't fit. Running a tap through the holes cleaned them up nicely and Mike went out earlier and traded in the M12 bolts for some case-hardened grade-8s.

Also while I was blasting, Mike got to work on disassembling the core support. It's presently completely stripped and in line with the fenders and doors for its turn with the blaster. Oh and the underside of the hood also has to be blasted, as well as the bed. At least those shouldn't take nearly as long as the cab has...

http://www.ronman.org/pics/f150/IMG_0424.jpg

Official photographer/Team Police Brutality|Speedycop & the Gang
Lackey-mechanic-whatever/NSF Racing
Sycophant/Judge Phil, Jay Lamm, Kim Harmon
Galaxie Driver/not Parnelli Jones

Re: My F150 project

Hope you're wearing a good respirator! That Black Diamond makes a nasty dust cloud.

Re: My F150 project

If you're still looking for a door Mims East Coast Auto Slavage 2555 Hammock Road Mims, FL 32754 800.432.2869  has an 81', 82' & 85' that have good doors. Says they're looking for $100 but usually if your a local its cheaper!

Re: My F150 project

You guys make any progress over the holidays?

86

Re: My F150 project

If walking like a drunken crab and stealing other people's girlfriends is progress, I'd say Ron made quite a lot.

This space for rent.

Re: My F150 project

I got to Mike's last night at 9pm and unhooked the car trailer, copied 40GB of video to his external hard drive and started an FTP upload batch job, and got home at 1. I did nothing of any value to the truck while over there.
Mike finished blasting the cab while I was in Texas chasing skirts and K-car pictures, and it needs to be moved so we can blast the underside of the hood, the fenders, and the doors. Also the bed, at some point.
I'm going straight over after work tonight, so if you want to come help us move the cab out of the booth and get it ready for the last bits of welding, you're more than welcome!

Official photographer/Team Police Brutality|Speedycop & the Gang
Lackey-mechanic-whatever/NSF Racing
Sycophant/Judge Phil, Jay Lamm, Kim Harmon
Galaxie Driver/not Parnelli Jones

88 (edited by ronman 2013-01-06 11:15 PM)

Re: My F150 project

OK, update time!

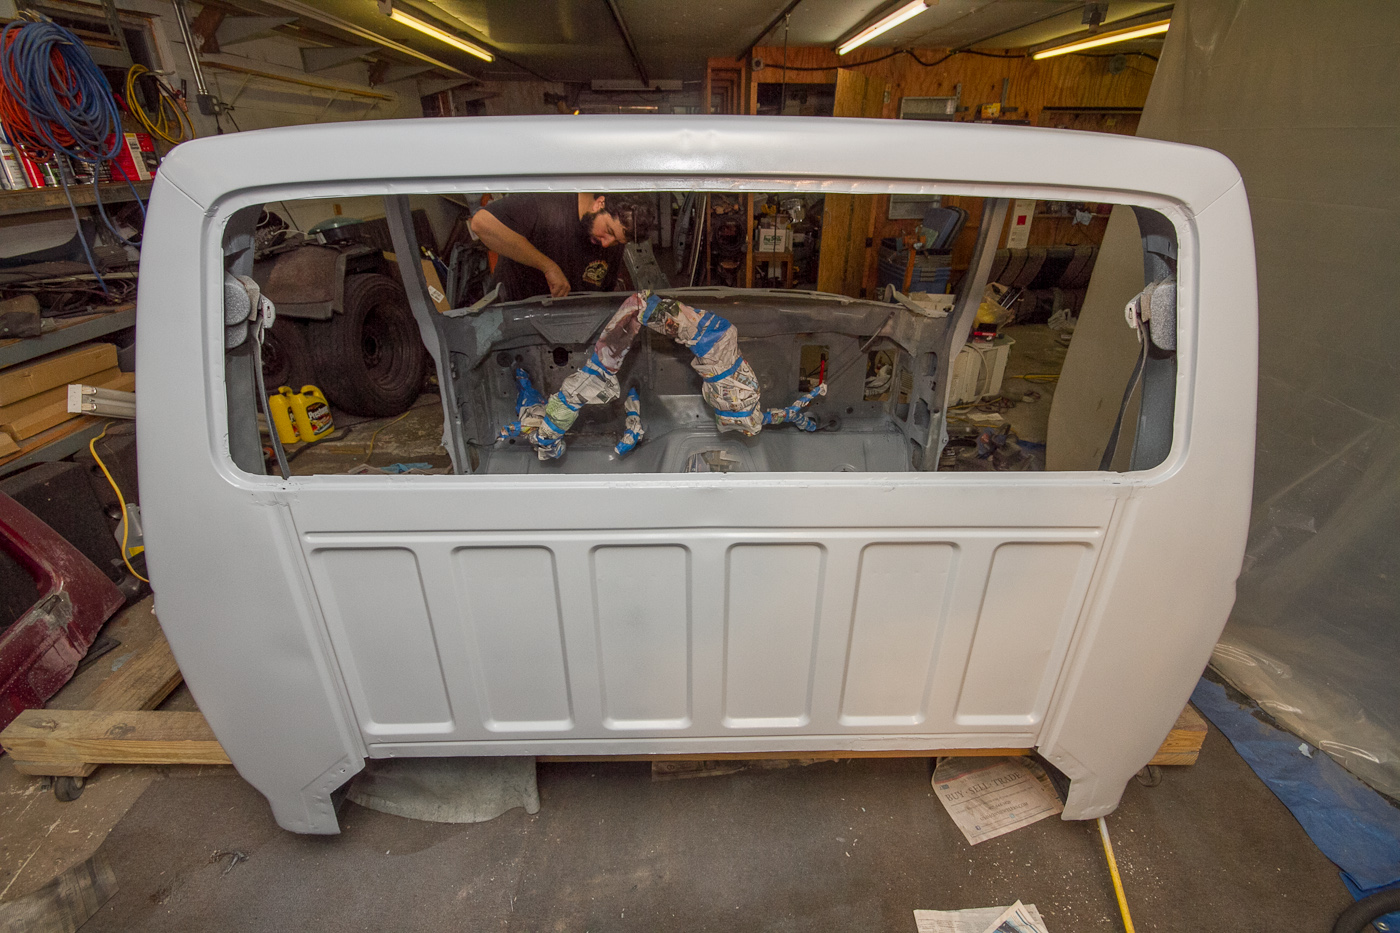
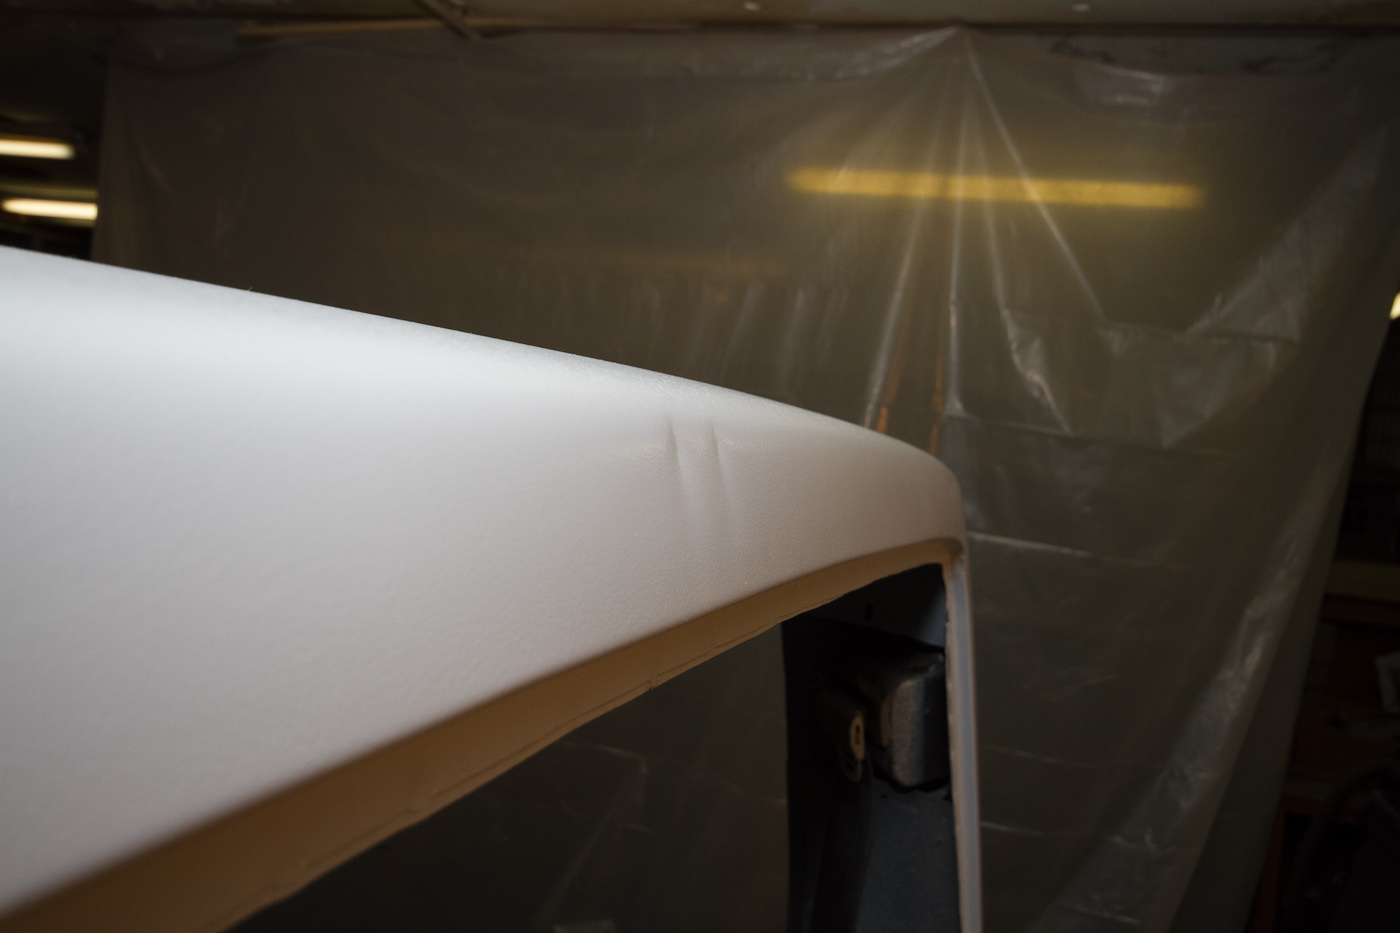
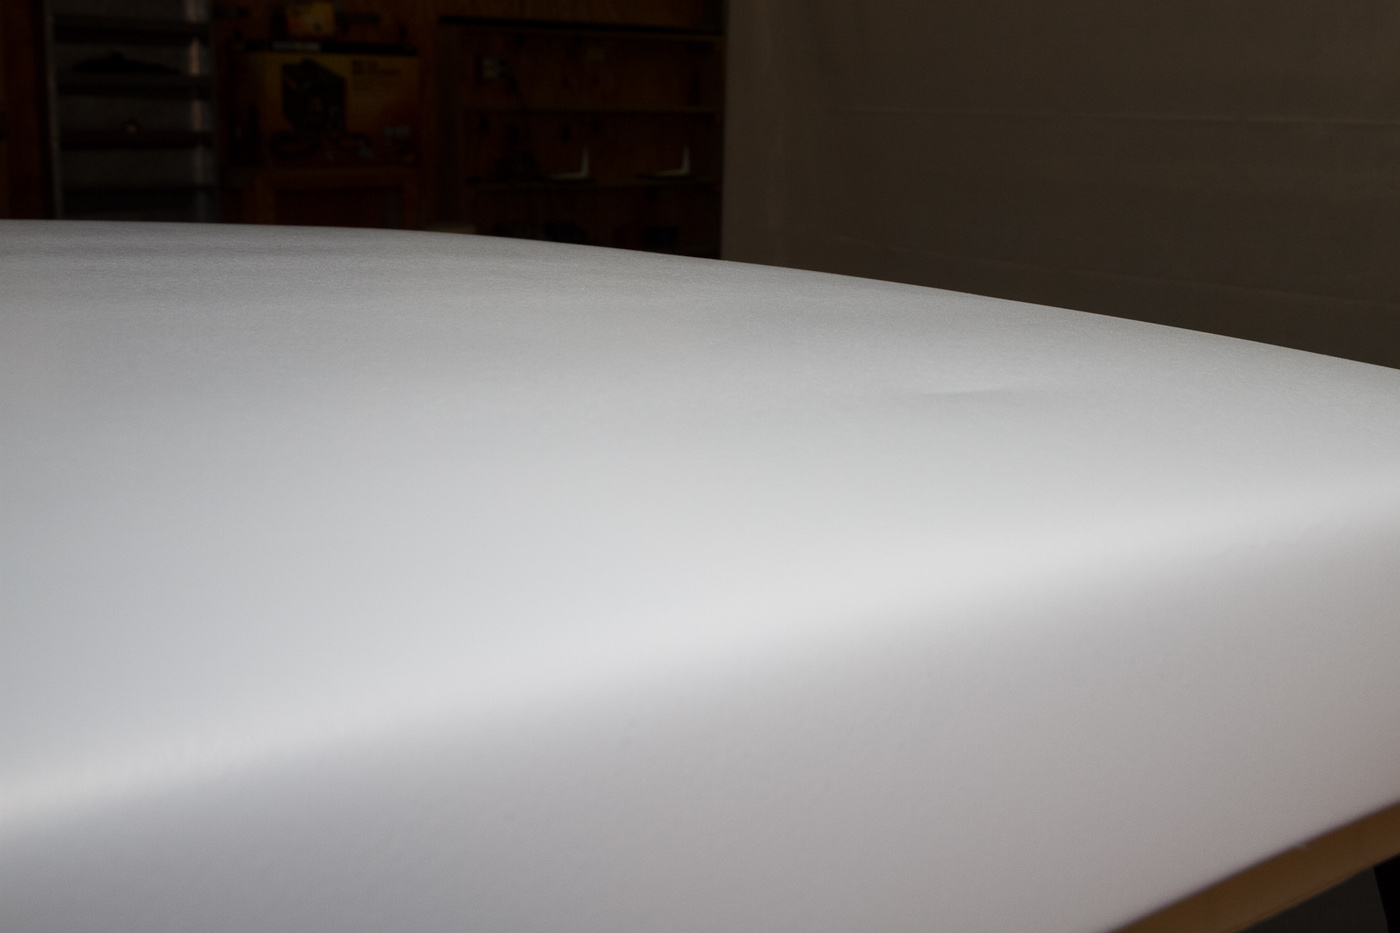
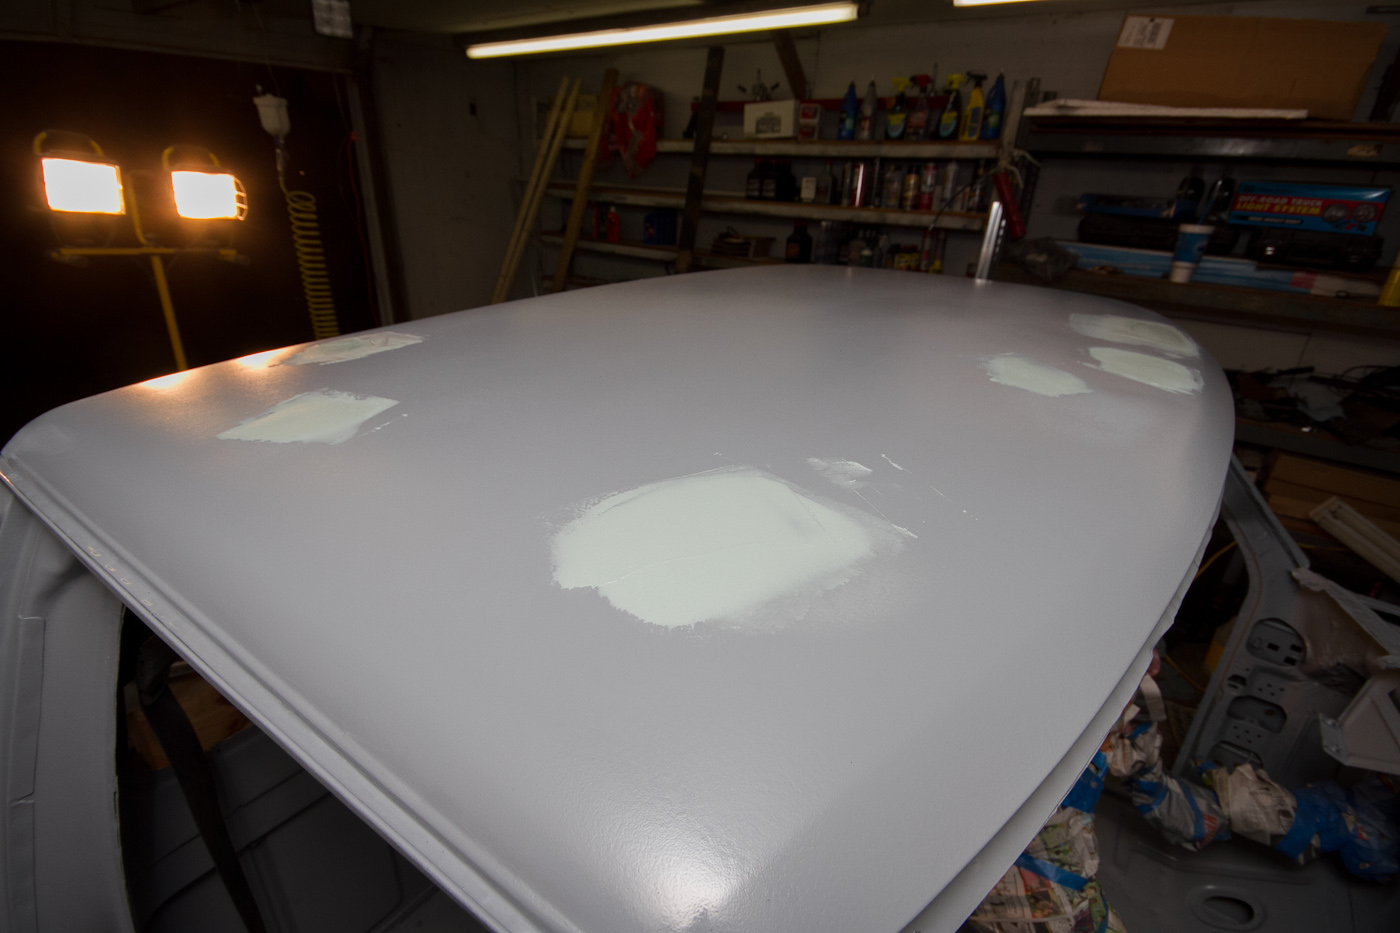
On Wed. (the day after I got back from Lemons racing in Texas) I went over after work. Mike had done a few things in the time I was gone, like finishing the roof and and finishing up the cab blasting I had left to do, but we still had a ton of work.
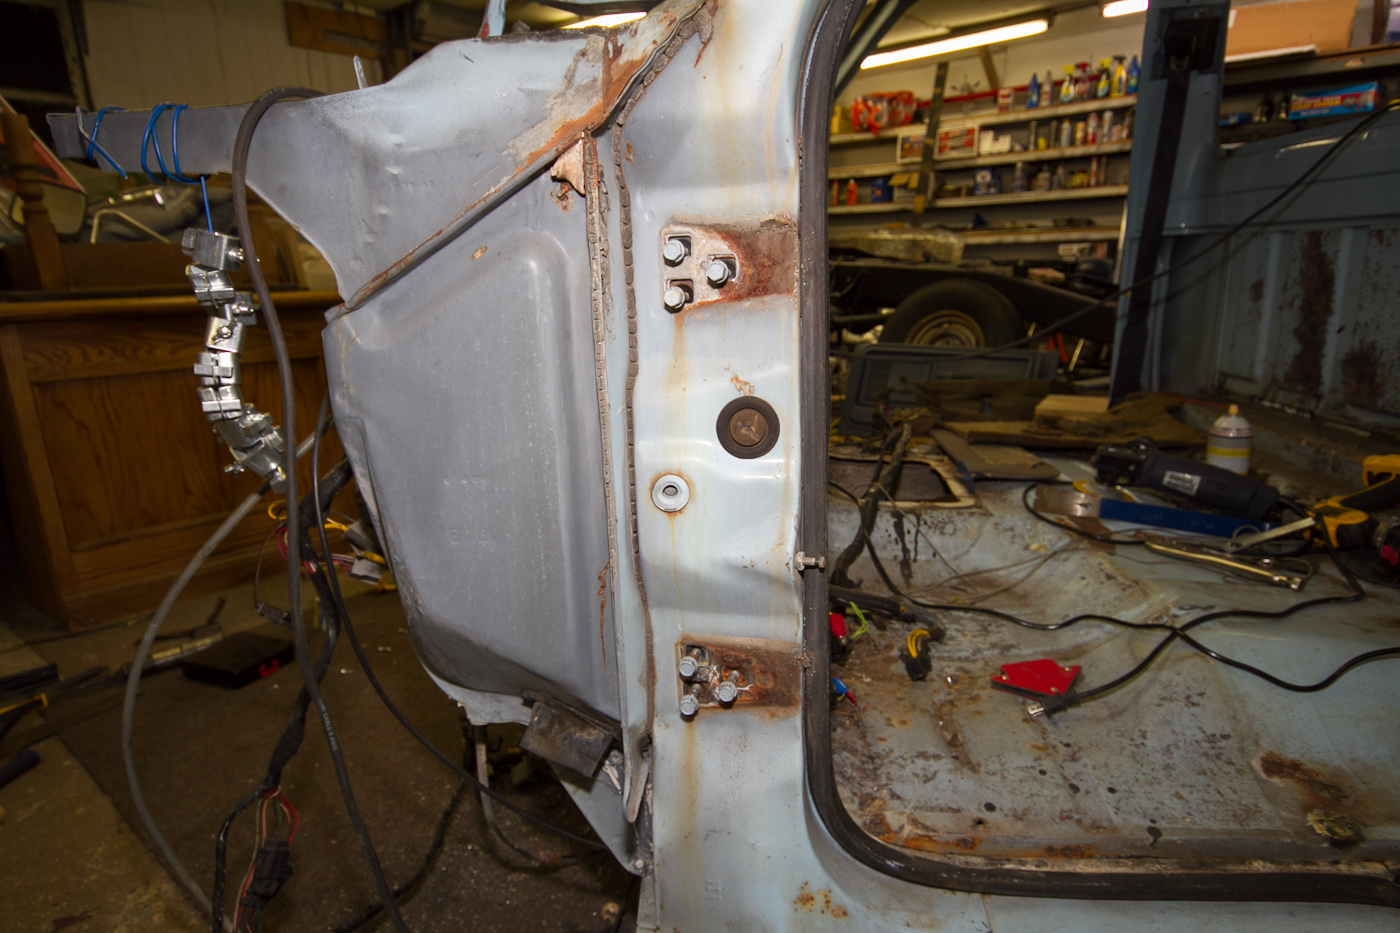
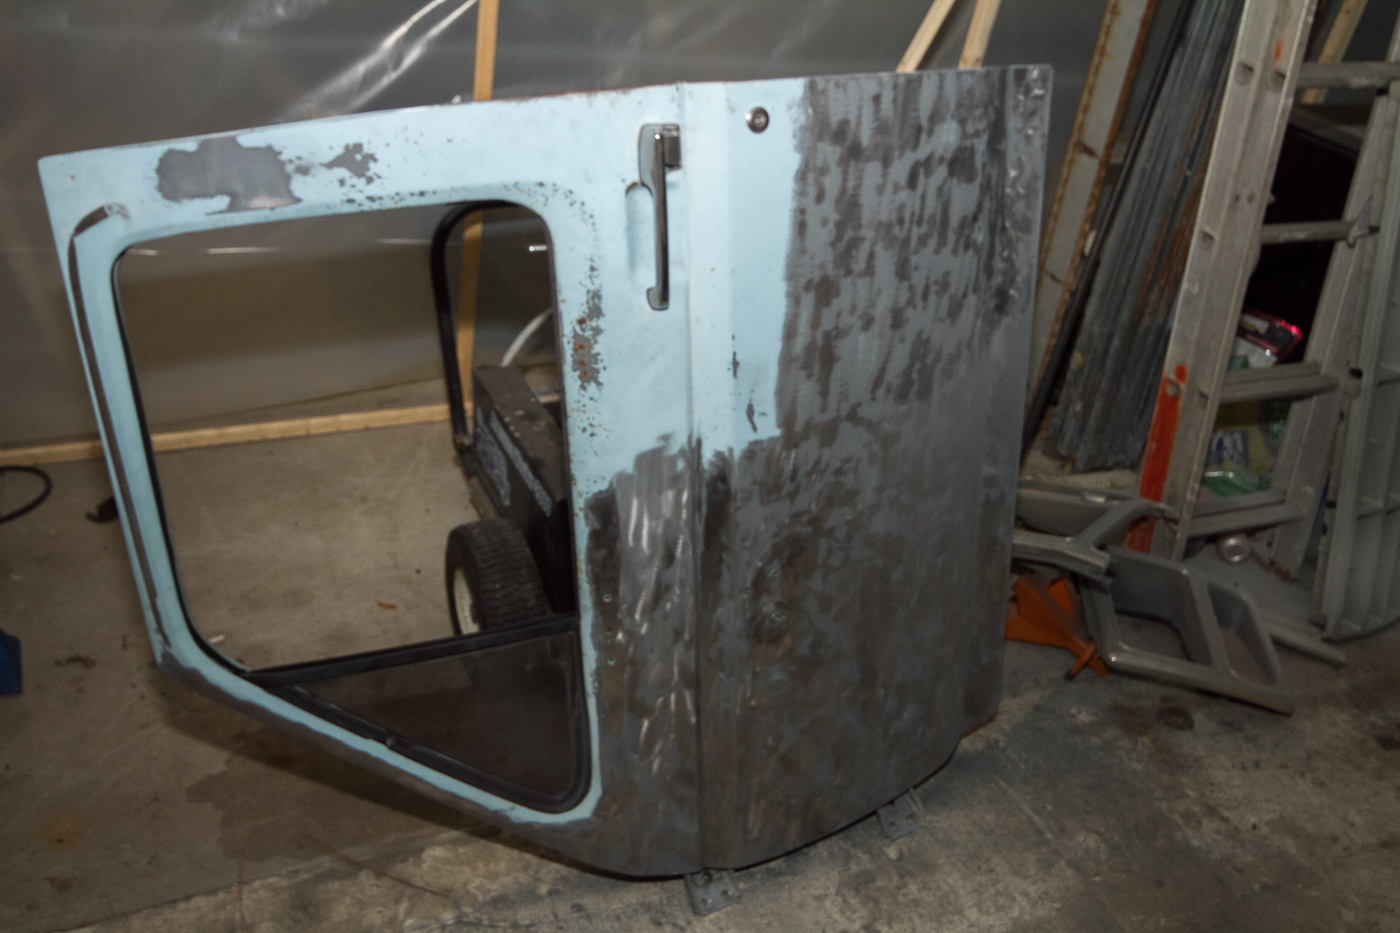
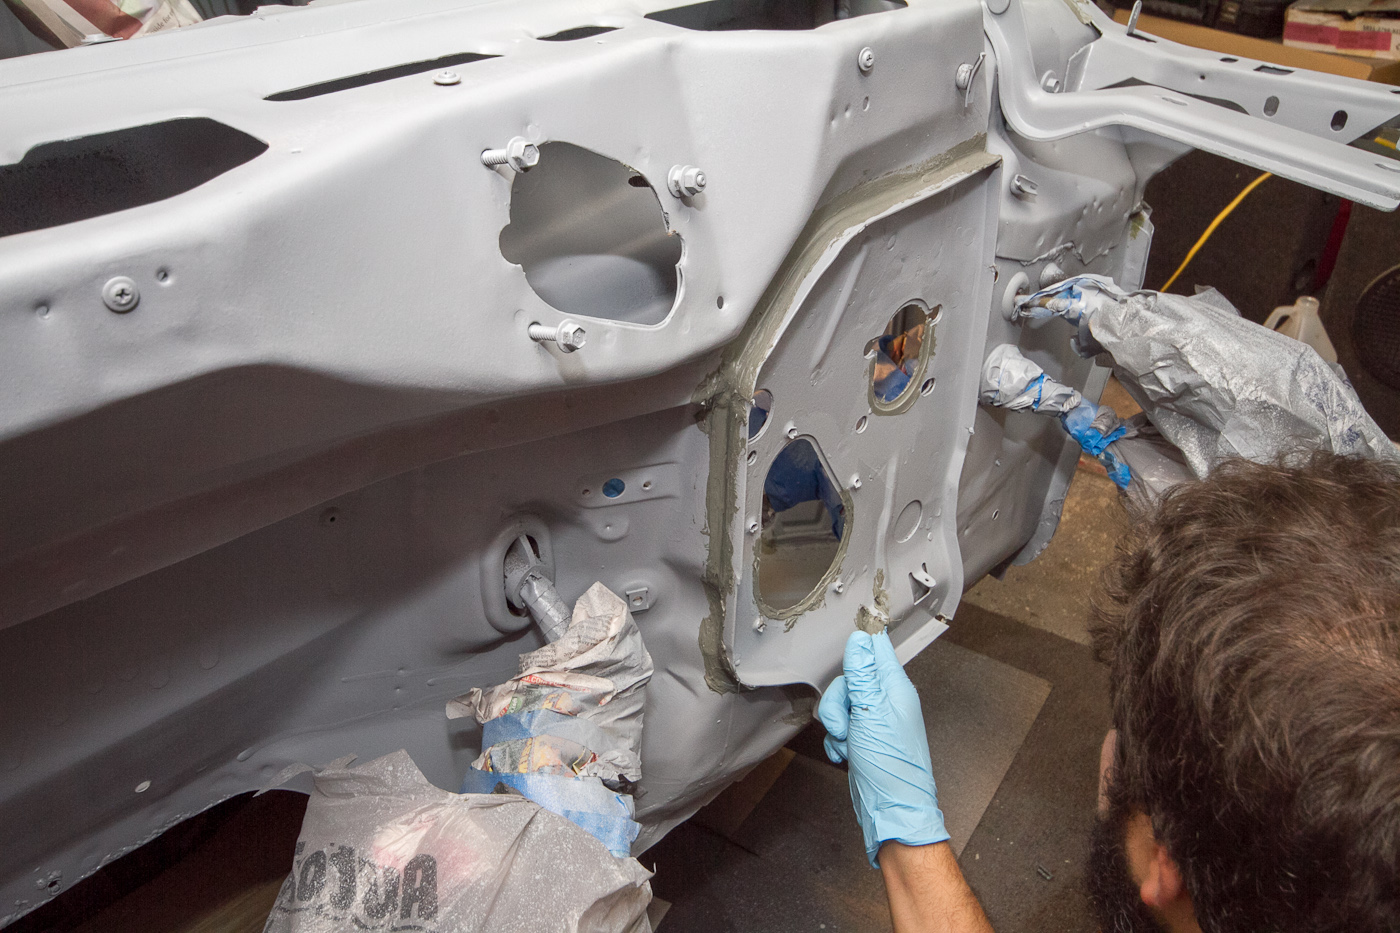
So first thing was to triage the p/s door sill rust. This rust turned out to be pretty contained to a small area, so we set about cutting out the cancer and grafting in some new metal...

http://www.ronman.org/pics/f150/IMG_0823.jpg

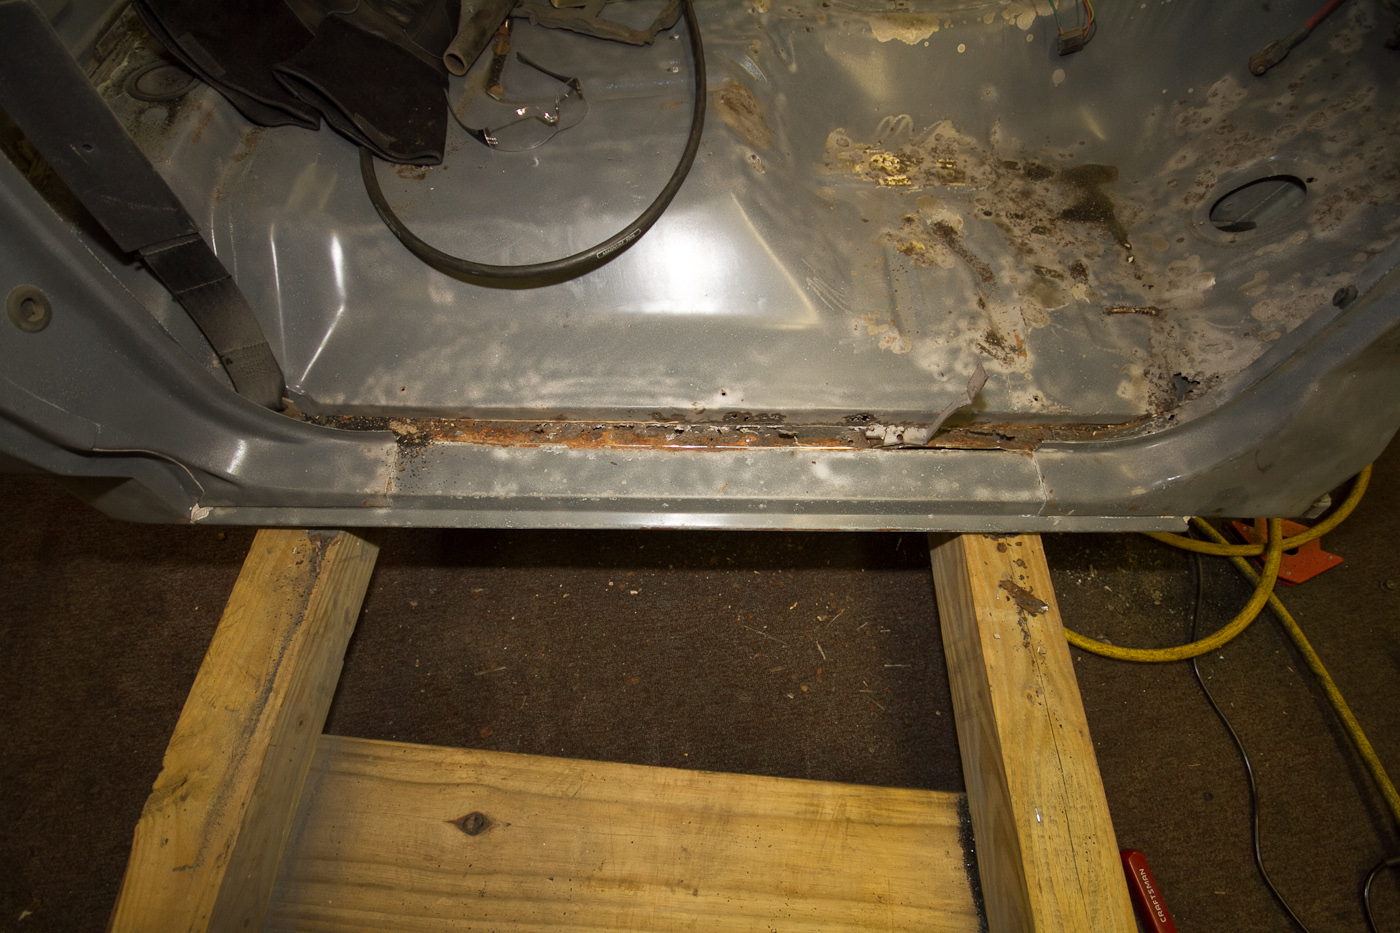
Most of the bad metal cut out:

http://www.ronman.org/pics/f150/IMG_0831.jpg

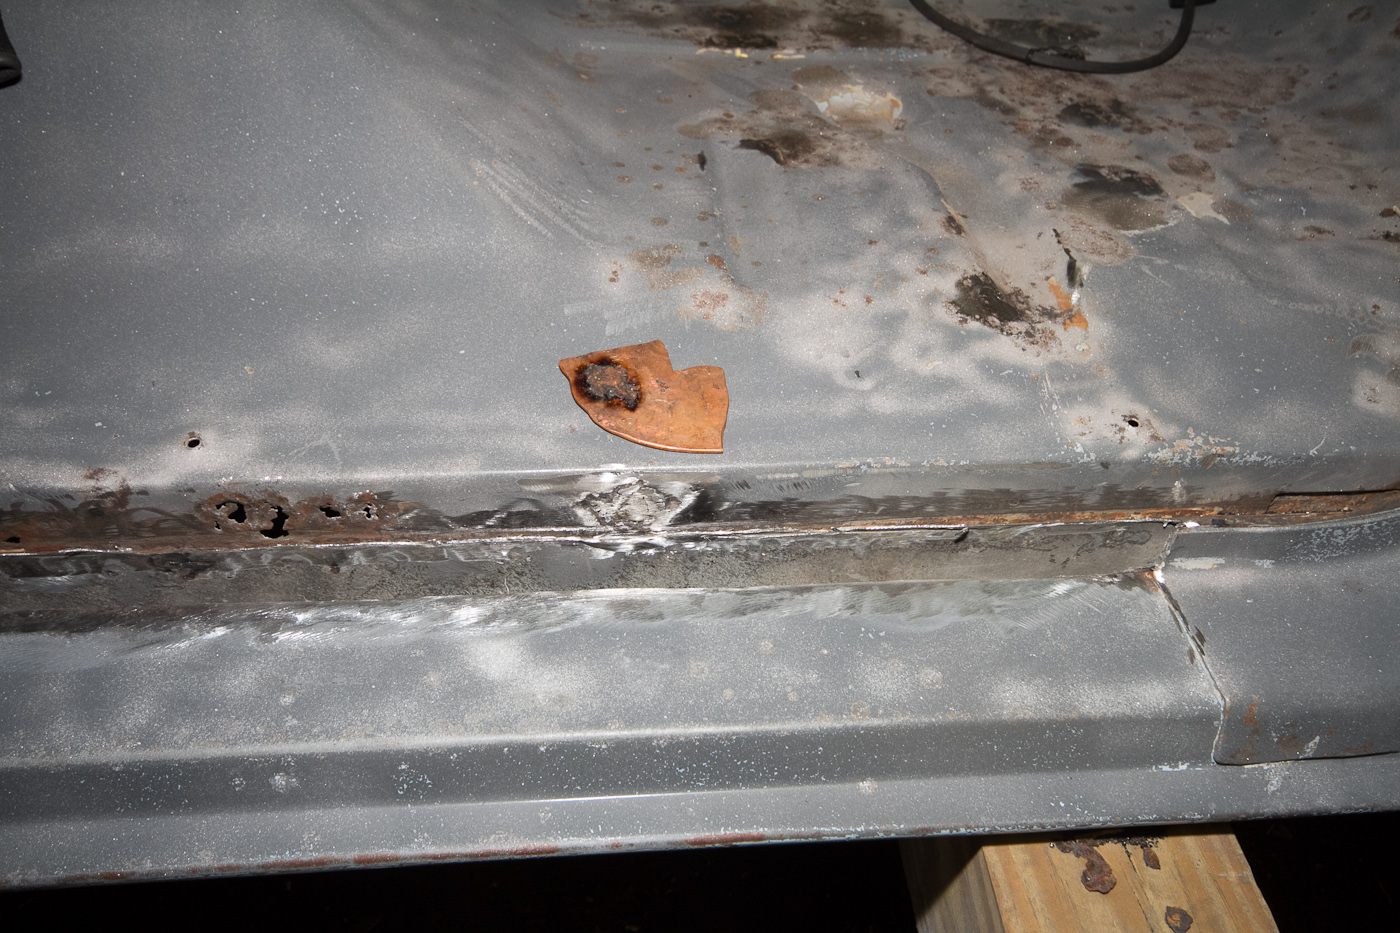
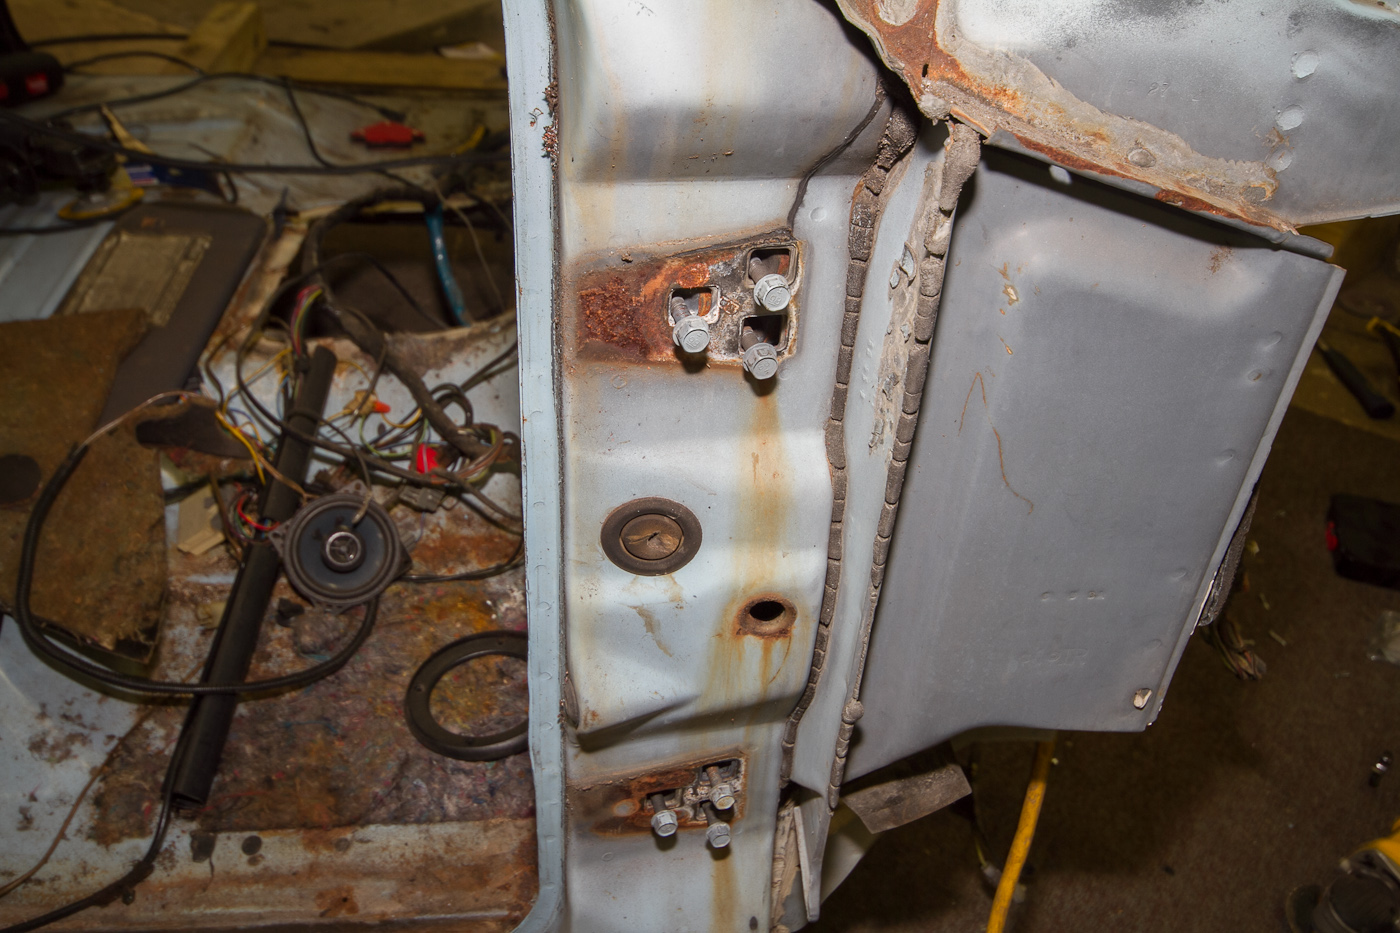
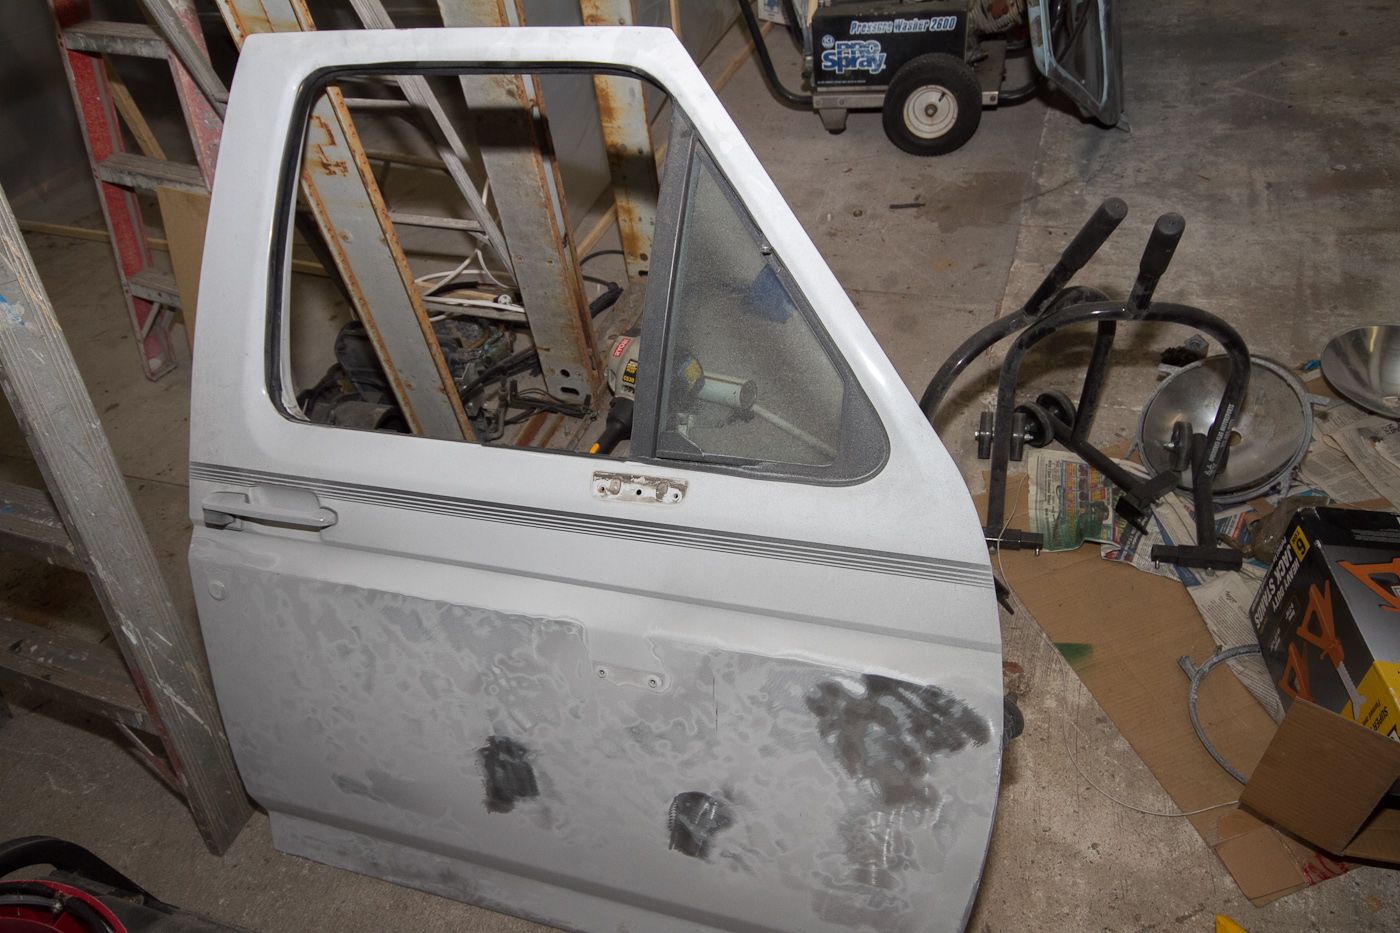
... and the patch panel cut and fitted:

http://www.ronman.org/pics/f150/IMG_0832.jpg

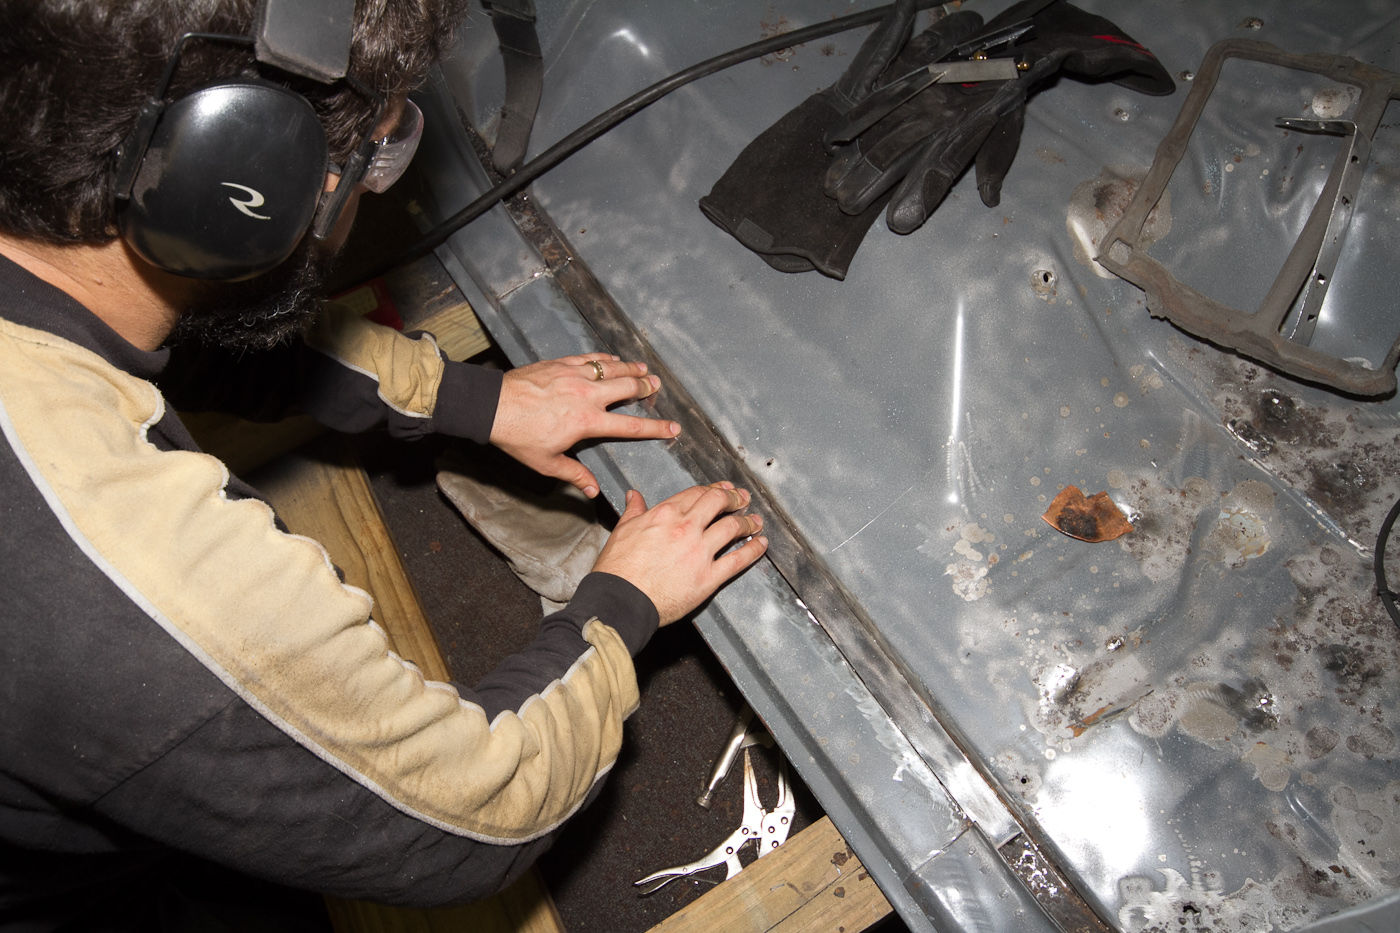
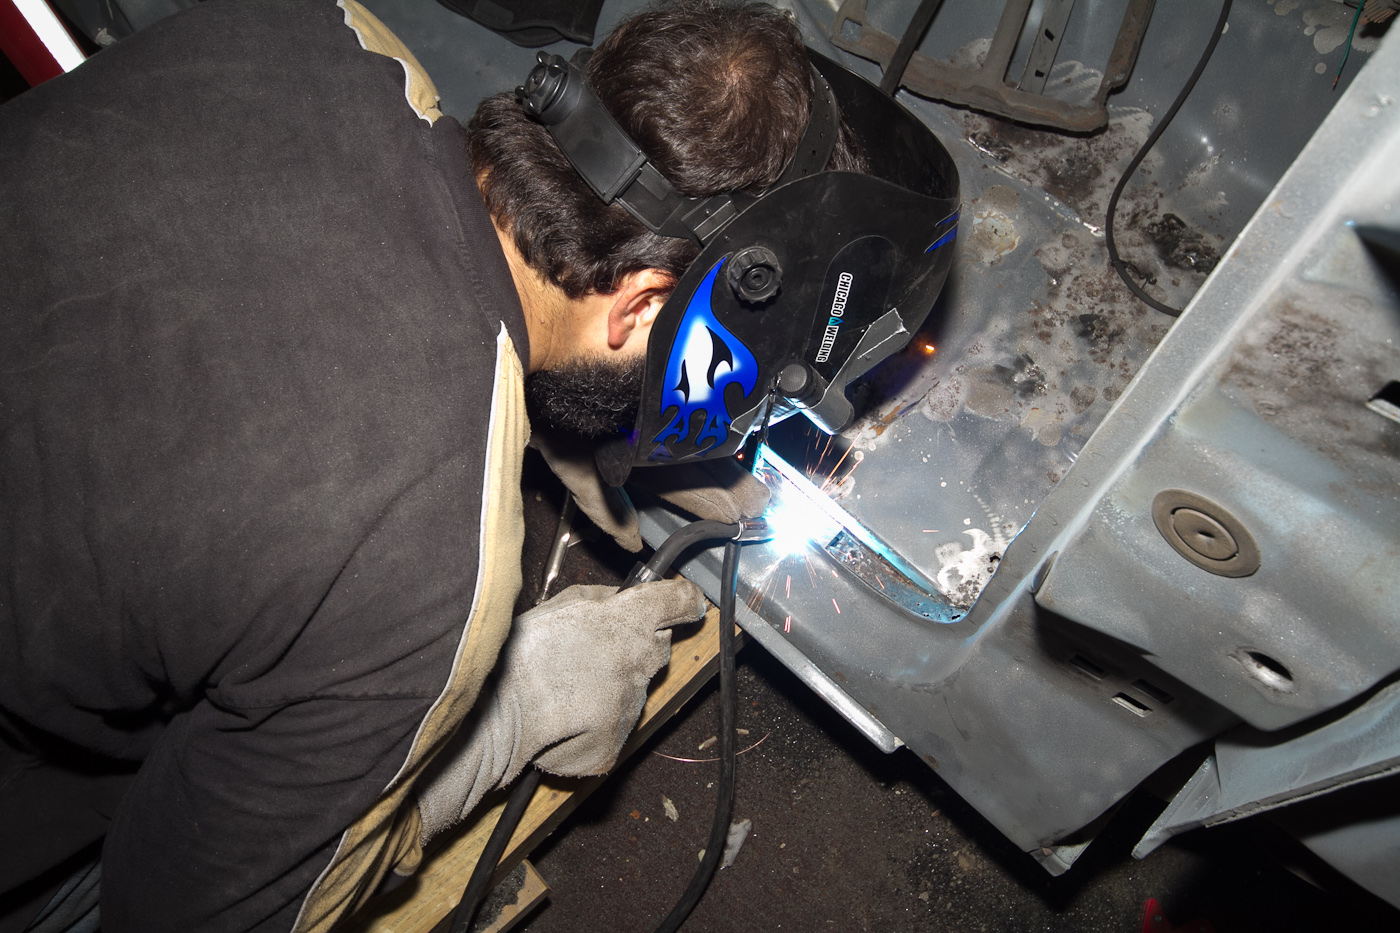
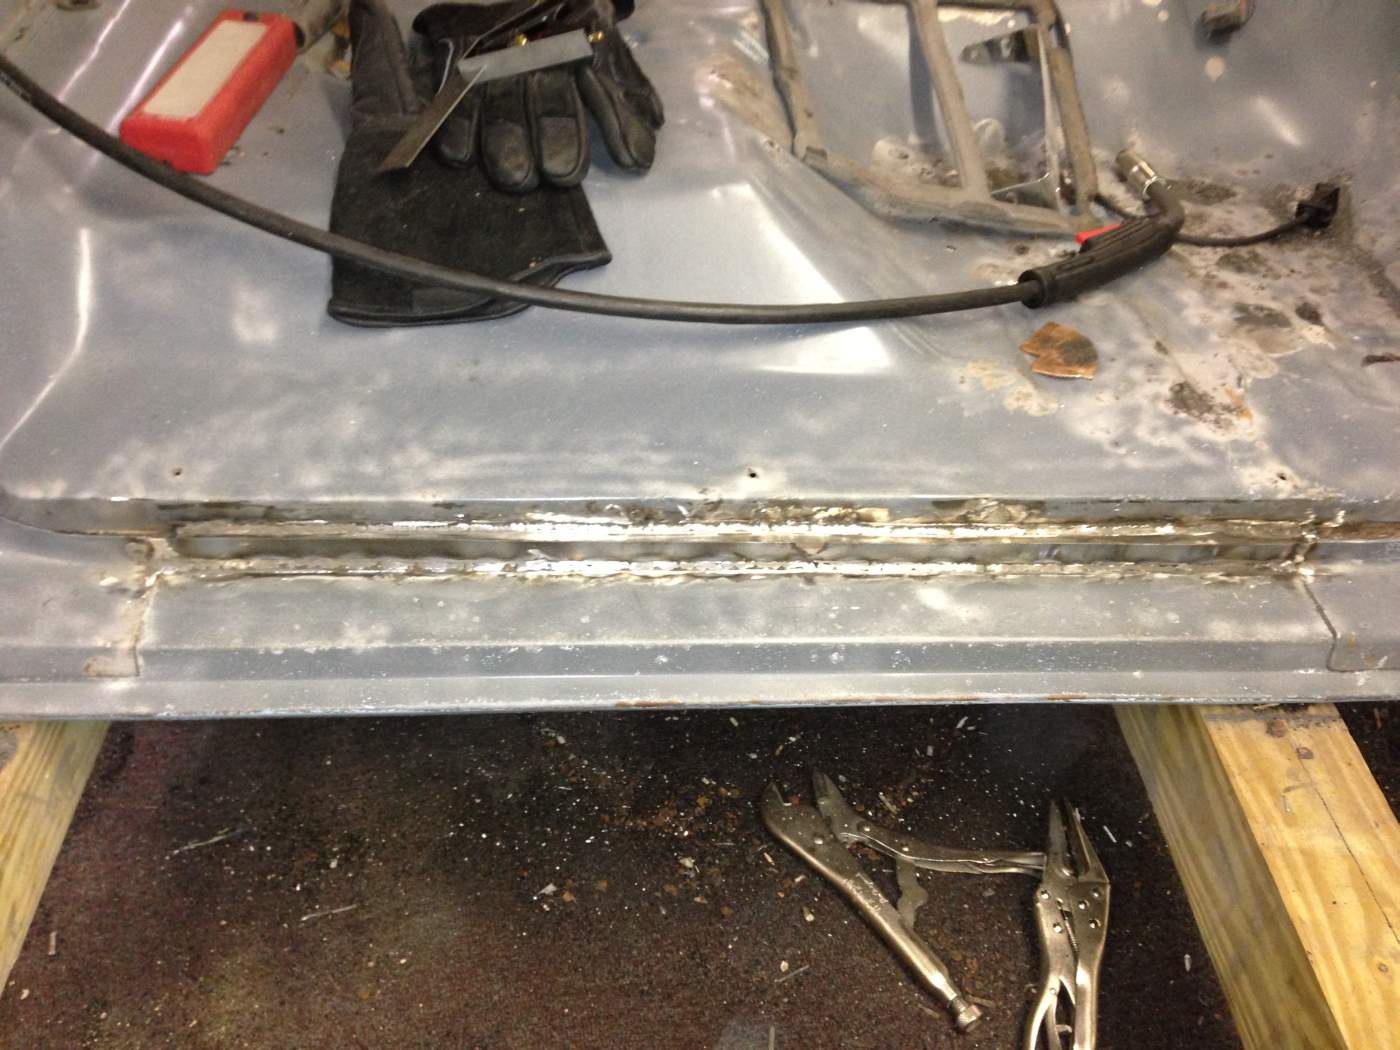
Pretty straightforward welding operation with a piece that fits as tightly as this one. Mike enjoyed welding this piece, instead of having to try to bridge a 1/4" gap.

http://www.ronman.org/pics/f150/IMG_0834.jpg
http://www.ronman.org/pics/f150/IMG_0839.jpg

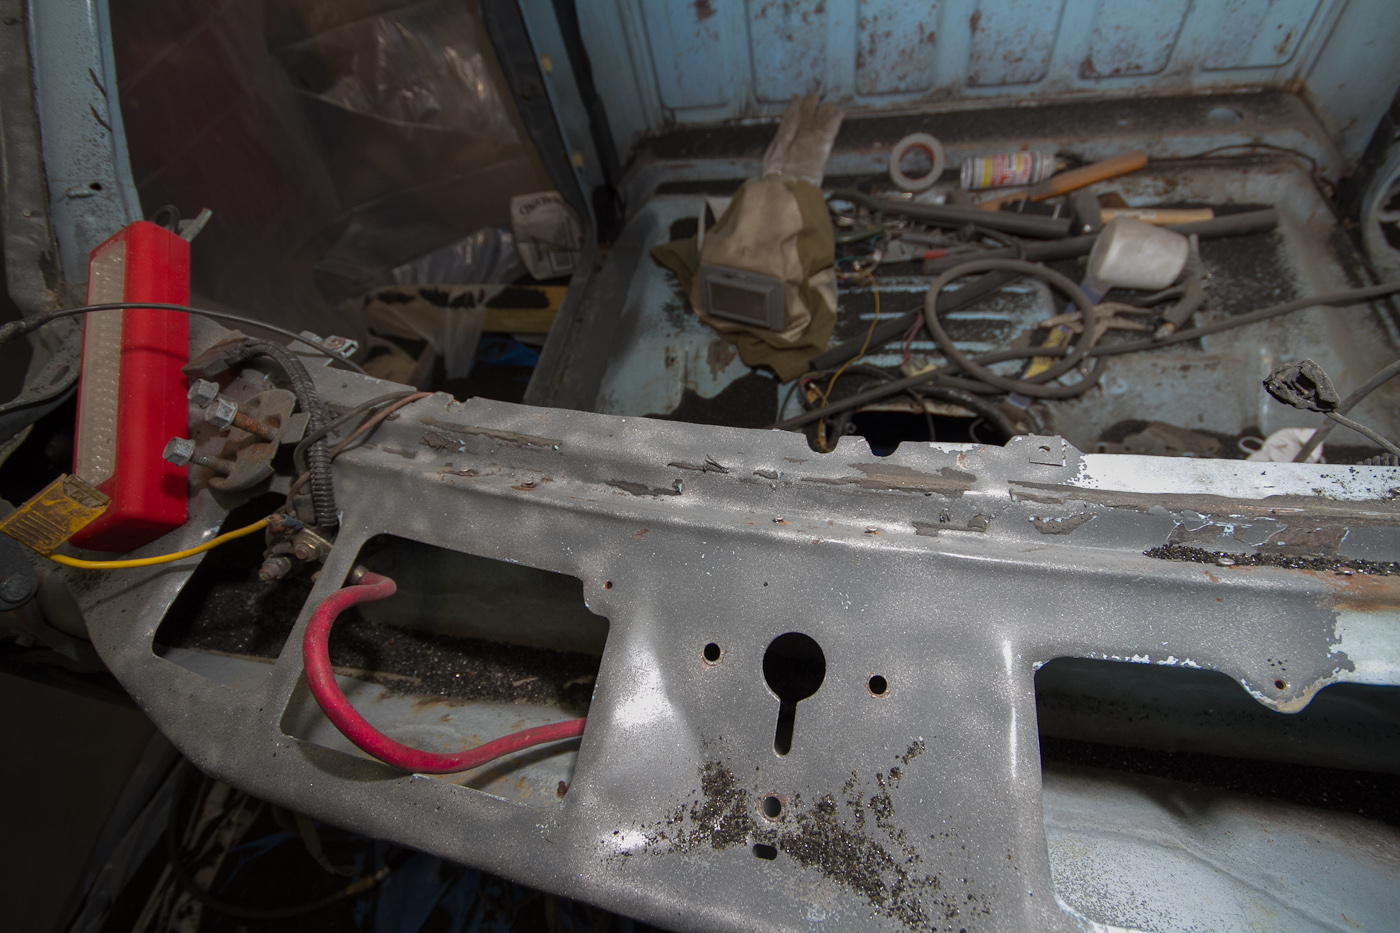
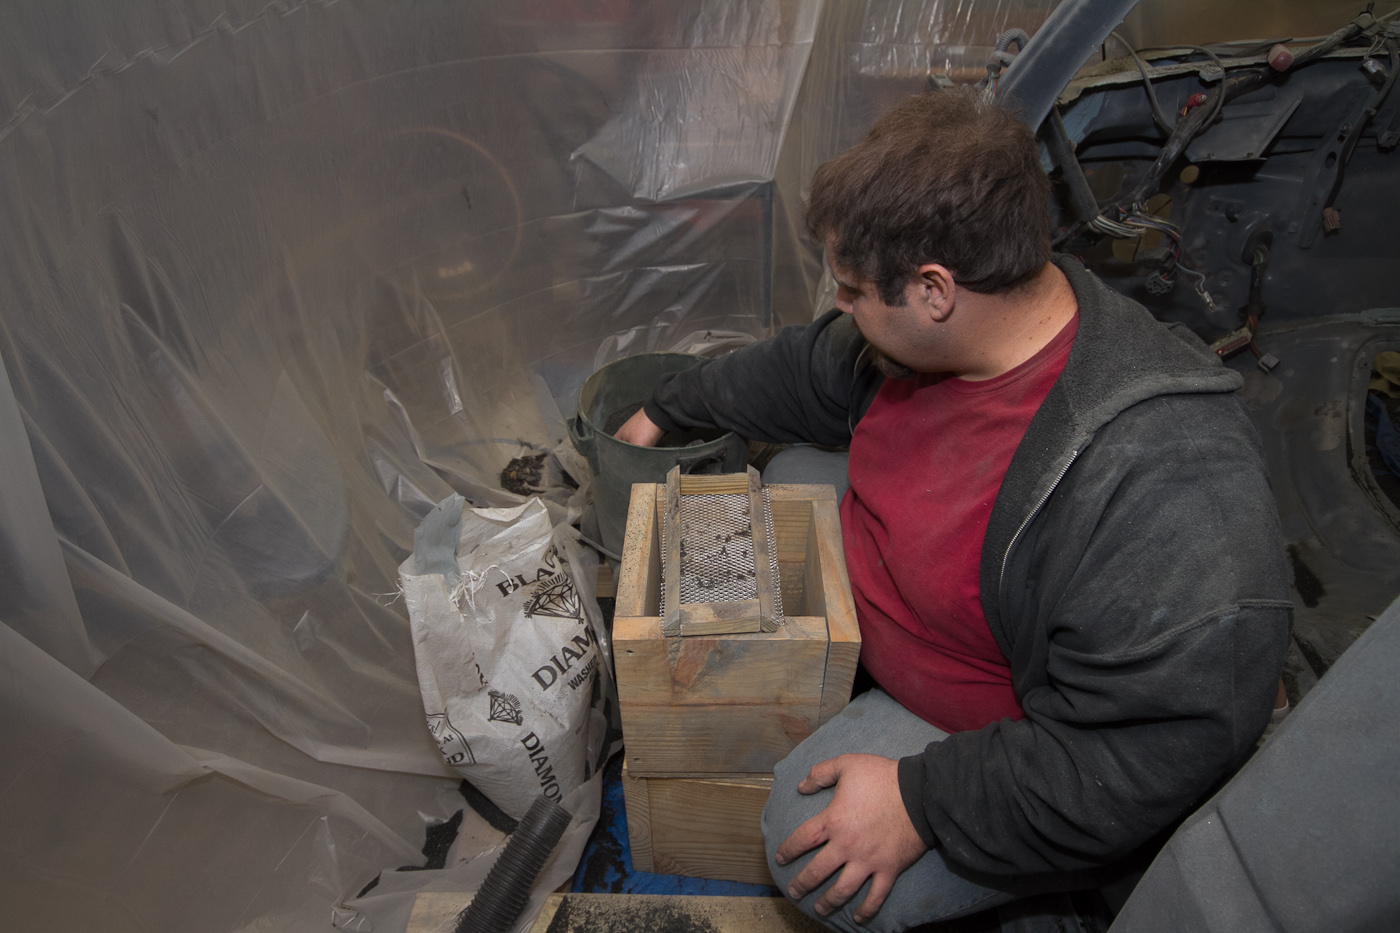
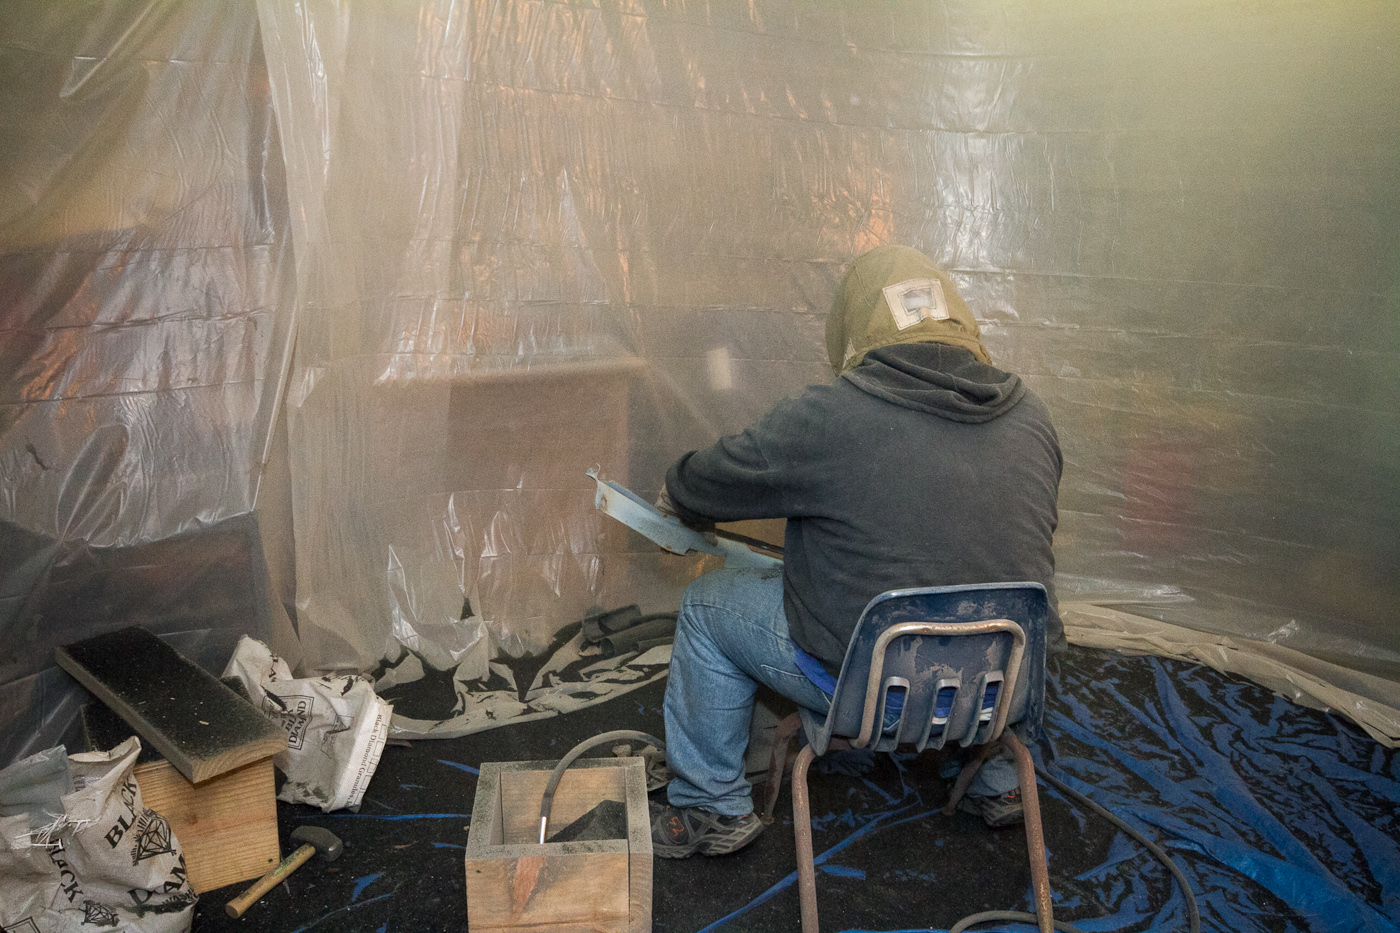
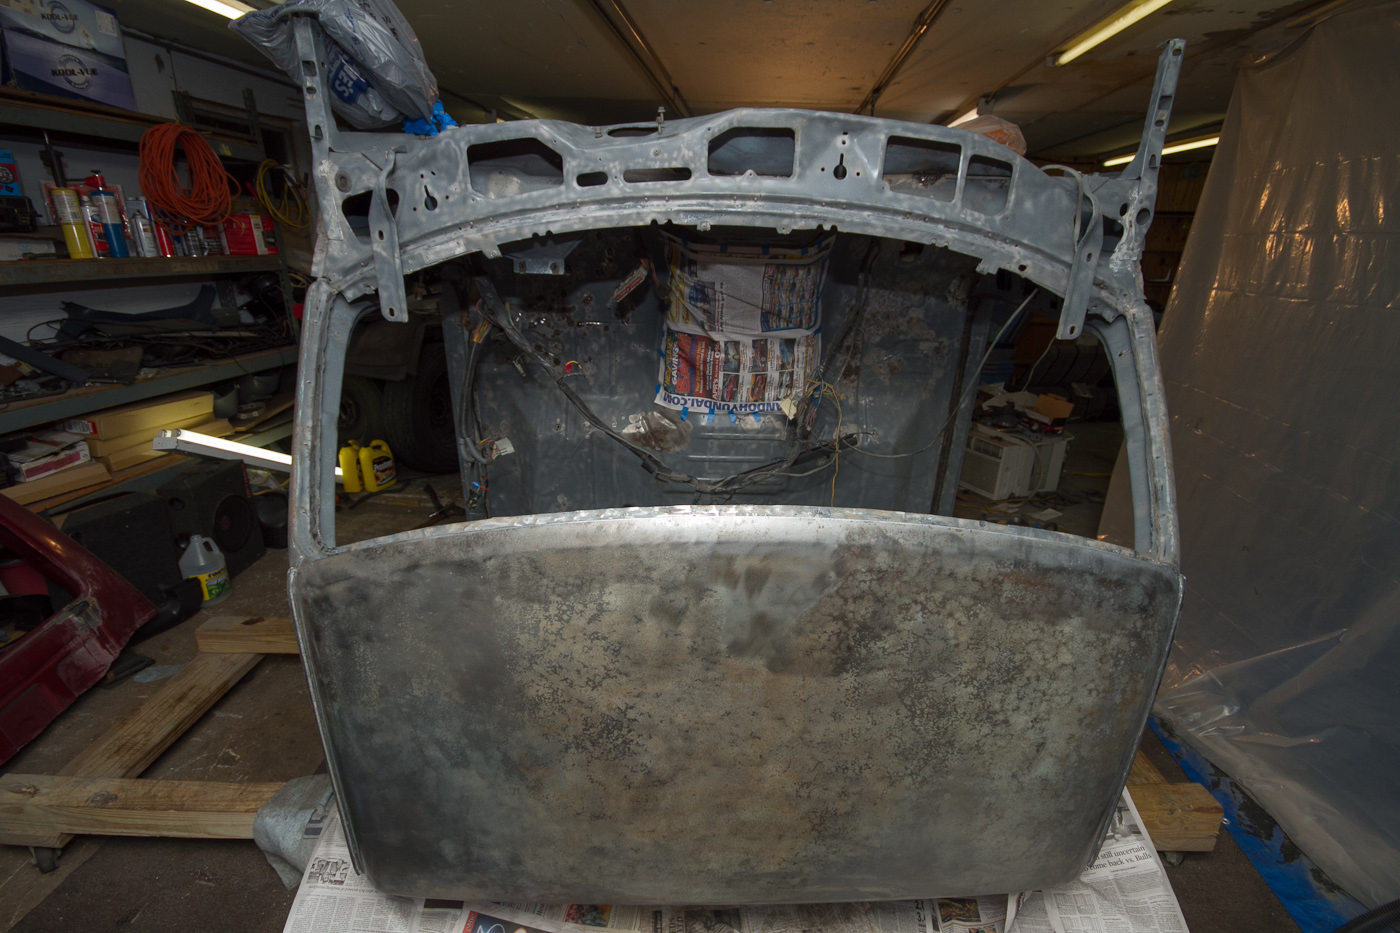
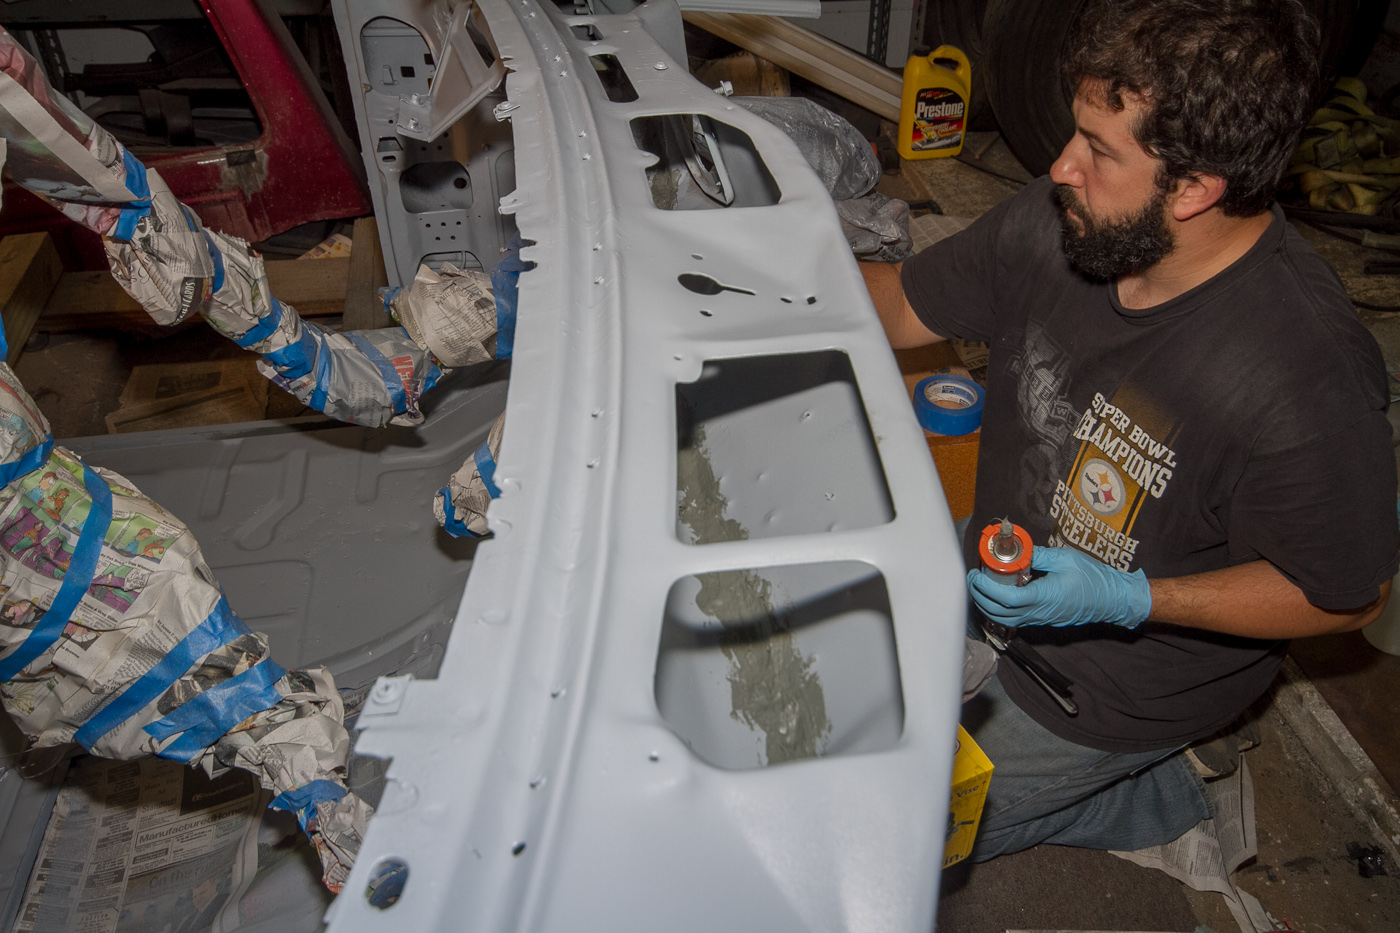
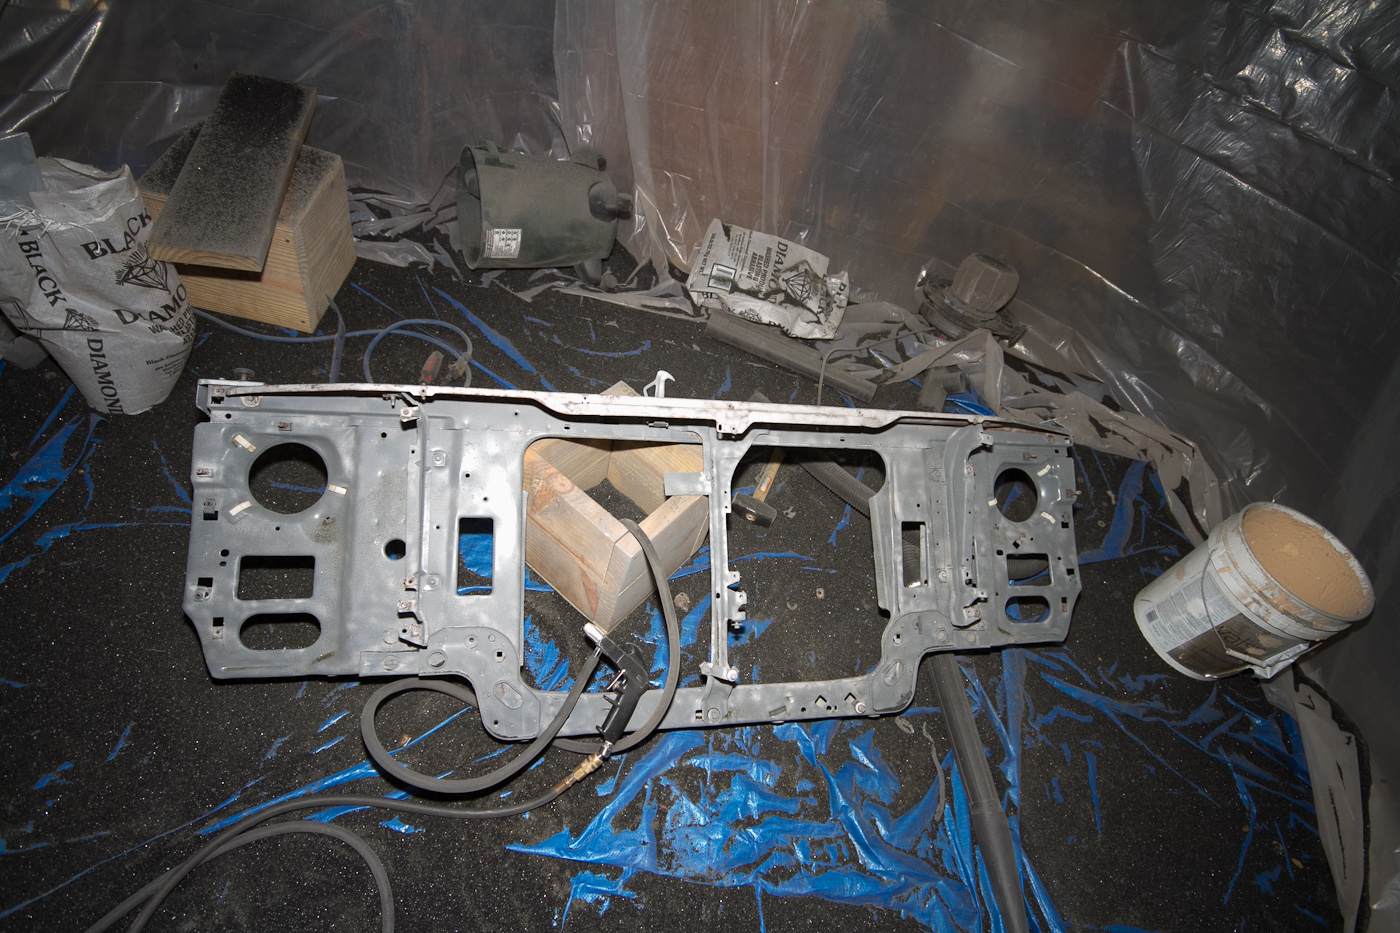
While that was going on, I was of course back in the sandblasting booth, this time with the core support and a few other pieces, getting them ready to go...

http://www.ronman.org/pics/f150/IMG_0833.jpg

I had to work early Thursday morning, and was still pretty tired from the post-race drive home, so I called it a night around 10:30 and headed home. Mike stayed up another hour finishing the patch job and recreating the vertical metal the door seal sits on.

http://www.ronman.org/pics/f150/IMG_0839-1.jpg

(this is tangentially related to the truck, so I'm putting it in here so you can see that we're not spending 100% of our time working on it, because shit happens)
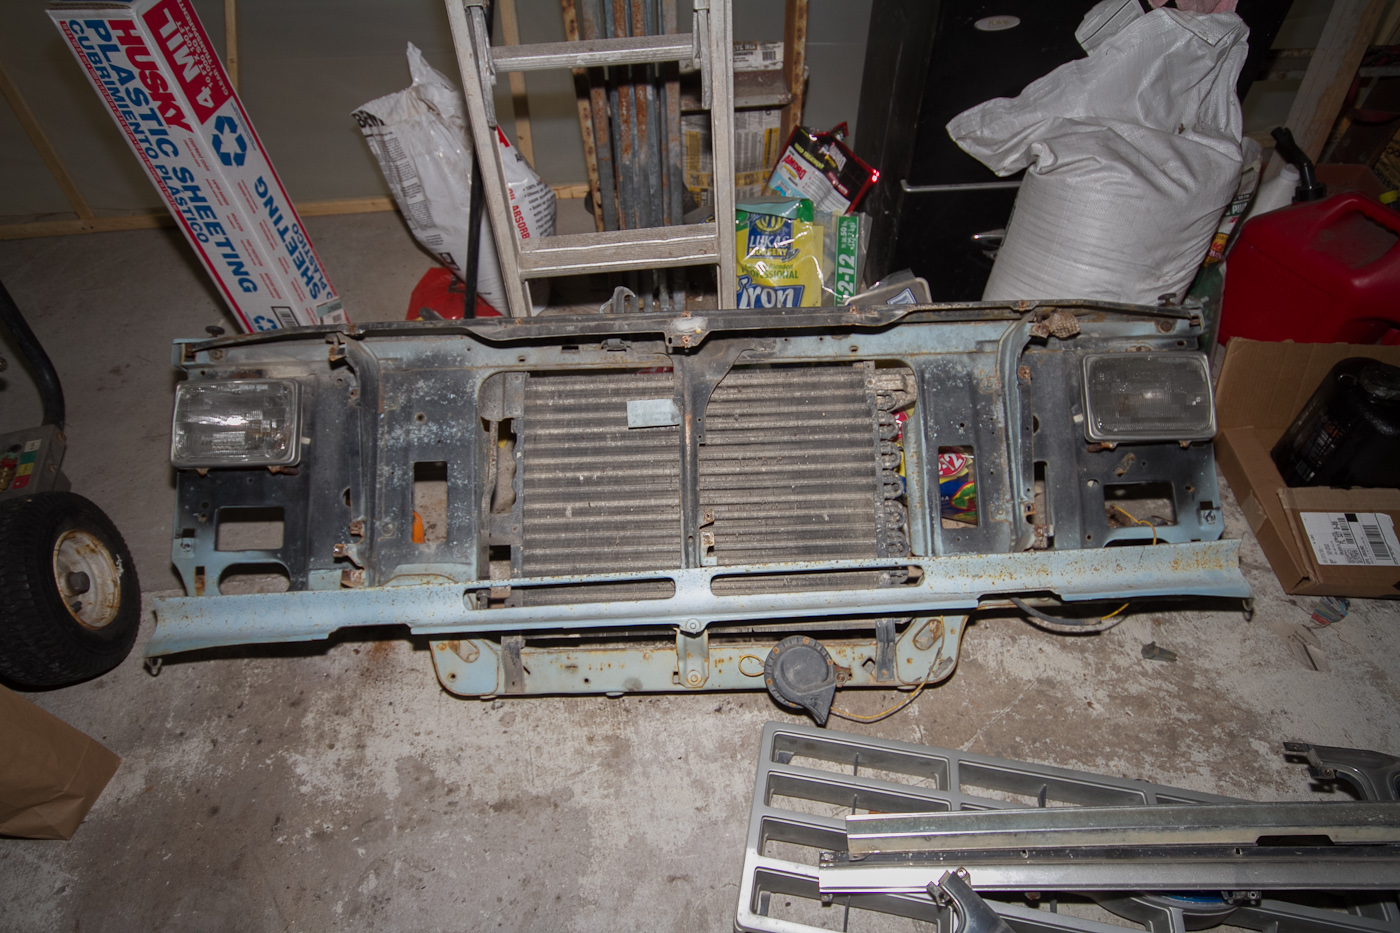
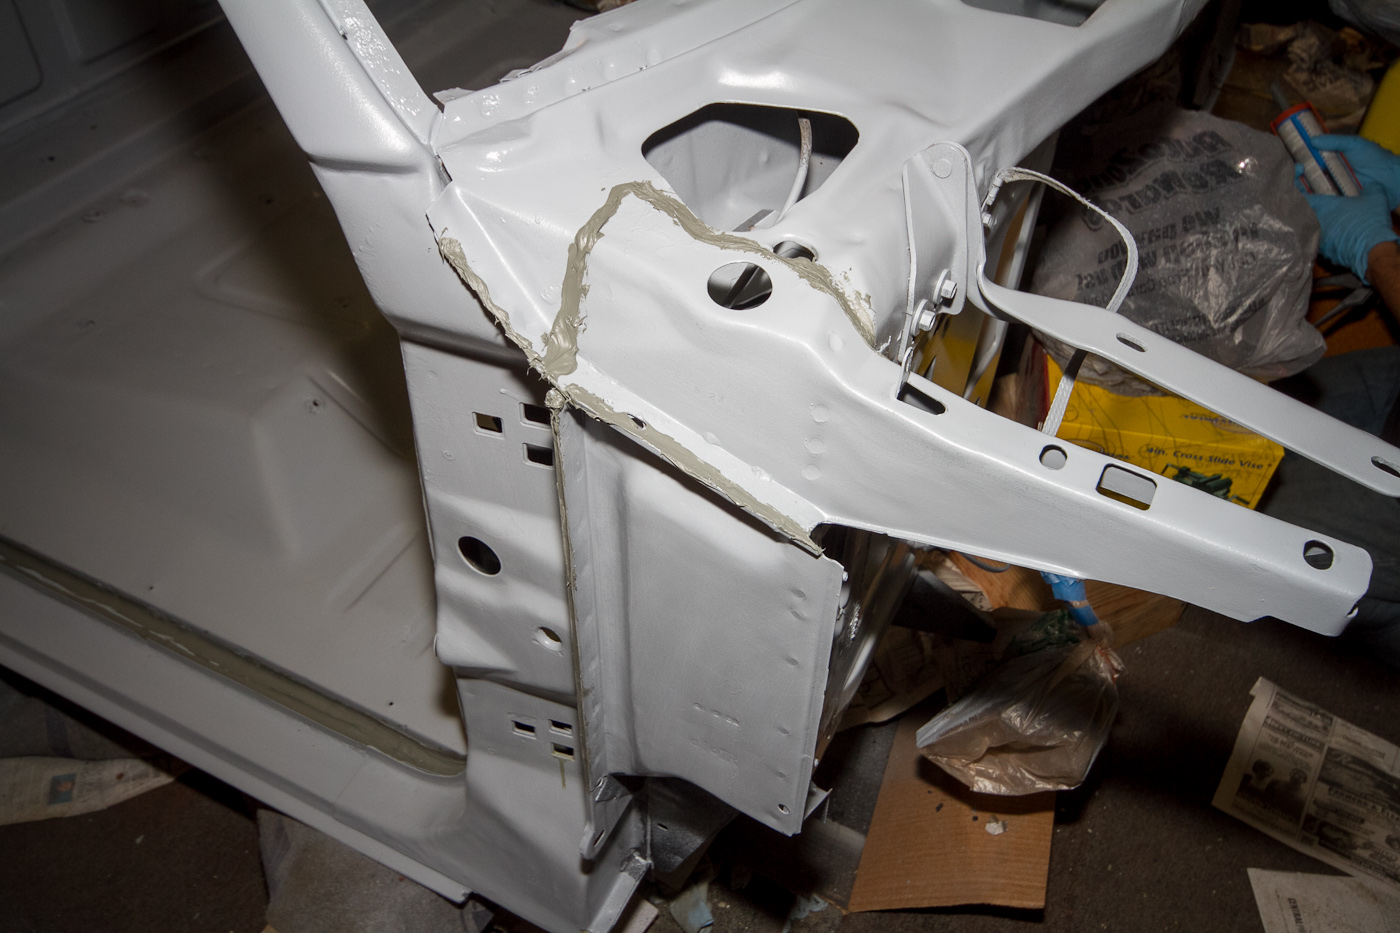
Thursday at work I get a call from a friend whose Neon has been a thorn in my side for some time... I'm convinced she's just incapable of driving, since this like the fourth time in 3 years that she's hit something; the first three were other cars she rear-ended, this time it was a deer, and it broke the radiator, which I put in not much more than a year ago. She's been through this enough times to know what hissing and steam means, so she shut it off and had it towed home. And where I come in is, when your budget is as stretched by a project as ours is, you'll do anything for a couple bucks on the side, so with the new radiator in the trunk we brought the trailer over to her place and loaded it up. After spending some quality time with the tractor...

http://www.ronman.org/pics/f150/IMG_0843.jpg

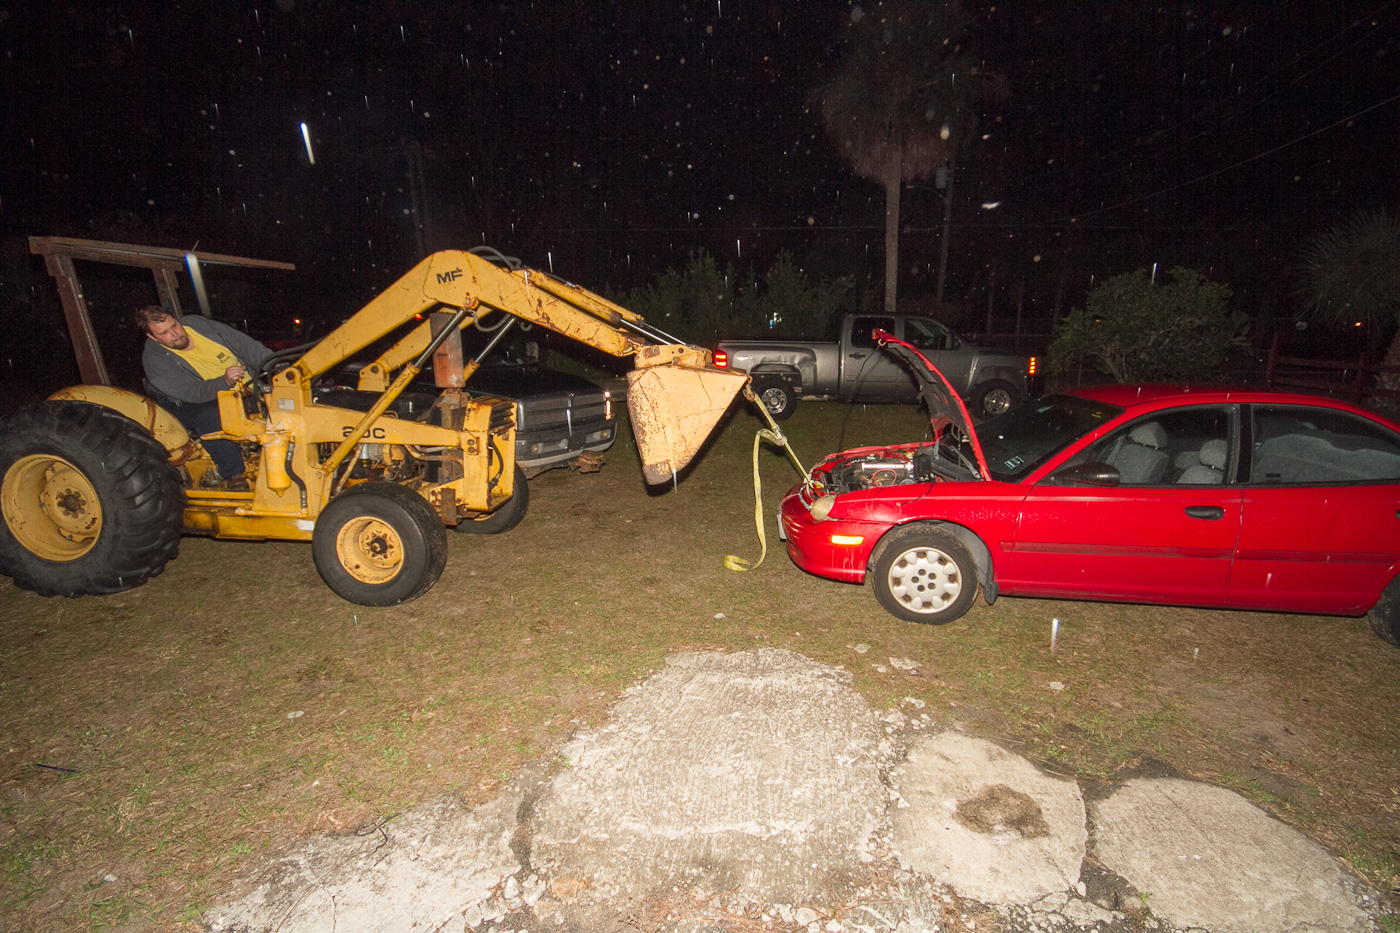
... and a small sledgehammer, the core support was more or less back in place and I could get the radiator out. I discovered that the fans were also busted, so those should get here from Rockauto tomorrow, and I'll put it back together Tuesday.
While I did that, Mike did some more welding, patching up pinholes in the floorboard wherever he could see light shining through. We really didn't get much accomplished, but we did get paid up front for the Neon, so there's that.

Friday was Mike's wife's birthday, so I didn't go over to work. Saturday they had more obligations, so we didn't do anything then, either. But today (Sunday,) finally, I was able to sweettalk Tim into coming over with me to do some work.
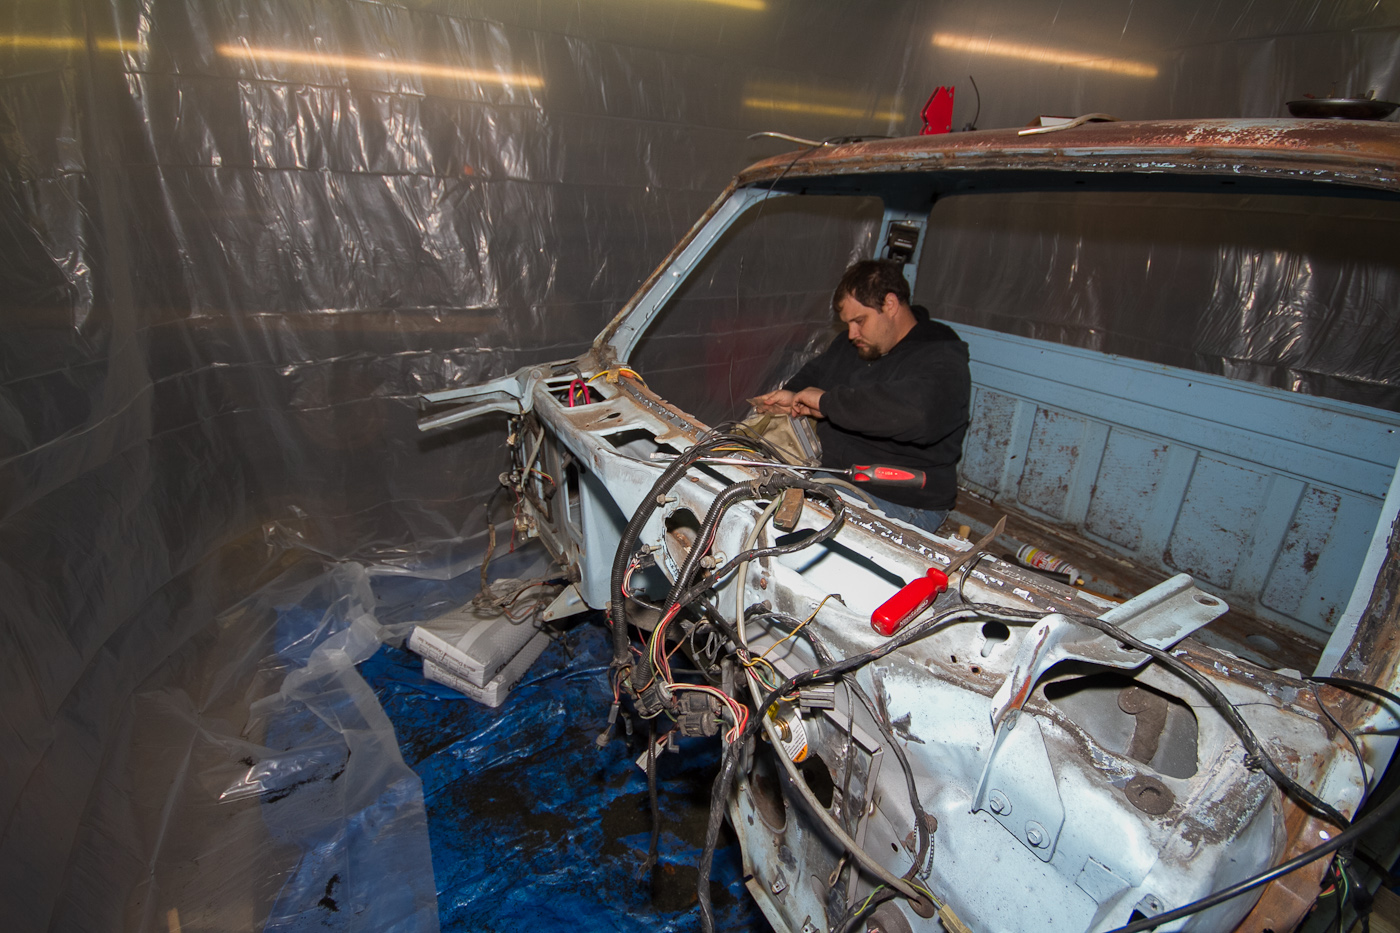
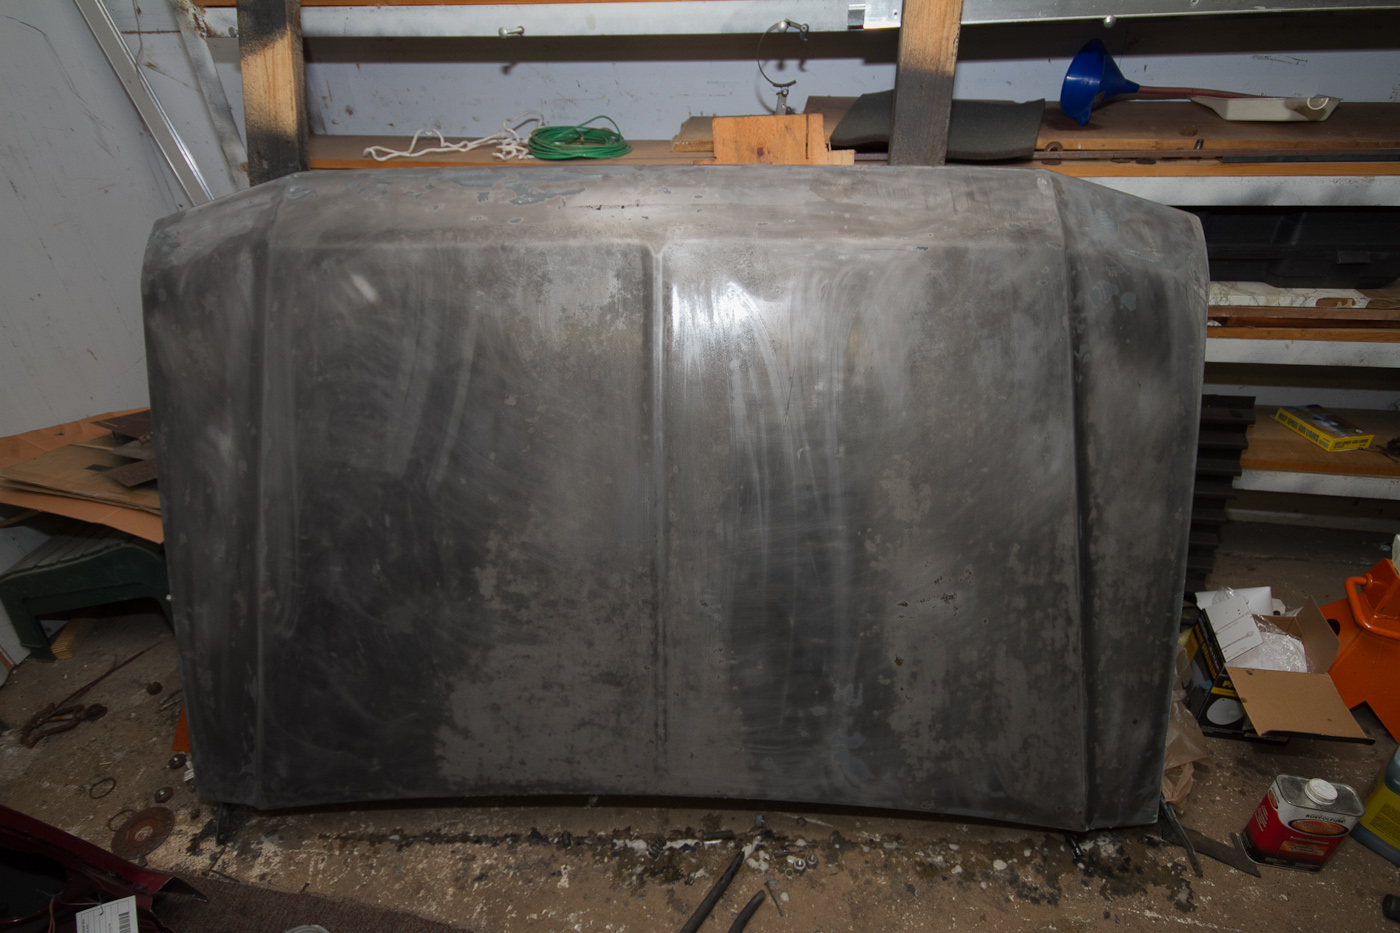
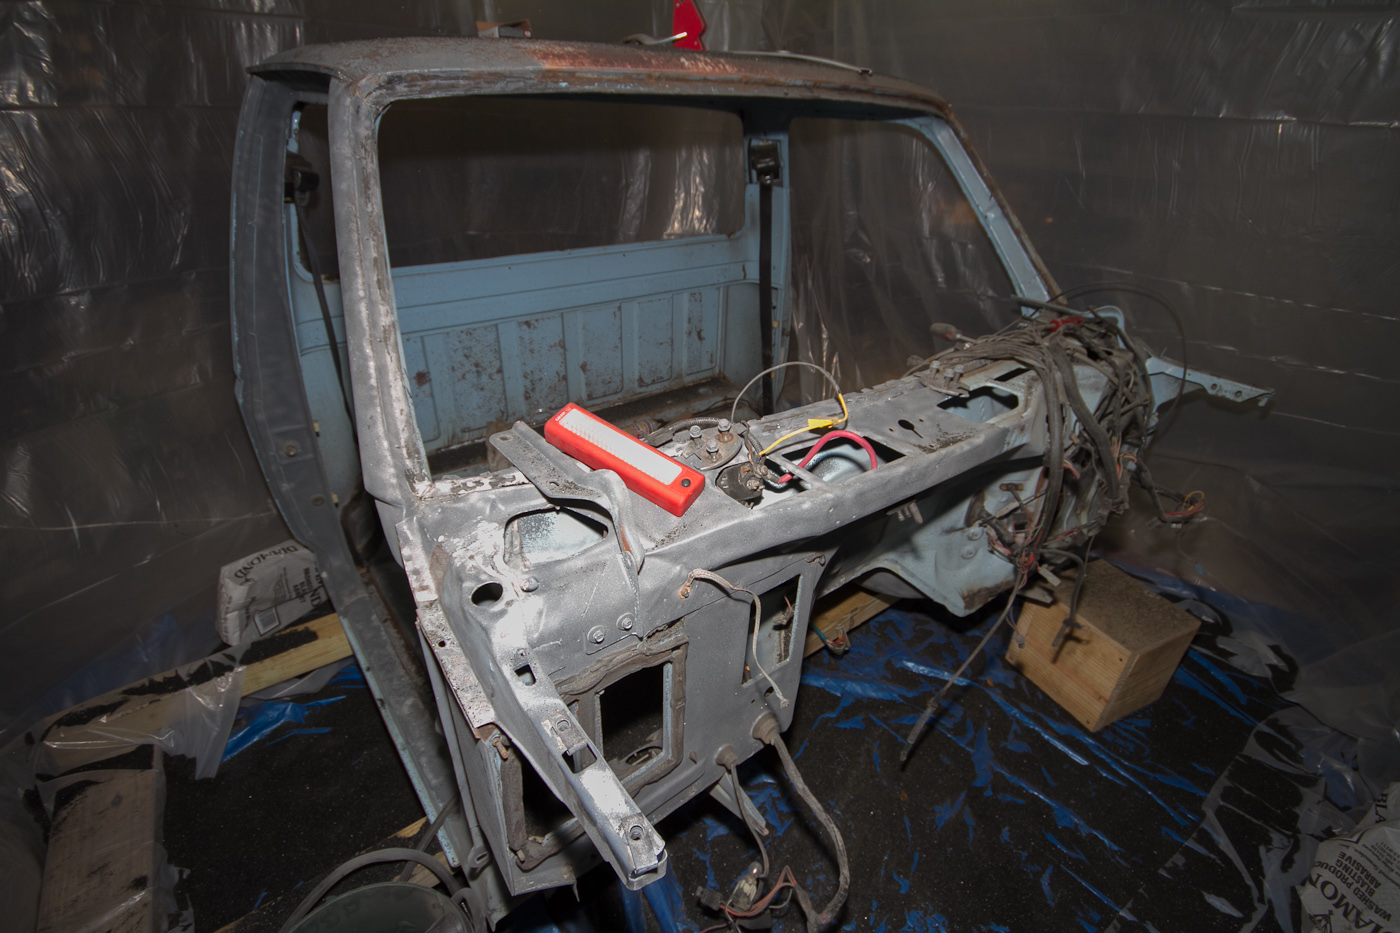
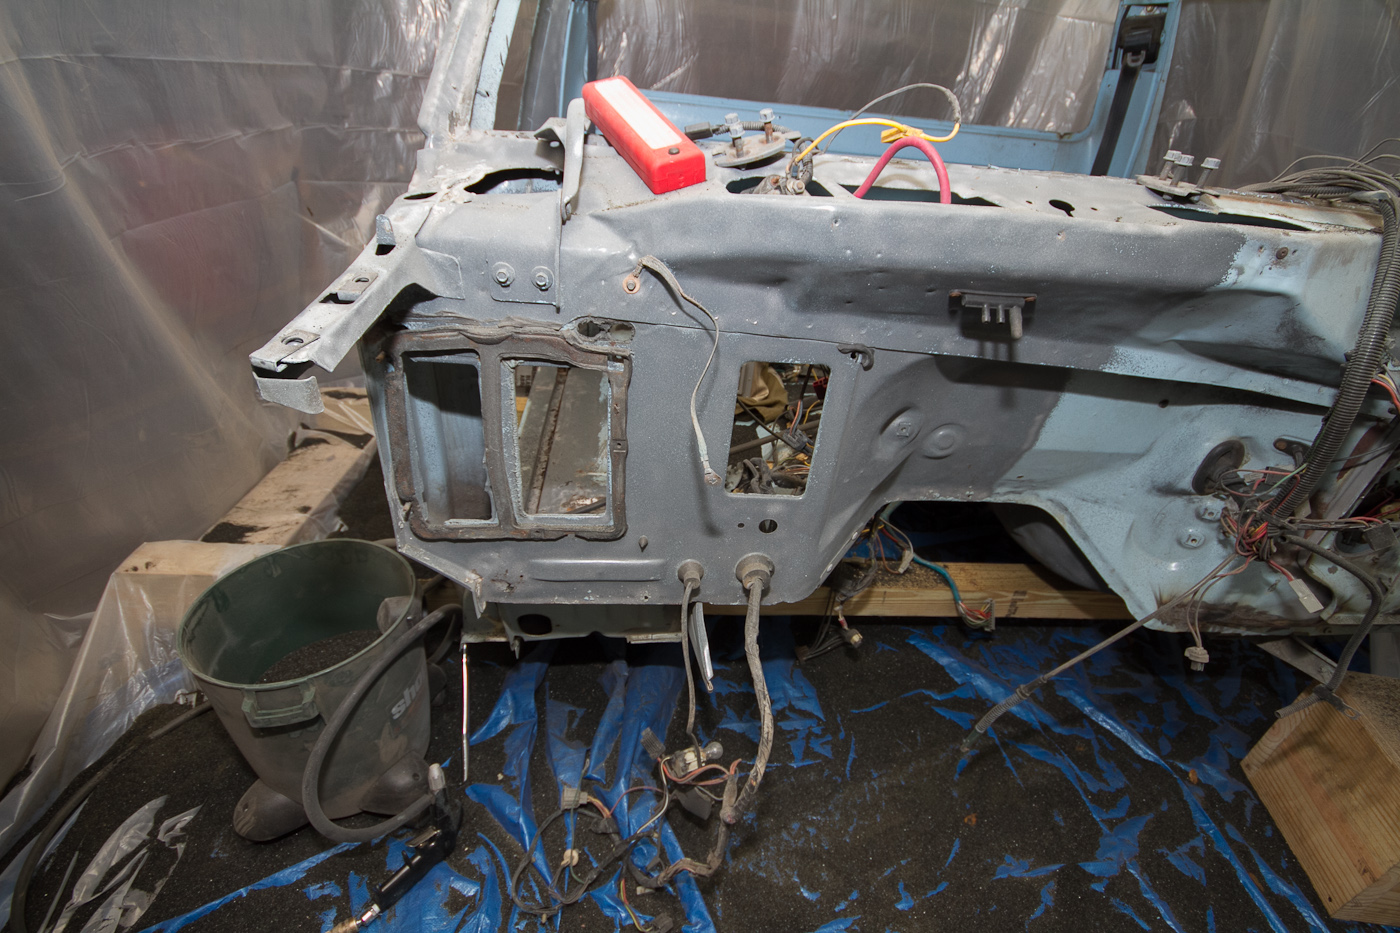
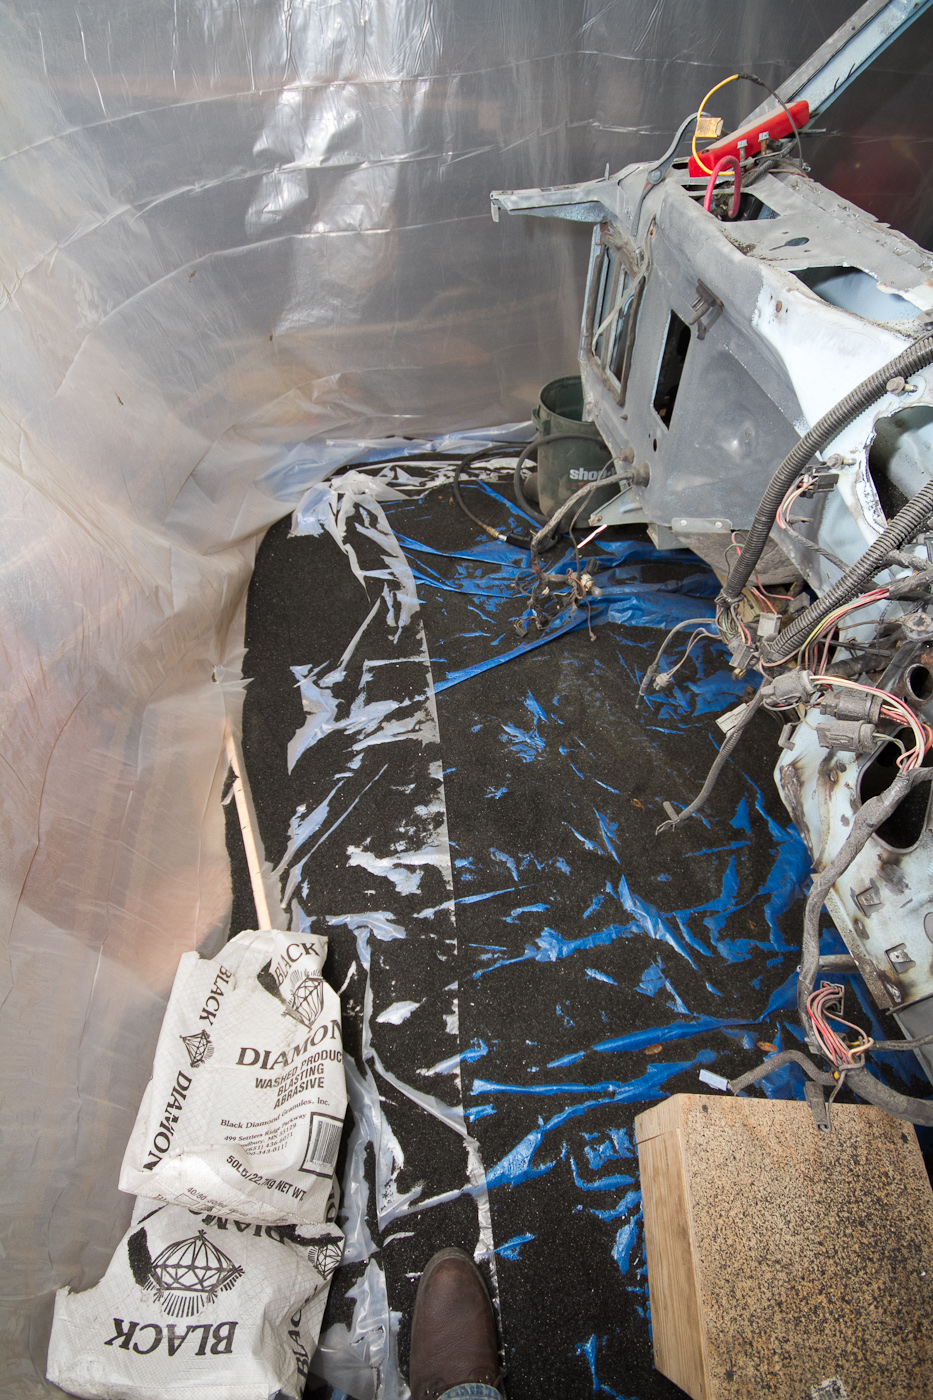
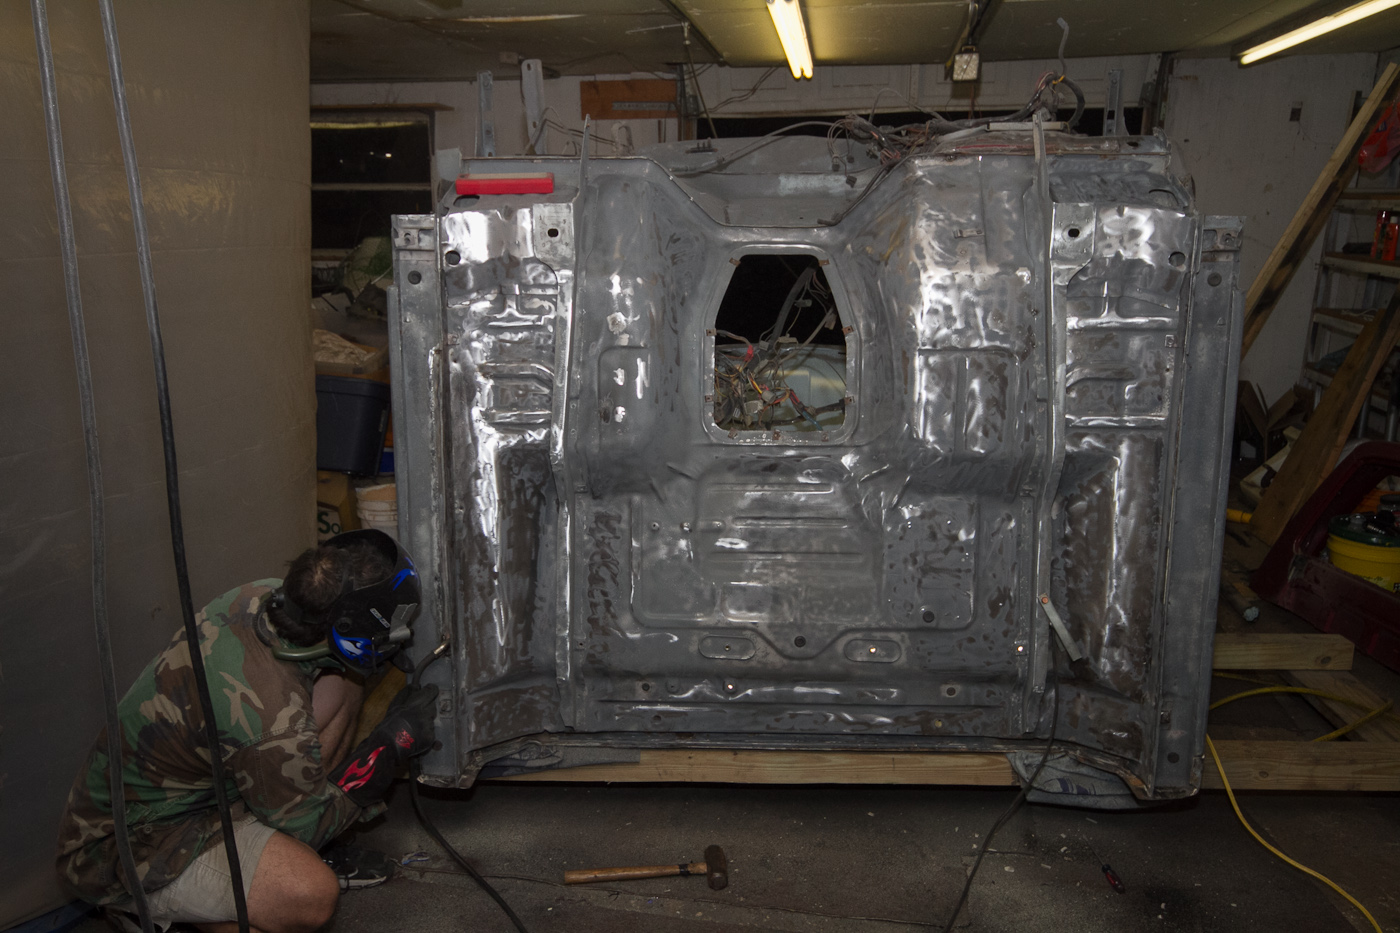
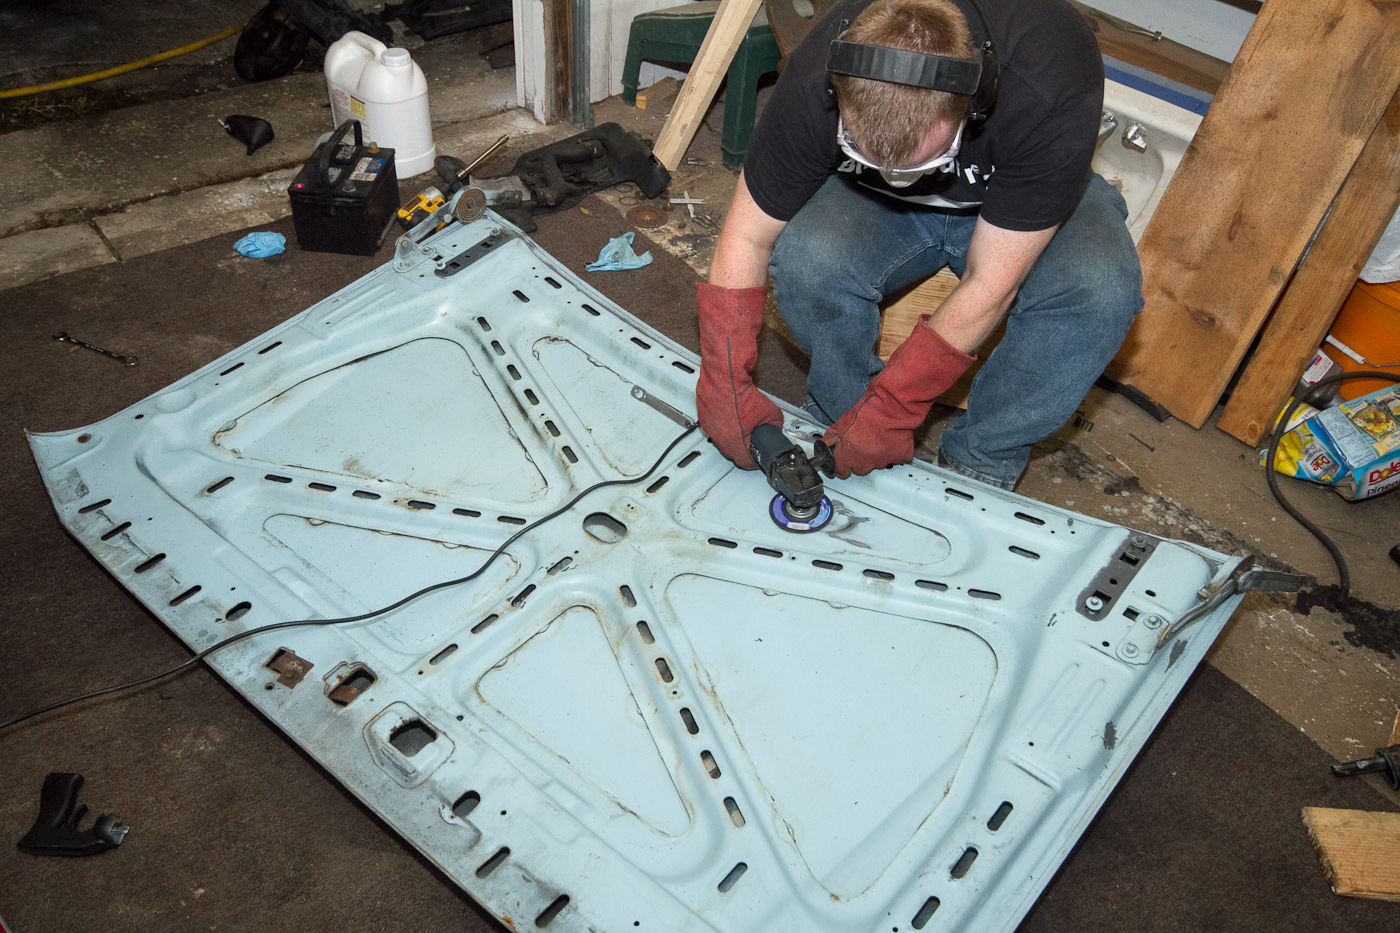
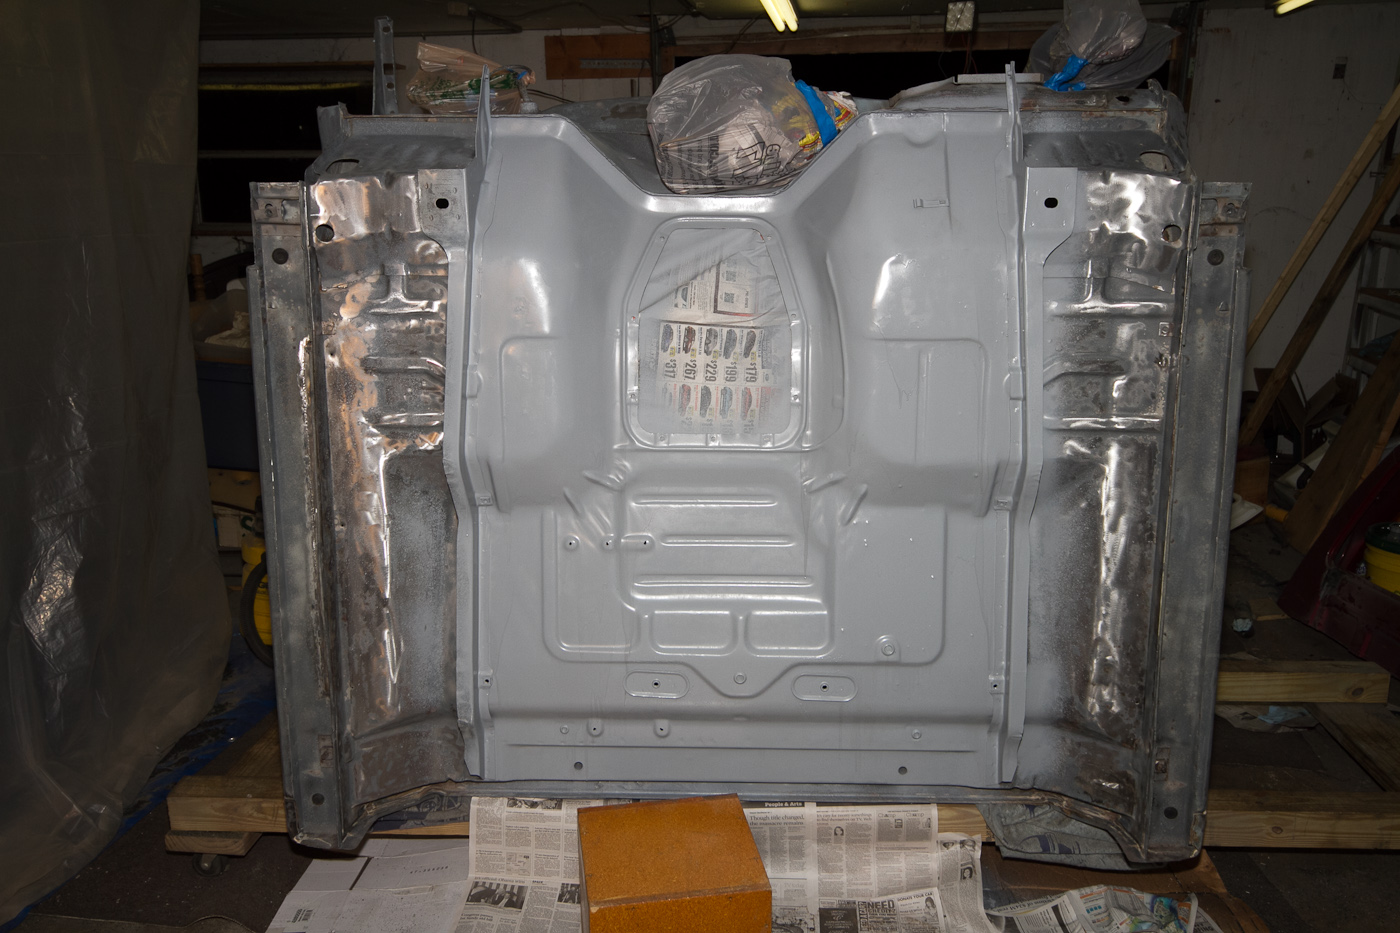
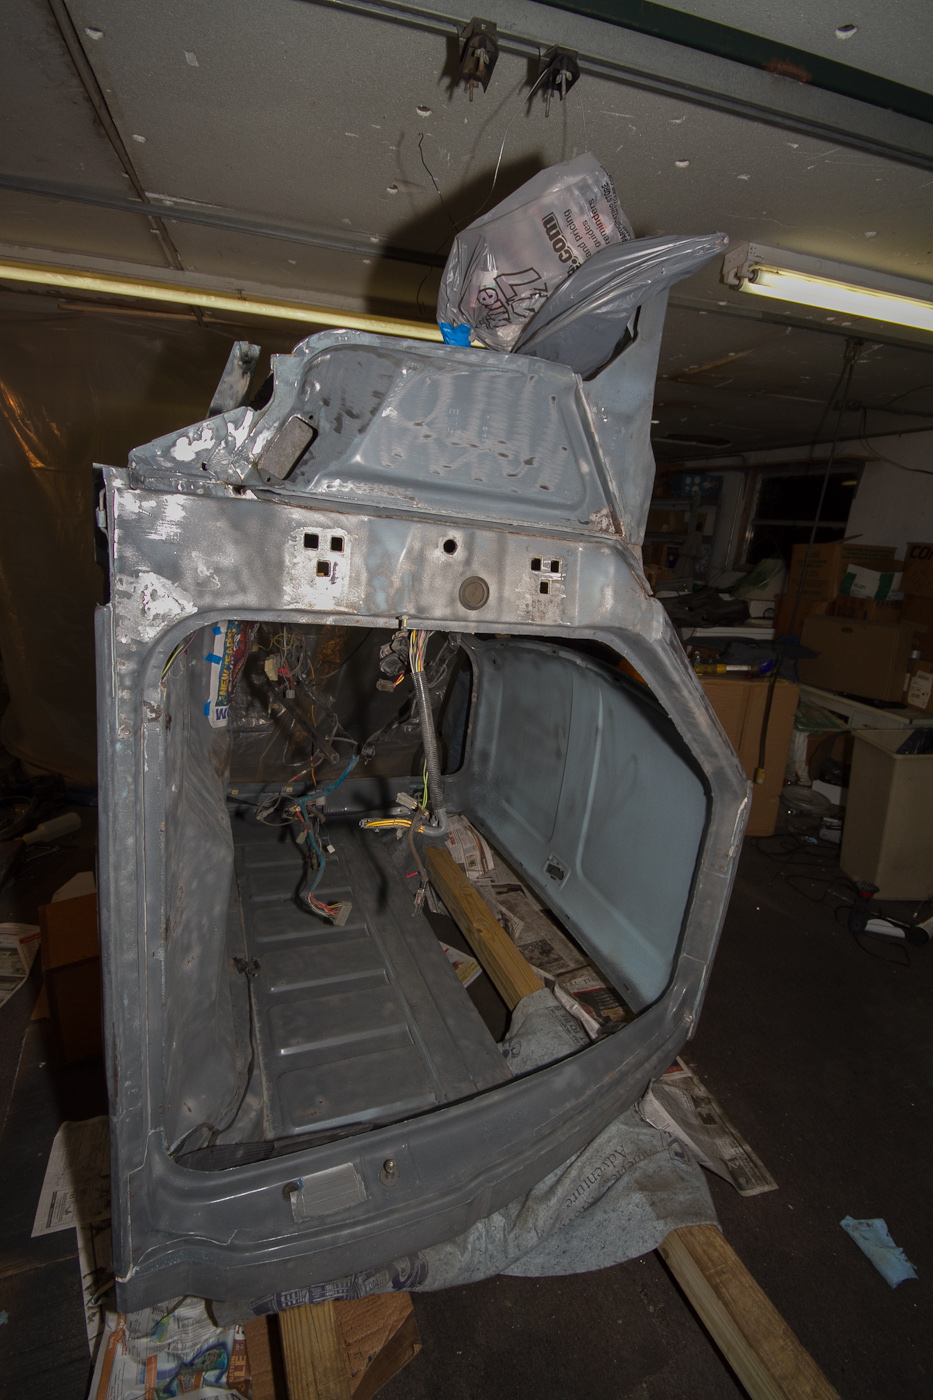
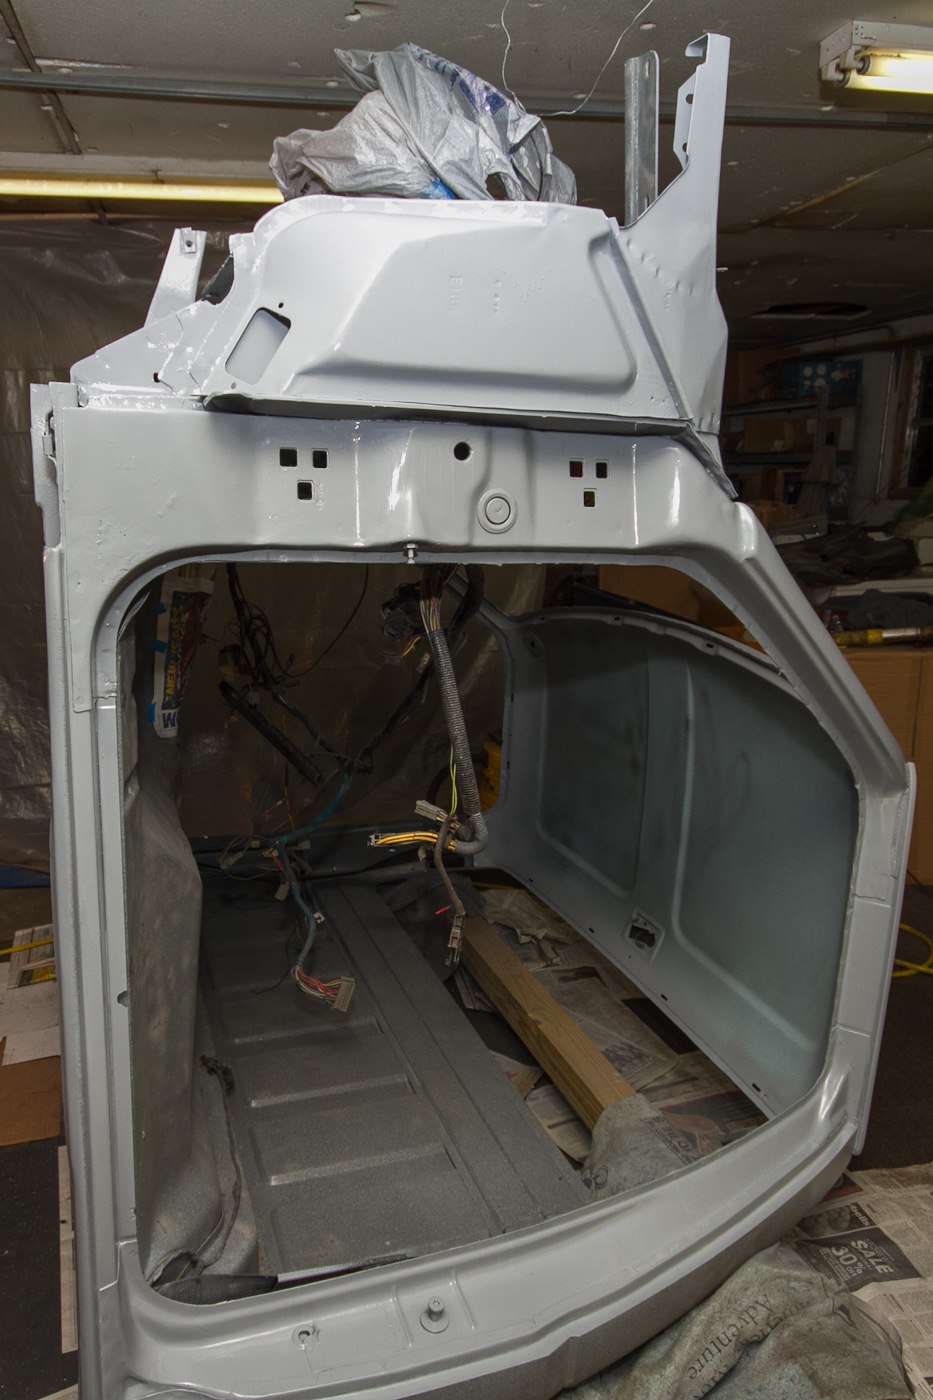
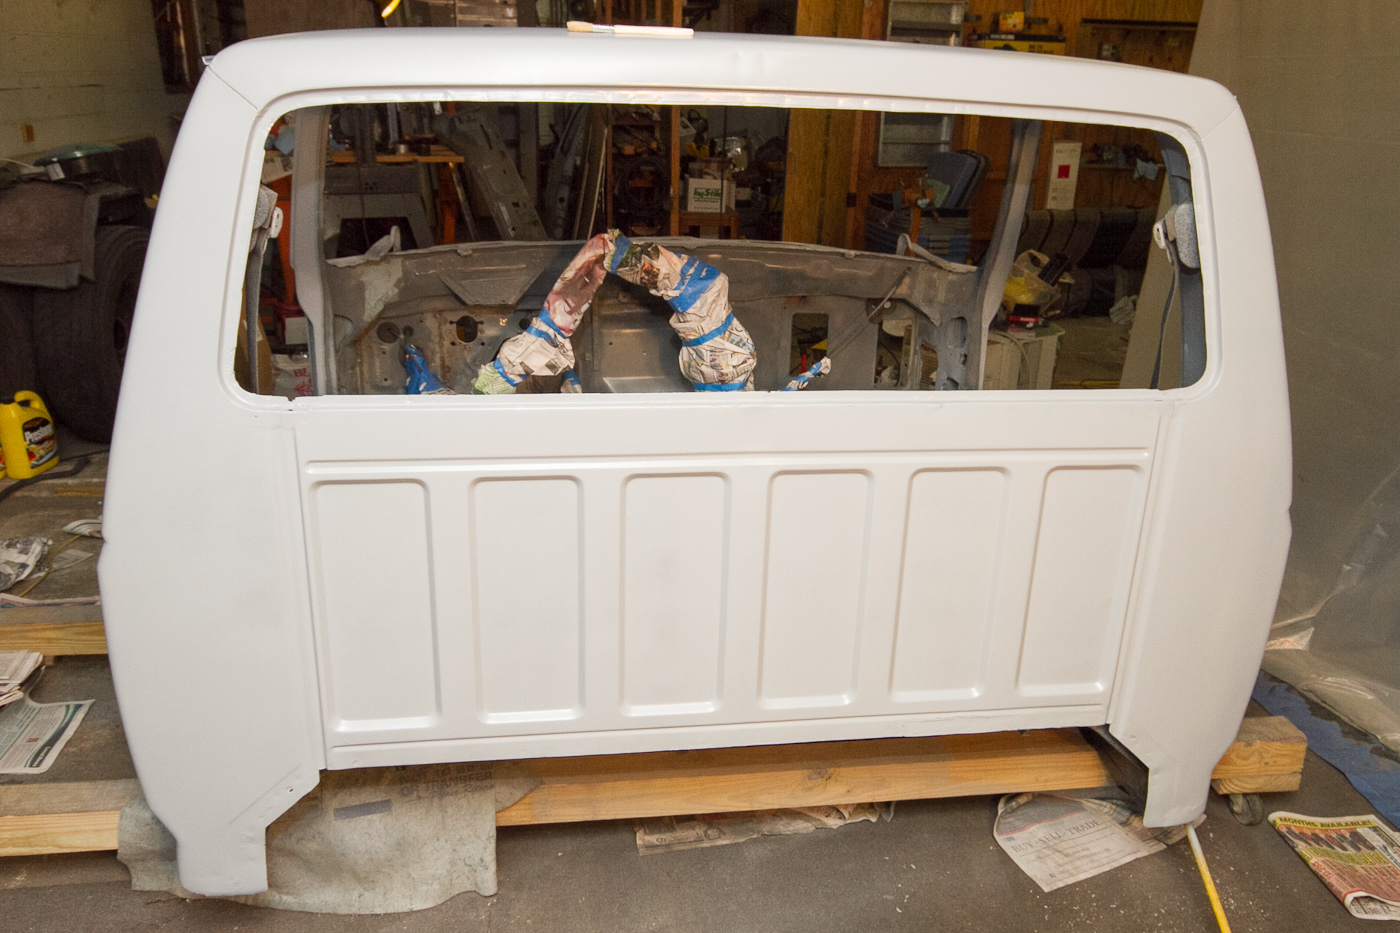
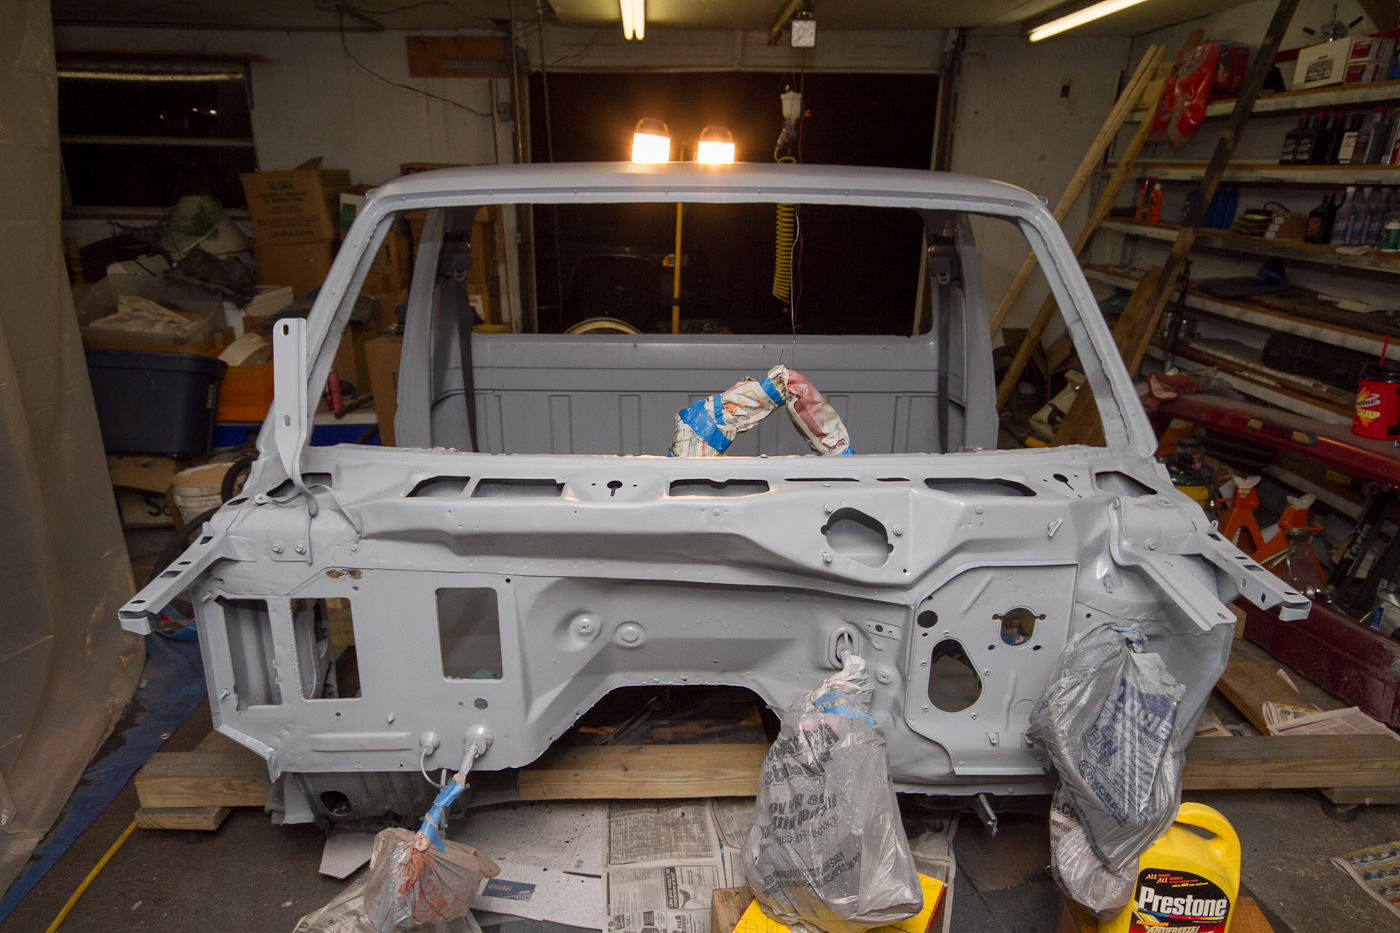
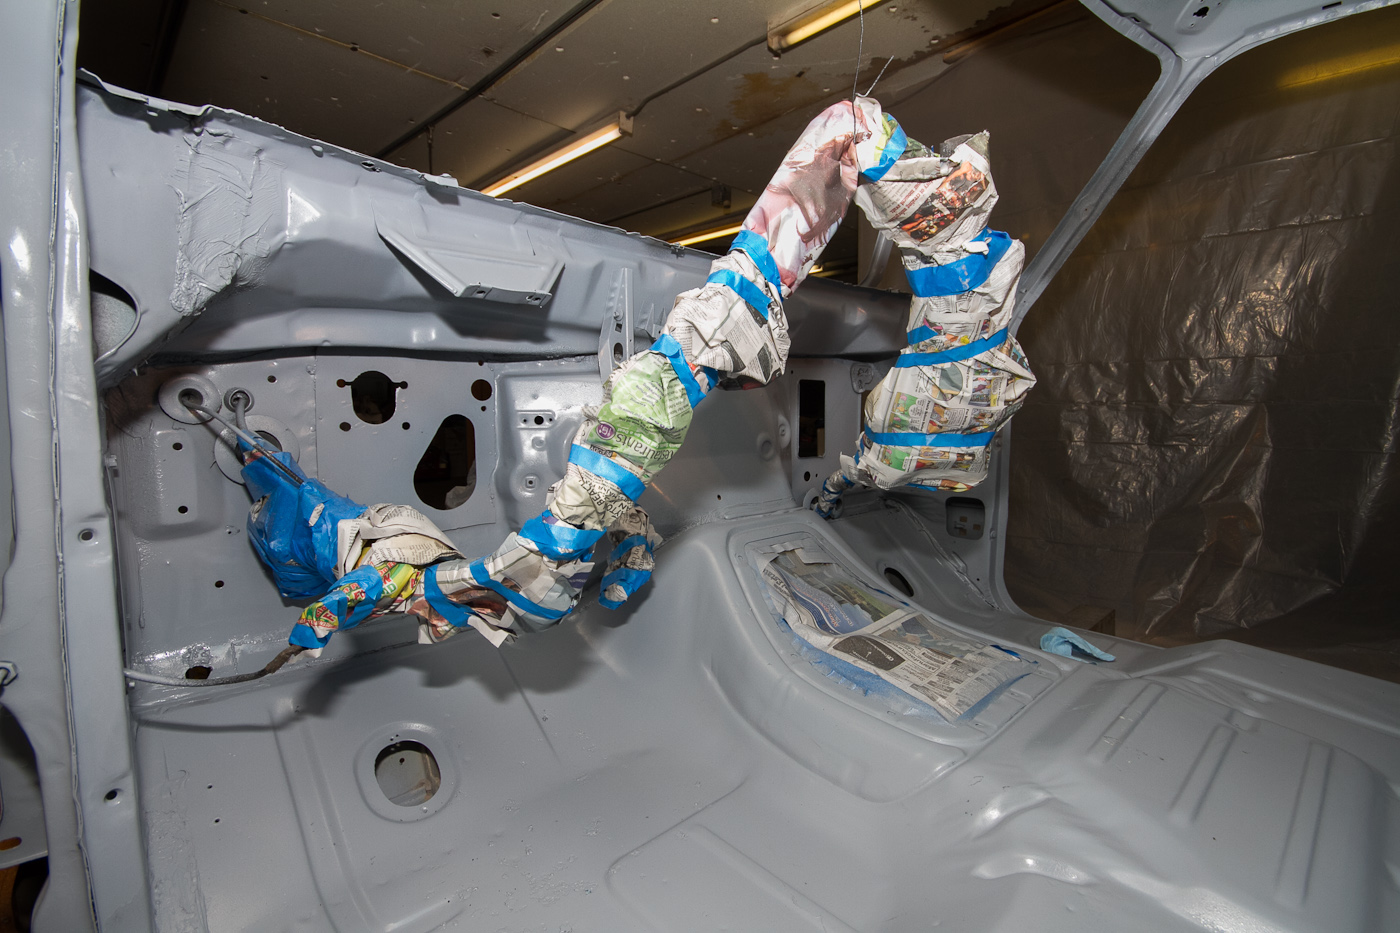
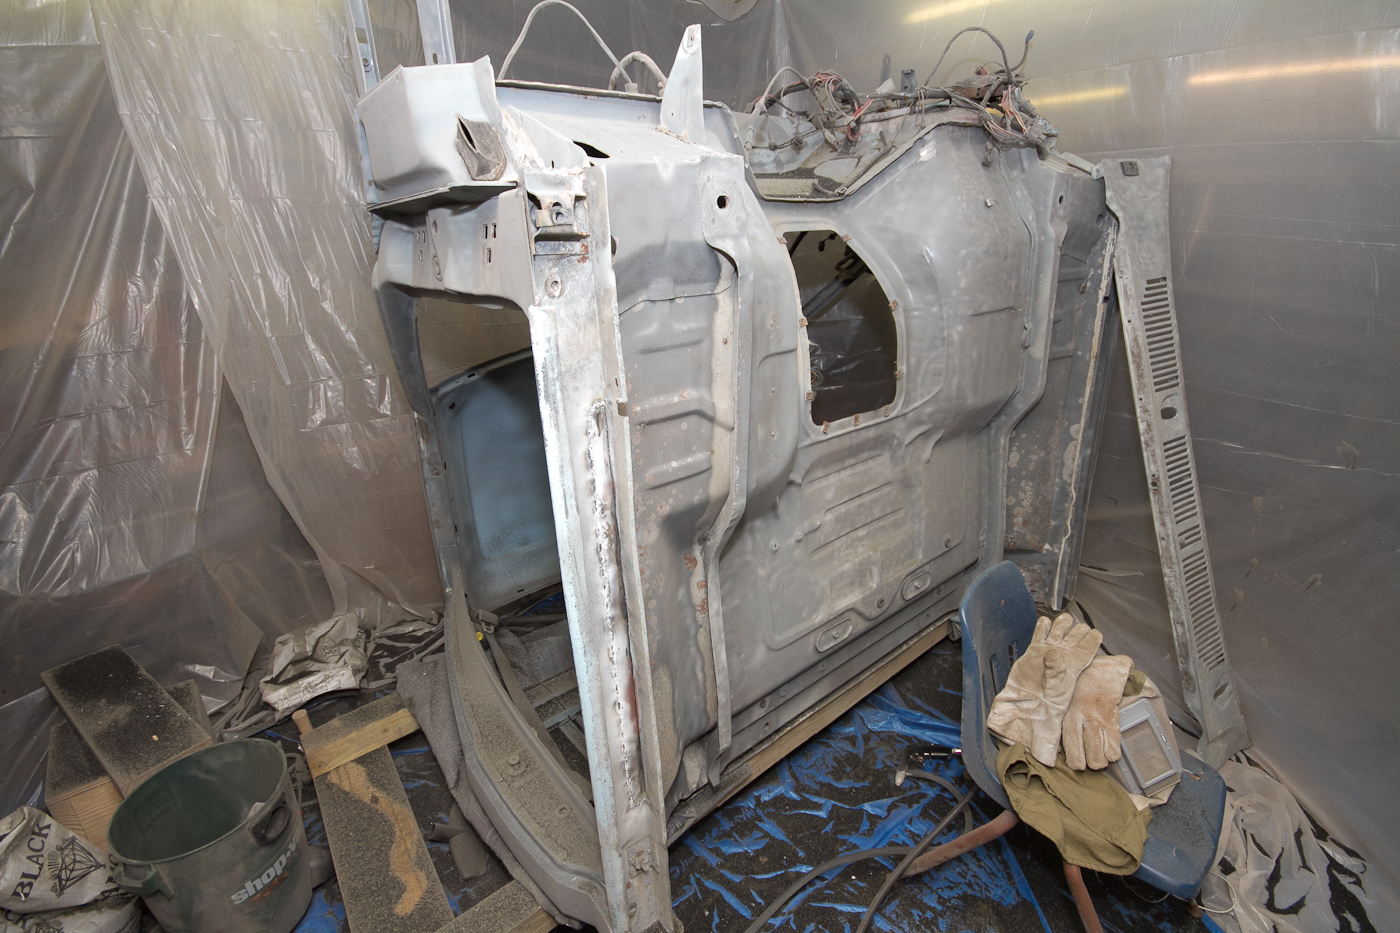
We started out by gingerly sitting the cab on its back, so that we could access the underside and get it ready for epoxy.

http://www.ronman.org/pics/f150/IMG_0848.jpg

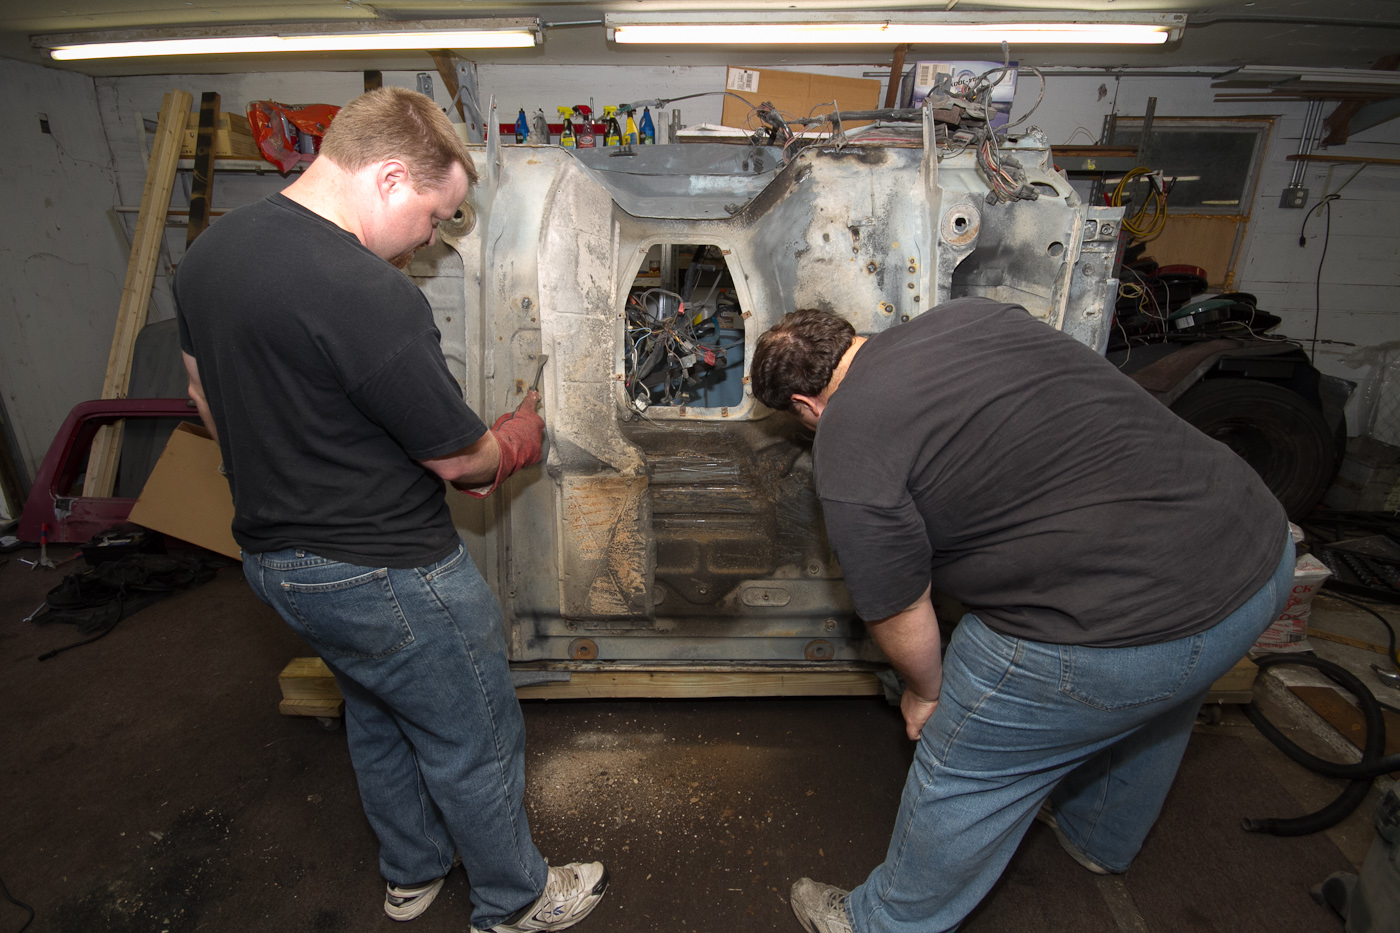
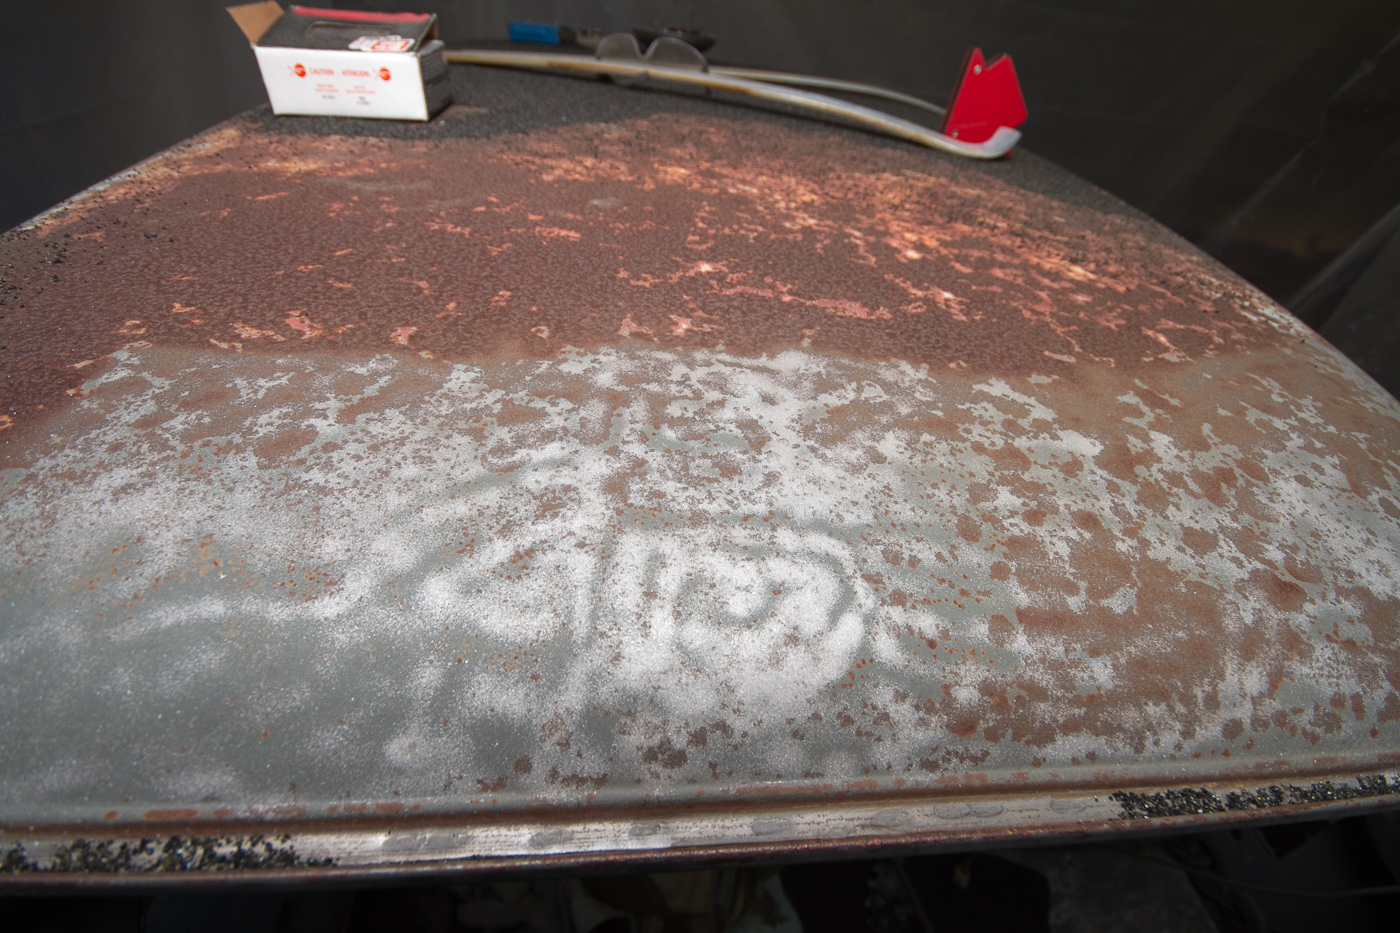
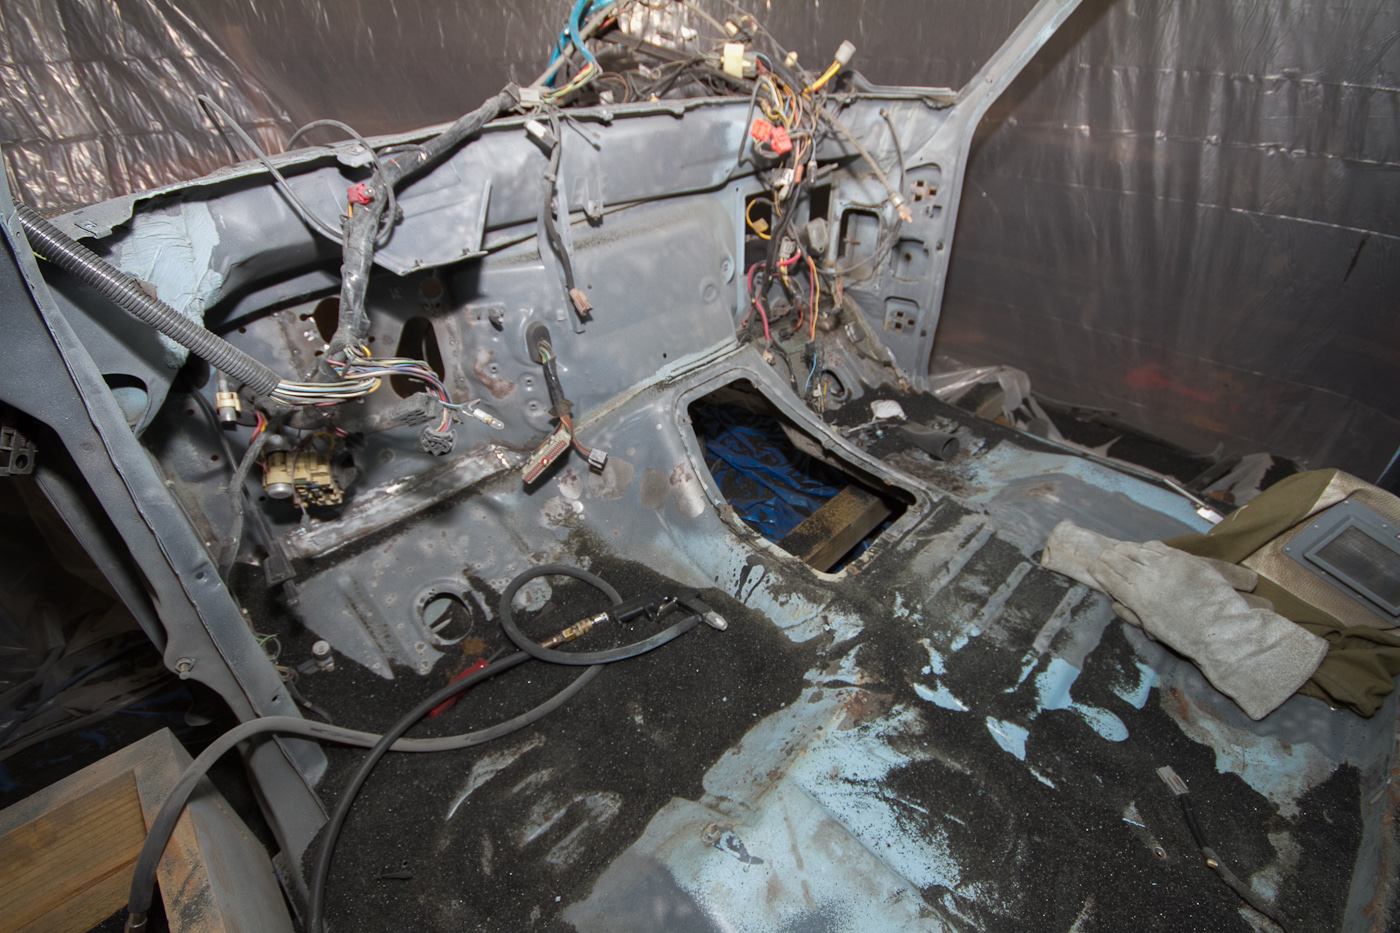
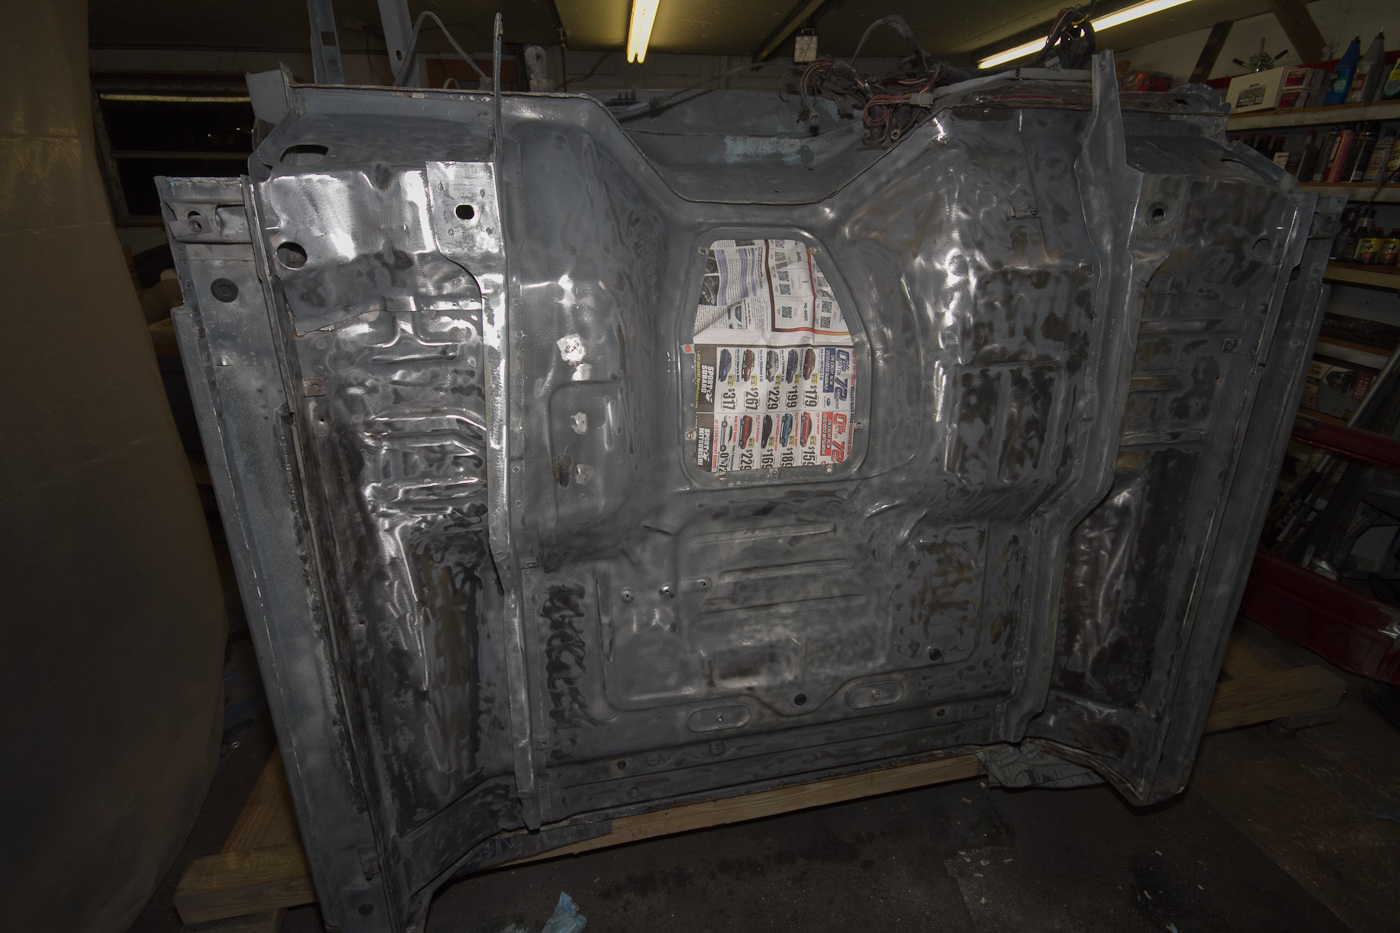
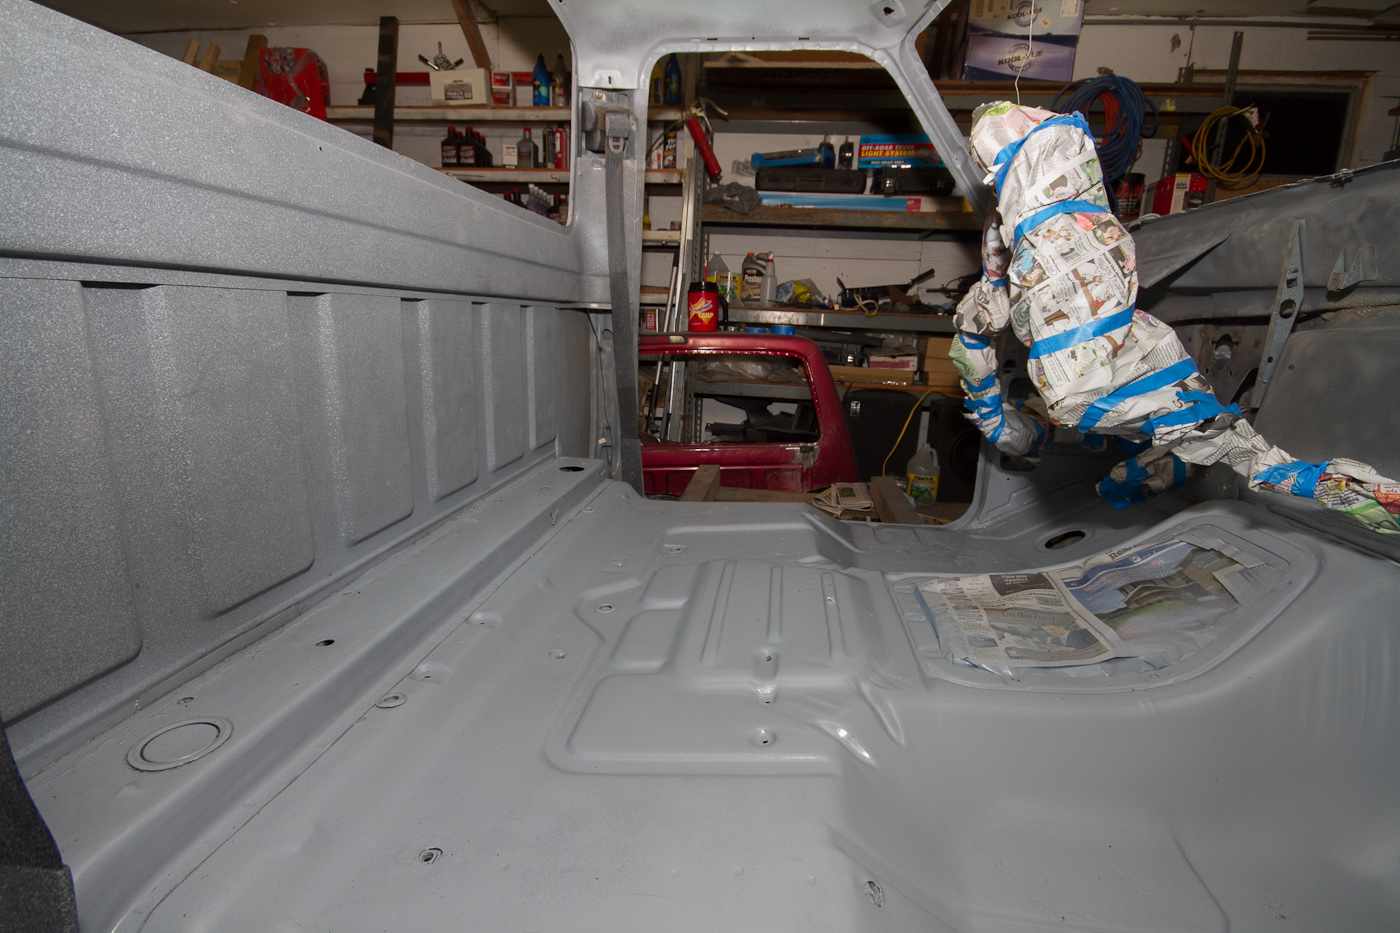
After a quick whack with the scrapers to knock the really heavy crud off, and the removal of the catalytic converter heat shields, we rolled it into the booth for (you guessed it) more sandblasting.

http://www.ronman.org/pics/f150/IMG_0849.jpg

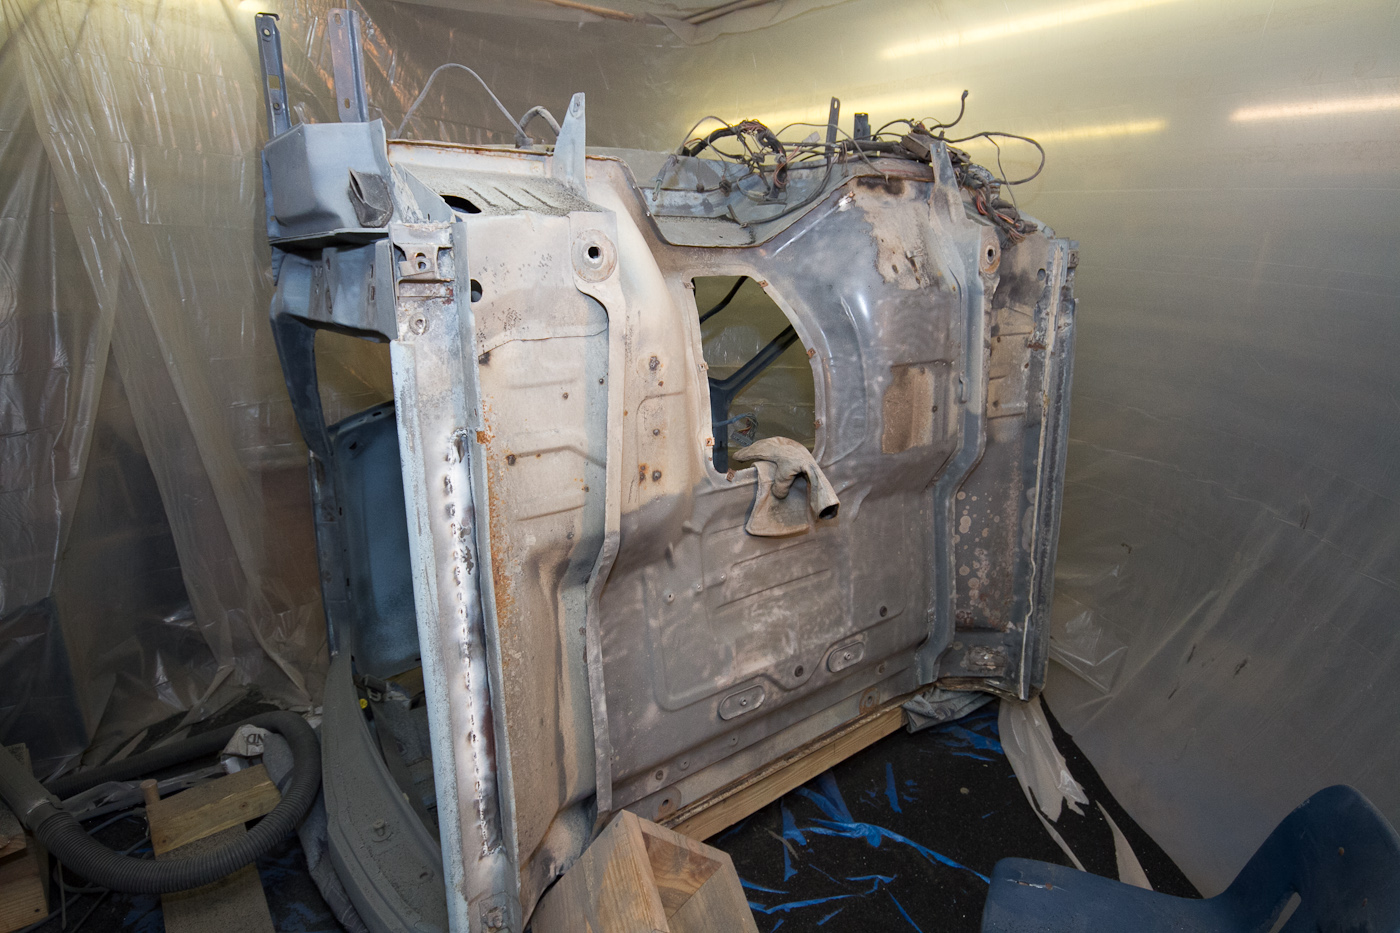
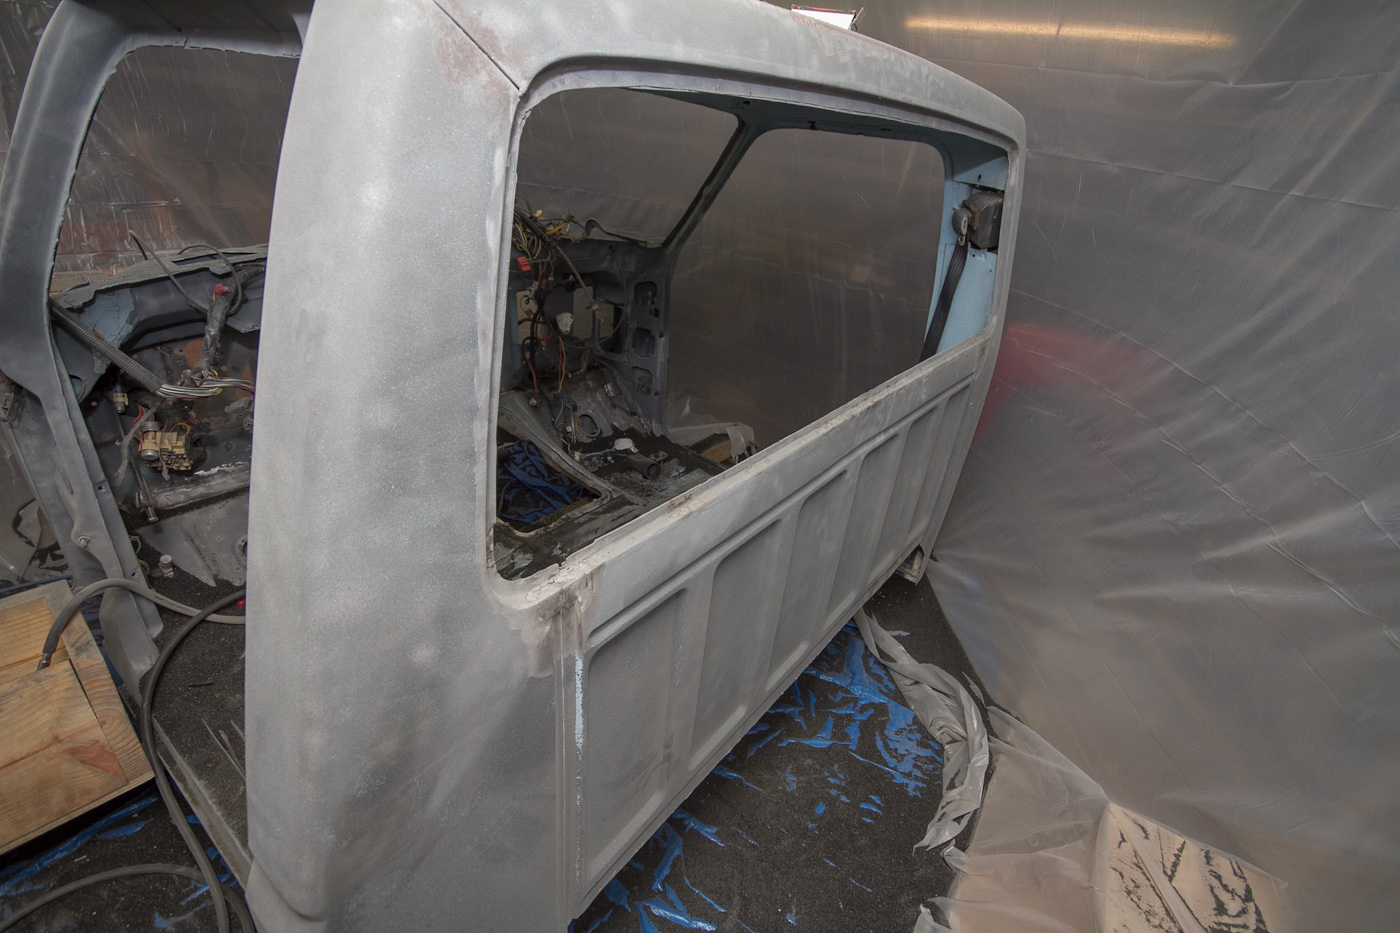
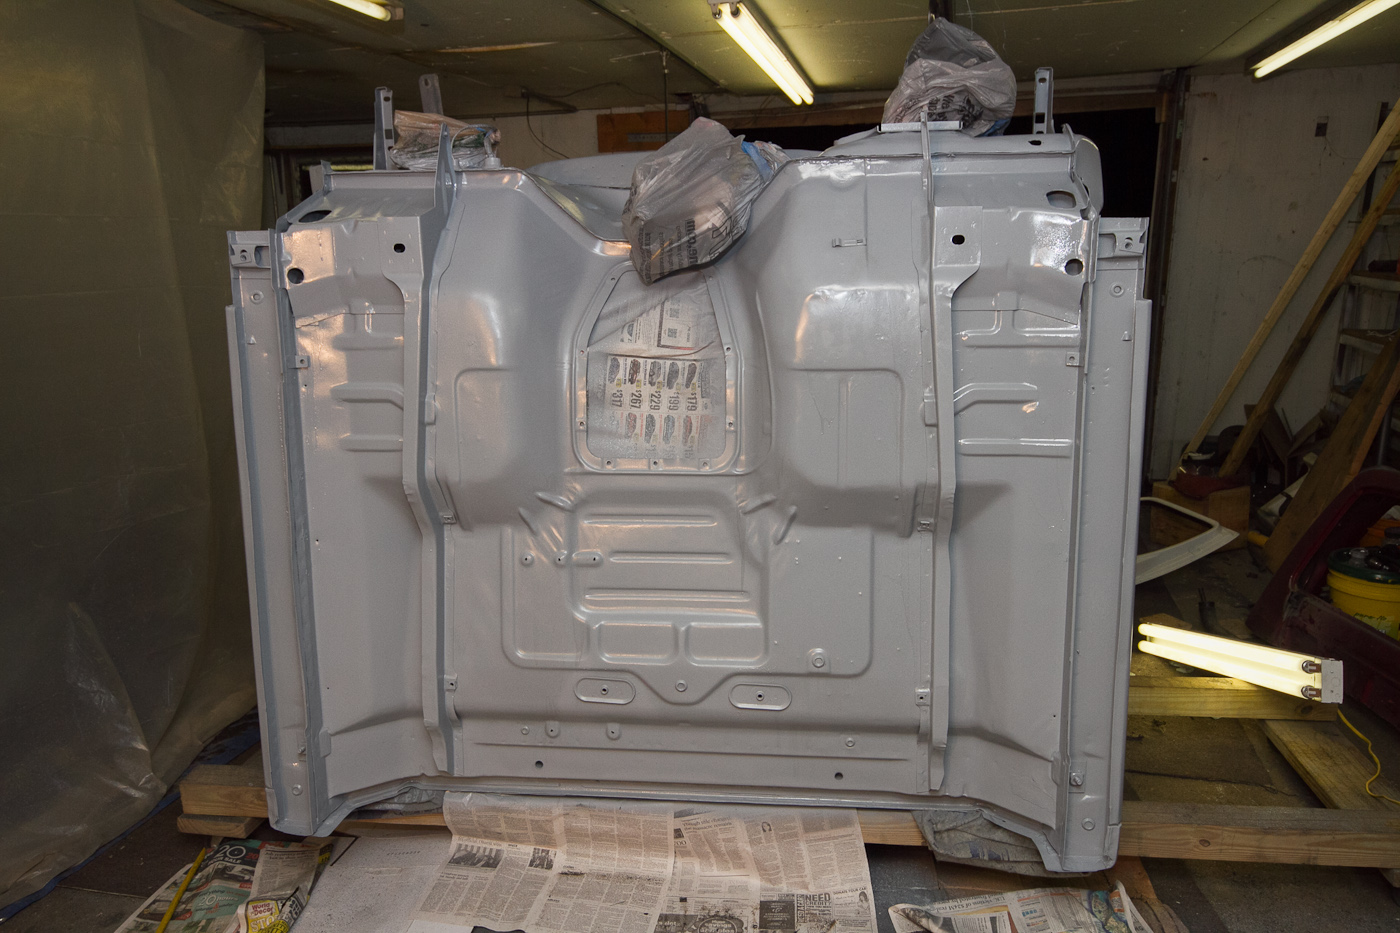
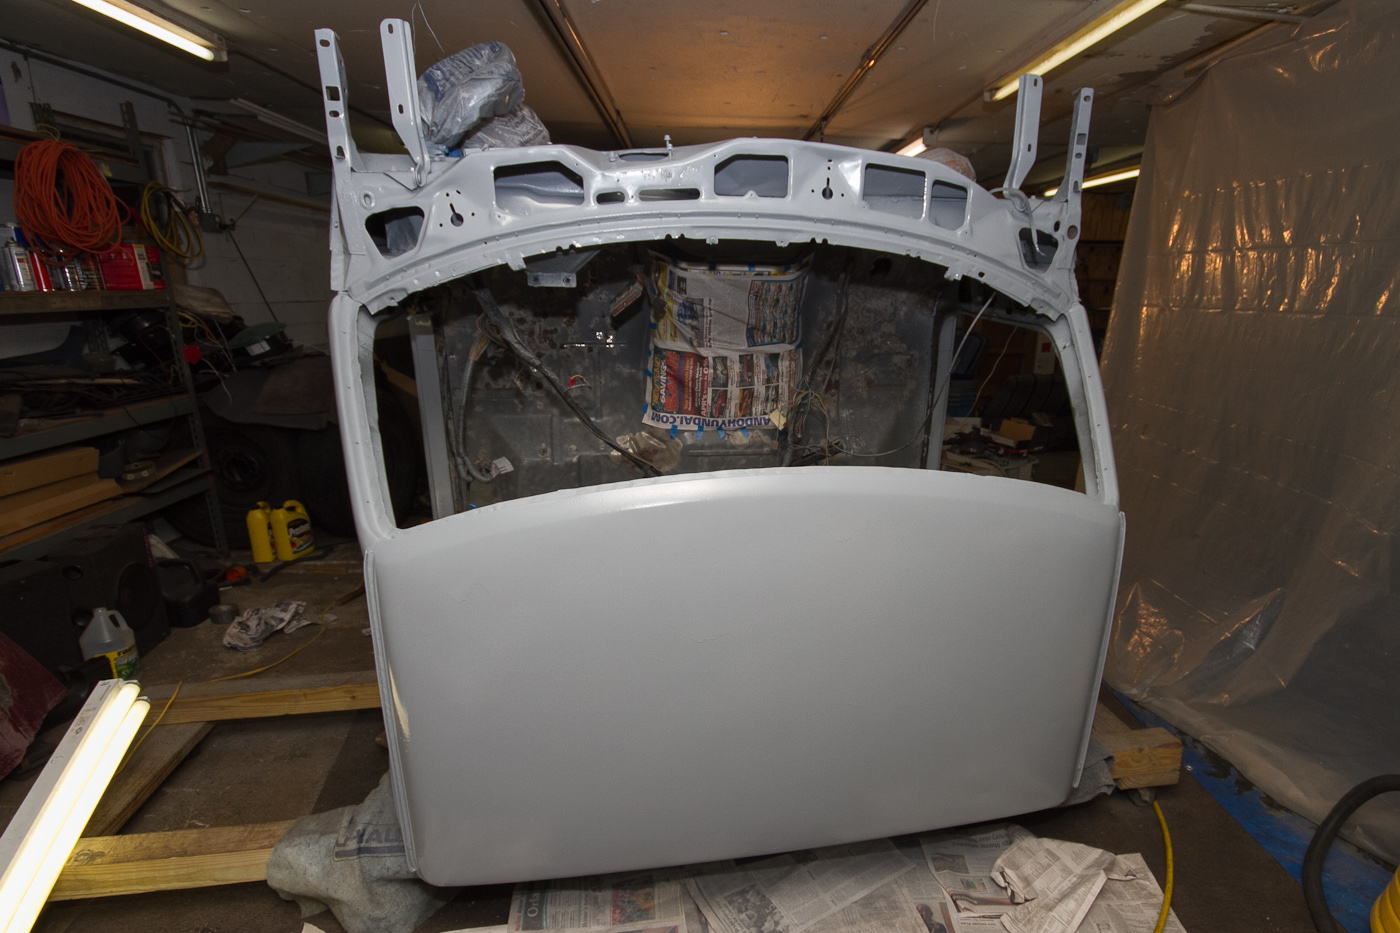
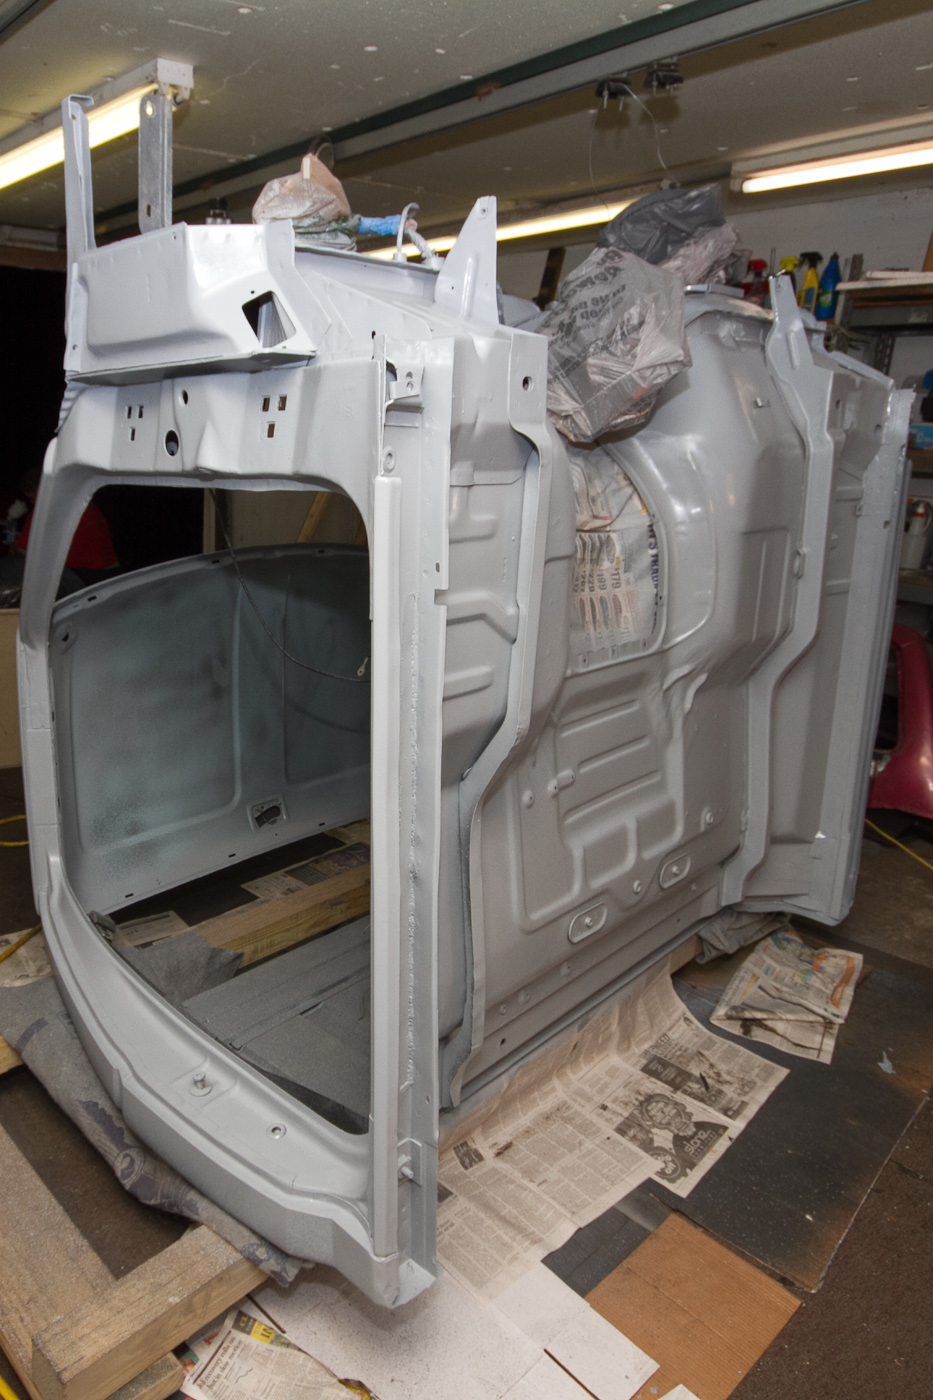
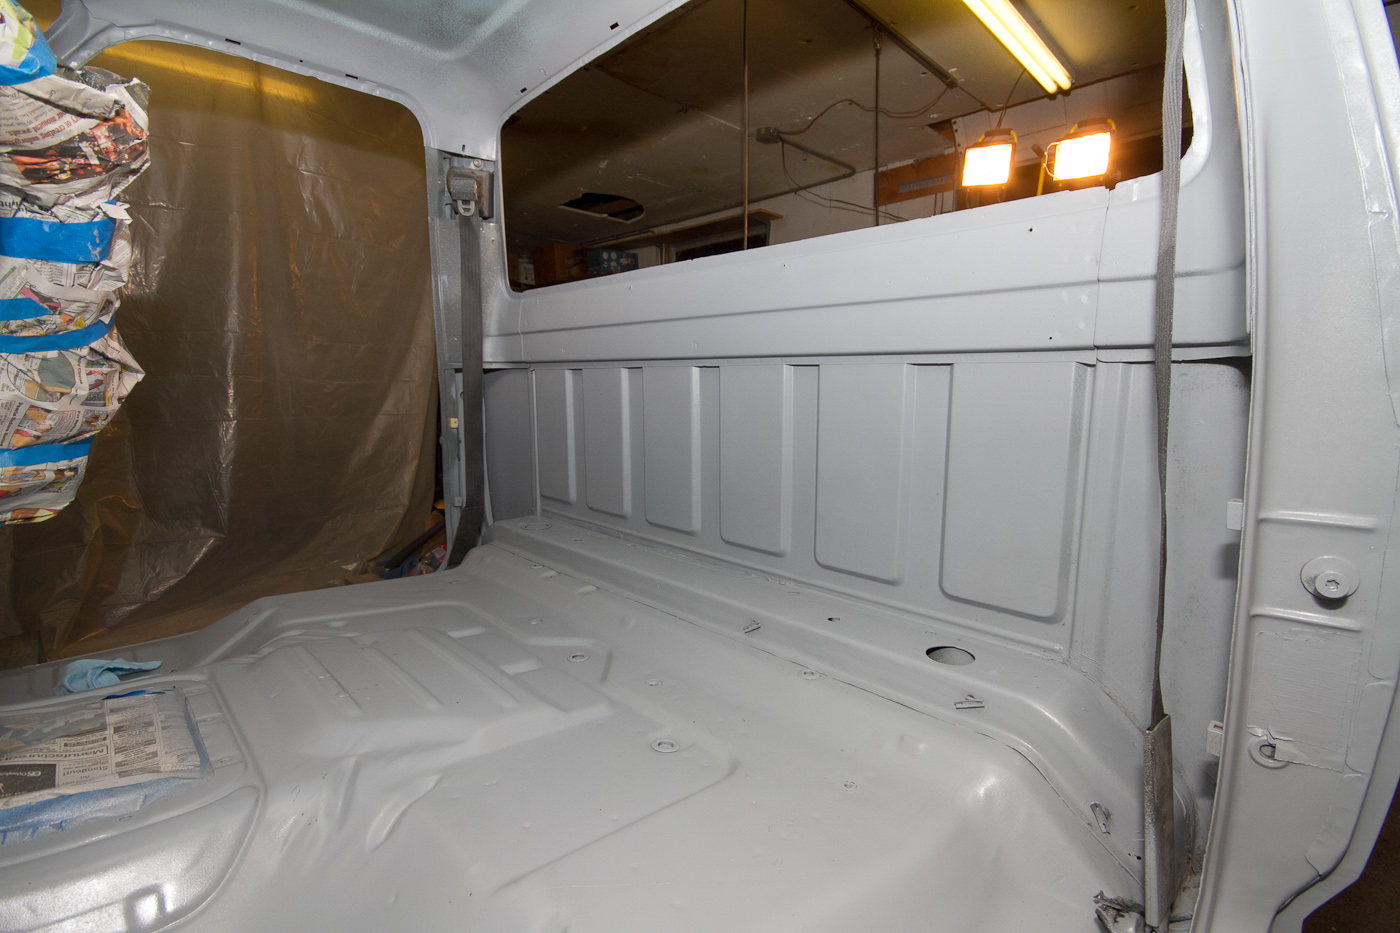
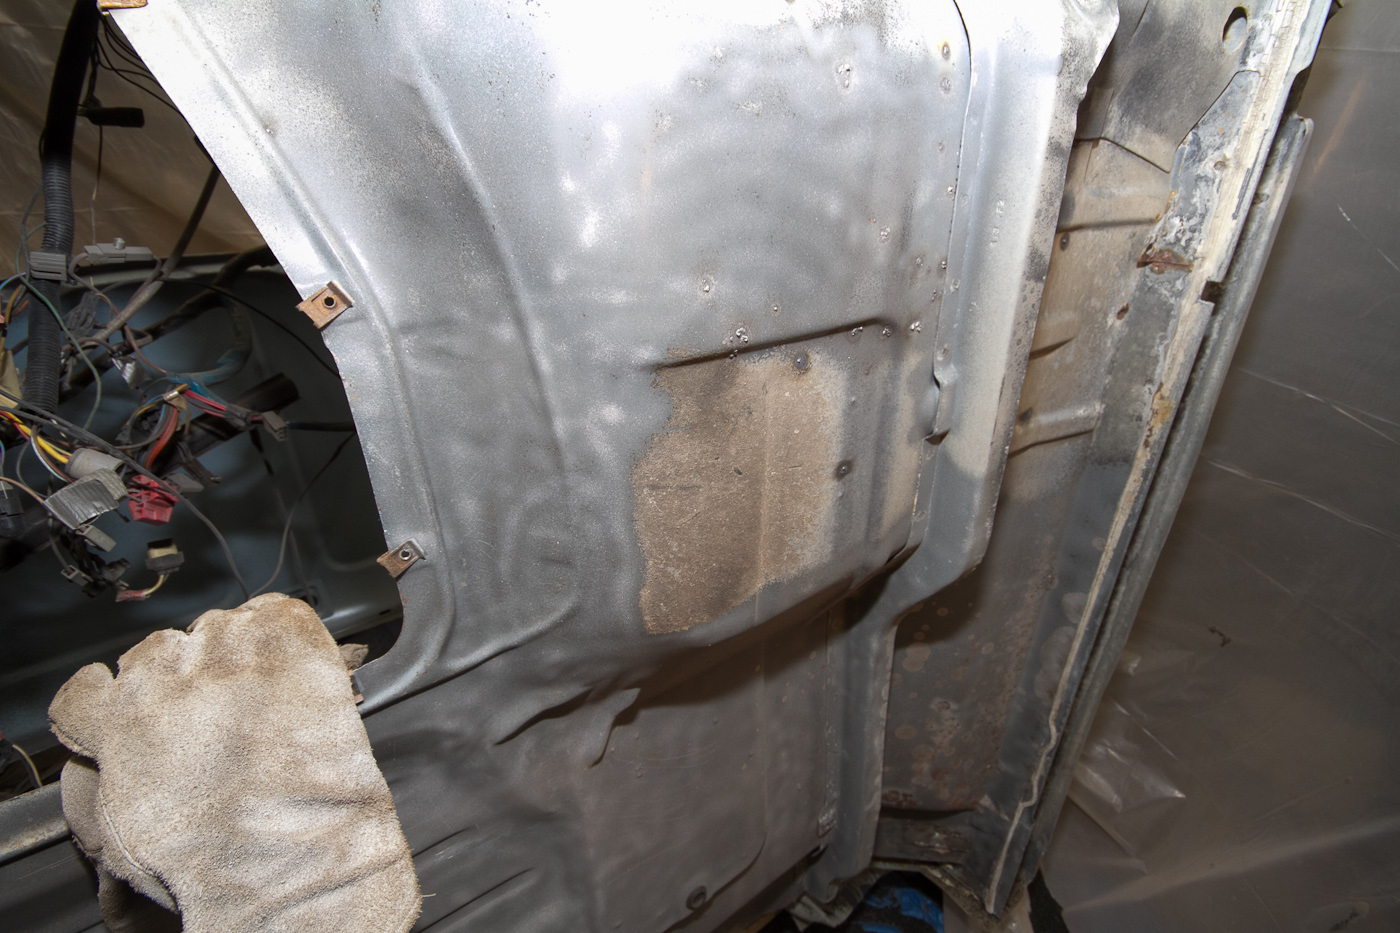
With relative ease (but not with speed,) 25 years of baked-on grease and dirt road mud disappear.

http://www.ronman.org/pics/f150/IMG_0850.jpg

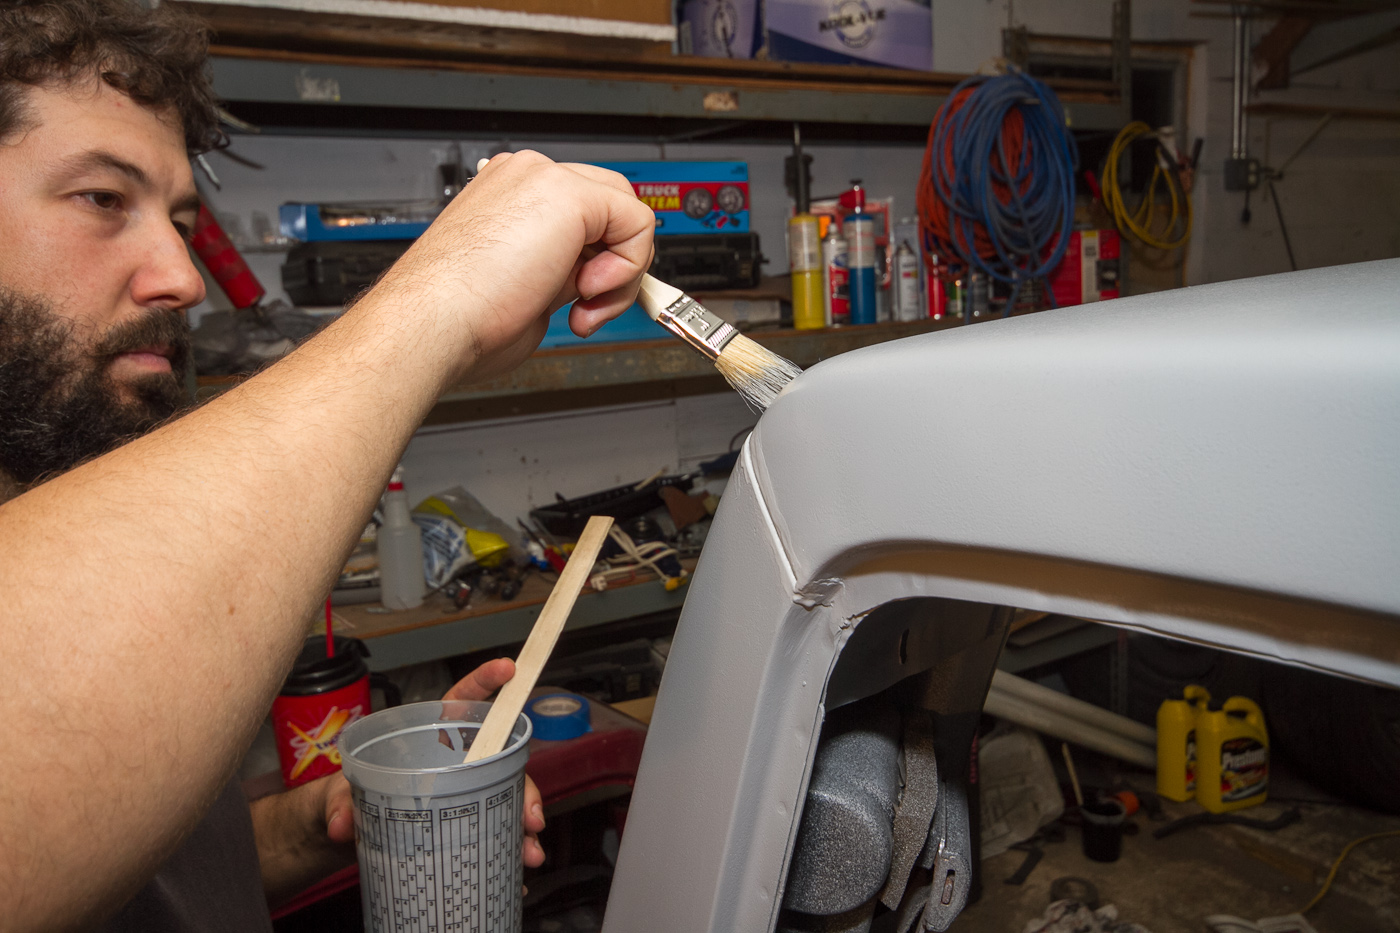
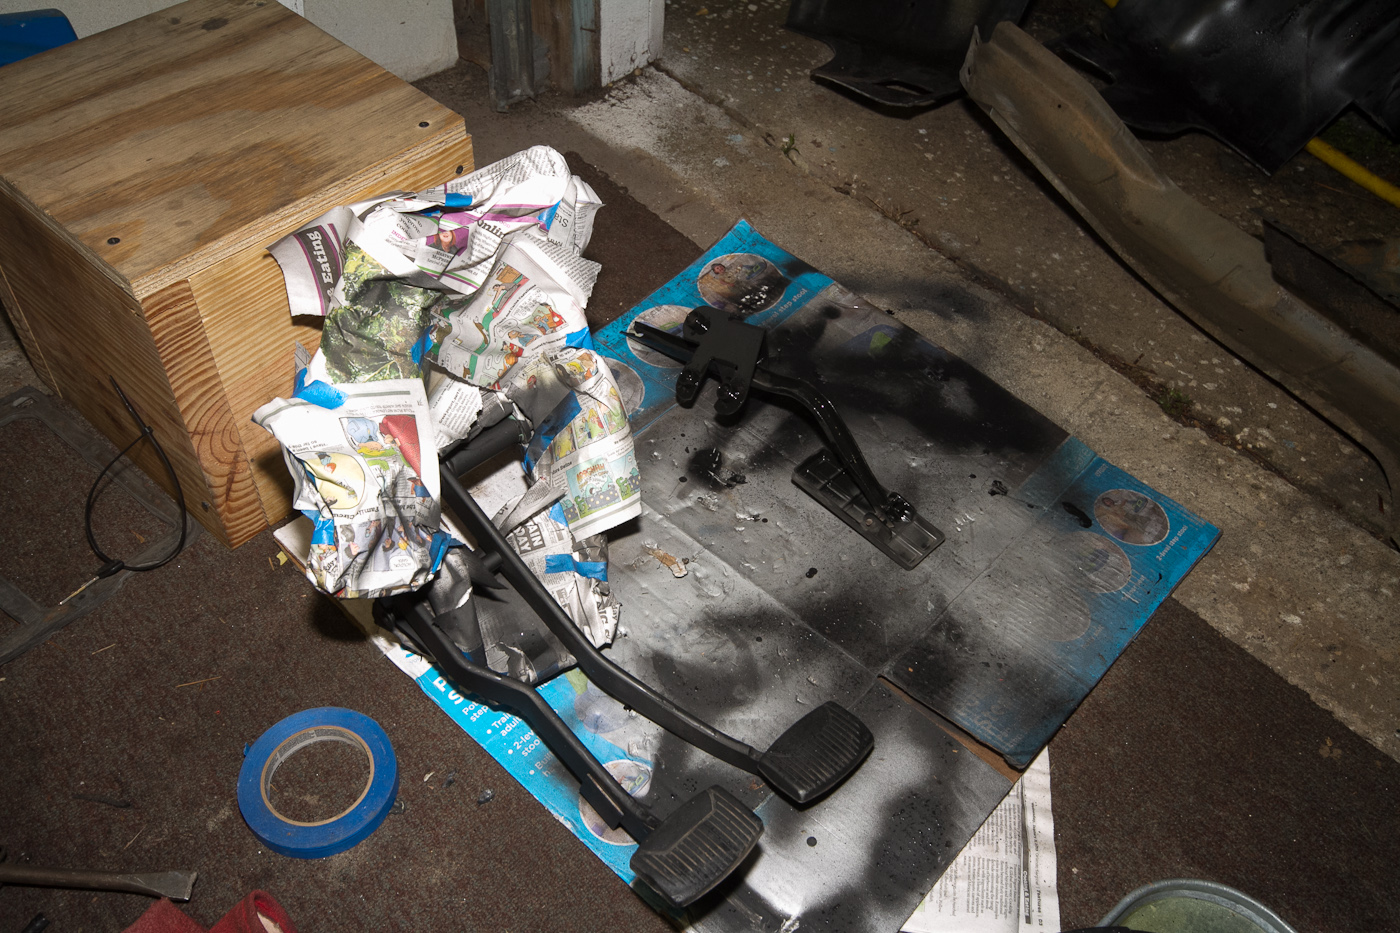
Meanwhile, Tim worked on cleaning up the pedal box (and then handing it off to me to finish-blast the main aluminum bit) and other metal bits and pieces, and painting them...

http://www.ronman.org/pics/f150/IMG_0853.jpg

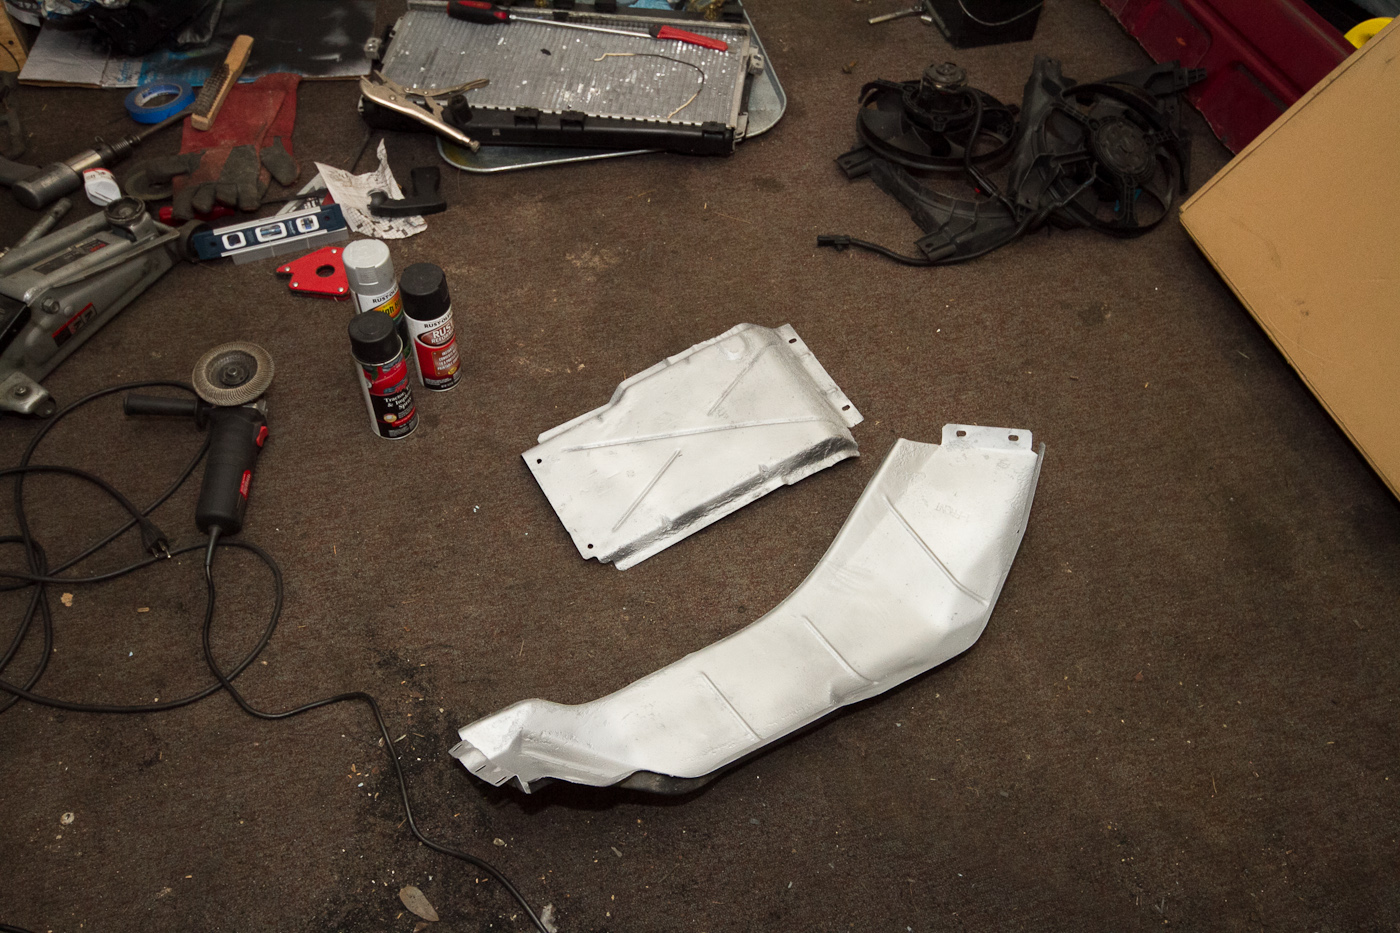
Converter heat shields:

http://www.ronman.org/pics/f150/IMG_0861.jpg

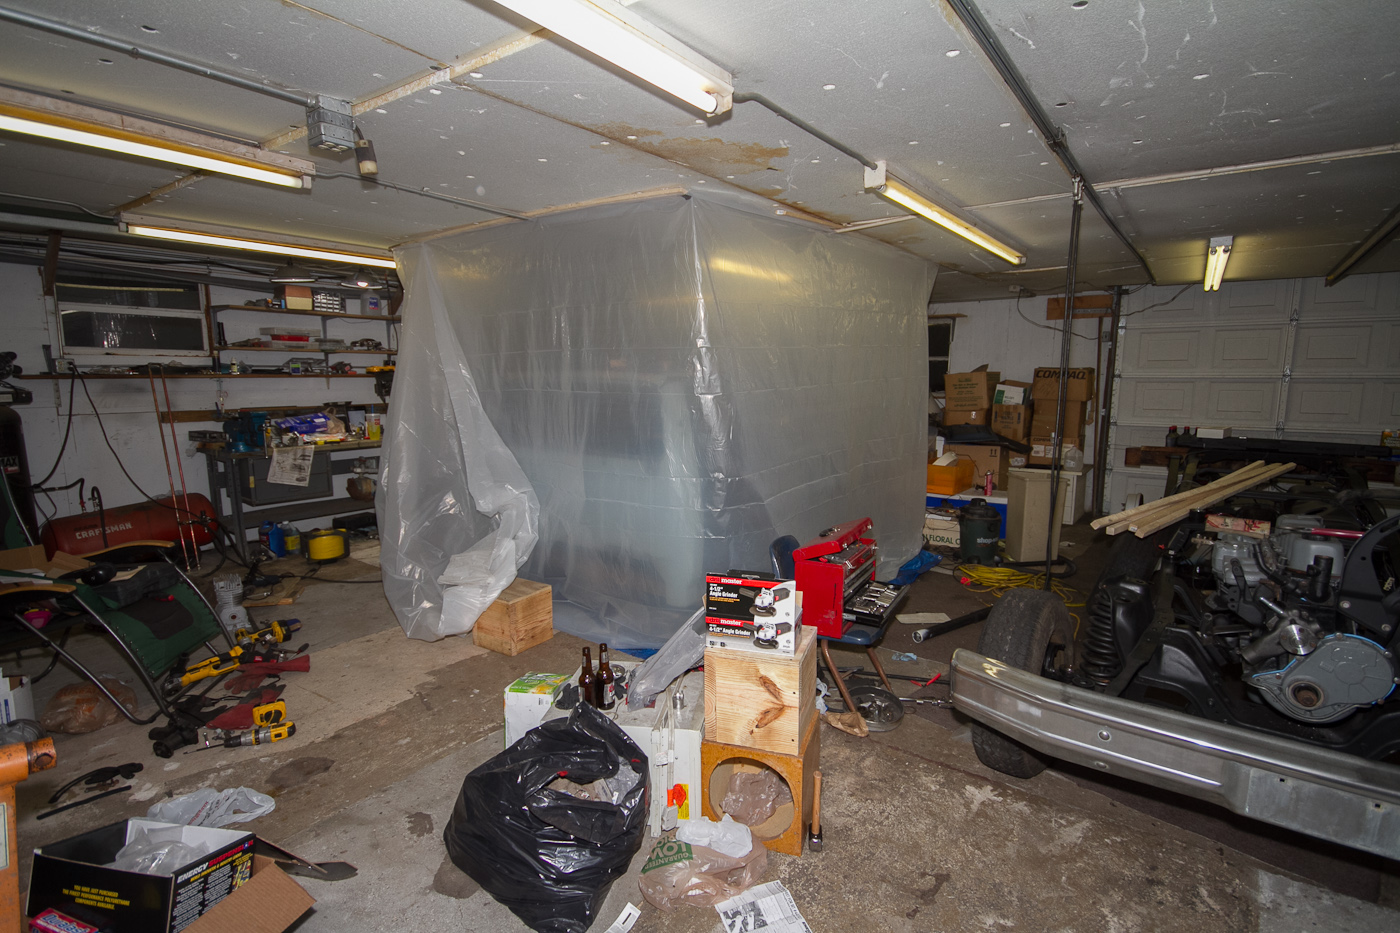
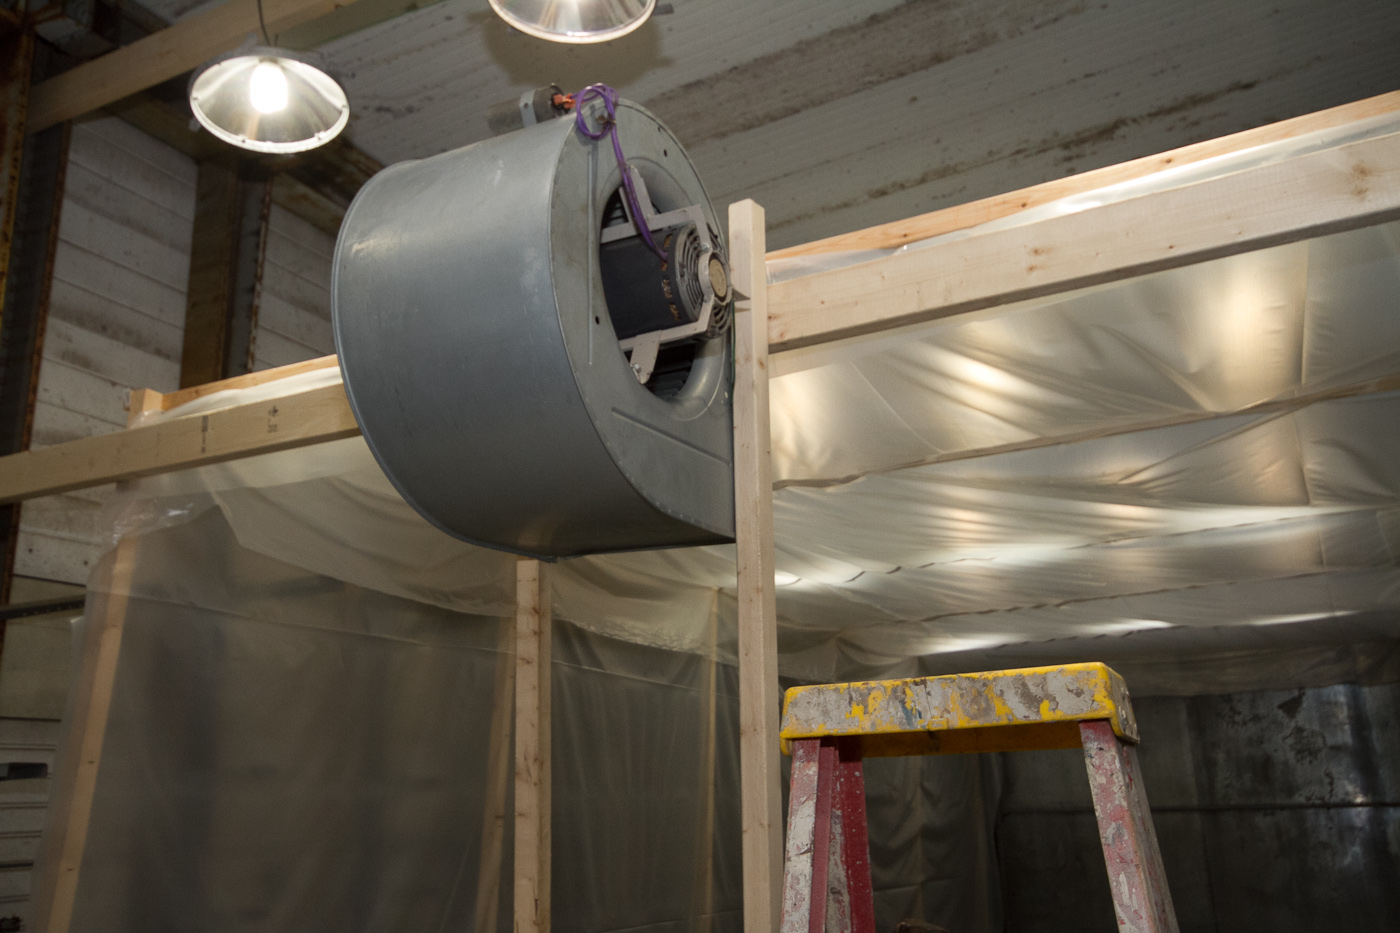
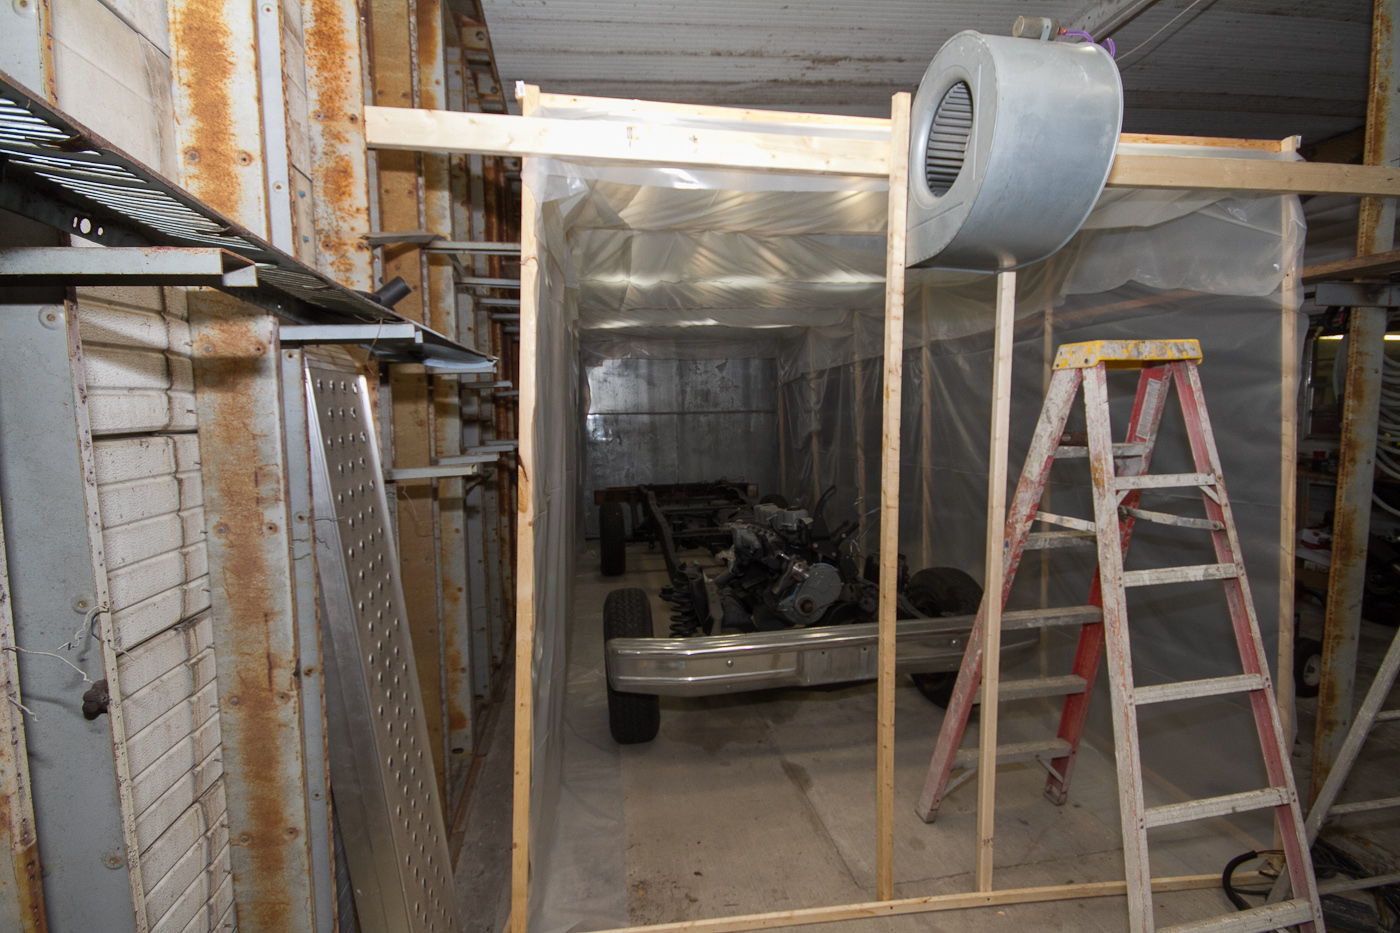
While Tim worked on that, Mike was over on the other side of the garage, mounting the first of two 240V 5-ton AC fans into the paint booth. We've still got a long way to go on the engineering of the ventilation system in here, but this is the fan that's going to pull outside air in and (in my mind at least) distribute it down through a plenum mounted to the ceiling of the booth.

http://www.ronman.org/pics/f150/IMG_0856.jpg
http://www.ronman.org/pics/f150/IMG_0858.jpg

Welding also took place, as I got around to sandblasting some stuff other than the cab, and cleaned up the battery box. It had typical metal battery tray rust, so a patch was in order:
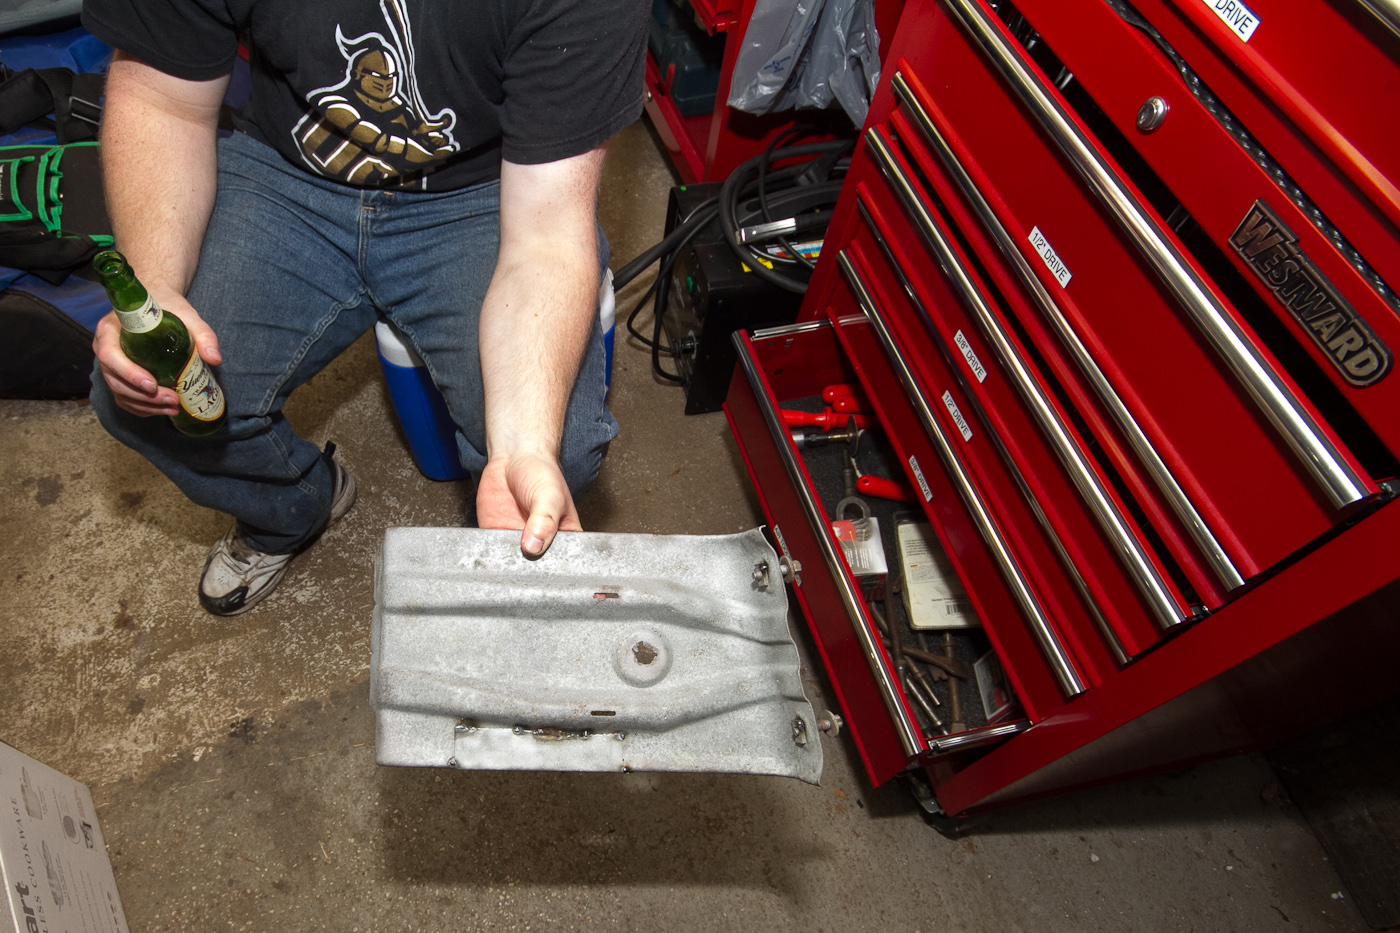
http://www.ronman.org/pics/f150/IMG_0859.jpg

Much better.

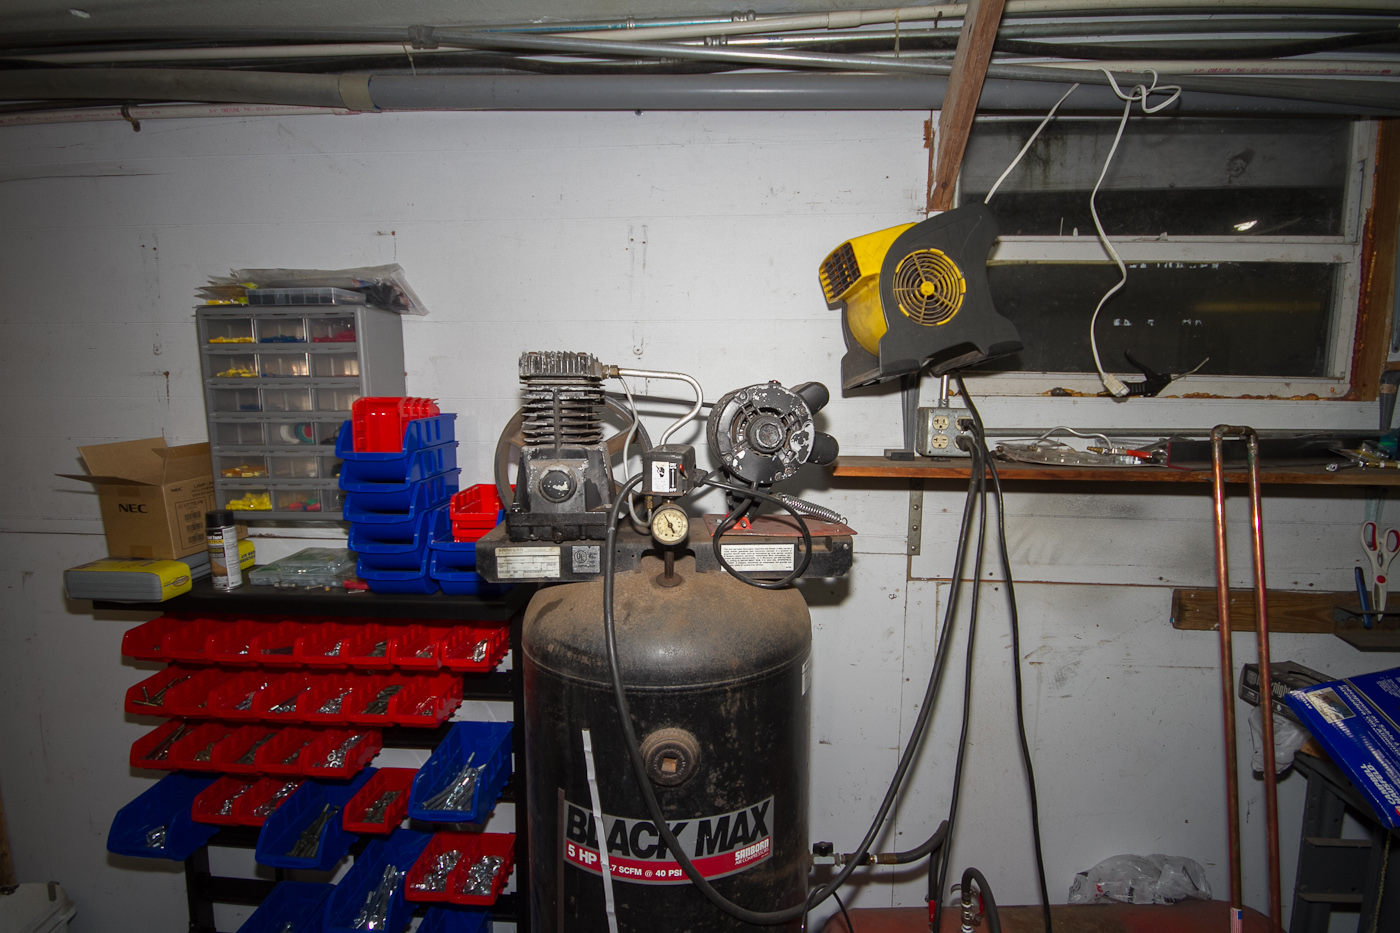
My blasting work on the cab pretty much ground to a halt when the air compressor started shaking violently around 10:30. Mike heard it and ran over to kill it, and we pulled it away from the wall and tried to figure out what was going on. It was readily apparent that the belt had jumped, but it wasn't til I went around to the other side that I saw this:

http://www.ronman.org/pics/f150/IMG_0867.jpg

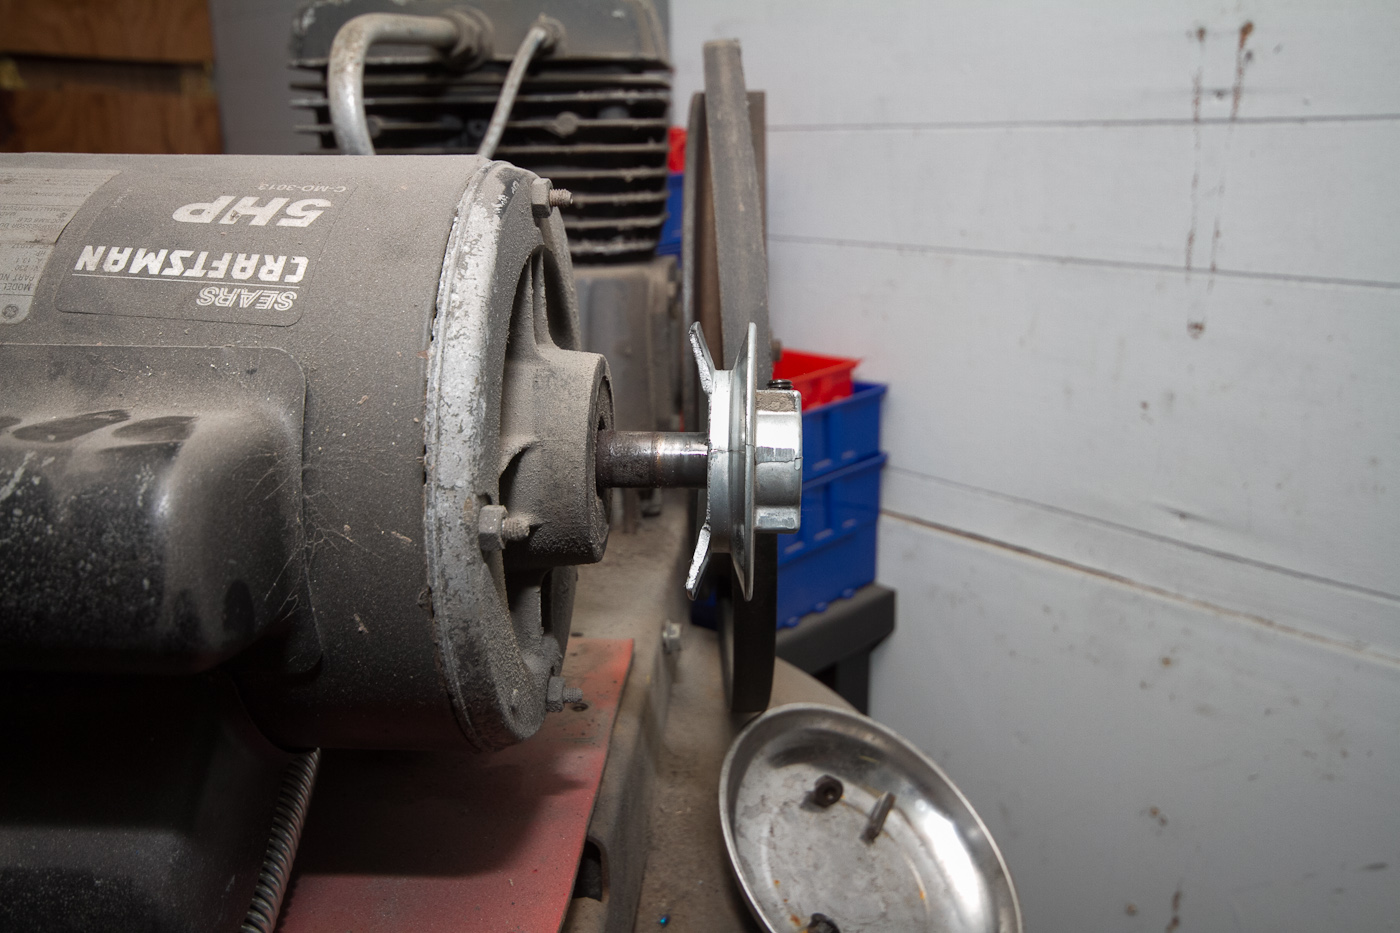
That's actually a US-made die-cast pulley, that very loudly came apart. I'll get another one tomorrow on the way out, and hopefully finish up the last bits of the cab underside as it sits now.

http://www.ronman.org/pics/f150/IMG_0864.jpg

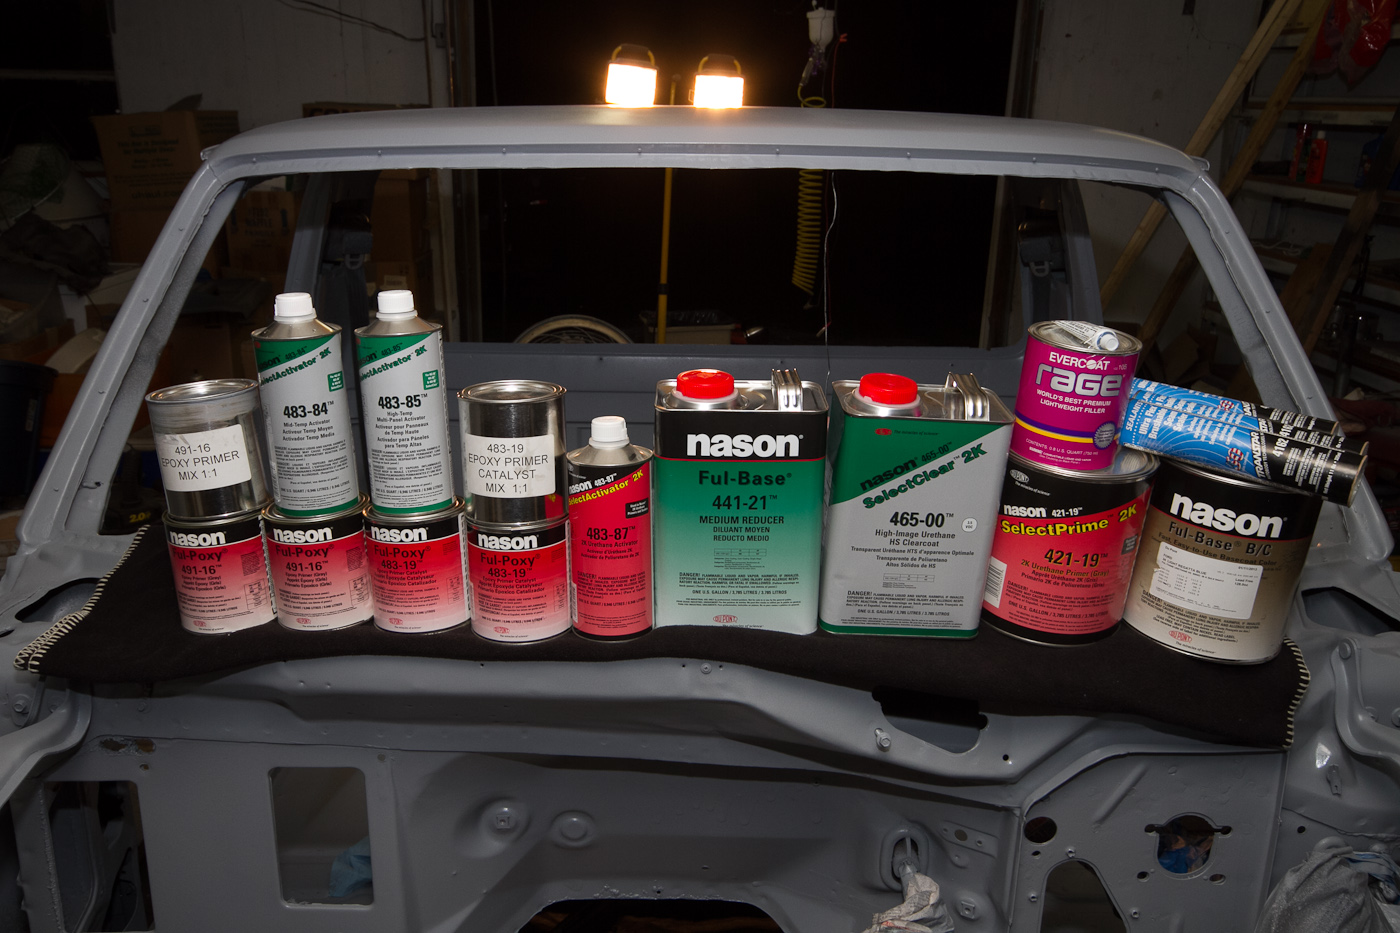
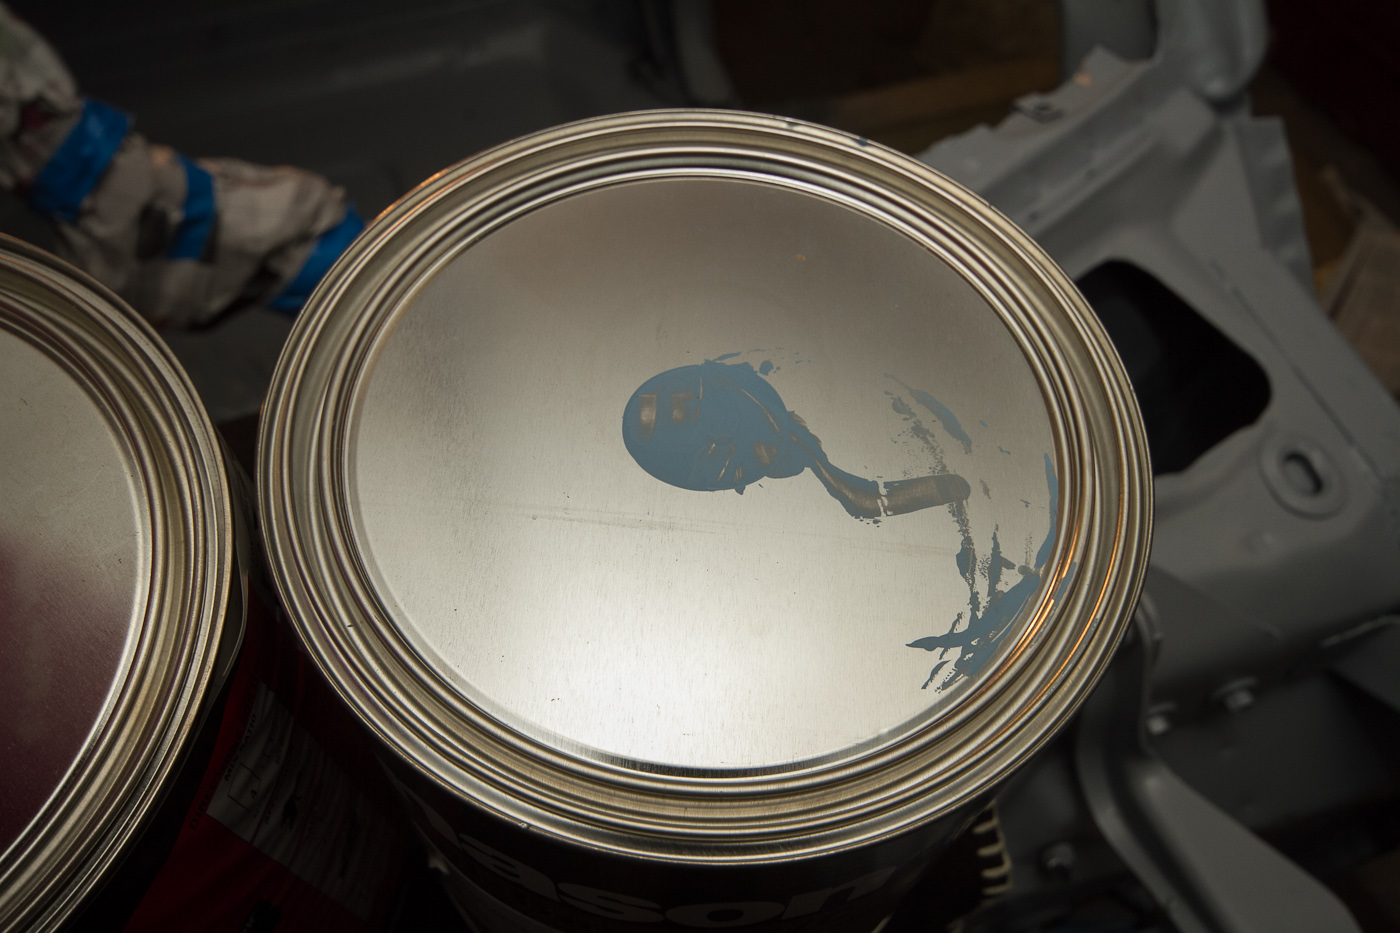
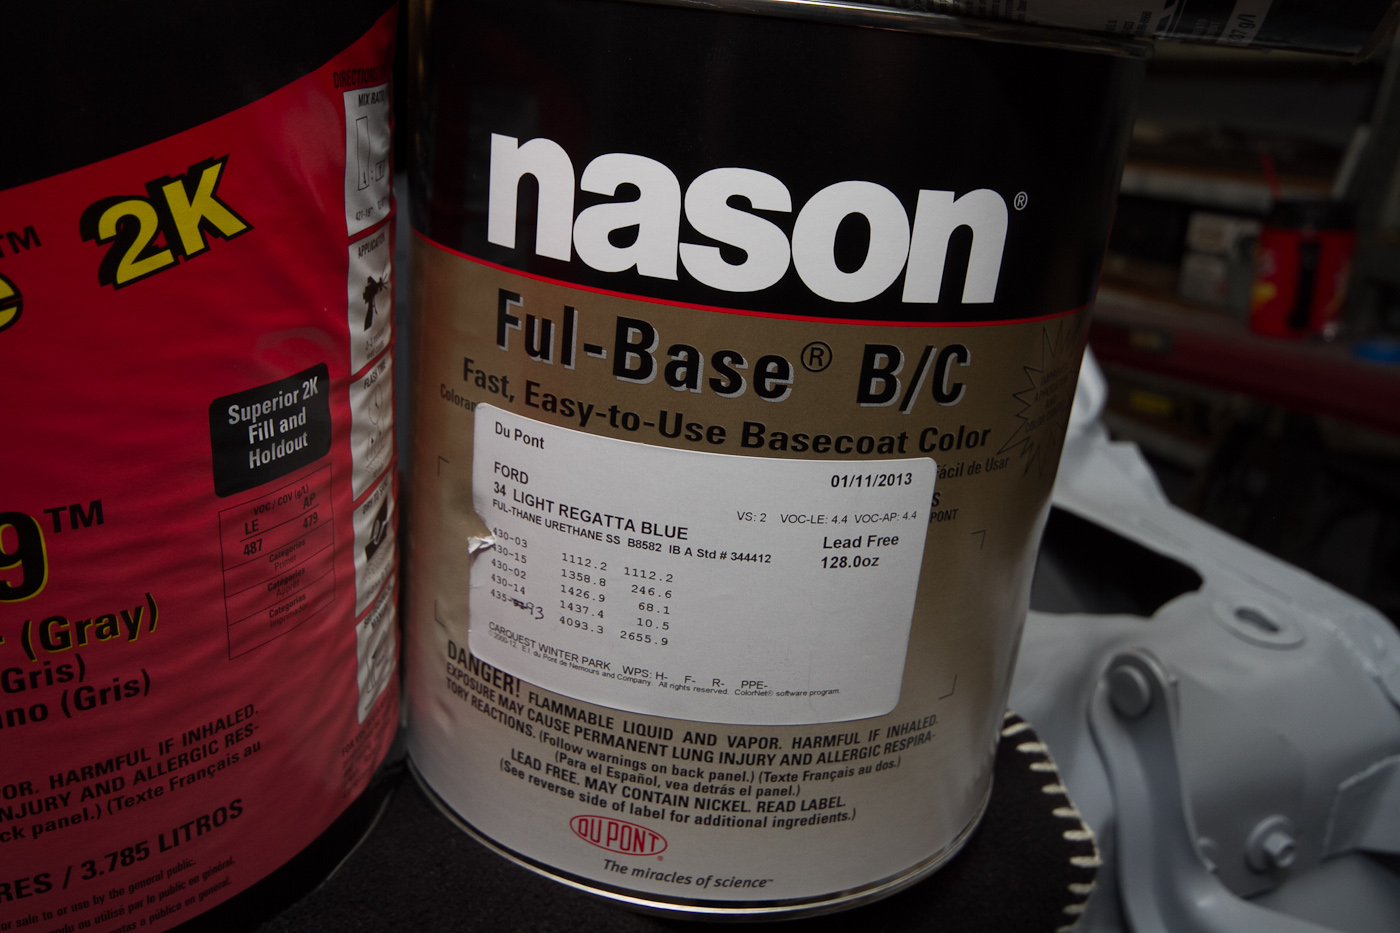
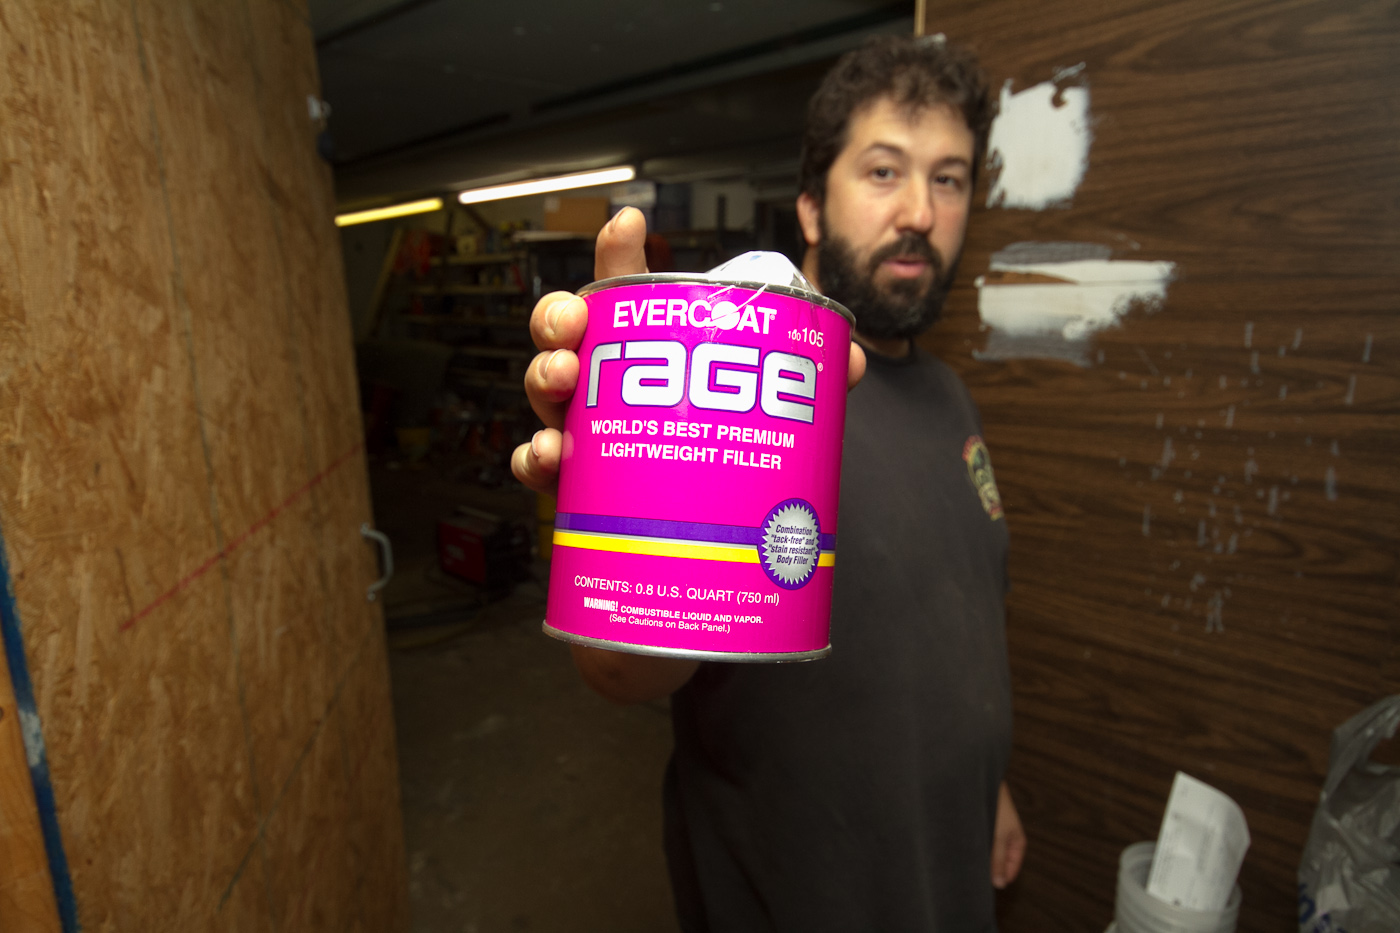
Oh, and actually something did happen Saturday. Mike went to the Carquest body supply store and got a few things, like the body filler:

http://www.ronman.org/pics/f150/IMG_0868.jpg

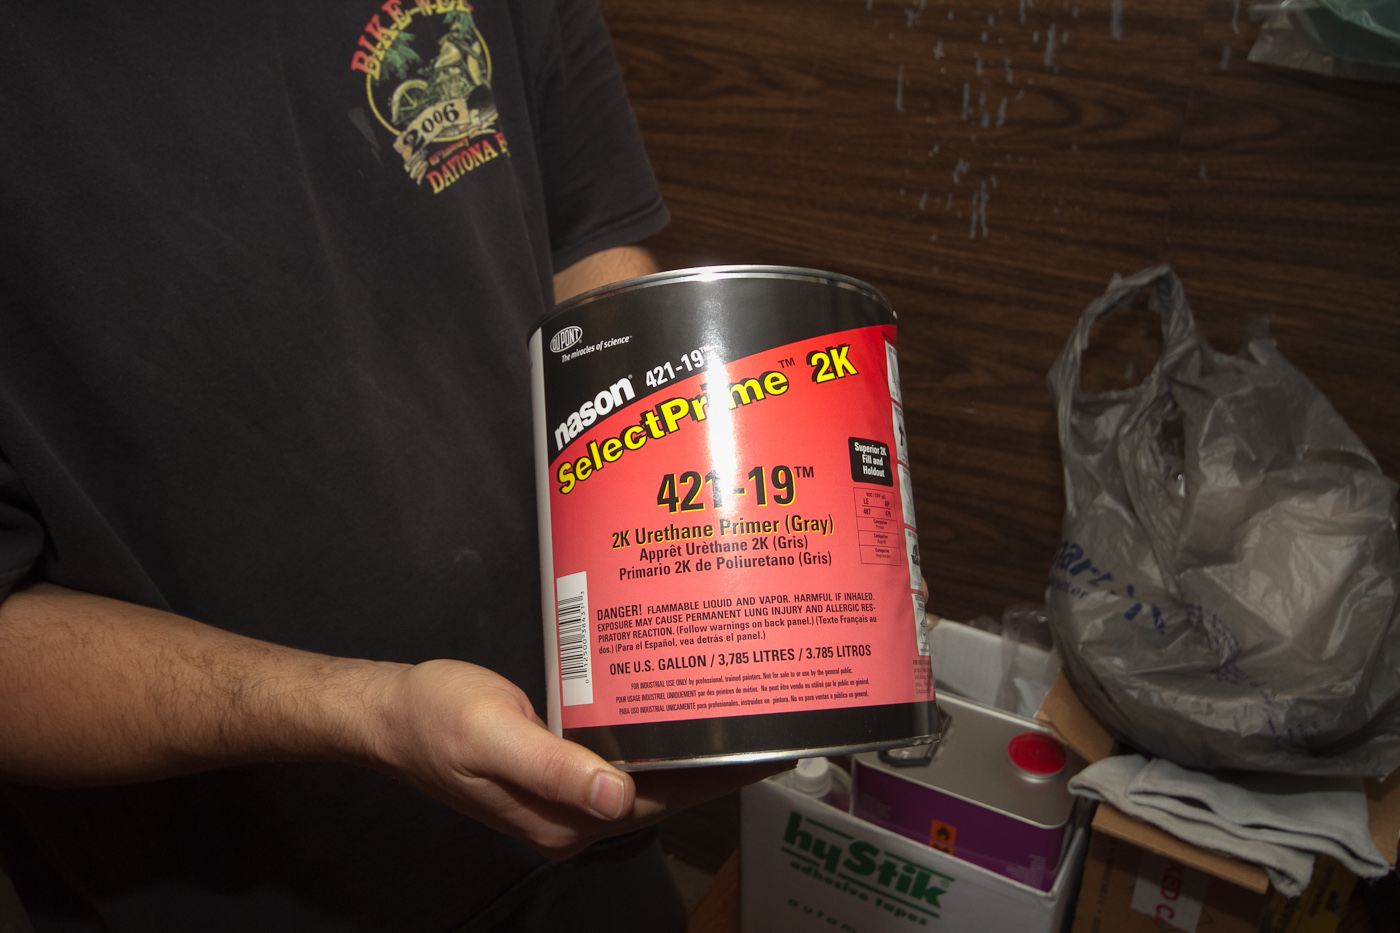
... and the urethane high-build primer, to go over the epoxy:

http://www.ronman.org/pics/f150/IMG_0870.jpg

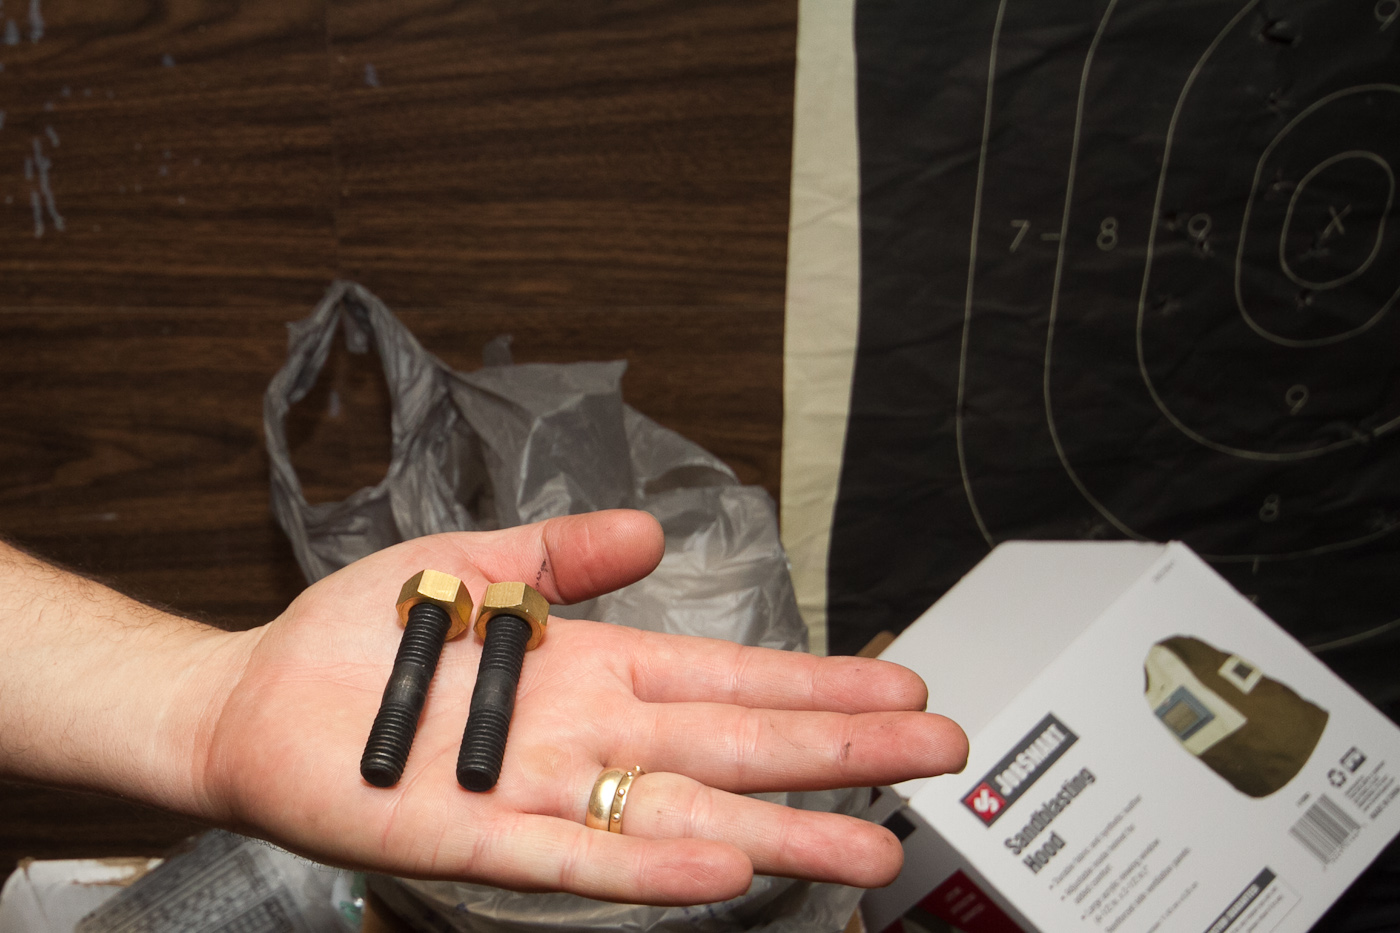
... and, to satisfy my friend Robert's strong warnings, some black-oxide grade-8 studs, with brass bolts for the exhaust.

http://www.ronman.org/pics/f150/IMG_0869.jpg

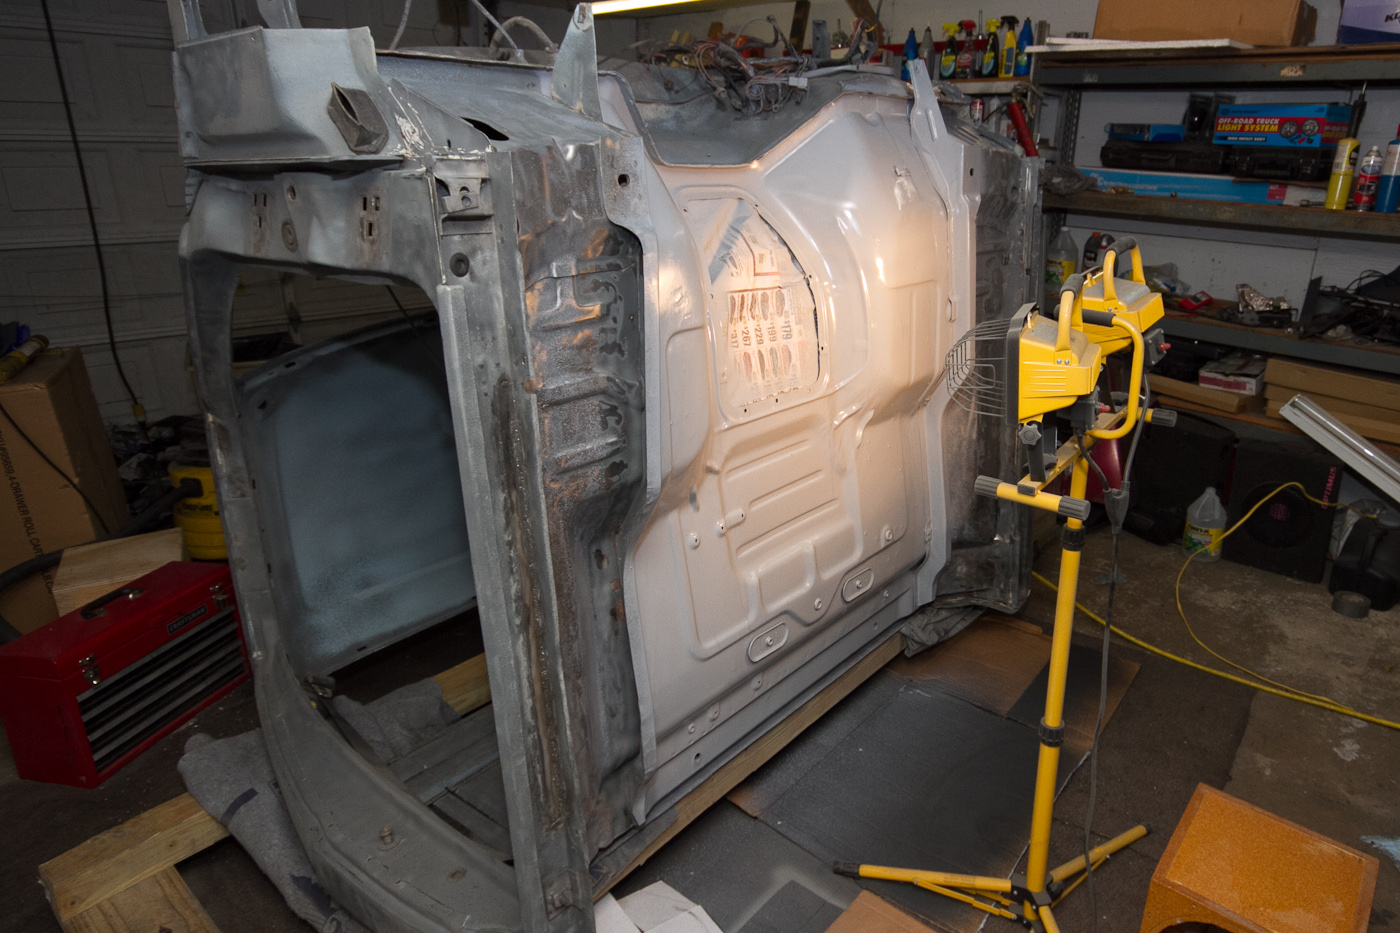
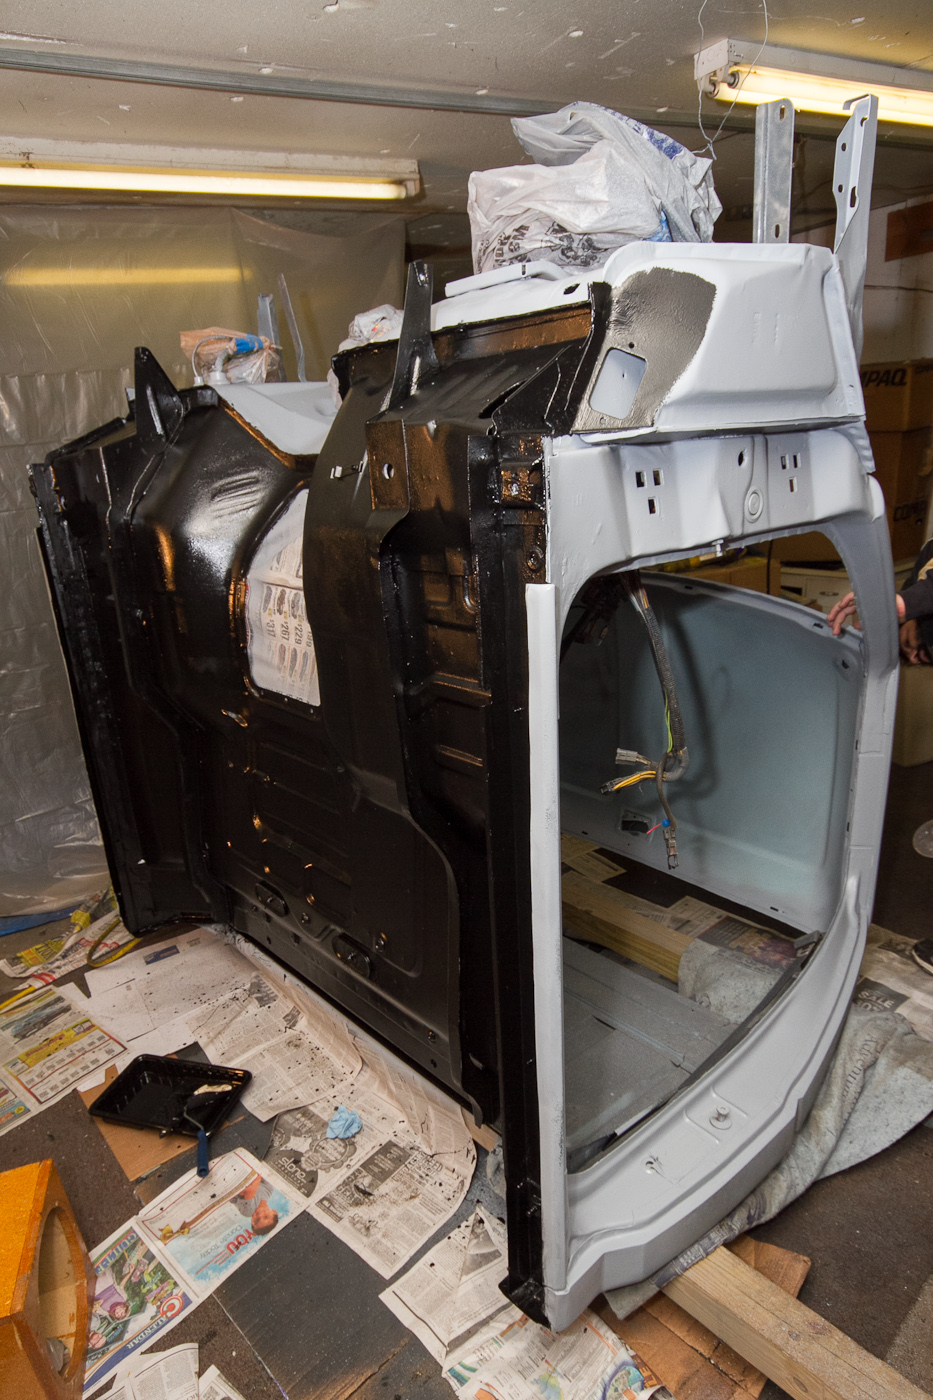
Tomorrow I'll get the cab bottom finished, and hopefully fully cleaned and ready so we can hit it with the epoxy and sit it back on its bottom and work on cleaning and prepping the rest of the cab for epoxy. We're going to use the full-thickness alkyd enamel tractor paint on the bottom, and just roll it on instead of trying to spray it on. The extra thickness should help out NVH a little bit, too.

Official photographer/Team Police Brutality|Speedycop & the Gang
Lackey-mechanic-whatever/NSF Racing
Sycophant/Judge Phil, Jay Lamm, Kim Harmon
Galaxie Driver/not Parnelli Jones

89 (edited by ronman 2013-01-08 09:40 AM)

Re: My F150 project

Another workday Monday, since I was off anyway...

I decided I would stop by the fixed-price LKQ yard by my house and see what they had in stock, knowing we need a p/s door and fender. I found a couple prospects, and so I had Mike text me a pic of the door and fender so I could make sure the bodylines were the same. While he was doing that, I started looking up fender interchange, only to find out that 80-86 is unique; 87-96 will basically swap directly, but the earlier trucks have a completely different wheel arch treatment, and a vestigial front bottom corner where the "newer" ones had nothing. Anyway, after finally getting a picture texted and comparing, and some fighting and lots of cussing because the 13mm socket was missing from my small junkyard toolbox (and it was the only tool other than a #2 philips & T20 screwdriver, and a 3/8" ratchet I needed to remove the door) I had the door in hand and paid the $80 ($60 for the door, $12 core, plus tax and an "environmental fee: roll)

http://www.ronman.org/pics/f150/IMG_0877.jpg

After heading out, I stopped by Tractor Supply to get a replacement for the broken compressor motor pulley, then got out there and unloaded the door and set about finishing up the last bits of sandblasting on the cab. Once that was done, we moved it out of the booth so that Mike could do a little more welding on it, and so we could sand and prep the roof and bottom.

http://www.ronman.org/pics/f150/IMG_0874.jpg

About that time Tim and Greg showed up, so I put Greg to work sandblasting the p/s fender (the next metalworking project is the repair of the rusted-away front corner)  and other pieces that still needed done, and set Tim to work on the underside of the hood...

http://www.ronman.org/pics/f150/IMG_0873.jpg
http://www.ronman.org/pics/f150/IMG_0876.jpg

... and I went to work with the RO sander on the roof.

http://www.ronman.org/pics/f150/IMG_0884.jpg

It was slow going on the hood because we had burned up all of our flap discs and strip discs, so Tim had to use a coarse-knot wire brush to strip the paint. Since this was less than ideal, and since Greg finished up the parts I had left for him, Tim moved the hood inside the booth and let Greg have at it. Then, I brought the new door over and had Tim get started on stripping it down. Someone had repaired the seal at some point with double-sided trim tape, so it took a lot of elbow grease for him to get it off...

http://www.ronman.org/pics/f150/IMG_0885.jpg

And then, we did something that's been a long time coming. After a final chemical cleaning of the metal...

http://www.ronman.org/pics/f150/IMG_0886.jpg

... Mike mixed up 8oz the two-part epoxy primer, and I set up the gun and shot of many coats onto the cab. Bear in mind this was just a test run, since it's the underside of the cab and will pretty much never be seen again.

http://www.ronman.org/pics/f150/IMG_0888.jpg

I've gotta put more heat to the primer to get it to harden because it was too cool out when it was sprayed last night. Does anybody know if there's such a thing as a halfway-decent 500W halogen bulb? It feels like I'm averaging about 45 minutes per HF bulb (but at 2/99c it's almost OK.)
We'll try to spray the roof today, barring too-high humidity...

Official photographer/Team Police Brutality|Speedycop & the Gang
Lackey-mechanic-whatever/NSF Racing
Sycophant/Judge Phil, Jay Lamm, Kim Harmon
Galaxie Driver/not Parnelli Jones

Re: My F150 project

Tonight was, as usual, just me and Mike. We started out doing some more prep work, and welding up a couple small holes we had overlooked before. That was short work for Mike, and in the meantime I worked on cleaning up all the sand from the cab. Then we separated out the tangled mess of wires, and got the harnesses isolated, bundled up, and wrapped in plastic bags to protect against overspray; the dash harness is hidden, and is attached to the firewall at both ends, so it was left unprotected. No biggie, since it's completely out of sight.

After the very long cleaning process was done - every time we'd move a wire, more sand would pour out of the convoluted tube wrapping it. Eventually, with enough vacuuming and compressed air, though, it was good enough, and we set about giving it the chemical wipedown in preparation for more epoxy primer.

The remainder of the floorpan:
http://www.ronman.org/pics/f150/IMG_0893.jpg

The door frames and surrounding metal:
http://www.ronman.org/pics/f150/IMG_0895.jpg

The roof, windshield frame, and A-pillars:
http://www.ronman.org/pics/f150/IMG_0897.jpg

And then, after all that was done, and the primer was mixed and had cooked off for the required 30 minutes, we busted out the spray gun and got to it. What a difference a small fan in the room, blowing to the outside, makes. The other day the fumes from the primer would have gotten the pope high, but tonight they were hardly even noticeable. After the first run-laden spray job, I cleaned the gun and had an epiphany: I was running it with the fluid flow/needle plunger WAAAAAAY too far out, which was causing the spattering I'd been seeing with the gun initially on the frame, and again here on the underside of the cab. So, Mike mixed up another pint of primer and reducer, and while that cooked we went to grab some food and Slurpees (it's a tradition.) When we got back, I poured the primer into the gun again, and this time, set the flow needle waaaaay down. This worked beautifully, and made the primer coverage vastly better. It also looked better, ran less - it's all about technique, and mine needs work, but I've got the basics down. Plus, this is the base coat of primer/sealer, we can sand down the high spots and cover the mess with the high-build primer we're going to spray on after we put the cab back in its proper orientation, hopefully tomorrow.

So, without further ado, a grey truck cab:

http://www.ronman.org/pics/f150/IMG_0901.jpg

http://www.ronman.org/pics/f150/IMG_0903.jpg

http://www.ronman.org/pics/f150/IMG_0904.jpg

http://www.ronman.org/pics/f150/IMG_0905.jpg

Hooray, visible progress!

Official photographer/Team Police Brutality|Speedycop & the Gang
Lackey-mechanic-whatever/NSF Racing
Sycophant/Judge Phil, Jay Lamm, Kim Harmon
Galaxie Driver/not Parnelli Jones

91

Re: My F150 project

UMMM, 2.2 Chrysler needs you.  Kim, Brette, Katie and Chelsie need you.

This space for rent.

Re: My F150 project

This has to be done by in two weeks, the 2.2 has 2 months. wink

Official photographer/Team Police Brutality|Speedycop & the Gang
Lackey-mechanic-whatever/NSF Racing
Sycophant/Judge Phil, Jay Lamm, Kim Harmon
Galaxie Driver/not Parnelli Jones

Re: My F150 project

Restore and paint my Deuce next!!!   

Buddy.  smile

Dangerous Banned Technology (NOLA 09), Judges Choice (Houston 2010), Organizers Choice (NOLA 2010), Most Heroic Fix (Dallas 2010), $100 from Jay's Pocket (Dallas 2010), Dangerous Homemade Technology (NOLA 2010), Ununhexium Legends of Lemons Status,  Index of Effluency (Dallas 2011), Most Heroic Fix - (Houston 2011), Index of Effluency (TWS - 2012), Organizers Choice (Dallas 2013)

Re: My F150 project

My Ramcharger is next in line, but working on a Deuce with all its lovely flat surfaces and thick metal would be a lot more fun...

Official photographer/Team Police Brutality|Speedycop & the Gang
Lackey-mechanic-whatever/NSF Racing
Sycophant/Judge Phil, Jay Lamm, Kim Harmon
Galaxie Driver/not Parnelli Jones

95

Re: My F150 project

Ooo okay

This space for rent.

Re: My F150 project

Short night tonight, but we still got some sanding knocked out and got a nice, thick coat of the alkyd enamel equipment paint (the stuff we used on the frame) on the underside of the cab. Working that shit reduced 1:1 with lacquer thinner is a totally different affair than using it full-strength with catalyst/hardener added to the mix... you can't be too picky about brush strokes or texture from the medium-nap roller, that's for sure. Fortunately in a day or two this will side of the cab will hopefully never again see the light of day, and it won't matter. I'm OK with the finish being marginal, too, because my #1 concern - here on the bottom especially - is corrosion protection. Once this stuff dries and gets nice and hard, you'll have to take a drill to make a scratch in it, and that makes me feel good. It's what I'd do if it were my own truck, and that's been my guiding principle this whole time. cool

http://www.ronman.org/pics/f150/IMG_0909.jpg

http://www.ronman.org/pics/f150/IMG_0914.jpg

Thursday night: finishing the evil Neon and getting rid of it; Mike and Tim will work on prepping the floorpan for epoxy; I will spray the epoxy on the floorpan, hopefully two coats (recoat time is 30 minutes with the stuff we're using;) and rotation of the cab back into its normal orientation. Maybe we'll get Tim in the sandblasting booth with the grinder and a stripdisc for some fender and door work, too...

Official photographer/Team Police Brutality|Speedycop & the Gang
Lackey-mechanic-whatever/NSF Racing
Sycophant/Judge Phil, Jay Lamm, Kim Harmon
Galaxie Driver/not Parnelli Jones

Re: My F150 project

Thursday went according to plan, amazingly...

I started out by finishing up the Neon, while Mike took the grinder to a couple spots in the floorpan that he wasn't quite satisfied with. After about an hour of busting my knuckles putting the Neon back together, I was done and ready to spray the epoxy I had told Mike to mix up (remember, it has to "cook" for at least 30 minutes above 70*F, and an hour below 70. I got the paint gun set up and began painting the floor, and putting a second coat on the roof. I've already improved substantially, but there's still loads of room for improvement. Before this project the last time I held a paint gun was when I shot some of the interior of the NSF Racing 1950 Mercedes-Benz 170S... and before that, sometime during the nascent years of the Clinton administration. Anyway, with that paint mostly used up, and Tim and Greg finally arriving to help with the cab flip, I hung the gun up and we all grabbed a corner and lifted the cab up and onto its pivot point, then sat it back down on the dolly. That nice black paint shouldn't ever see the direct light of day again. :up:

So now, with the cab properly upright and the roof "good enough," I sprayed the remainder of the paint I had in the gun onto the outside of back wall of the cab, and part of the outside of the firewall. Of course, before spraying that I had to disassemble my gun, because this epoxy sets up really fast, and it had plugged my nozzle in the 15 minutes we took to rotate the cab. Whoops. At least it cleans up really easily with lacquer thinner when it's still wet.

http://www.ronman.org/pics/f150/IMG_0915.jpg

http://www.ronman.org/pics/f150/IMG_0919.jpg

In this new light, the small dents and dings in the roof are really visible, and the epoxy really exaggerates them. These are all really shallow dents, and since there's no access to the backside of them, and we don't have a spot welder/puller, we're just going to feather in some filler and call it good. These huge-looking dents are very small and shallow, and I purposely shot them in this exaggerated light to show them off...
The small dent in the rear cab wall will also get filled.

http://www.ronman.org/pics/f150/IMG_0921.jpg
http://www.ronman.org/pics/f150/IMG_0925.jpg
http://www.ronman.org/pics/f150/IMG_0924.jpg

After the flip we had to mix up the remaining primer we had on hand, so while it cooked we started inspecting our work. The gutters and inside cab corners were areas of special concern, and I got the brilliant idea to take a small brush and really pack the epoxy down in the gaps, much more tightly than the spray gun could possibly blow it in. We'll have to sand out a few runs, but the high-build primer we spray on next will cover most of the little runs and flubs up nicely.

http://www.ronman.org/pics/f150/IMG_0926.jpg

We also handed Tim and Greg grinders with strip-discs mounted and let them have at the doors. The difference in paint and primer between an '86 and a '94 is tremendous - I don't think we'll even bother fully stripping the white door, and instead just get some etching primer for it. I'm also still considering going back and getting the other door off the junkyard '94 F250, so the only visible difference (the front corner of the vent window) matches. Greg was working the blue door, and had progressed to here after about 30 minutes:

http://www.ronman.org/pics/f150/IMG_0927.jpg

... meanwhile, Tim had only gotten this far:

http://www.ronman.org/pics/f150/IMG_0928.jpg

I'll probably wind up just blasting the paint off (and we're not even going to bother trying to disc the d/s fender) since the $10-a-pop strip discs aren't really doing as good a job at removing the old paint as I'd like. And once the doors are done, we've got to make a set of body shop stands to hang them on for primer and paint. And then we can start working on the bed. yikes

So, here's where I left it at 1:30 this morning. As you can see, I've still got quite a few spots I have to get at inside the cab, mostly at weird angles. Tonight I'll be able to get inside the cab and move around, which I couldn't last night because the primer was still drying, and I should be able to make pretty short work of it. I've gotta buy another $80 quart of primer, though, unless the gallon is considerably cheaper; I estimate we'll need about 1.5qts to finish the whole truck, and having extra on hand would be nice for the Ramcharger, plus Mike has decided he wants to repaint the tank on his R6... and I really need to fix the rear d/s door on my truck, and the p/s bedside on his Dmax Chevy needs replaced as well. yikes

http://www.ronman.org/pics/f150/IMG_0929.jpg

http://www.ronman.org/pics/f150/IMG_0930.jpg

http://www.ronman.org/pics/f150/IMG_0931.jpg

Official photographer/Team Police Brutality|Speedycop & the Gang
Lackey-mechanic-whatever/NSF Racing
Sycophant/Judge Phil, Jay Lamm, Kim Harmon
Galaxie Driver/not Parnelli Jones

Re: My F150 project

So yesterday after work, Mike asks me to stop by the paint place and pick up the color and clear; what I determined would be enough epoxy to final coat the cab, the doors, fenders, hood, and bed; seam sealer; and the activators and catalysts for everything. I knew this was going to hurt, but I didn't think it would come out to the $554.73 it did. But again, I'm trying to do things the way I would want them done for my own truck, so premium ingredients it is. This $554 figure is, by the way, exclusive of the $170.19 Mike spent last week on the initial batch of epoxy primer, body filler, and high-build primer.

Here's what $800 of paint and primer looks like, by the way:

http://www.ronman.org/pics/f150/IMG_0934.jpg

The factory color code is 34, which translates to Light Regatta Blue, a color anyone alive in the '80s will immediately recognize. This dot on the can is not a very accurate representation of the color due to the really poor lighting in the garage, and the reflective surface.

http://www.ronman.org/pics/f150/IMG_0939.jpg

http://www.ronman.org/pics/f150/IMG_0936.jpg

We spent most of the night sanding, filling, waiting 15 minutes, sanding again, filling, waiting, sanding, filling, etc. The only areas we really needed to focus on were the roof and the back panel, which was the test area since it's completely inconspicuous once the bed goes on. We also filled the welded parts of the rear window surround. I just got back from getting some 320-grit and a bigger sanding block, so as soon as the dryer finishes my work pants, I'll be back out and working on finish sanding and laying down the final coat of epoxy.

http://www.ronman.org/pics/f150/IMG_0940.jpg

We also busted out the Eastwood inner frame epoxy paint, and used the entire can hitting the backsides of welds and all the little spots there's no way in hell you could ever get paint with a brush. This stuff is really thin/watery, but it sticks to EVERYTHING, and and it dries hard. The applicator hose is equally awesome, and with a stiff piece of wire taped to it so you can point it exactly where you want it, it's a really useful tool. Bonus feature: the adaptor cap for it also fits any aerosol can with a tip like this:

http://www.papercasa.com/ebay/new_pa1.jpg

Here's Mike demonstrating the pattern while cleaning it out with brake cleaner. As you can see, there's a ton of pressure and great omnidirectional coverage. Obviously it's not going to fan out that far with metal 1/4" away from it...

http://www.ronman.org/pics/f150/IMG_0942.jpg

Tonight should be a major progress night. The doors, fenders and hood should get their paint removal finished, and and the cab should also be finished. Mike is ambitious, and wants me to spray the high-build primer tonight as well, after the epoxy has an hour or so to set up; the documentation on it says to wait 30 minutes.

Official photographer/Team Police Brutality|Speedycop & the Gang
Lackey-mechanic-whatever/NSF Racing
Sycophant/Judge Phil, Jay Lamm, Kim Harmon
Galaxie Driver/not Parnelli Jones

Re: My F150 project

Last night while Tim and Greg finished enclosing the paint booth (a big deviation from my original plans for it) Mike and I worked on the cab.

The epoxy I laid down the night before was nice and dry by the time I got out after working til 6:30 and then meeting Mike at Horrible Freight for a new roll-around toolbox and some other stuff we needed. Once we confirmed that it was in fact ready to be worked on, we hit it with red Scotch-brite pads and decided that we should probably lay the seam sealer down...

http://www.ronman.org/pics/f150/IMG_0944.jpg

Basically we just put it back where it was originally, but this stuff should be a lot better than the crap they used in 1986. I hope it is, anyway...

http://www.ronman.org/pics/f150/IMG_0946.jpg

Yes, it's a messy application. This shit is so thick it bonds to the nitrile gloves and eventually the fingertips pull off them as you're smearing it around. I figured out a bit too late that the U-Pol cleaner we have (that's basically a degreaser/surfacer to be used before spraying the epoxy) has the neat property of not letting the sealer stick to it, so a piece of shop towel soaked with the stuff kinda floats on the top and lets you tool it a little. We did this on the rain gutters and a few other spots, but the stuff in the cowl had already set up too much to work.

http://www.ronman.org/pics/f150/IMG_0948.jpg

Like I said, everywhere there was sealer from the factory... it's also all along the firewall, around the seat mounting points, and on the back wall, and somehow I only used two of the three tubes I bought.

Not much else to show, but here's the high-build surface after three pretty thick coats. Mike is working it with 320-grit right now, and I'm about to head out to with the heavy sanding before we give the important areas (i.e., the roof, pillars, and rear window surround area) a wet-sand with some 1000-grit. And then we'll wait around for Tim and Greg to come back out so we can move the cab over and ready it for color.

Official photographer/Team Police Brutality|Speedycop & the Gang
Lackey-mechanic-whatever/NSF Racing
Sycophant/Judge Phil, Jay Lamm, Kim Harmon
Galaxie Driver/not Parnelli Jones

Re: My F150 project

Looking good guys! Have you considered just swaping the vent window assembly from the old door into the new door so they match? Saves you $80 bucks and its not much work, that is unless the original door is a cancer patient.