Re: My F150 project

The old d/s door is not nearly as bad as the pass side, but there is still rust deep down in the crease, and we don't have any real way to mitigate that. $60 for a door is cheap insurance that at least one more part of the thing won't prematurely rust...

Official photographer/Team Police Brutality|Speedycop & the Gang
Lackey-mechanic-whatever/NSF Racing
Sycophant/Judge Phil, Jay Lamm, Kim Harmon
Galaxie Driver/not Parnelli Jones

Re: My F150 project

I worked on the truck til 3am Sunday night.

For starters, we did more sanding, and found a couple (more) spots where the primer was a little thin, and the 320-grit blew through the paint, as well as a couple spots that were STILL low from the previous day. So, while I worked on hanging some stuff in the spray booth to get it ready for final cleaning and epoxy, Mike took the soft wire wheel to the roof in the low spots and applied the Rage body filler to the exposed surface.

http://www.ronman.org/pics/f150/IMG_0969.jpg

While the filler hardened, I came back over and we worked on pulling the oversized dolly out from under the cab, and modifying it so that it would fit inside the booth. Remember from, like, November, that it was just two 10-foot 4x4s about 3 feet apart, connected by a piece of 2x8 with wheels on it. Well, now, it's much lower-profile - yet still high enough to allow me some access to try to paint the very bottom of the doorsills - and should be easier to paint the roof. That was in theory, of course... I had been standing on the 4x4s to shoot the roof, and therefore was about level with the floorpan. Now, though, I won't have that extra wood sticking out to stand on, so I'll actually be about 5" lower than the cab, which will make painting the roof a lot of fun. neutral

http://www.ronman.org/pics/f150/IMG_0973.jpg

After that was done, my epoxy was done cooking and so I went into the spray booth to inaugurate it with some miscellaneous pieces that were ready to go, hung on wires from a newly-liberated 10' 4x4 set upon two ladders.

The hood latch (and remember, this is still soaking wet with epoxy primer, which flattens out a lot as it dries)

http://www.ronman.org/pics/f150/IMG_0978.jpg

Hood stops:

http://www.ronman.org/pics/f150/IMG_0981.jpg

And oh yeah, the entire core support:

http://www.ronman.org/pics/f150/IMG_0982.jpg

... and the cowl:

http://www.ronman.org/pics/f150/IMG_0984.jpg

... and the filler that goes between the bumper and the core support.

http://www.ronman.org/pics/f150/IMG_0987.jpg

Tim and Greg came out for a while, too, and were the ones who got the front and back ends on the spray booth. We couldn't have gotten the other stuff done without their help. cool

Official photographer/Team Police Brutality|Speedycop & the Gang
Lackey-mechanic-whatever/NSF Racing
Sycophant/Judge Phil, Jay Lamm, Kim Harmon
Galaxie Driver/not Parnelli Jones

Re: My F150 project

That brings me to tonight, and trying not to pass out in the chair...

Tim came over around 7 and brought a couple pizzas, so that was nice. I was in the middle of painting high-build primer on the roof in one side of the garage, and the cowl in the other side, switching my air hose constantly as I went from one piece to another, waiting for the primer's 15-minute sand time to pass. I think I got 4 layers of primer on the cowl, and 3 on the roof and back wall. Once the last coat was one, and had set up for 20 or 30 minutes, we were ready to start sanding in earnest...

http://www.ronman.org/pics/f150/IMG_0988.jpg

... and to turn Tim loose with the sandblaster, to get the hood ready.

http://www.ronman.org/pics/f150/IMG_0989.jpg

I bought one of Harbor Freight's adjustable metal work stands last week, and so far it's definitely been worth the $19.99 price. I'll be buying a couple more very soon, because they're so damn convenient... that's what the hood is laying on there.

After the sanding subsided, I helped Adam get the doors disassembled, so they can get blasted tomorrow (Tuesday) and readied for primer. Everything except the window regulator, handle and latch was removed. Unfortunately, the new d/s door is not actually the original door to the truck I pulled it from (unlike the p/s door I bought previously.) And it also has a small crack on the inner skin right at the top, roughly where the latch for the vent window would be. Mike assures me he can weld it back up with no problem at all...

http://www.ronman.org/pics/f150/IMG_1000.jpg

At this point it was nearing 11, so Mike and I made the executive decision to move the cab over into the paint booth, because we could get more work done if it was out of the way. So, with a fair bit of difficulty, and several stops to rest aching hands (every grab surface on the bare cab is a sharp-edged piece of sheet metal,) we got it off its dolly, out the door, around my camper, and into the booth, where it was eventually situated properly on its dolly. Definitely is tighter than I reckoned, but you can (just barely) spin it around in there, so it shouldn't be hard to get access where I need it...

http://www.ronman.org/pics/f150/IMG_1002.jpg

Tim and Adam had to go home after we got it moved, because by then it was already past 2300, so we did a little finish blasting on the hood, then flipped it over and hit it with the RO sander and then pulled it out and decided to hang it from the overhead rail for its thorough cleaning and epoxy prep. We also started a 12oz batch of epoxy so it could cook while we cleaned up the hood...

http://www.ronman.org/pics/f150/IMG_0990.jpg
http://www.ronman.org/pics/f150/IMG_0993.jpg
http://www.ronman.org/pics/f150/IMG_0991.jpg

Mike also found some time in there to start sanding the high-build primer on the cowl, which is no small task due to all the sharp corners on the piece...

http://www.ronman.org/pics/f150/IMG_0997.jpg

Finally, I got to lay down the epoxy on the hood.

http://www.ronman.org/pics/f150/IMG_1005.jpg

Got the first coat on the front and back, and was almost all the way through the second coat when I ran out of epoxy. Yes, I'm not wearing my mask. It's a very well-ventilated area with a fan blowing the fumes away from me, but that's no excuse.
I'll mix up some more in the morning/afternoon whenever I get over there, and spray the third and final coat on the hood so it can dry while I sandblast the fenders and doors. I've also gotta find time somewhere to locate and go get a pass fender. We pulled the good d/s fender out and determined that without a brake and an English wheel there was no way to made the patch piece the p/s fender needs so badly.

Official photographer/Team Police Brutality|Speedycop & the Gang
Lackey-mechanic-whatever/NSF Racing
Sycophant/Judge Phil, Jay Lamm, Kim Harmon
Galaxie Driver/not Parnelli Jones

Re: My F150 project

HEY LOOK EVERYBODY, COLOR!!!1!

http://www.ronman.org/pics/f150/IMG_1010.jpg
http://www.ronman.org/pics/f150/IMG_1014.jpg
http://www.ronman.org/pics/f150/IMG_1019.jpg

This was late Wed. night, after finally calling it "good enough" and laying down three coats of base color, waiting 30 minutes for it to flash, and inspecting the finish for the "dull, satin tone" the paint calls for. Convinced I had it, Mike mixed up the clear and I shot it at around 1am Thursday morning. Let me tell you, clear coat is hard to spray, at least with my crappy gun. I got plenty of runs (which are pretty easy to get sand and polish out with clear) and one single spot where I went too lightly with the color - the base of the d/s A-pillar, inside the door frame - that's gonna have to be sanded and hit again.

Then, last night, Tim and Adam came over, and Mike had a family from church over, so we enlisted Russell's help and carried the cab out of the booth and placed it on the frame.

http://www.ronman.org/pics/f150/IMG_1029.jpg
http://www.ronman.org/pics/f150/IMG_1031.jpg

Now that that was out of the way, Adam and I brought the ladders back into the spray booth to hang stuff, and installed the freshly-rebuilt-by-Mike power steering pump and a couple other other little bits while Tim sandblasted the d/s fender and Mike worked on the p/s fender repair.

The new fender's front bottom corner was in better shape than it looked, once the chalky old paint and light surface rust was blasted off. Definitely a step up from the old one.

http://www.ronman.org/pics/f150/IMG_1035.jpg

You can see why we decided to cut and paste instead of just using the complete fender here. It was cheap enough, and the small dents that need repaired on the original fender will be easier to manage.

http://www.ronman.org/pics/f150/IMG_1032.jpg

It required very few tweaks for Mike to get it on there. A slight bend here, grind down a high spot there, and tack weld and go.

http://www.ronman.org/pics/f150/IMG_1034.jpg

A little more grinding and it was ready for final blasting, and then cleaning and epoxy...

http://www.ronman.org/pics/f150/IMG_1036.jpg

We also pushed the truck back around to the other side of the garage once the sandblasting was finished. We'll push it outside when we're ready to start wet-sanding the clear, but for now it just needs to be inside.

http://www.ronman.org/pics/f150/IMG_1038.jpg

It's easily a 10-footer right now...

http://www.ronman.org/pics/f150/IMG_1039.jpg

And the last thing I did last night before going home was to epoxy both fenders and a couple other small parts. The first fender, the one Mike repaired, came out great, but it was rather warmer (still in the mid-50s outside) when I did it earlier in the evening. The other fender, though, looks like dog shit. I didn't even take a picture of it because it's so runny... I can only assume it was due to the 15-degree drop in temperature, because my gun settings never changed and I used the exact same technique. Sucks, because it's gotta get a huge amount of sanding now and the epoxy is hard stuff that's a pain to sand. But, it'll come out, too.
I don't know what the plan is tonight. The doors aren't ready to go yet, but Mike did repair the broken spot weld on the d/s door. They're as gutted as they need to be (all the glass, handles, trim, rubber, and lock cylinders are out) but they still have to be sanded with heavy paper to get the white paint scuffed enough for high-build primer.

We admitted defeat last night, by the way. It's not going to be done in time, no way, no how. There's still dozens of hours of body work to be done, and only 3 of the 10 boxes of parts I ordered from Rockauto have arrived... and the whole interior still has to be worked on. The steering column needs to be thoroughly cleaned and lubricated, the dash pad needs to be replaced, the door panels need lots of cleaning, the seat cover needs steamed and some stitches resewn, glass has to be cleaned and polished, the rear window frame has to be cleaned and repaired (talking about the aluminum frame around the glass here,) seatbelts have to be replaced, the seat frame needs painted, the wiring harness has to be rebuilt, the ignition system has to be built, and the list goes on and on and on. So, he's getting pictures and a key.

Official photographer/Team Police Brutality|Speedycop & the Gang
Lackey-mechanic-whatever/NSF Racing
Sycophant/Judge Phil, Jay Lamm, Kim Harmon
Galaxie Driver/not Parnelli Jones

105

Re: My F150 project

When you are done, bring the spare nuts and bolts to NSFIRHQ.  We always need that sort of thing.

This space for rent.

Re: My F150 project

So the reveal was a little different than I had planned...

Since we weren't able to finish the truck (or even to have it ready to put on the trailer to show off in person) I fretted all day Friday about what to do, and then I talked to a couple women about which pics had the most artistic merit, so I could get them printed. And then Mike's wife mentioned that she's had photo books printed at Walgreens in about an hour, and that they looked pretty nice. I checked it out, and sure enough, an 8.5x11, 20-page, hard-bound book with my own photos, text, and layout was just $20, and could be ready in the morning. So after a couple hours of digging through pics in Lightroom and coming up with something to say in the book, I laid it out on their site and submitted it, at 0145 Saturday morning, to a store near the wedding venue in Tampa that had a 24-hour photo lab, and went to bed. I couldn't bring myself to look at it so I just stuck it on the back seat of the truck and went to the rehearsal, and then to the rehearsal lunch/dinner, and brought it inside with me. While we stood in the parking lot, Mike and Tim (the other two groomsmen) checked it out, and declared it "not bad." And we went inside and when I sensed a lull in the action, and I think Tim mentioned to me that it would be a good time, I laid it on the table in front of him. And as he flipped from page to page, speechless, it seemed like it was a pretty moving experience for him... and then he showed it to his little sister, who apparently loved the truck as well, and she burst into tears and threw her arms around me and Mike and told us how awesome it was, which then caused the groom to get a little verklempt. He showed the book off to a ton of people over the rest of the weekend, and even his dad (a fairly gruff, curmudgeonly fellow,) who we figured would think us absolute idiots for doing this, told us what a great job we did and how grateful he was that we were keeping it in the family. Needless to say, I was pretty pleased with the reaction.

And between last Thursday and last night, all 10 of the boxes I was expecting from Rockauto came, as well as the interior trim screws I ordered from eBay, so while we work on the fenders, doors, and hood (and while my bank account take a breather) I'm continuing to research the bedliner product I'm about 95% sure I want to get (Durabak) and when I get more "play" money next week, I'll order a gallon and a half or so so I can do the interior of the cab so we can finally start putting the dash back together.
Also still on the list:
Windshield
Calipers (cheaper from Autozone when you factor in core shipping)
Brake booster and master cylinder (ditto)
Door panels (might try to refurb the ones we have, but I need to make a full assessment first)
Door sill plates (probably from LMC)
Seatbelts (oversight? what oversight? I'm blaming the fumes for this one)
FORD and F150 logos/badges (also LMC)
Front bumper, probably (the '84 that donated its p/s fender has a good one)

Official photographer/Team Police Brutality|Speedycop & the Gang
Lackey-mechanic-whatever/NSF Racing
Sycophant/Judge Phil, Jay Lamm, Kim Harmon
Galaxie Driver/not Parnelli Jones

Re: My F150 project

Double check NPD (National Parts Depot) for the items you are looking at LMC. NPD is right off I-75 in Ocala and they have good stuff!

Re: My F150 project

NSF wrote:

When you are done, bring the spare nuts and bolts to NSFIRHQ.  We always need that sort of thing.

Like there aren't enough nuts there already.  hmm

Dangerous Banned Technology (NOLA 09), Judges Choice (Houston 2010), Organizers Choice (NOLA 2010), Most Heroic Fix (Dallas 2010), $100 from Jay's Pocket (Dallas 2010), Dangerous Homemade Technology (NOLA 2010), Ununhexium Legends of Lemons Status,  Index of Effluency (Dallas 2011), Most Heroic Fix - (Houston 2011), Index of Effluency (TWS - 2012), Organizers Choice (Dallas 2013)

Re: My F150 project

Last week we did some more work, but I forgot to post it here...

Got the core support, cowl, bumper filler, and quite a few small parts painted and cleared. Sanded down the clear on the bottom of the d/s A-pillar so I can fix the light basecoat, and Mike thinks we should sand the clear on the p/s B-pillar down and redo it... and also he thinks we should sand the roof and re-clear it because it's got a lot of bubbles from pushing the flash time, and also the big fisheye in the center. neutral
We'll see about that, I really don't want to redo the roof standing on the framerails, plus I wouldn't be able to stand anywhere in the front so I'd have to use a ladder, which would be a pain.

Oh, and I bought the taillight harness off a rolled '95, so we can get around to putting it on at some point. We also put on the shocks and a couple other parts I can't remember right now.
Anyway,

http://www.ronman.org/pics/f150/IMG_1164.jpg
http://www.ronman.org/pics/f150/IMG_1165.jpg
http://www.ronman.org/pics/f150/IMG_1166.jpg
http://www.ronman.org/pics/f150/IMG_1167.jpg
http://www.ronman.org/pics/f150/IMG_1168.jpg
http://www.ronman.org/pics/f150/IMG_1169.jpg
http://www.ronman.org/pics/f150/IMG_1170.jpg
http://www.ronman.org/pics/f150/IMG_1171.jpg
http://www.ronman.org/pics/f150/IMG_1172.jpg
http://www.ronman.org/pics/f150/IMG_1173.jpg
http://www.ronman.org/pics/f150/IMG_1175.jpg
http://www.ronman.org/pics/f150/IMG_1176.jpg
http://www.ronman.org/pics/f150/IMG_1177.jpg
http://www.ronman.org/pics/f150/IMG_1179.jpg

Official photographer/Team Police Brutality|Speedycop & the Gang
Lackey-mechanic-whatever/NSF Racing
Sycophant/Judge Phil, Jay Lamm, Kim Harmon
Galaxie Driver/not Parnelli Jones

Re: My F150 project

And then tonight:

Durabak 18 came in today, so we brushed it on (we didn't have a 4" roller frame the right diameter to work with their special high-nap/build roller covers) most of the inside of the cab. The amount of noise reduction is tremendous from all the rubber suspended in it. Mike is eagerly awaiting the completion of the body so he can build the stereo system, because as he says, "I've never had so nice a canvas to work with." So that'll be fun.

http://www.ronman.org/pics/f150/IMG_5377.jpg

http://www.ronman.org/pics/f150/IMG_5379.jpg

http://www.ronman.org/pics/f150/IMG_5380.jpg

http://www.ronman.org/pics/f150/IMG_5381.jpg

http://www.ronman.org/pics/f150/IMG_5382.jpg

And yes, I know it's thin on the roof. It's really just there to deaden the noise a little, it's going to be hidden under the headliner. And the runs that you can see in the firewall were sorted right after I took the pictures... not that they'd be seen, either.

Official photographer/Team Police Brutality|Speedycop & the Gang
Lackey-mechanic-whatever/NSF Racing
Sycophant/Judge Phil, Jay Lamm, Kim Harmon
Galaxie Driver/not Parnelli Jones

Re: My F150 project

bump for updates. I've really enjoyed following this project!

Re: My F150 project

We've got the steering installed, brake booster and master installed, clutch master and slave installed, and more of the clearcoat sanded. It's on hold right now as we work to get the NSF Plymouth Reliant K rebuilt for the CMP race coming up in 2 weeks...

Official photographer/Team Police Brutality|Speedycop & the Gang
Lackey-mechanic-whatever/NSF Racing
Sycophant/Judge Phil, Jay Lamm, Kim Harmon
Galaxie Driver/not Parnelli Jones

Re: My F150 project

Thanks! K-car definitely takes precedence now!

Re: My F150 project

"How does a Posi-Trac work in a Plymouth? It just does!" Did u finish that Plymouth and get back to work on Blue?

Re: My F150 project

Well we bought a new paint gun, and more sanding supplies. You oughta come over and sand these doors down for us.
Also, I think we need a hood. The original one is, as an old friend says, "lumpier than shit..." in spite of all the work trying to get it straight.
Also also, the writers of Joe Dirt should have known that a Mopar has a Sure Grip, not a Brand-X posi-trac. tongue

Official photographer/Team Police Brutality|Speedycop & the Gang
Lackey-mechanic-whatever/NSF Racing
Sycophant/Judge Phil, Jay Lamm, Kim Harmon
Galaxie Driver/not Parnelli Jones

Re: My F150 project

Well at least we're making some progress! If I can get away from the wife and baby for an hour or two I'll come do some sanding. I knew if anyone would get that "slip up" from the movie you would!

Re: My F150 project

So, finally an update:

Aldin was in town yesterday and wanted to come over and help out. So we cleaned out the sandblasting booth and set up the stands for sanding, and set to work on the doors and fenders. We also smoked a couple hand-rolled cigars from the Keys and drank a bottle of rye and some beer. Good times.

http://www.ronman.org/pics/f150/IMG_8575.jpg

The fenders are ready for a new coat of primer (that won't look like drywall mud this time) and then soon thereafter, paint and clear. This will happen once Mike returns from vacation, since he's the one who's been mixing the paint all along, and for consistency's sake, I want him to keep mixing it. I figure if he's doing it wrong (not that he is, but you know what I mean) at least it's going to be consistently wrong.

I've gotta get another bag of blasting sand so I can do the insides of the doors and the weatherstrip areas, since they're too curvy/angled and gooey to sand with paper. That shouldn't take more than an hour or two.

Official photographer/Team Police Brutality|Speedycop & the Gang
Lackey-mechanic-whatever/NSF Racing
Sycophant/Judge Phil, Jay Lamm, Kim Harmon
Galaxie Driver/not Parnelli Jones

Re: My F150 project

YEAY!!

"Real ZomBees prefer Bacon"
IOE(x2) MGB/SAAB 96, Judge's Choice, Class C Win, & 2011 Hooniverse Car of the Year!
MRolla, Stick Figure/Animal House, Free Range MR2, SAAB Sonett, "The Death Flip"
2008 Exoskeleton Jag Fiasco, Concours d Lemons - Rue Britannia, worse British car.

119 (edited by ronman 2014-02-09 09:37 PM)

Re: My F150 project

Much progress has been made, but there's still a ton left to do...

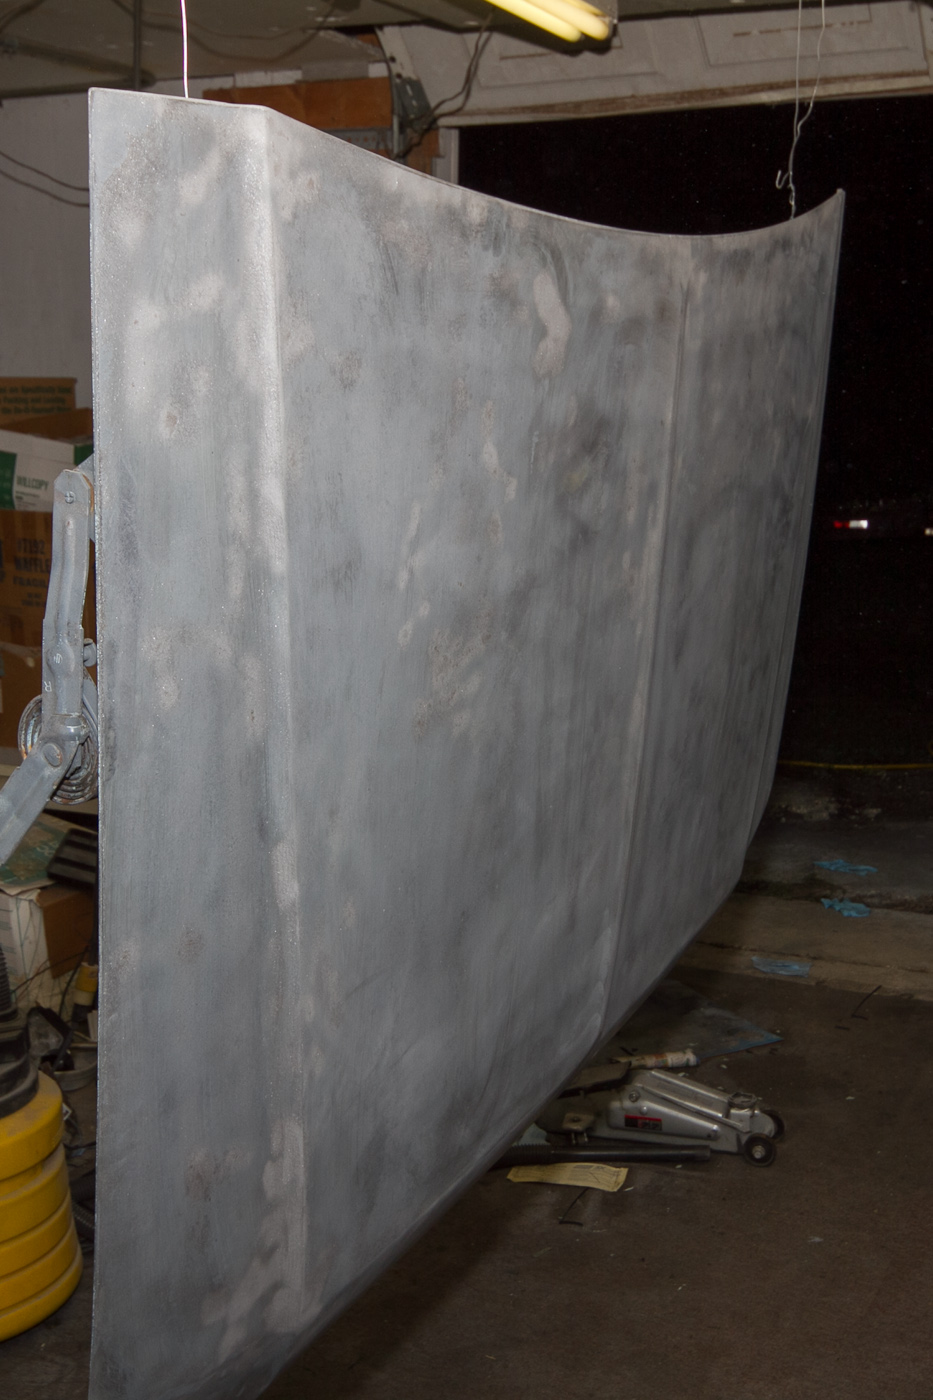
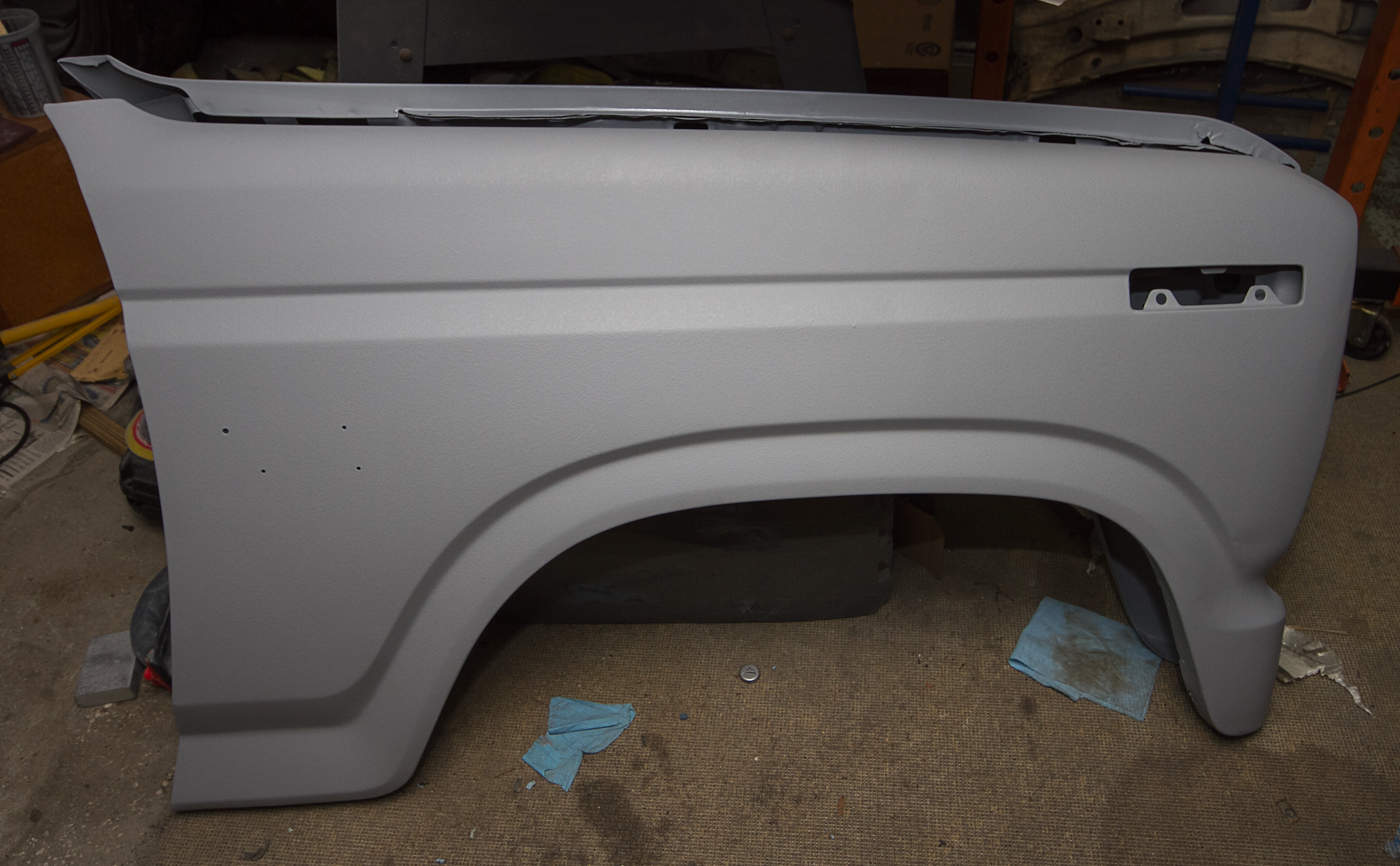
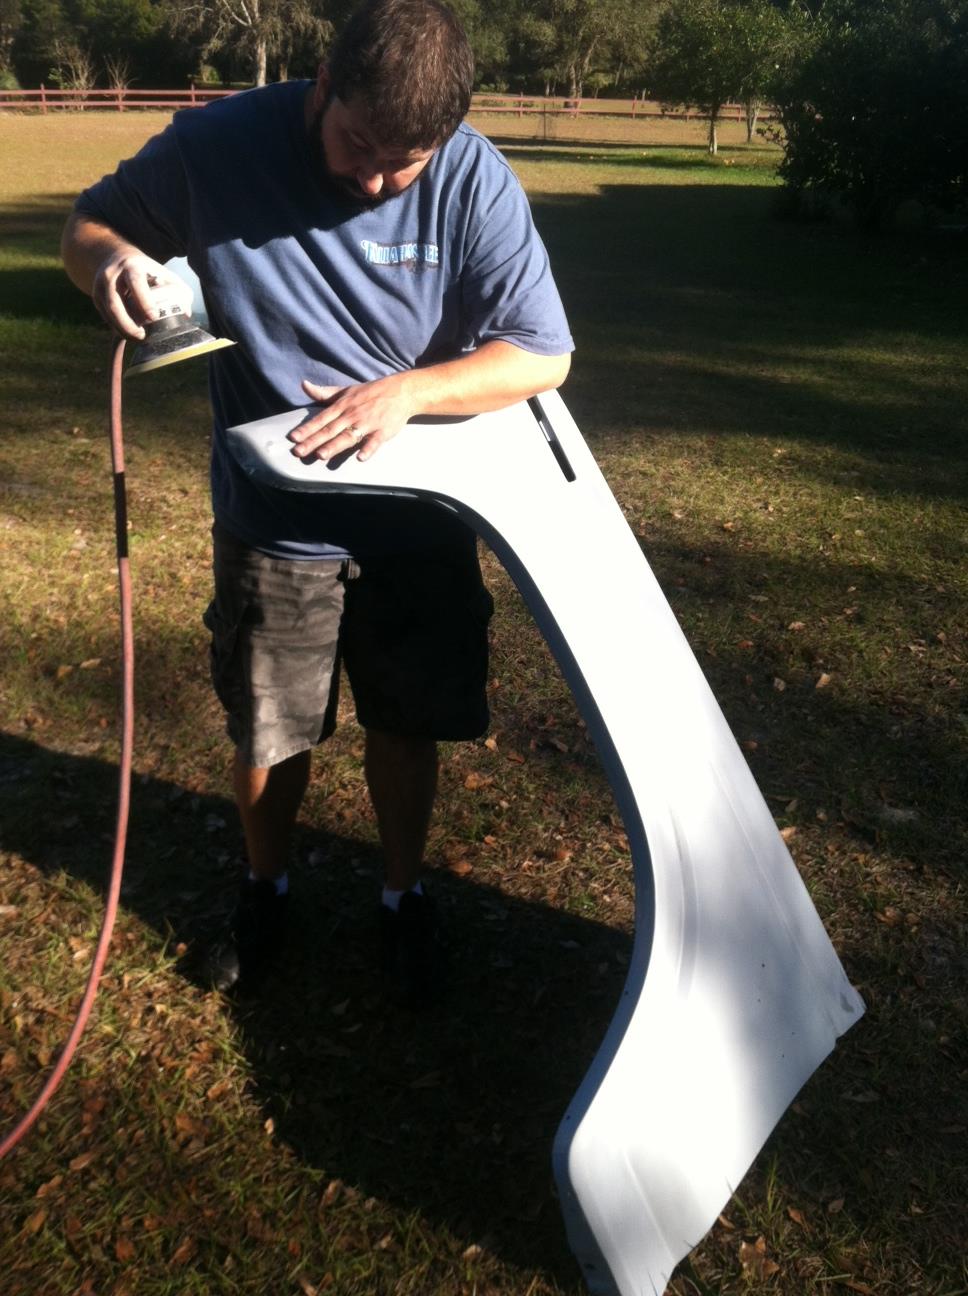
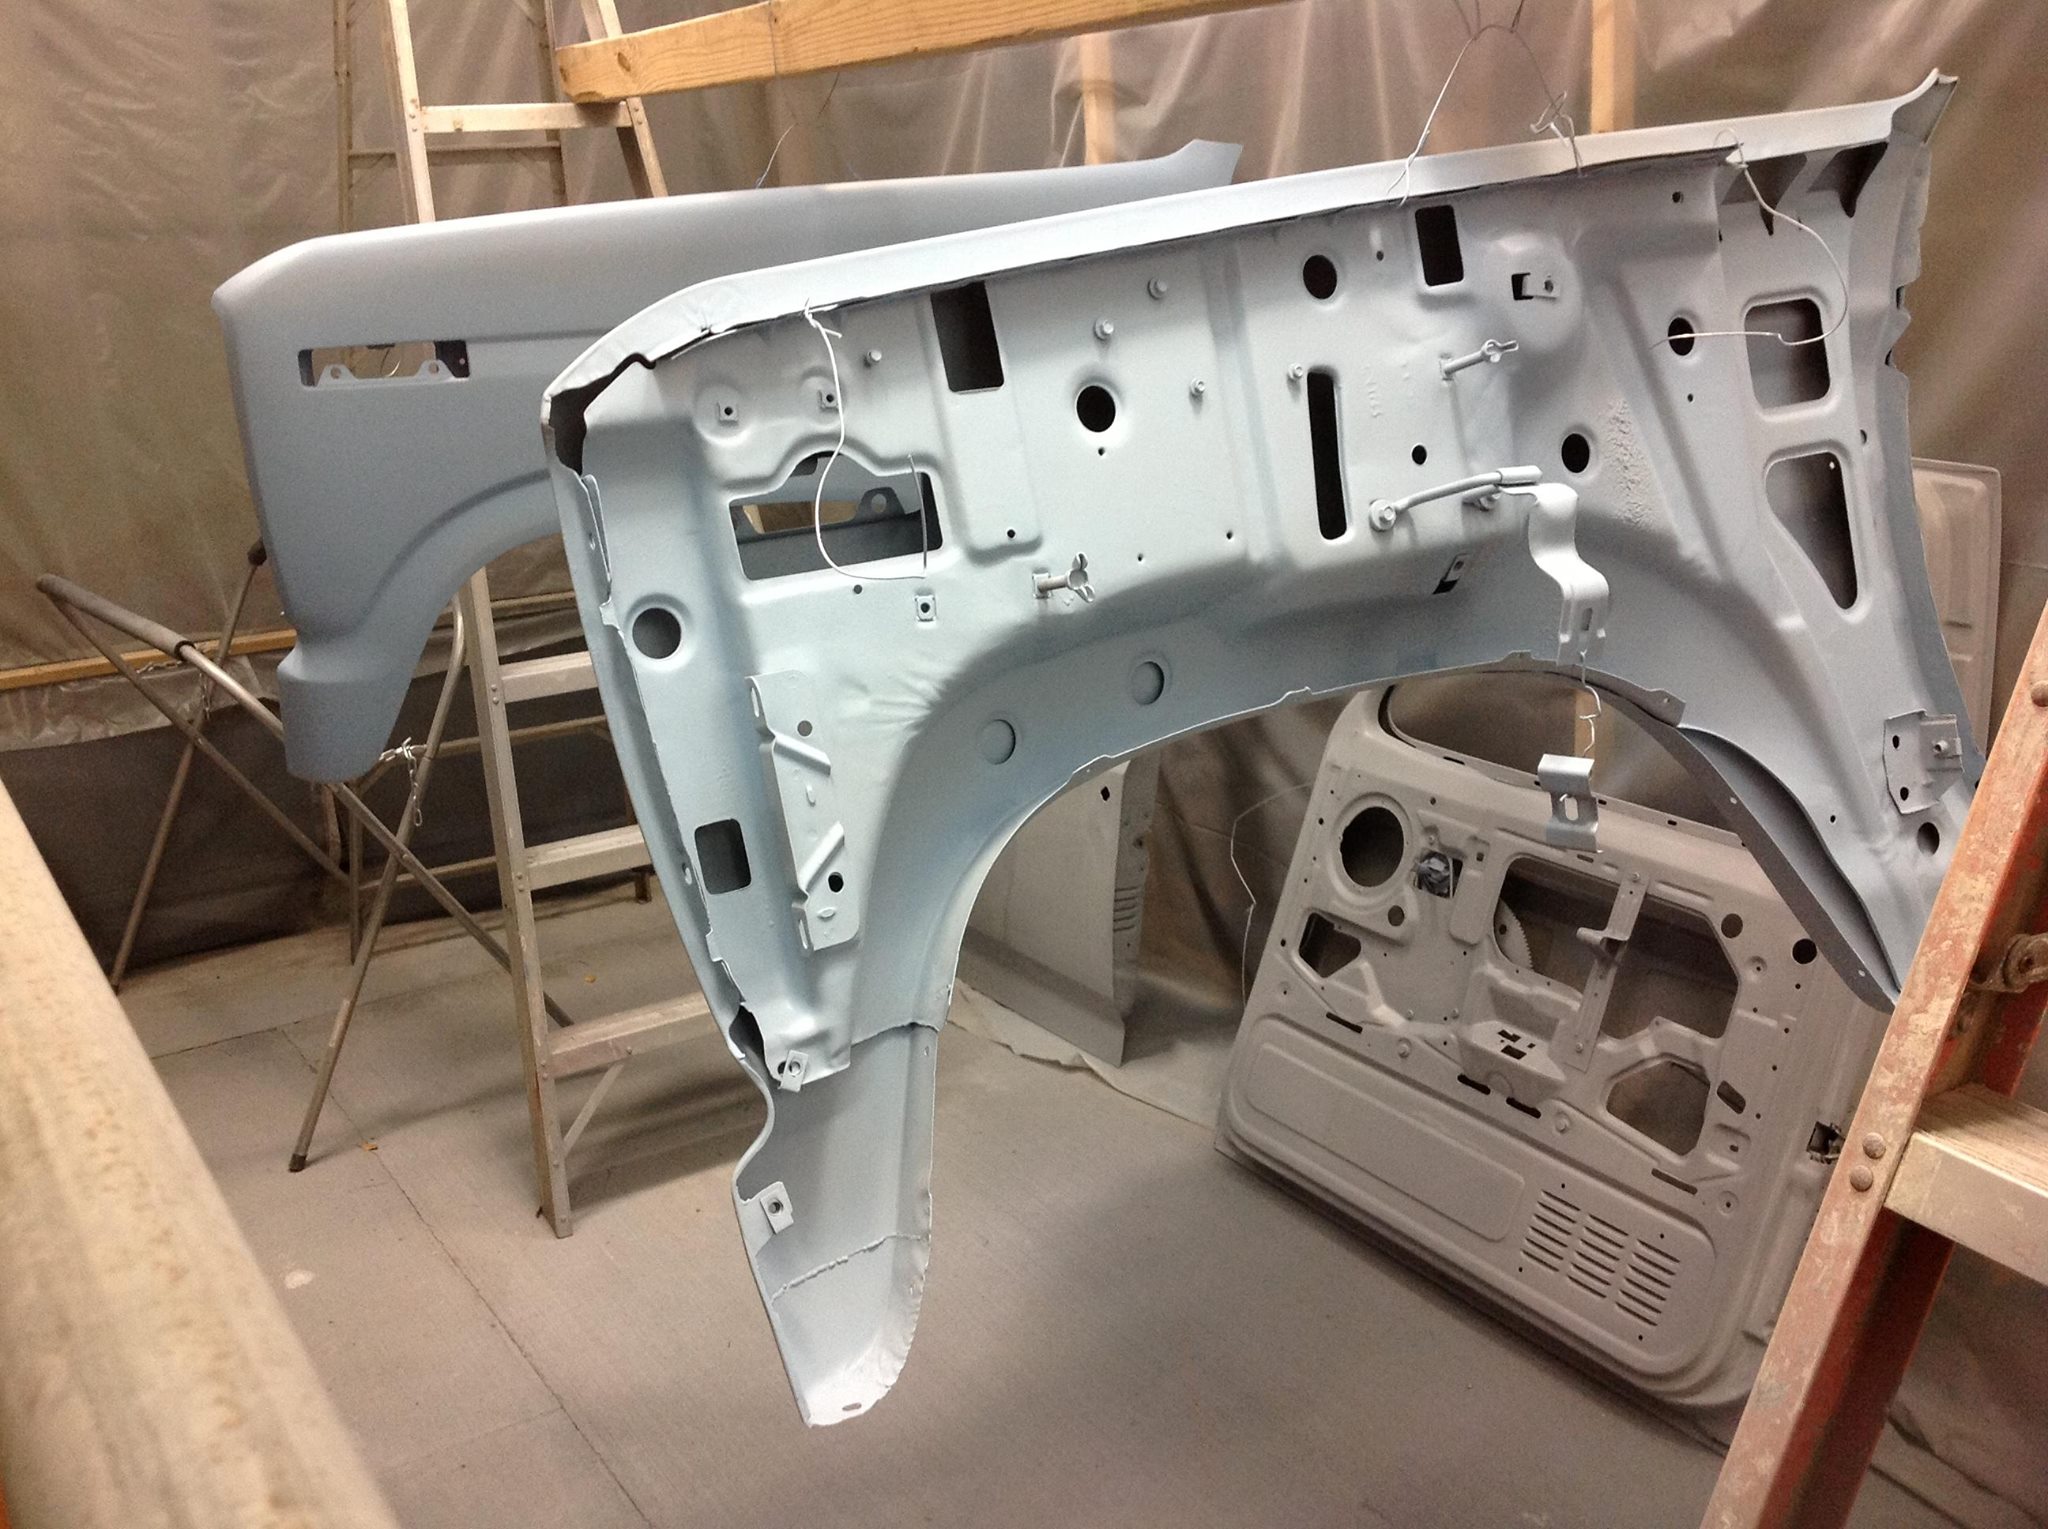
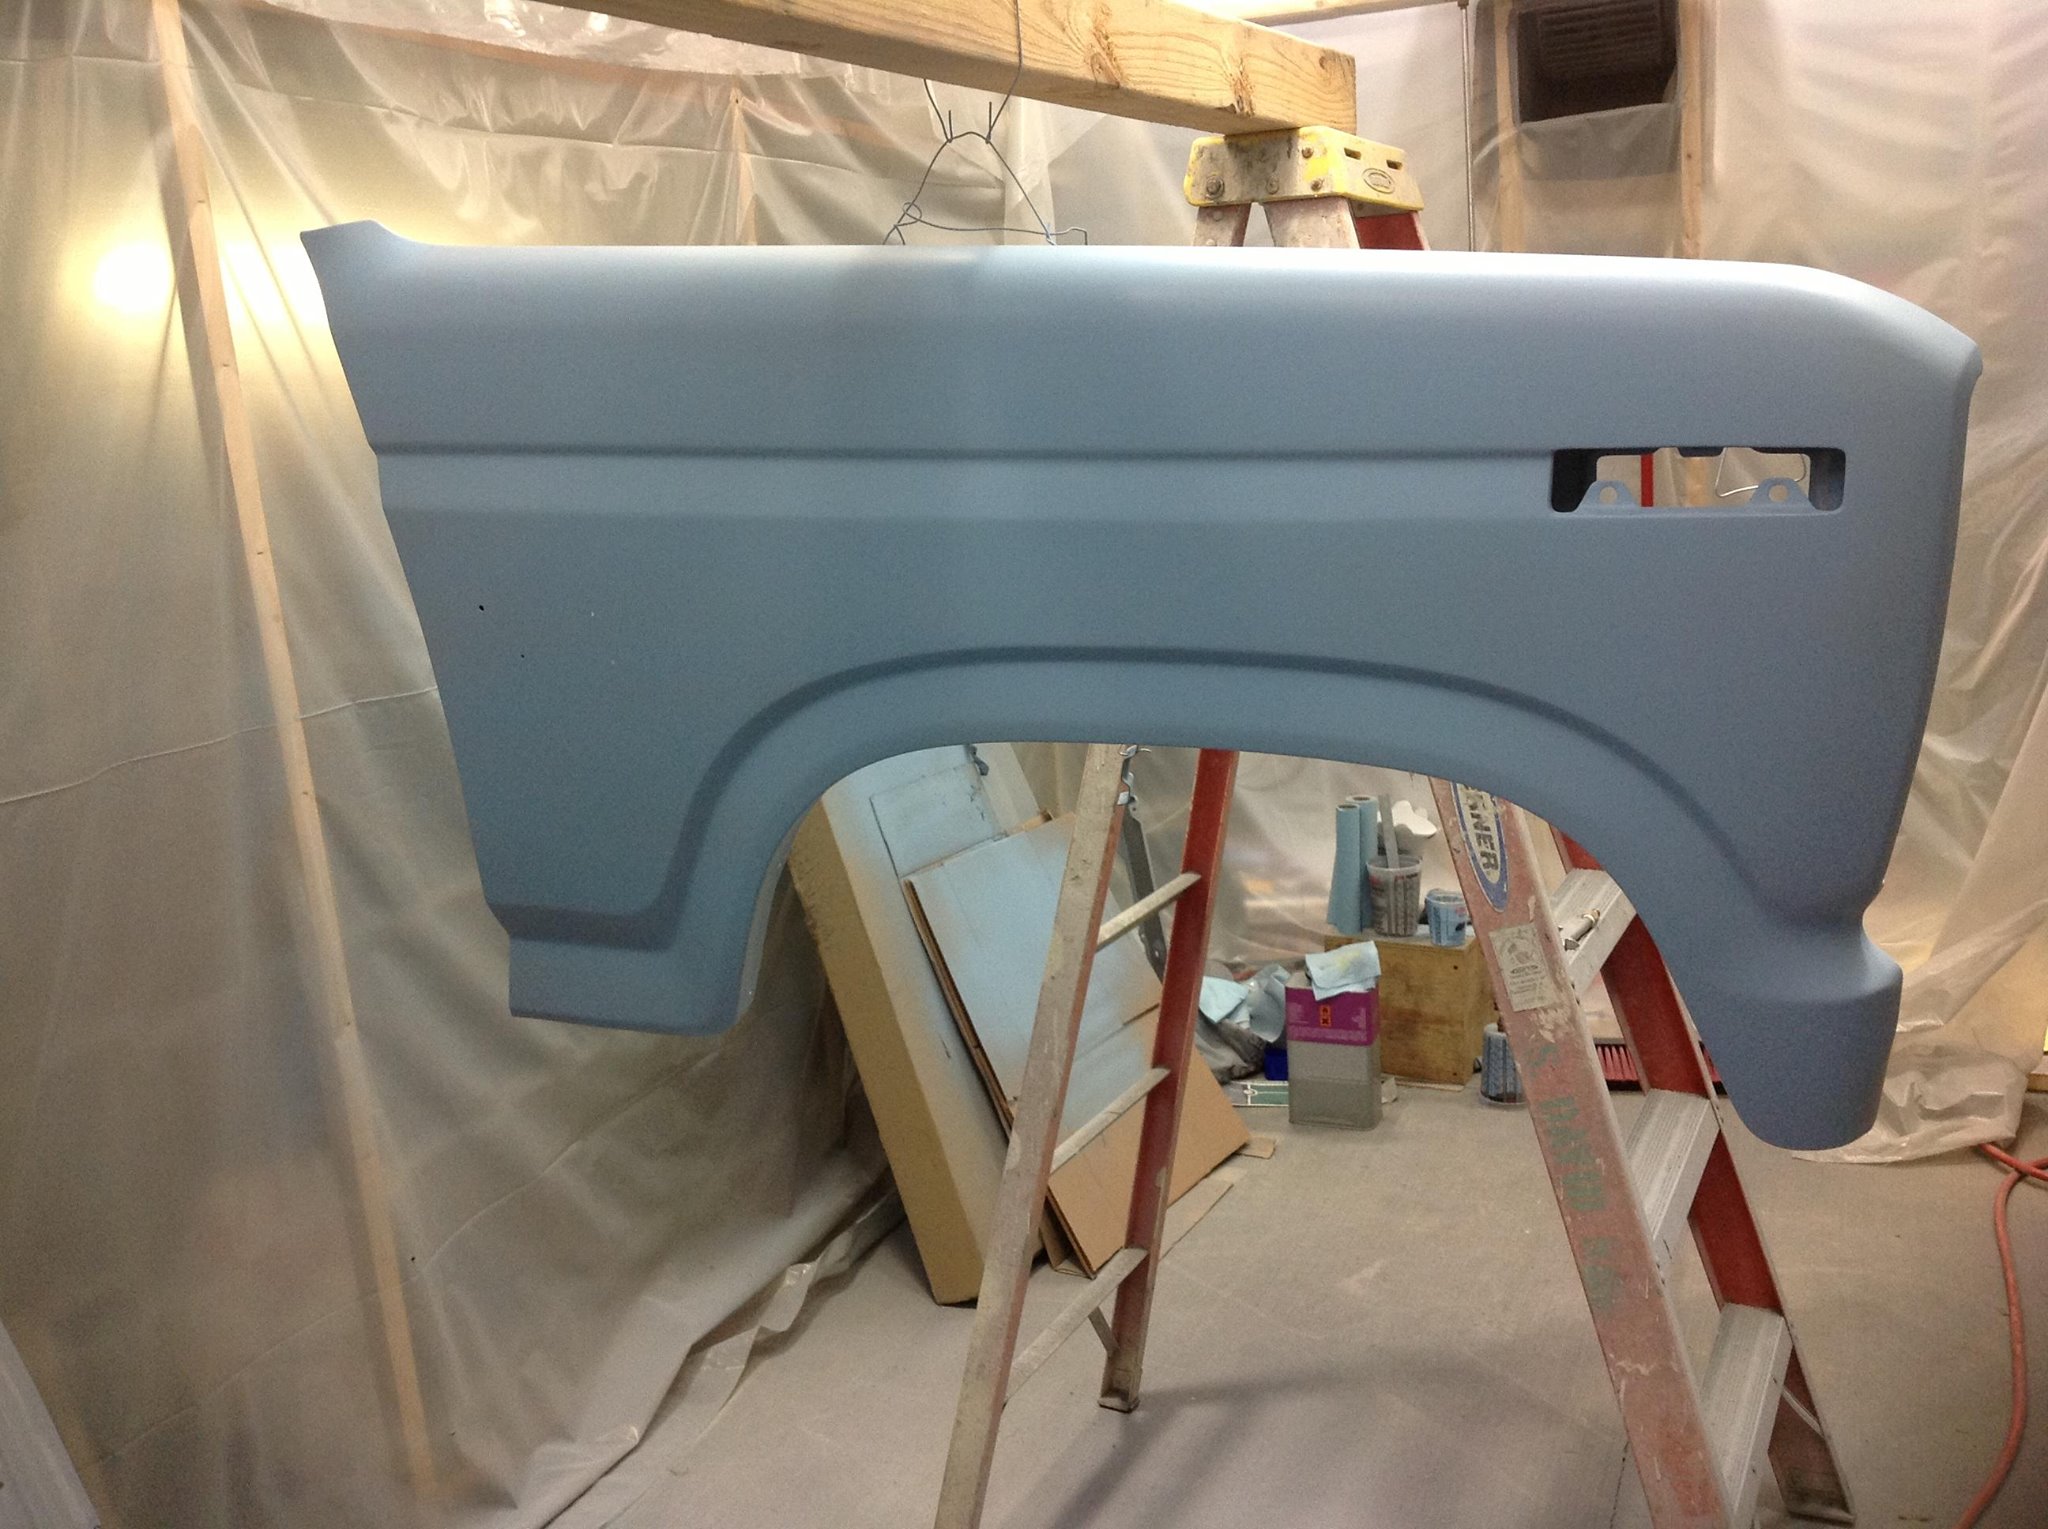
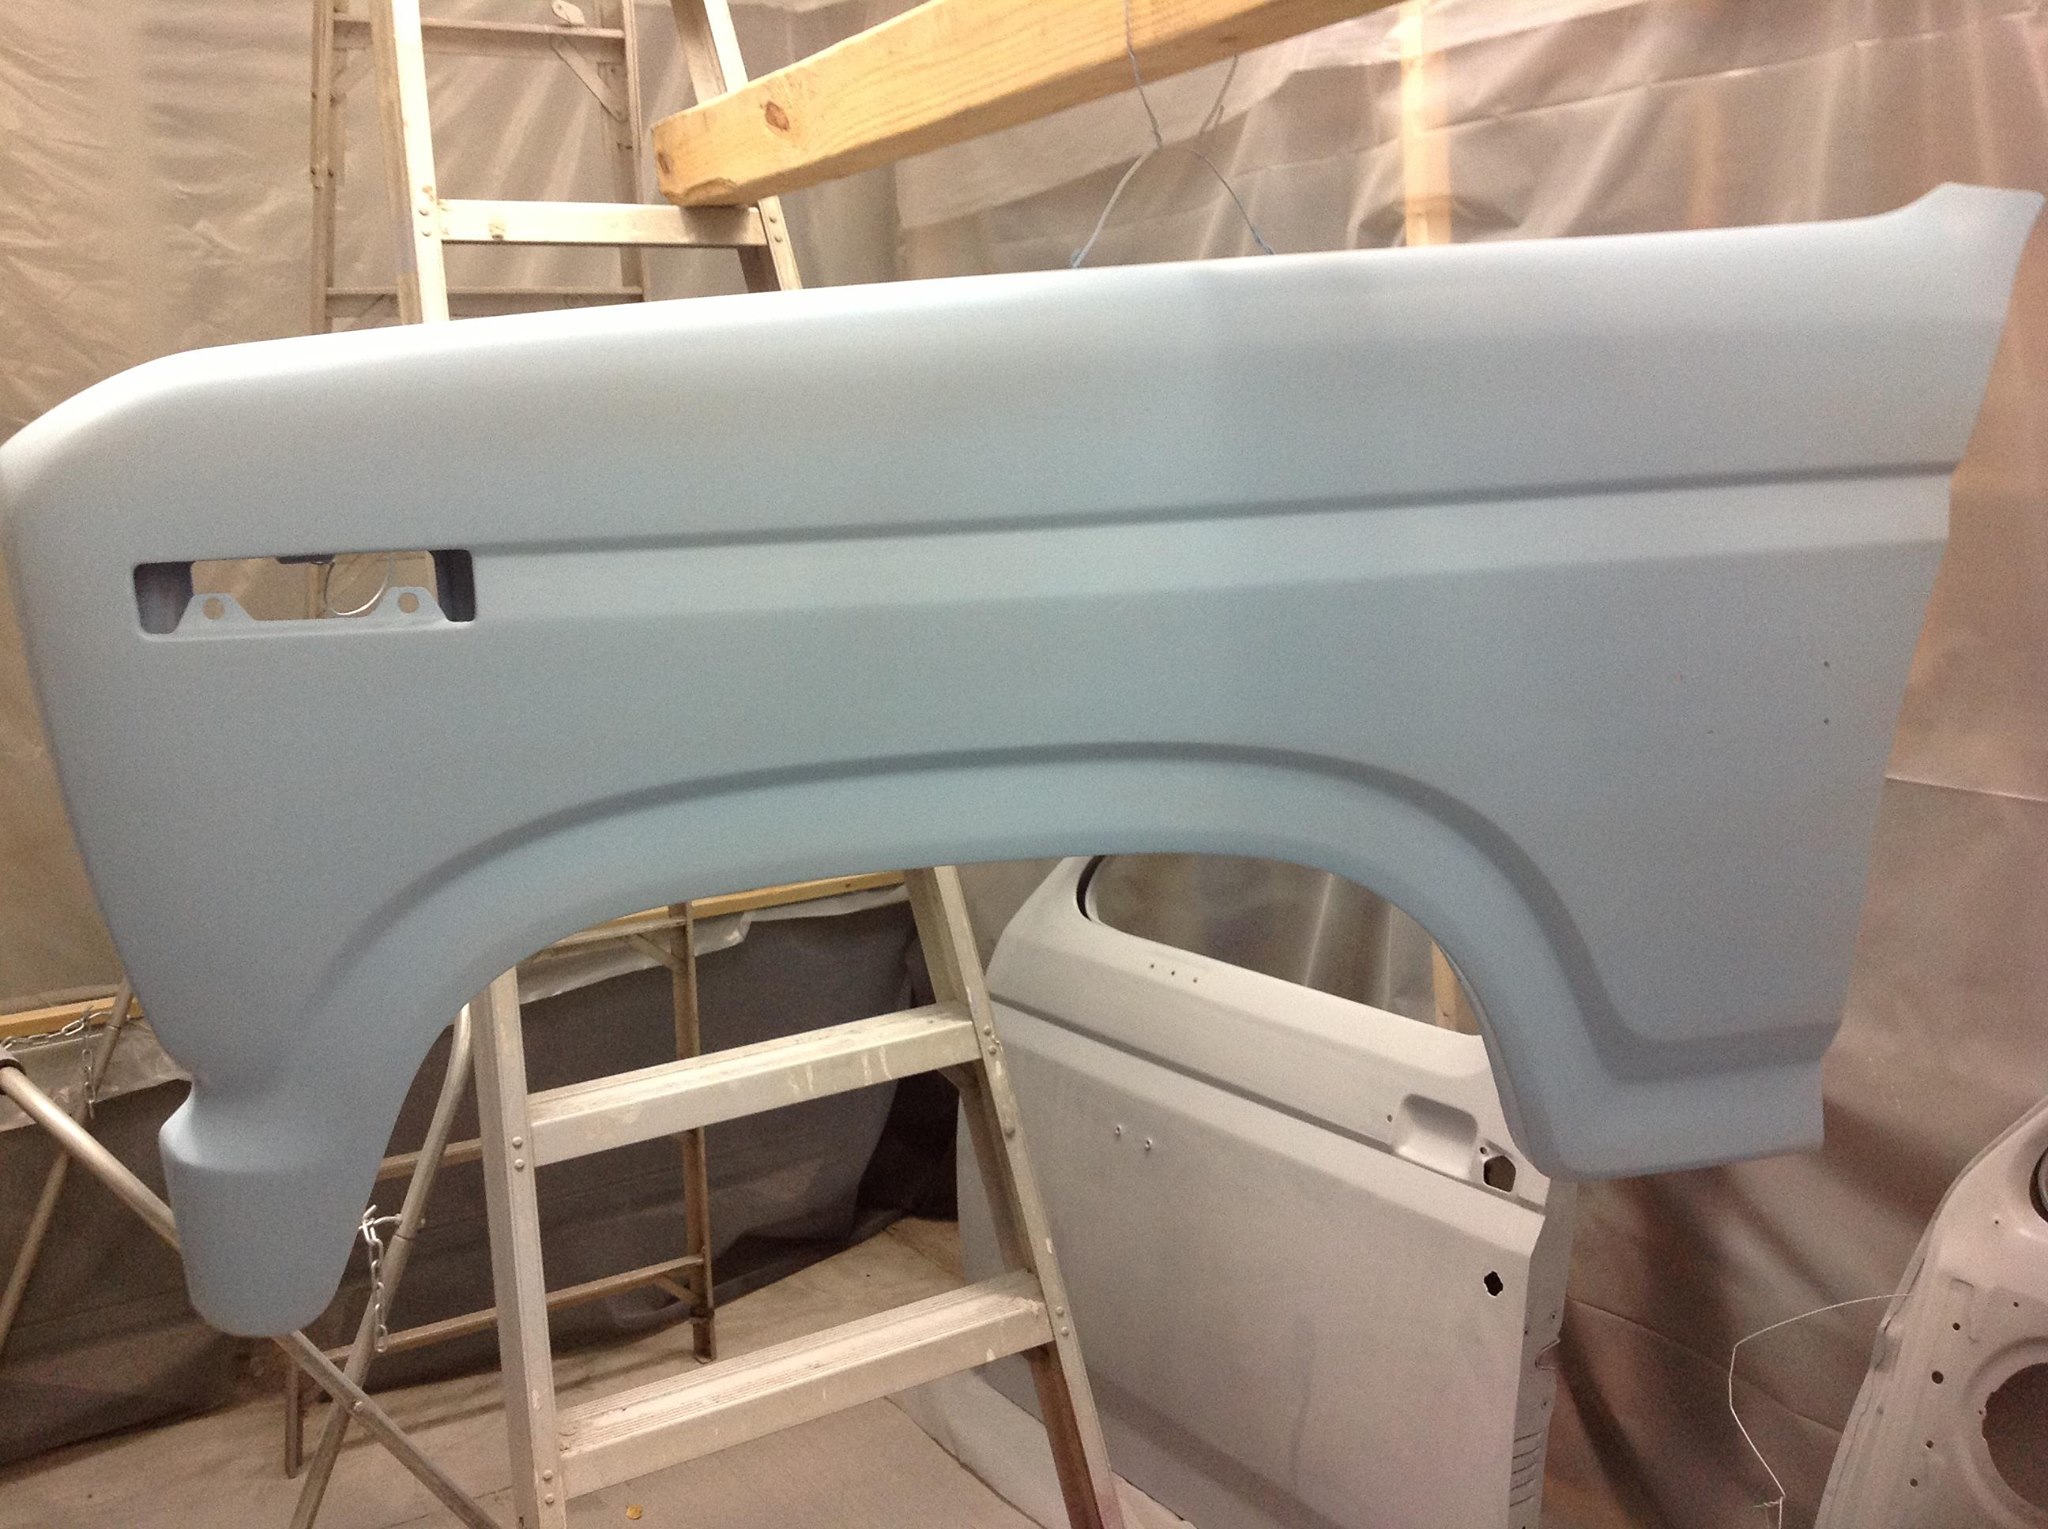
We start on January 20th, when we finally buckled down and got back to work. We re-sanded the fenders, worked on the doors, and got the epoxy primer ready to go...

http://www.ronman.org/pics/f150/1522847_10151934577543811_1375588546_o.jpg

http://www.ronman.org/pics/f150/1025611_10151934578808811_1299397475_o.jpg

http://www.ronman.org/pics/f150/1025665_10151934579483811_2122029009_o.jpg

http://www.ronman.org/pics/f150/1488917_10151934579928811_372804858_n.jpg

http://www.ronman.org/pics/f150/886790_10151934580083811_554826933_o.jpg

http://www.ronman.org/pics/f150/1518601_10151934580203811_1029005920_o.jpg

http://www.ronman.org/pics/f150/1530358_10151934581623811_572850480_n.jpg

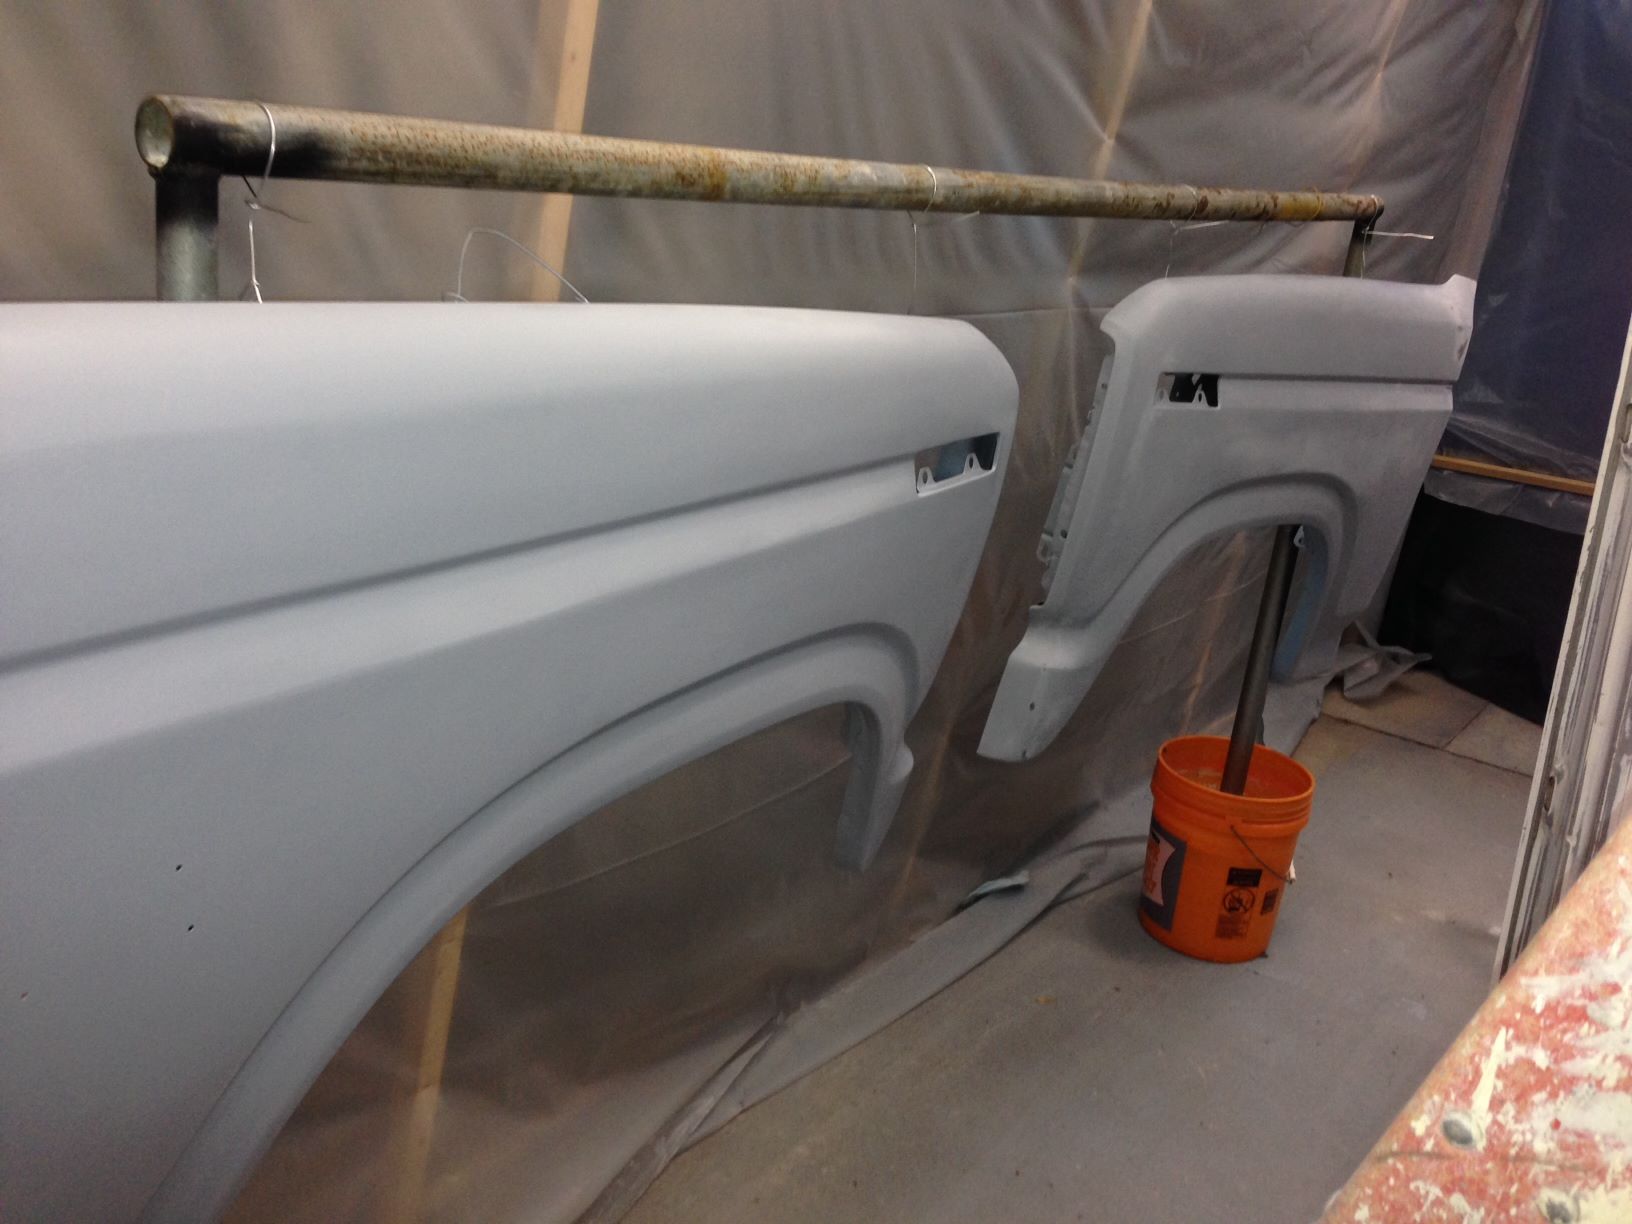
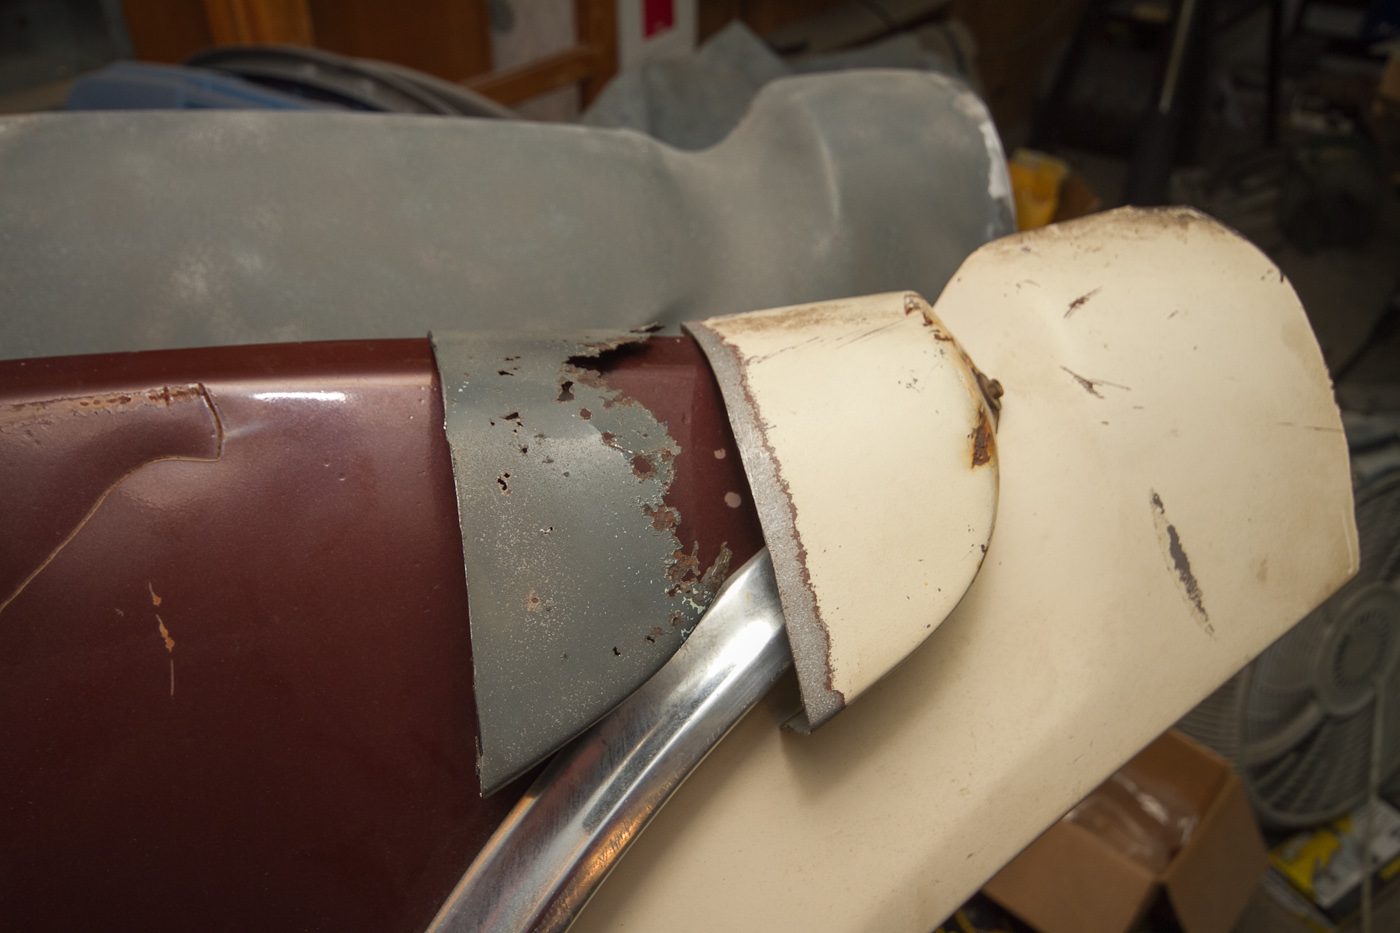
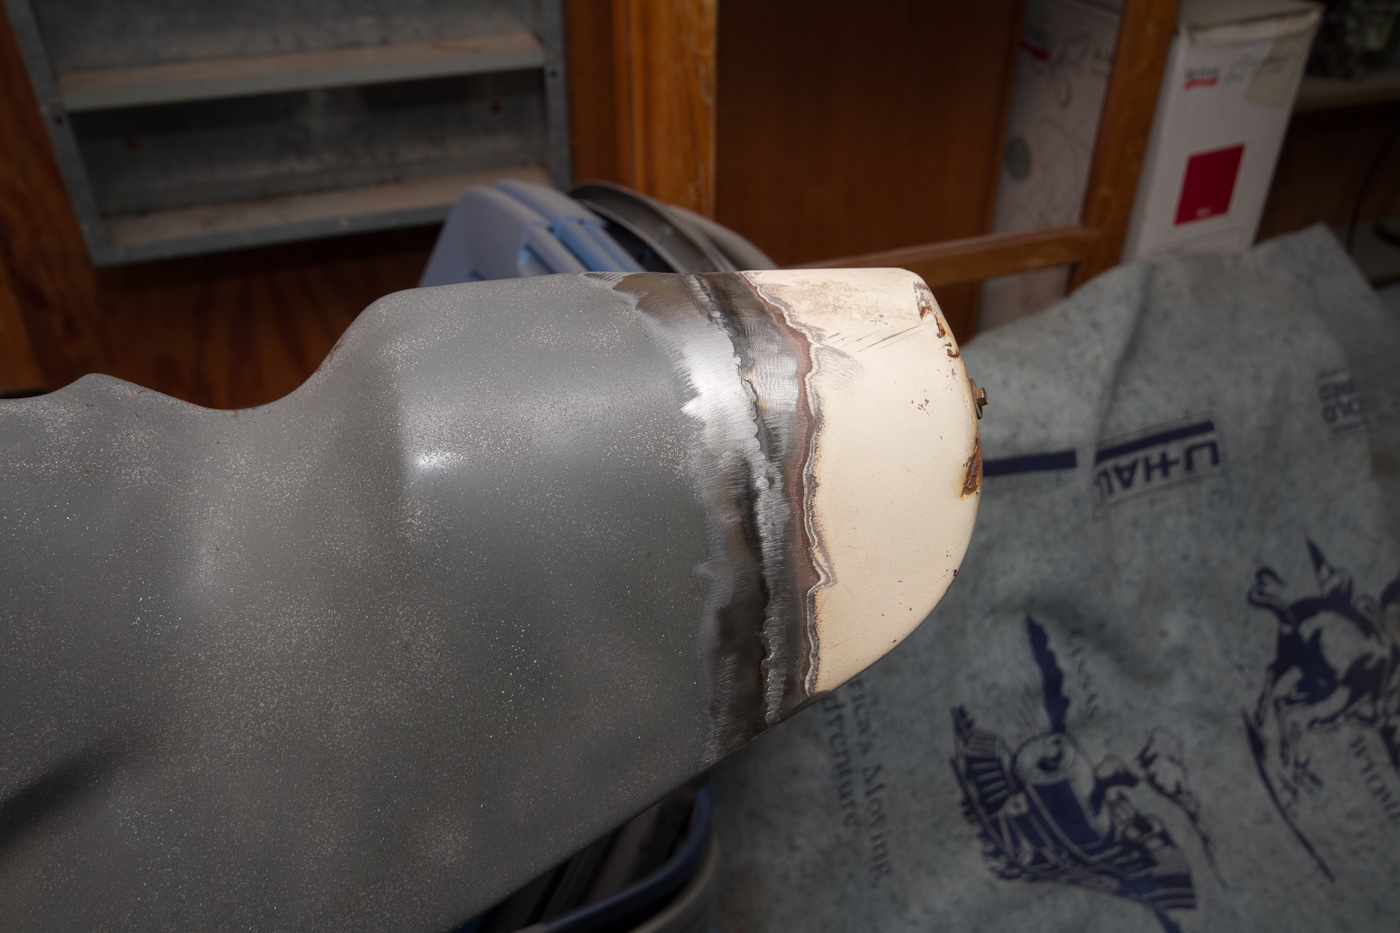
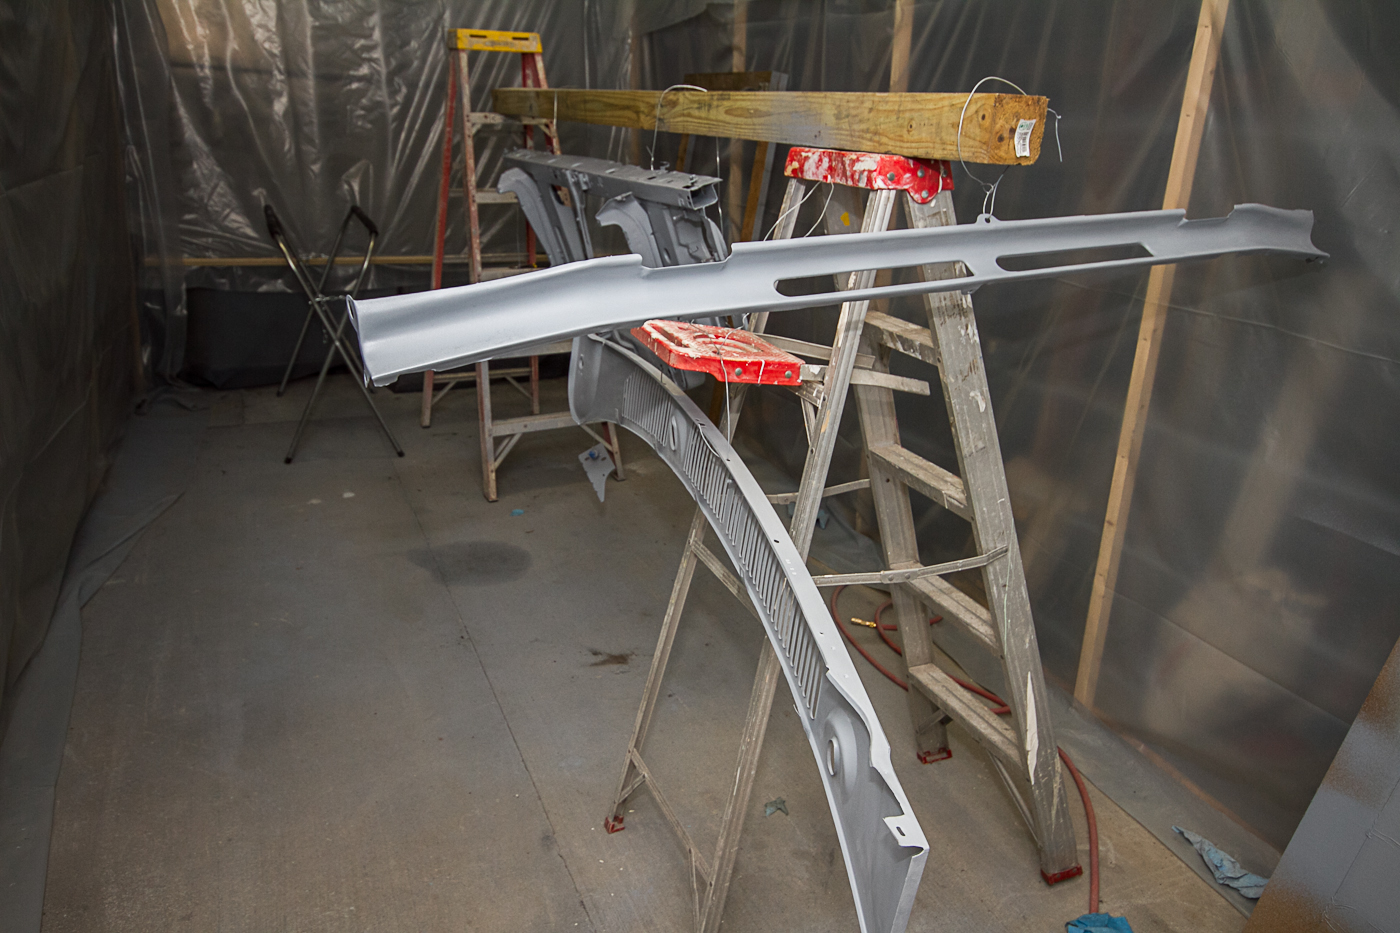
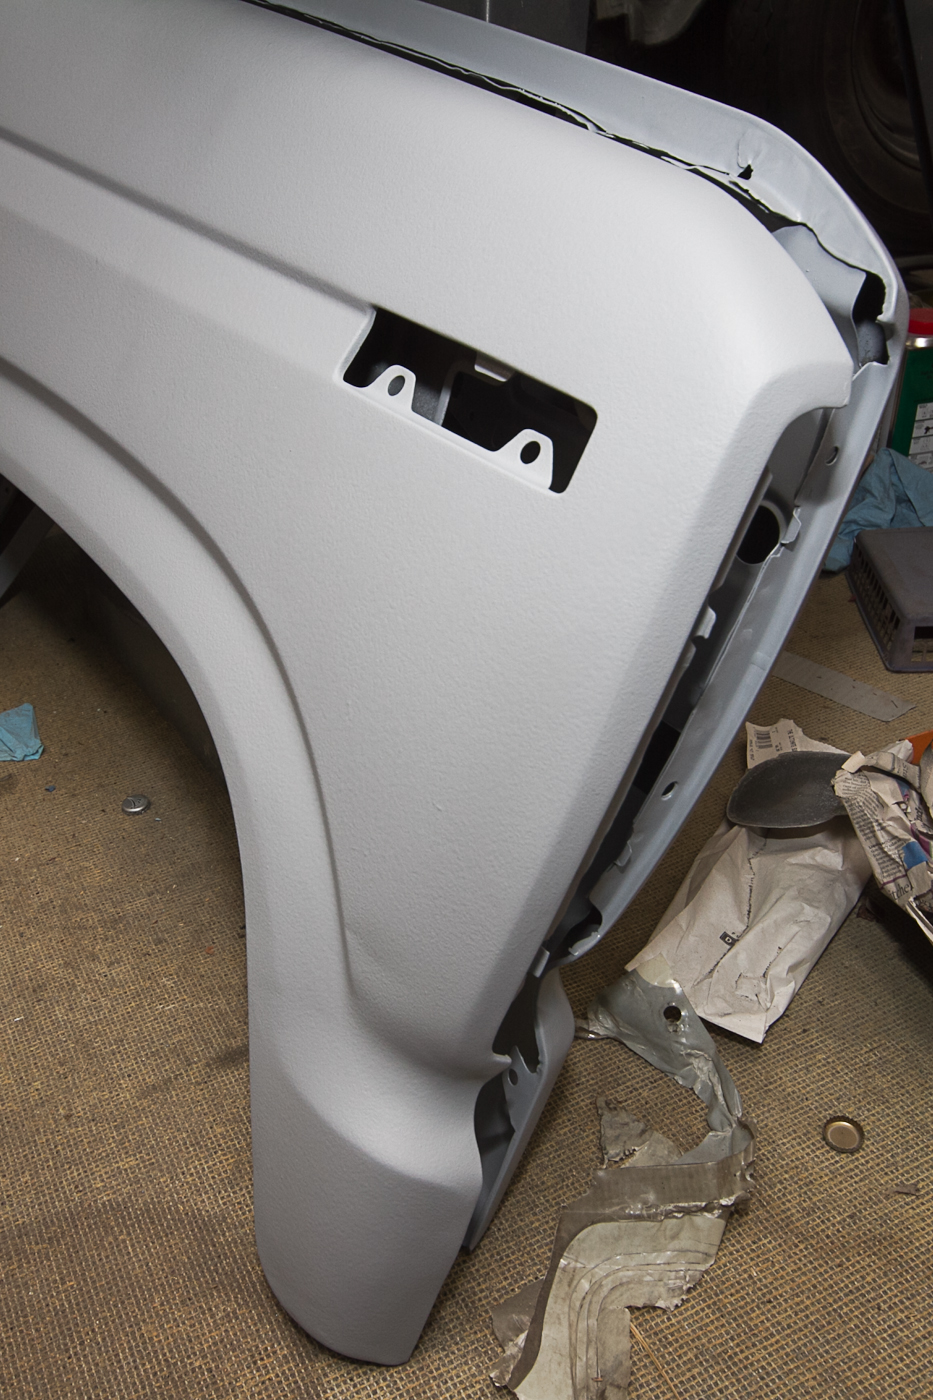
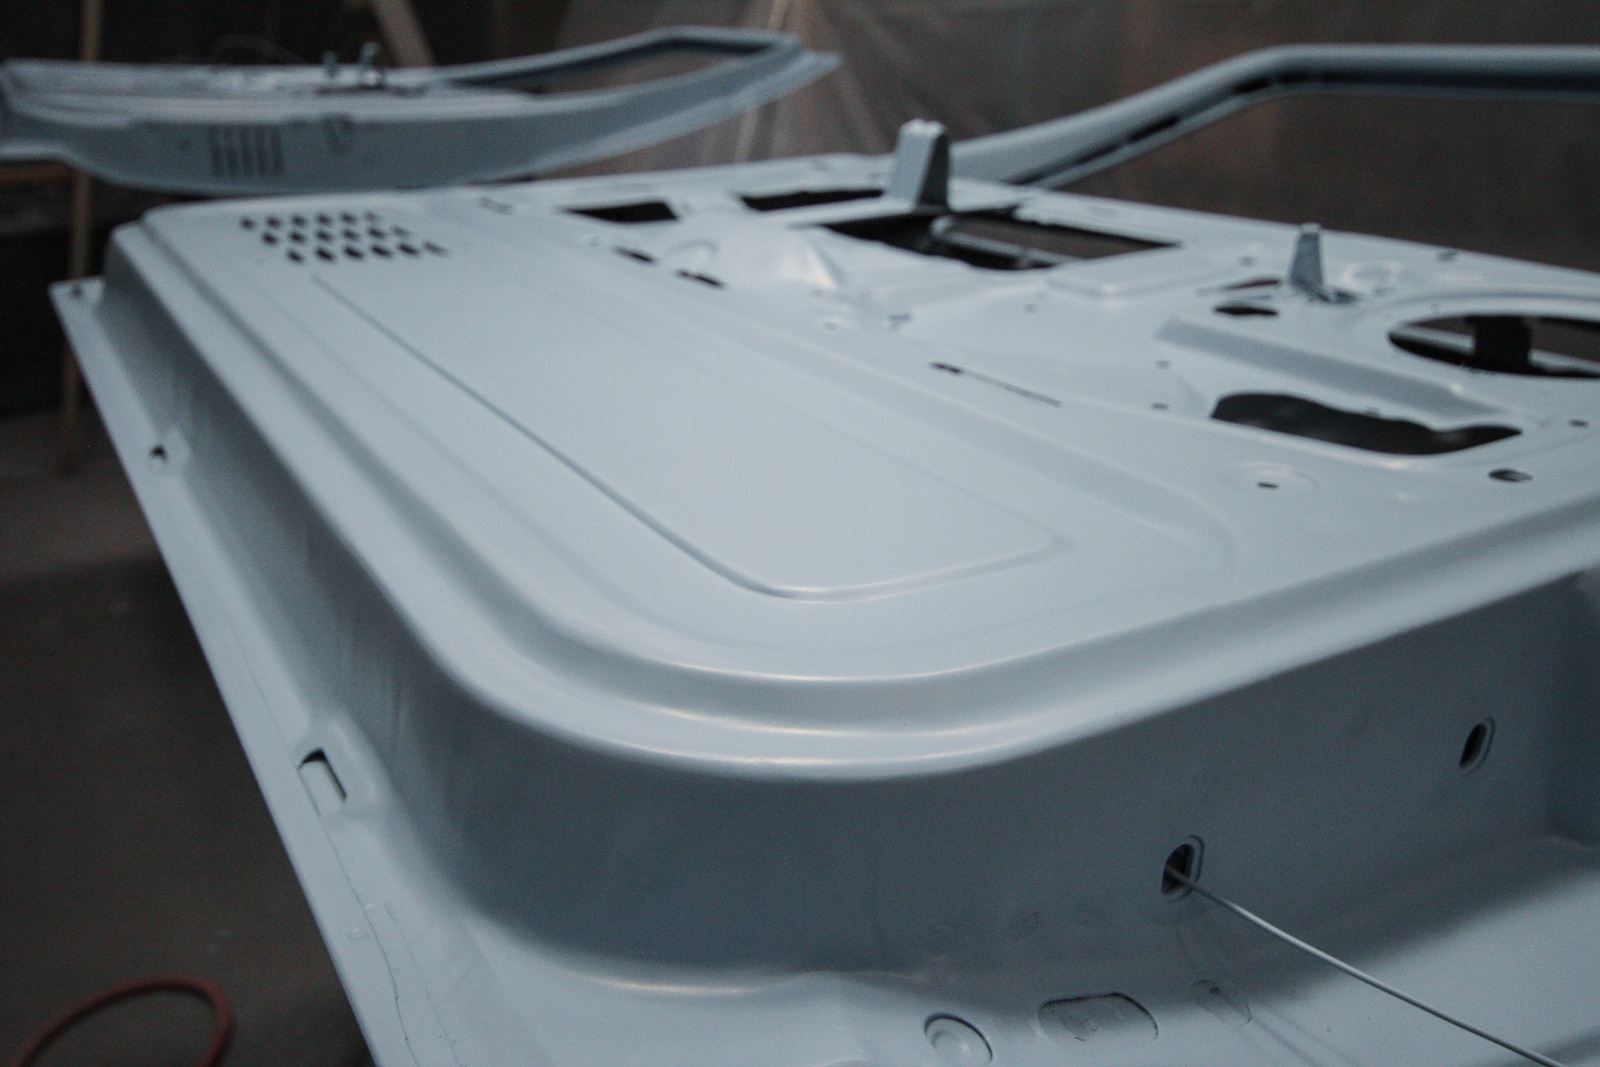
Then we fast-forward a week, when we have time to work on it again, and we paint the fenders, for the second time...

http://www.ronman.org/pics/f150/1782348_10151949360873811_1196036440_o.jpg

http://www.ronman.org/pics/f150/1075373_10151949361008811_1253787578_o.jpg

http://www.ronman.org/pics/f150/1531674_10151949361168811_450673165_o.jpg

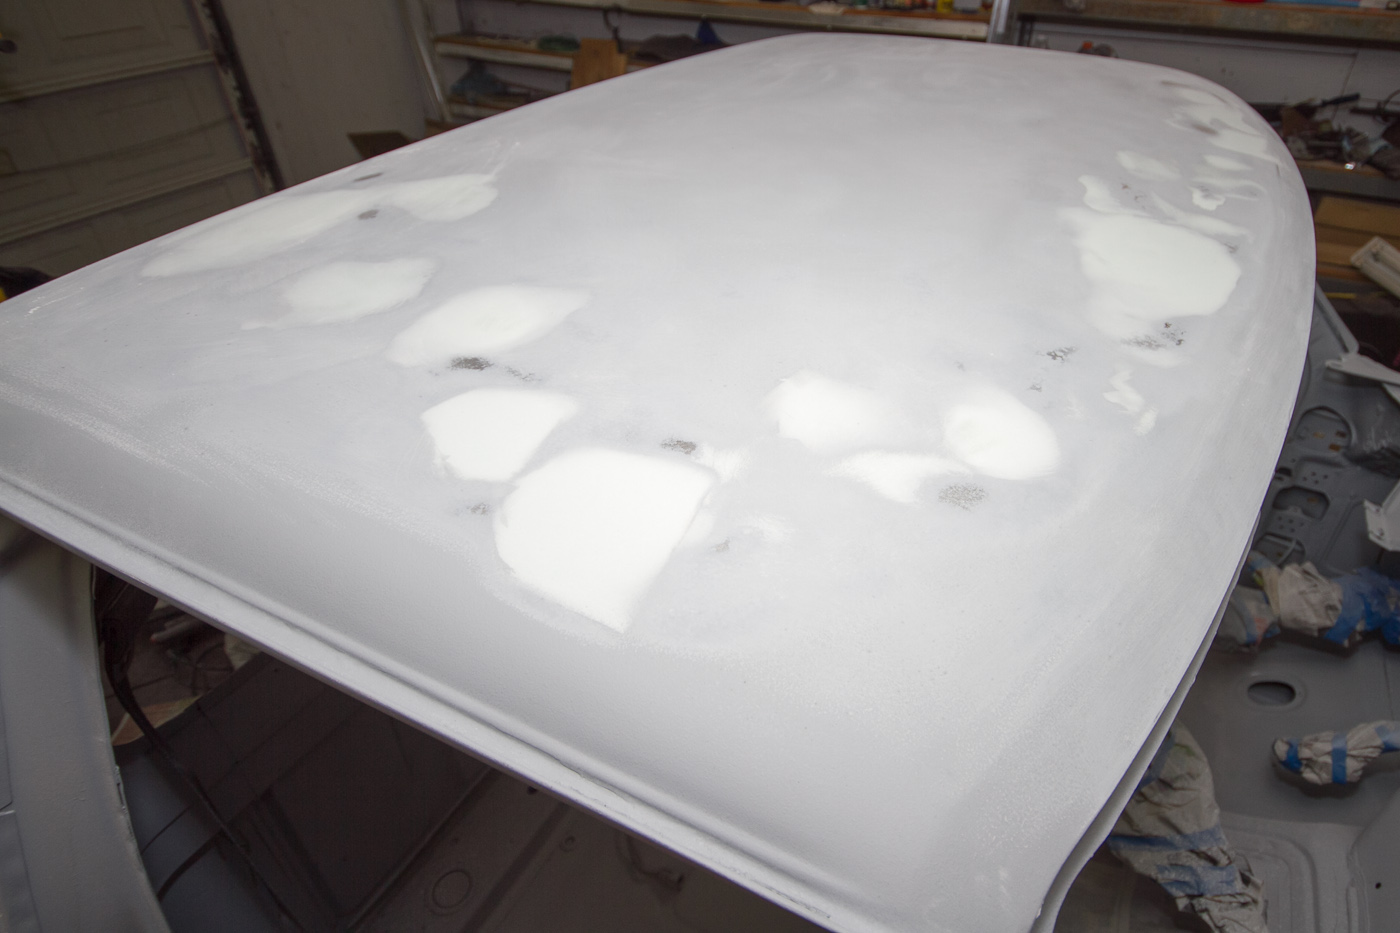
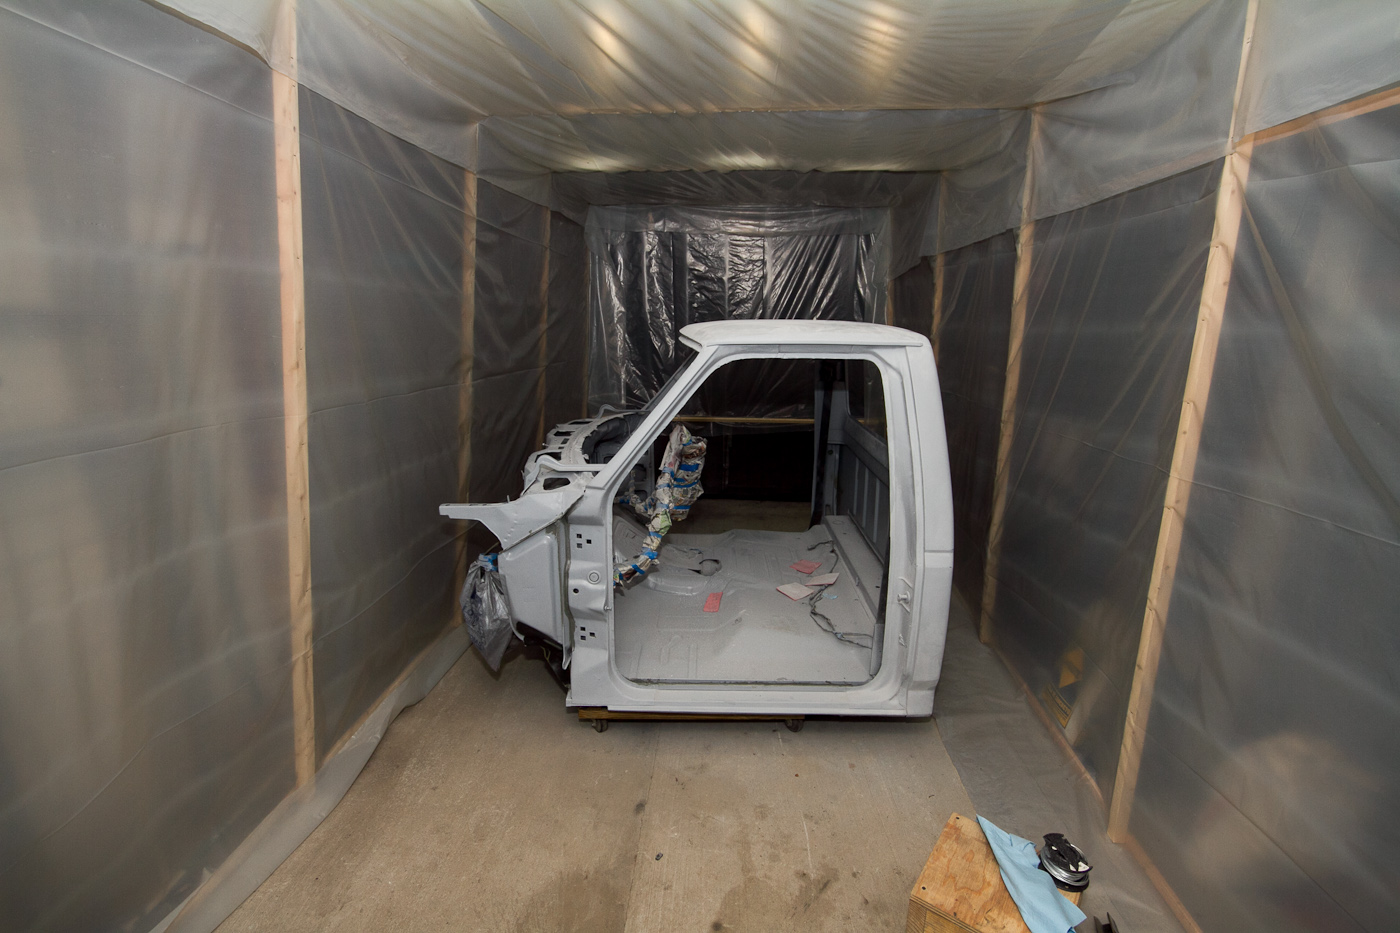
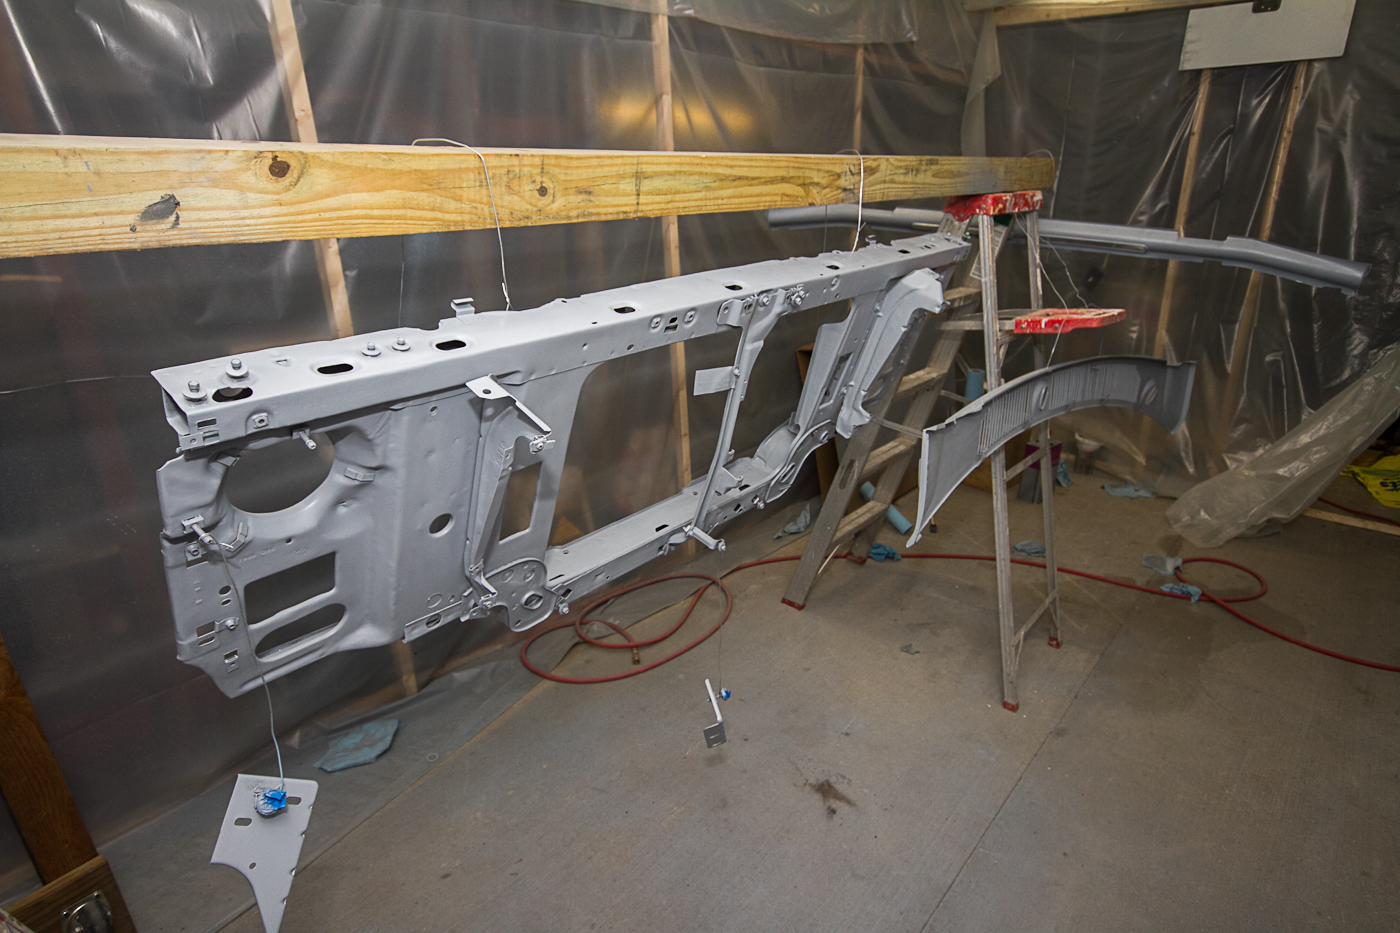
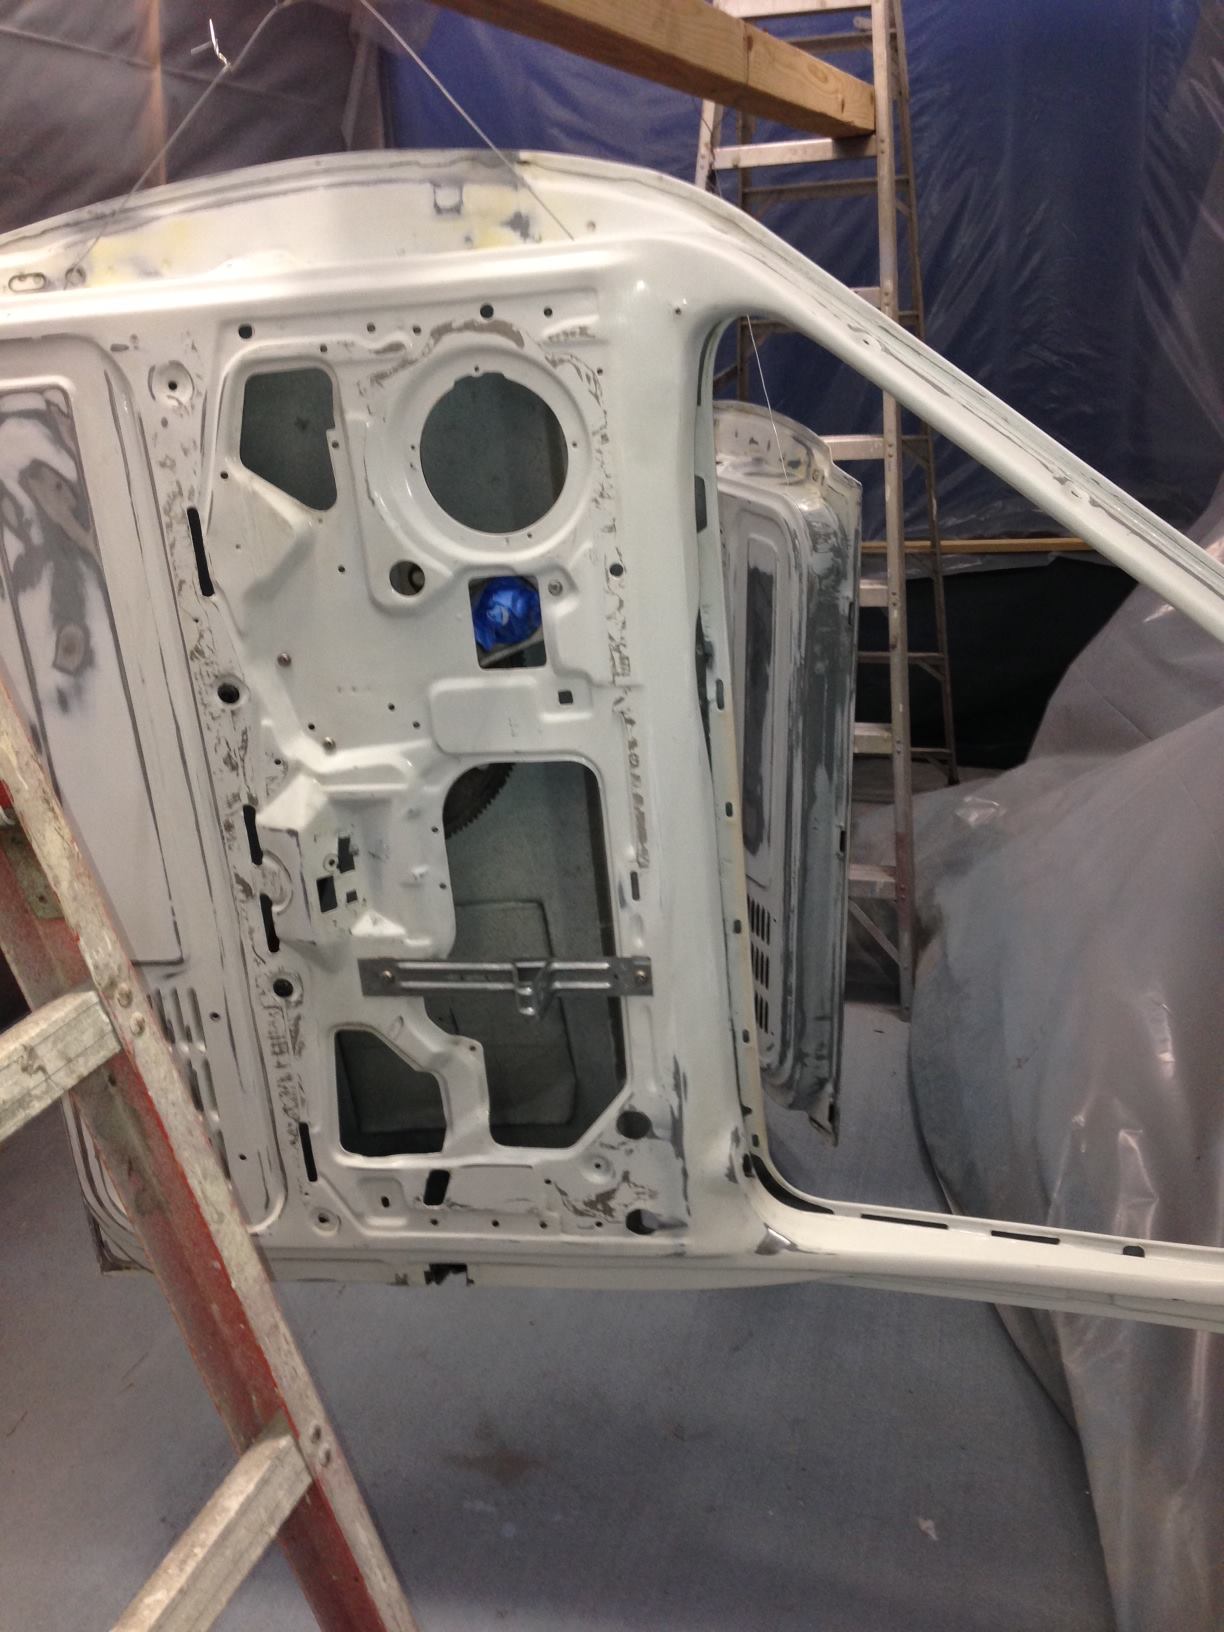
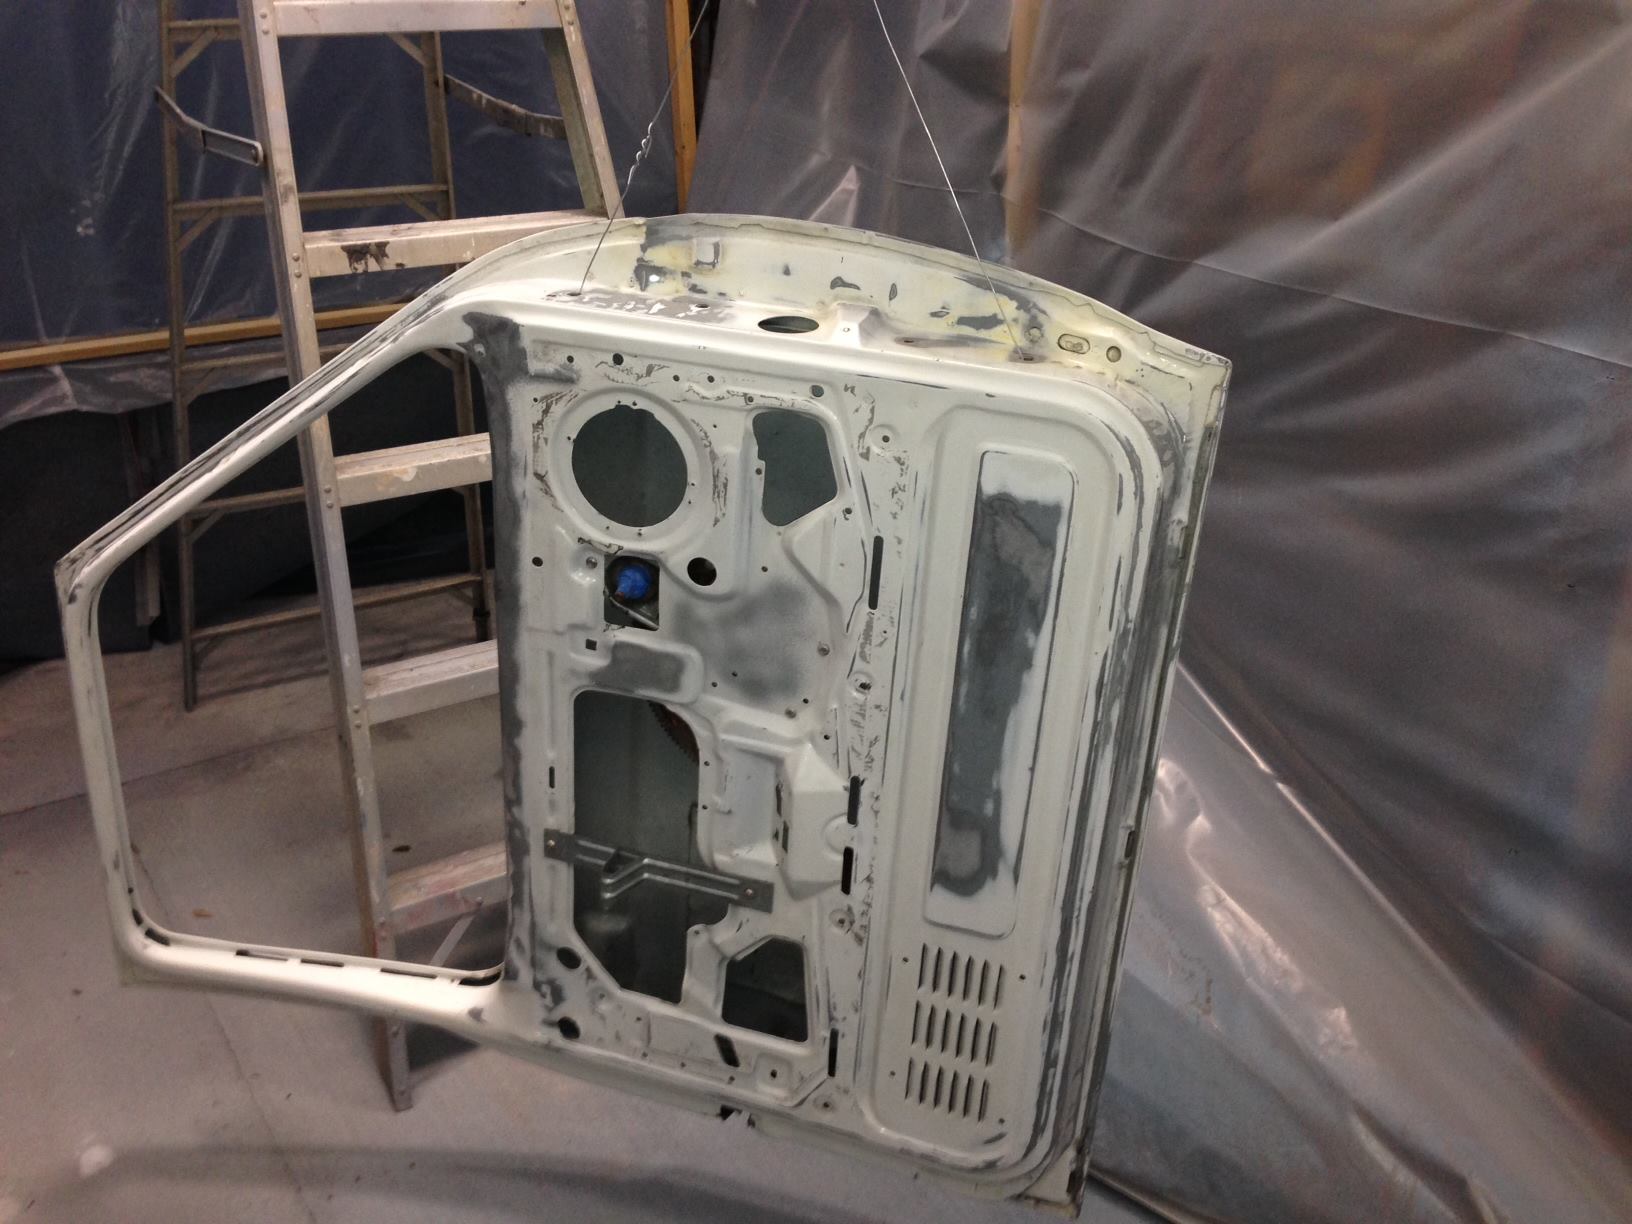
We break for Barber, and return on the 6th of February. This finds the man of honor in town with 4 days off to work on the truck, so we get cracking right away and start priminthe doors with the high-build...

http://www.ronman.org/pics/f150/1891332_10151964271193811_2100661234_o.jpg

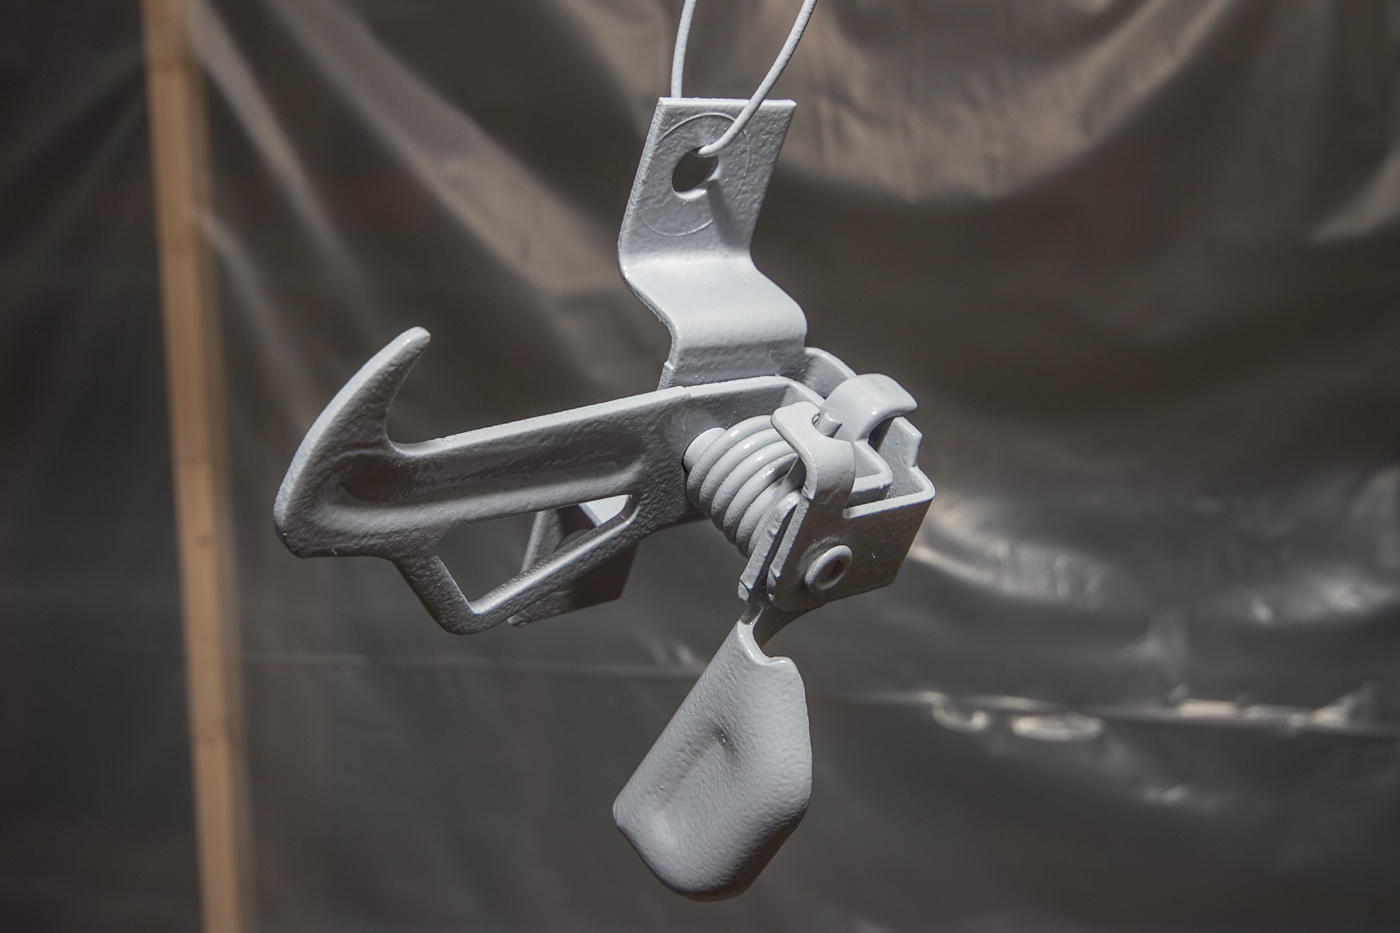
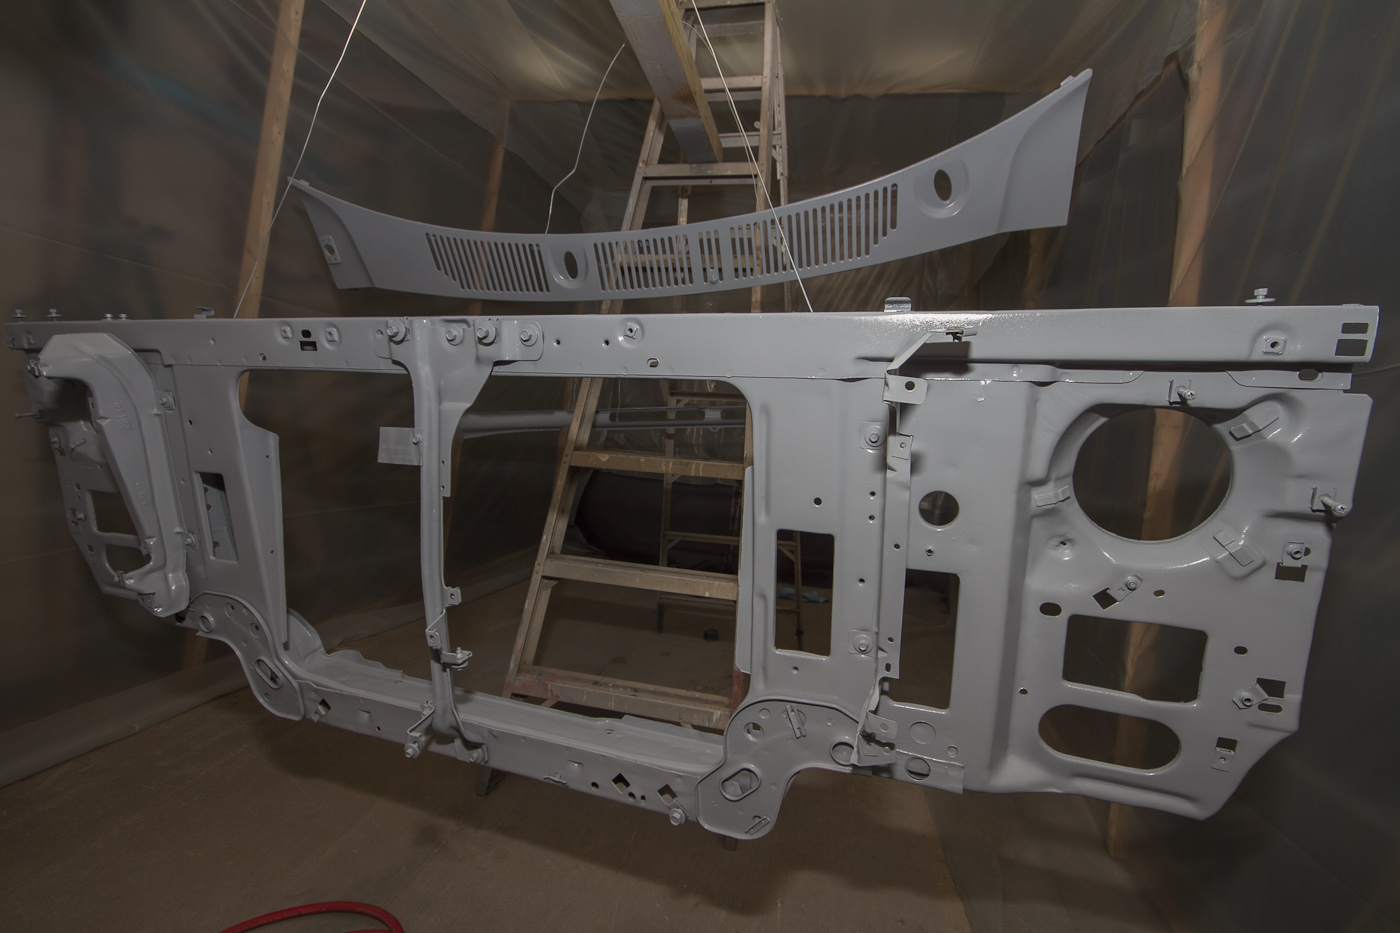
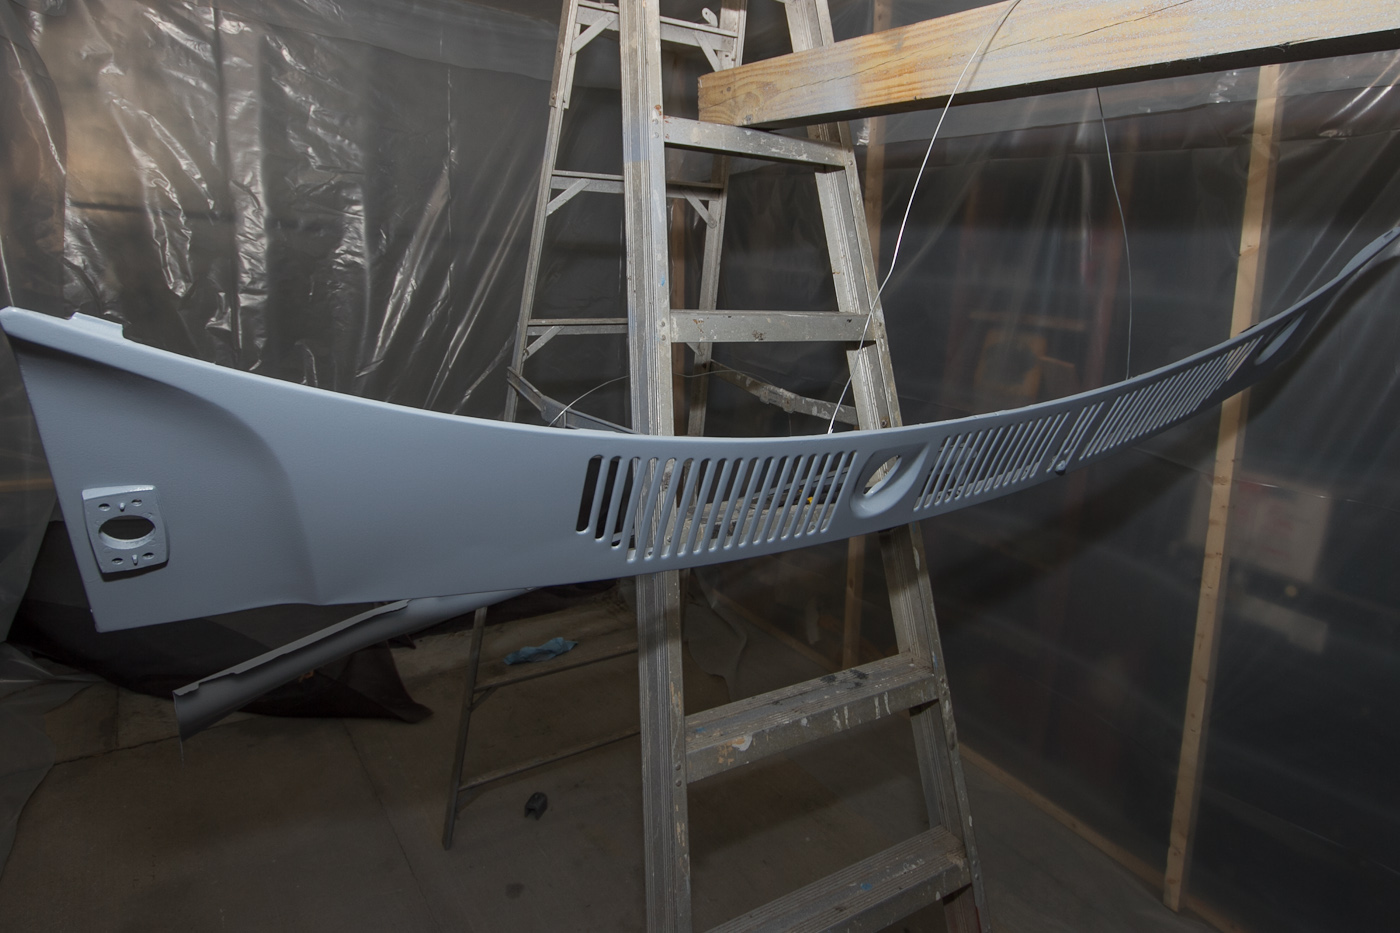
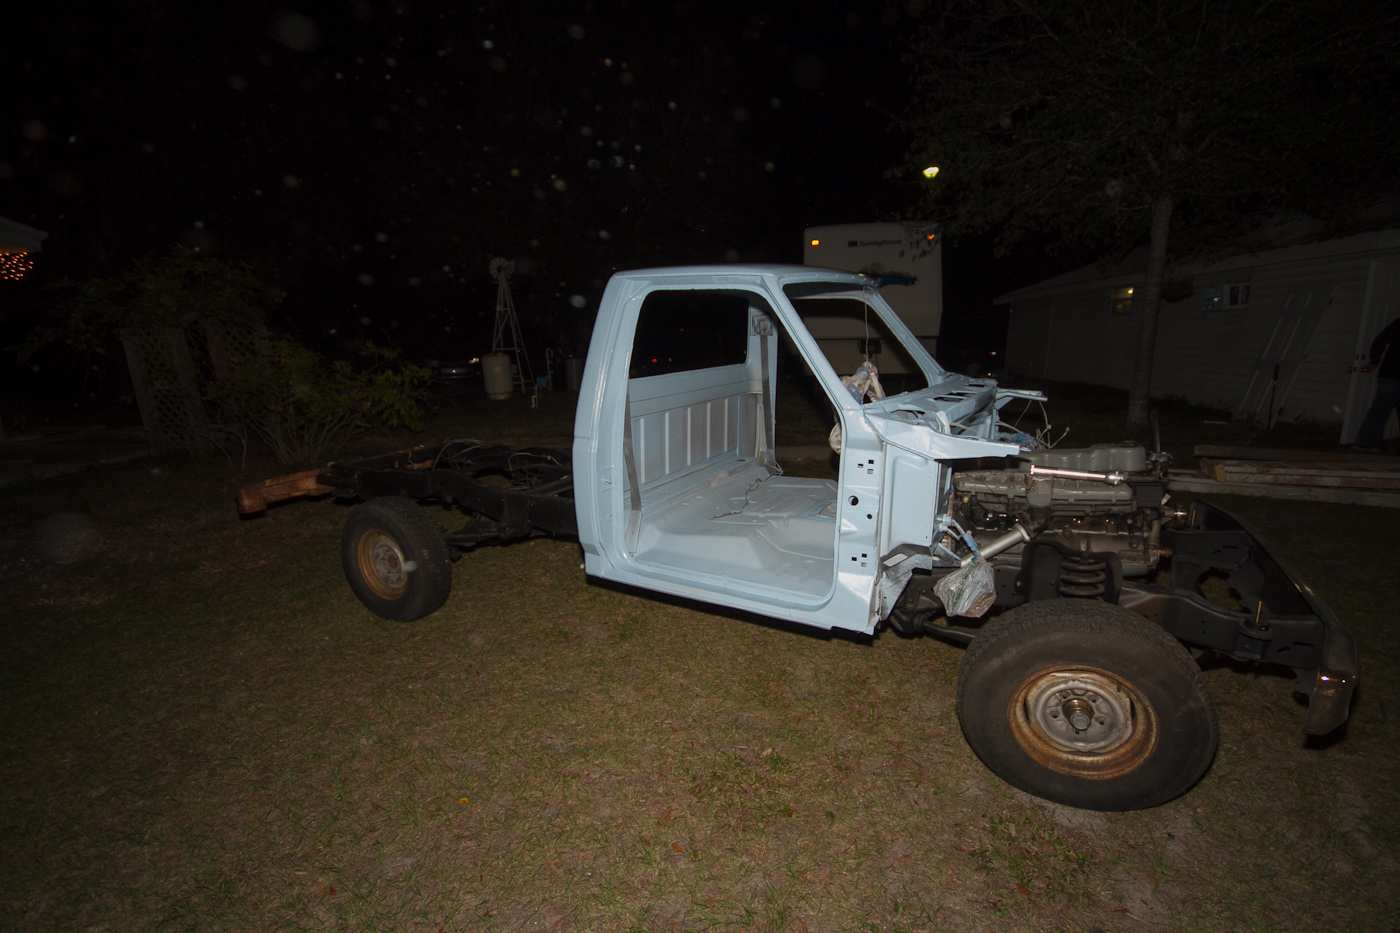
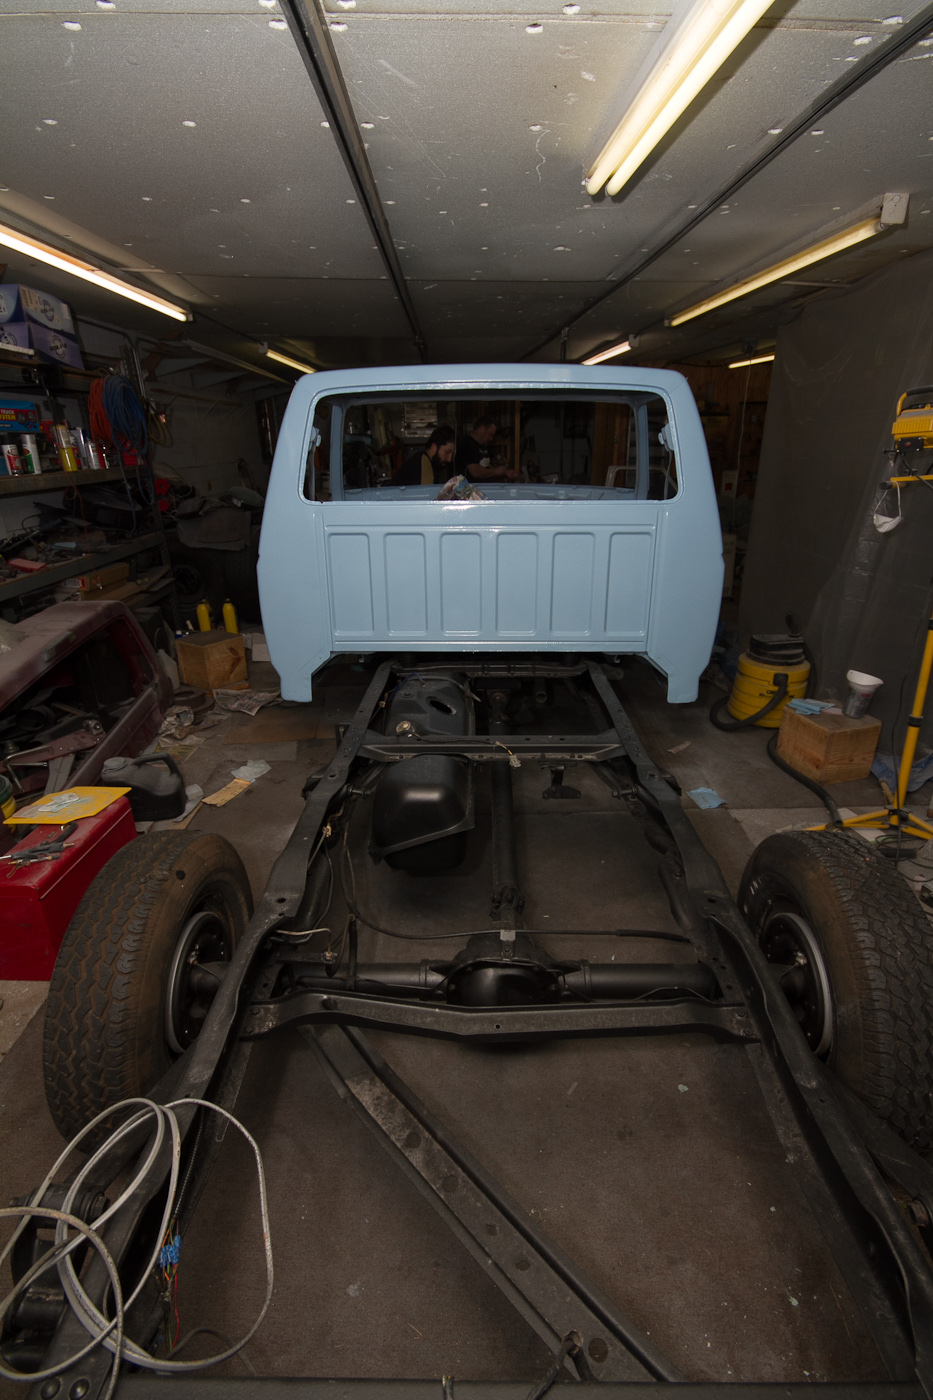
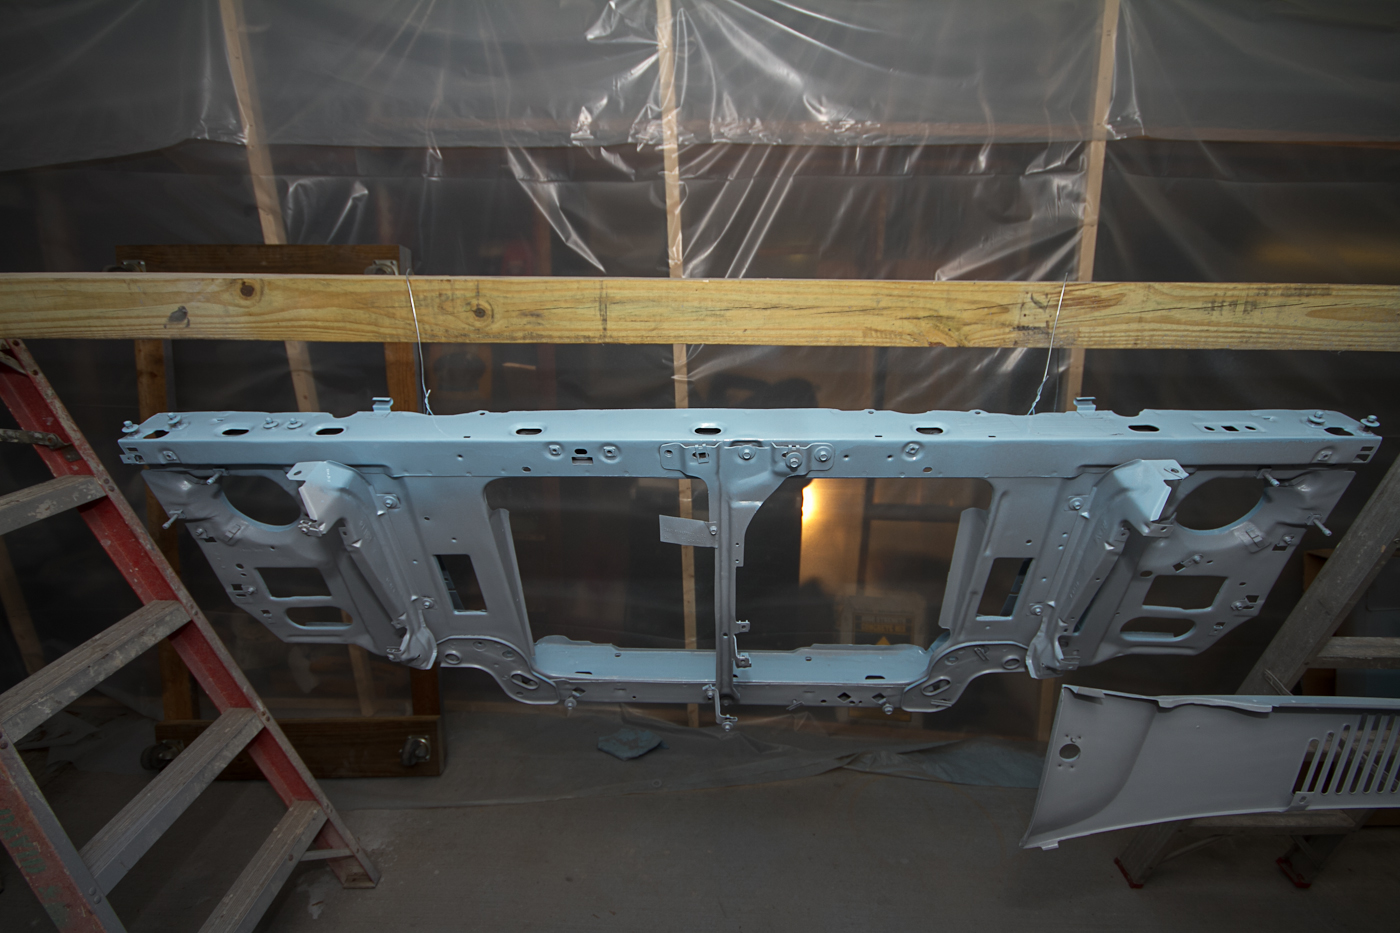
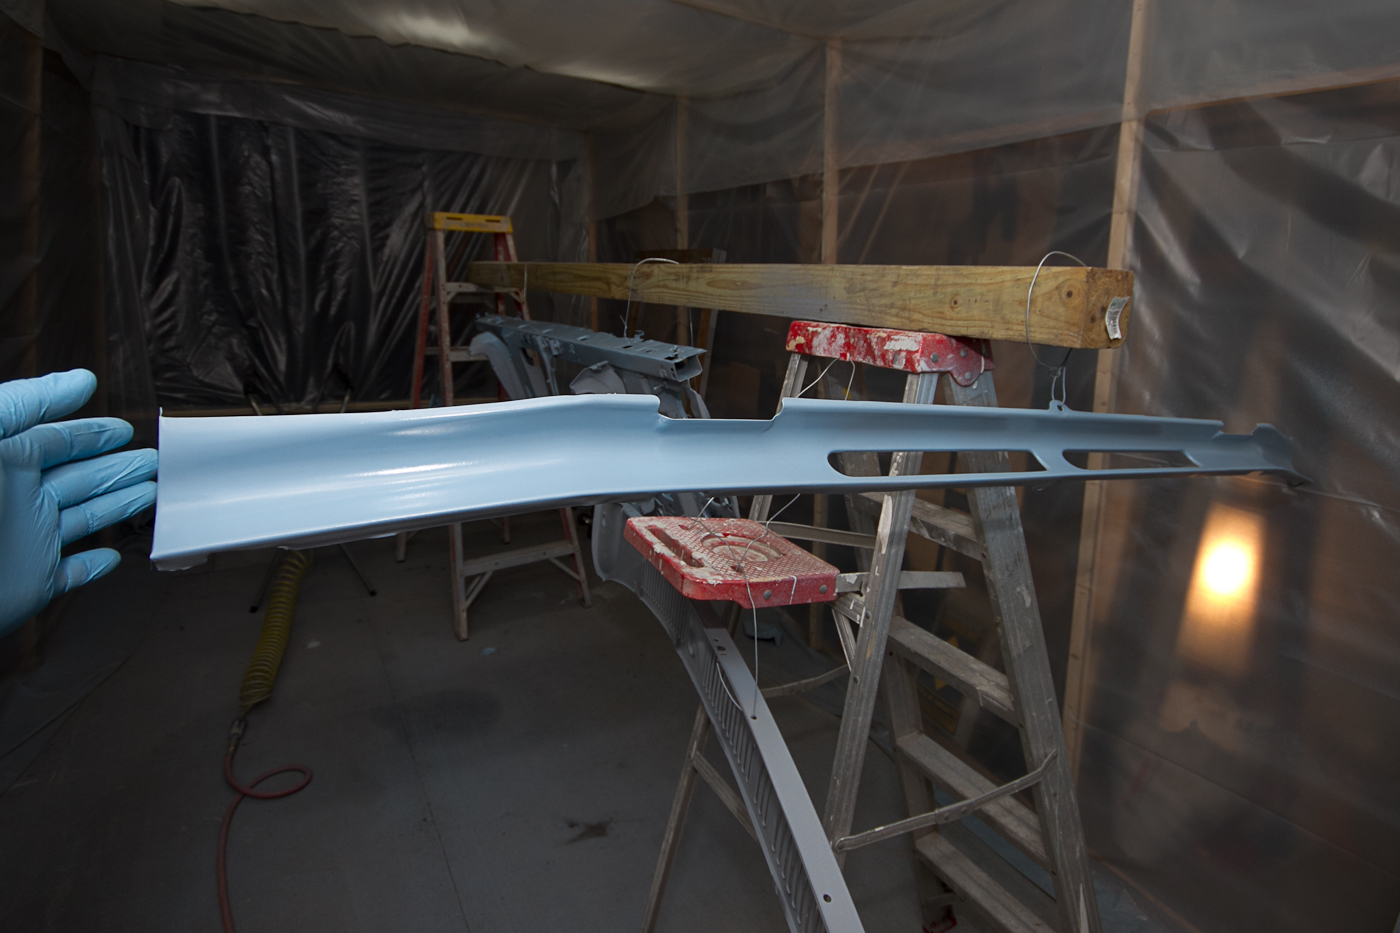
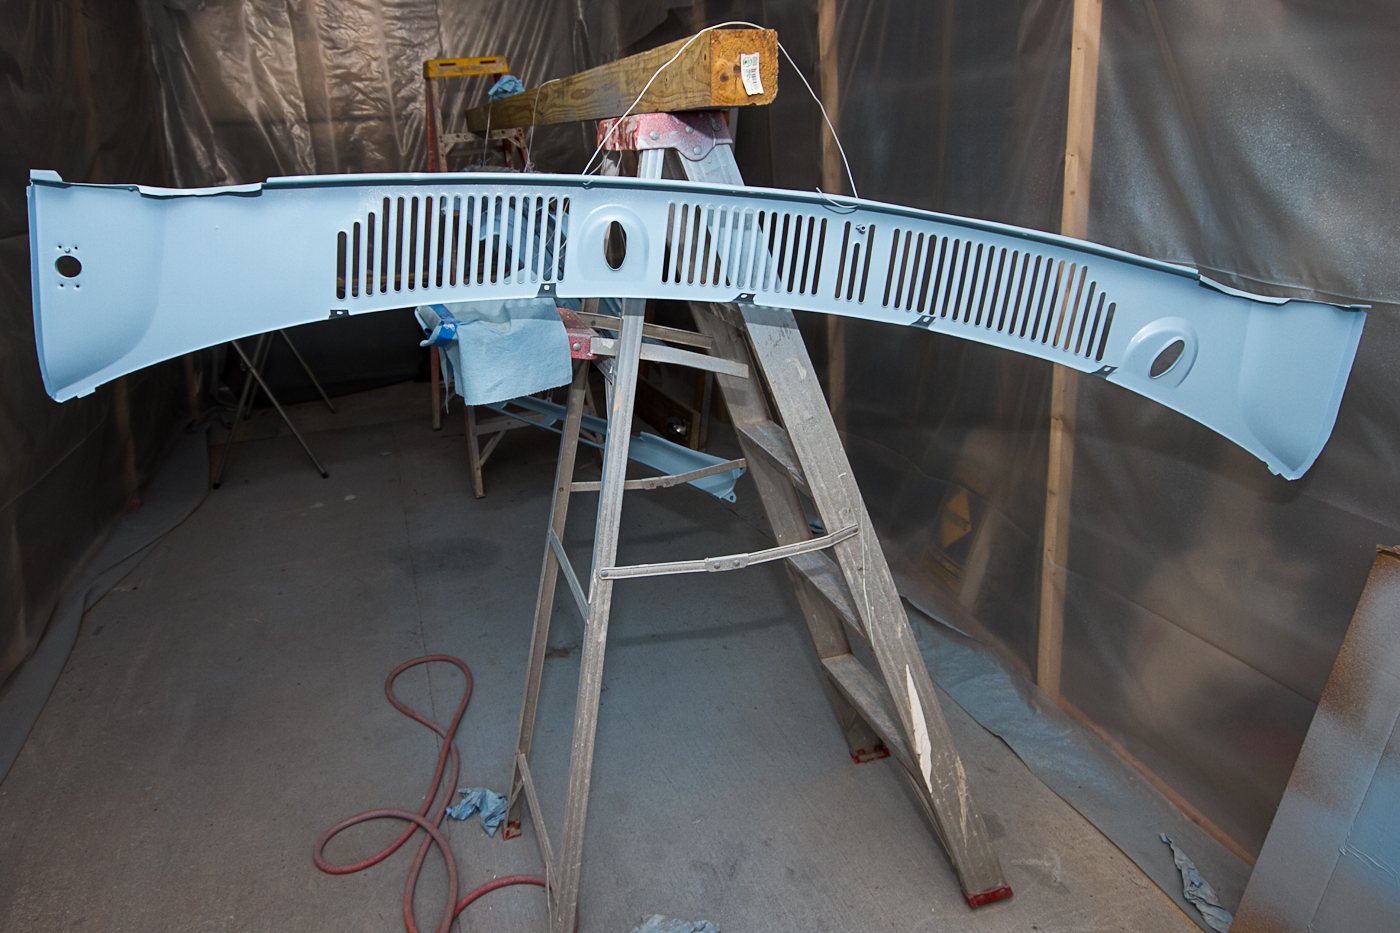
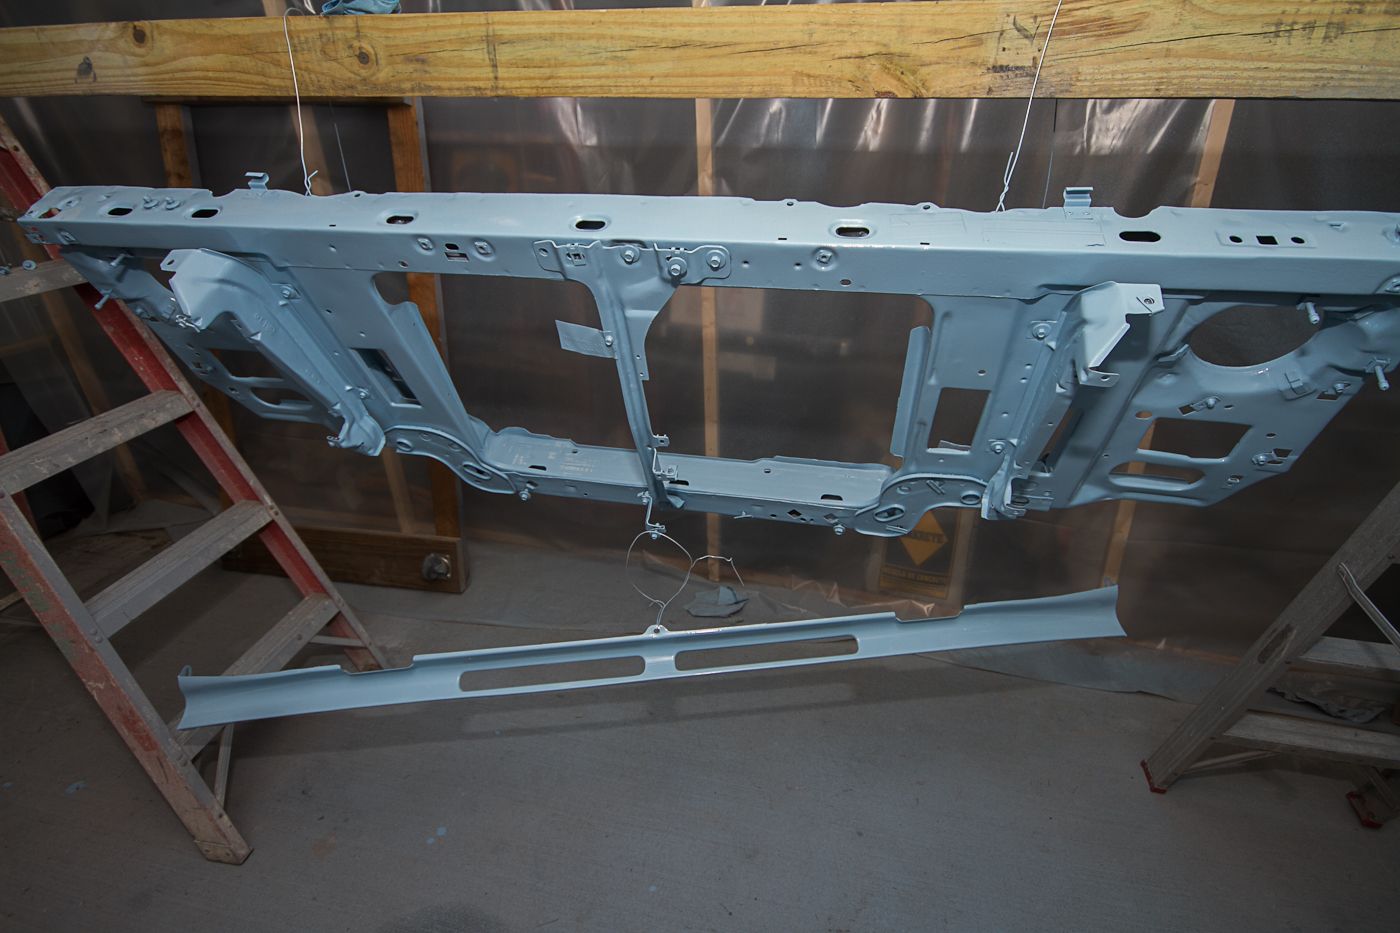
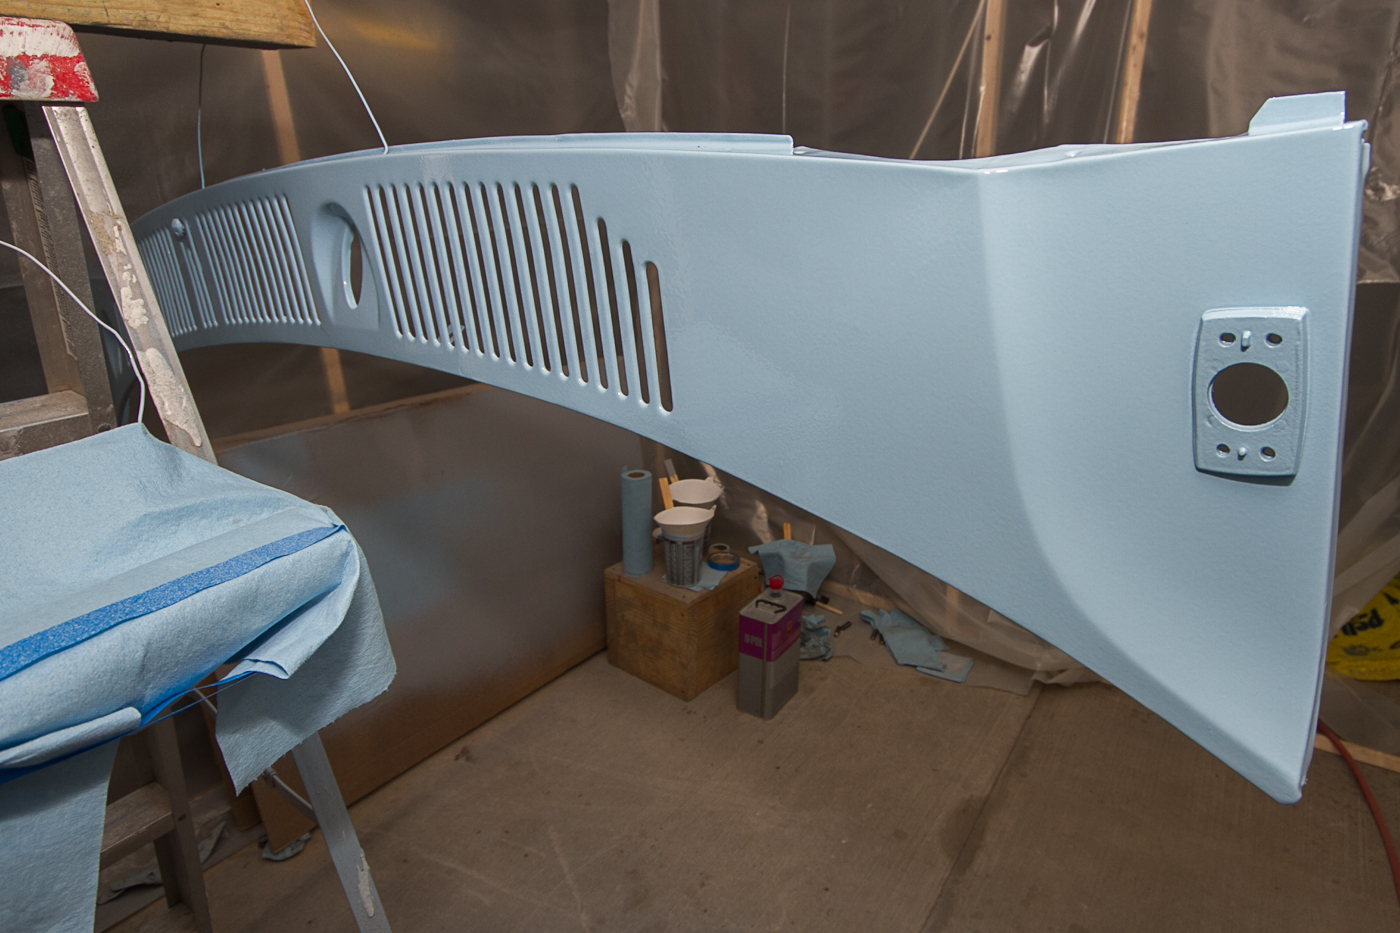
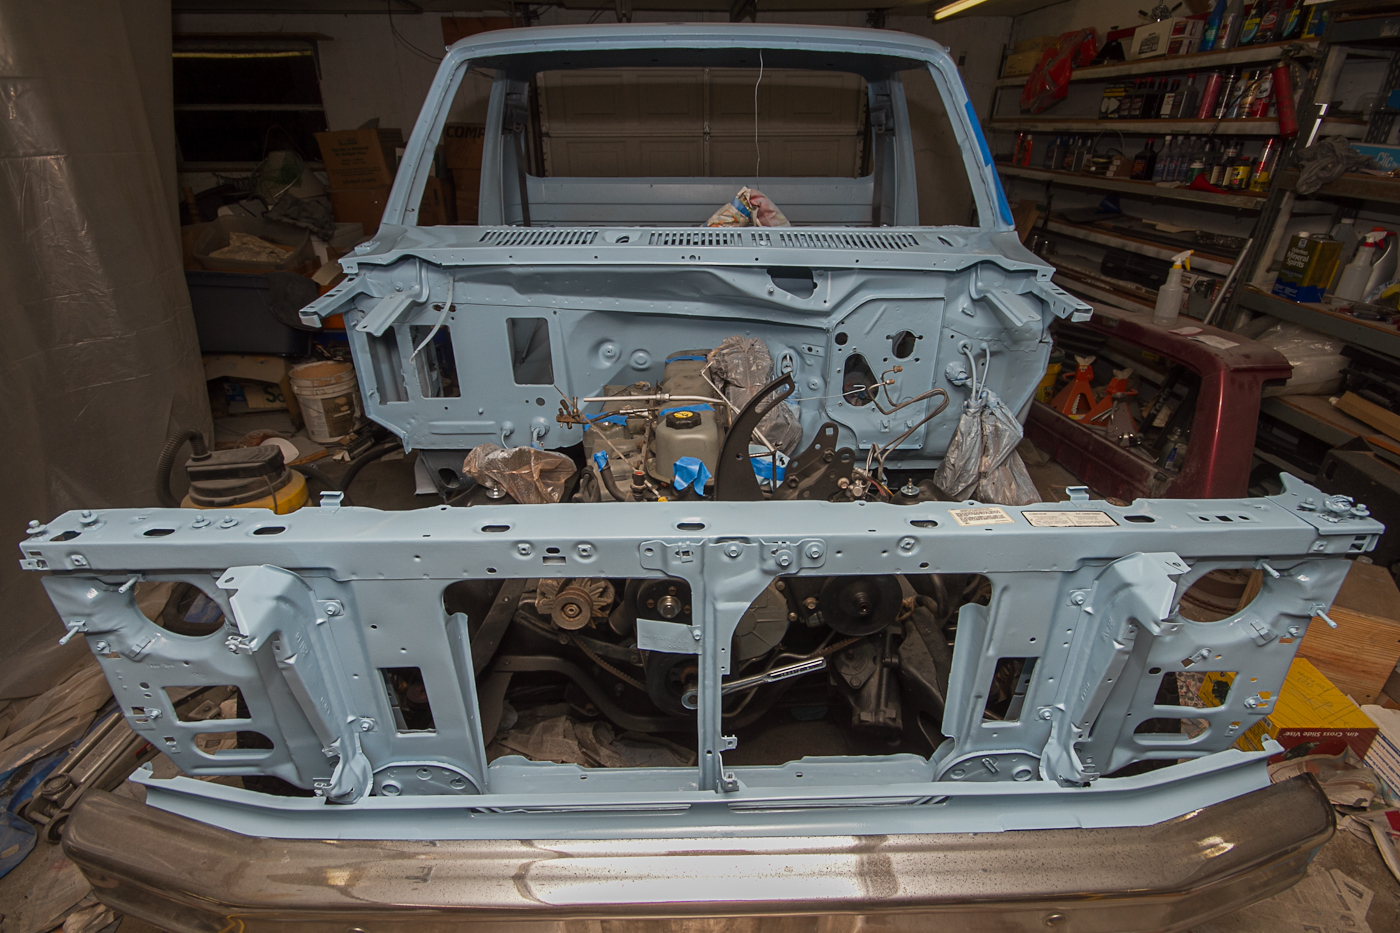
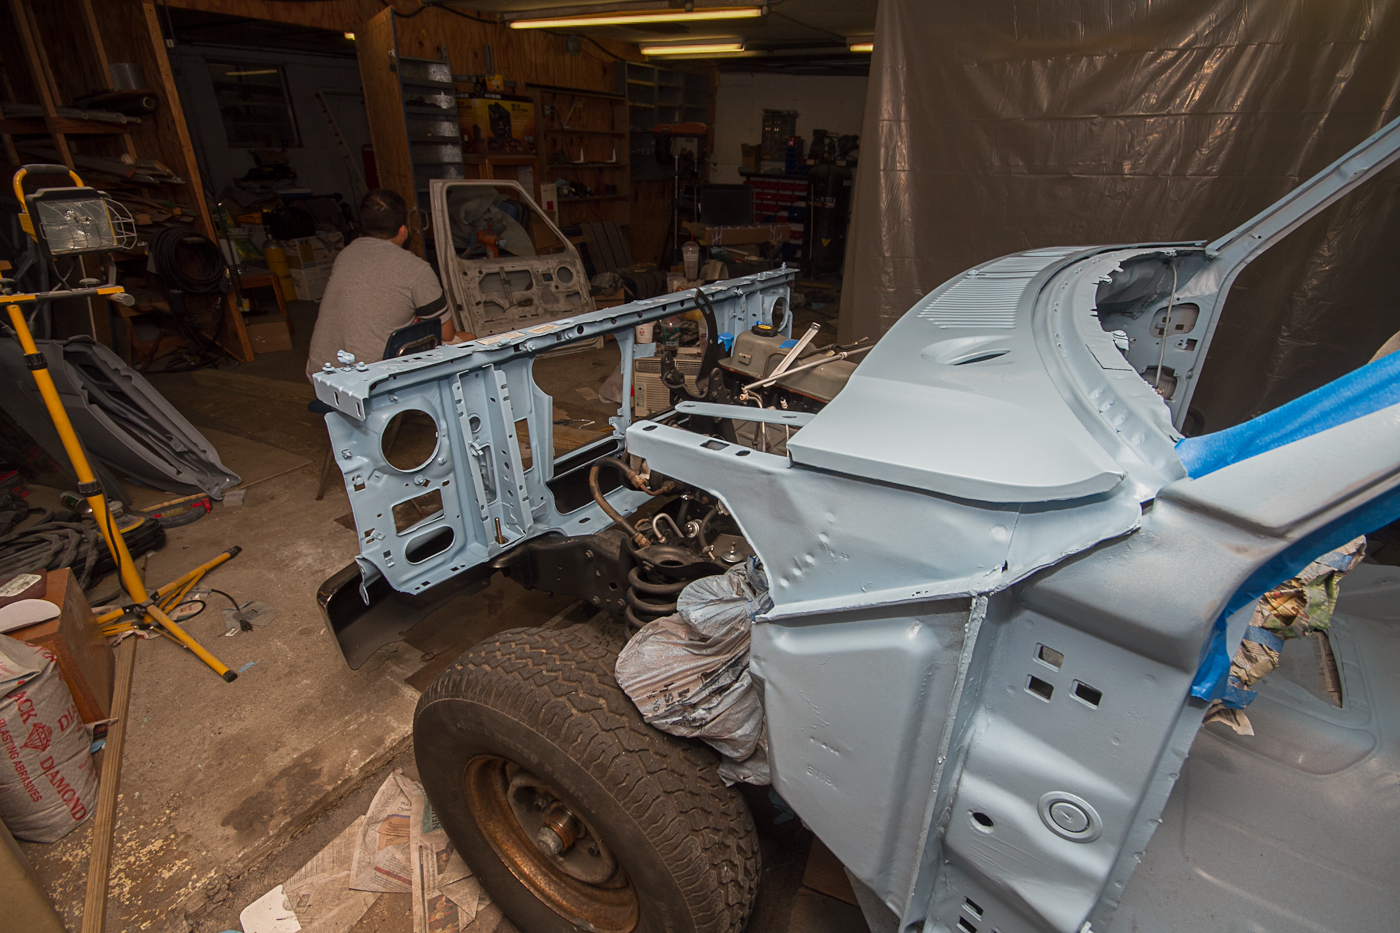
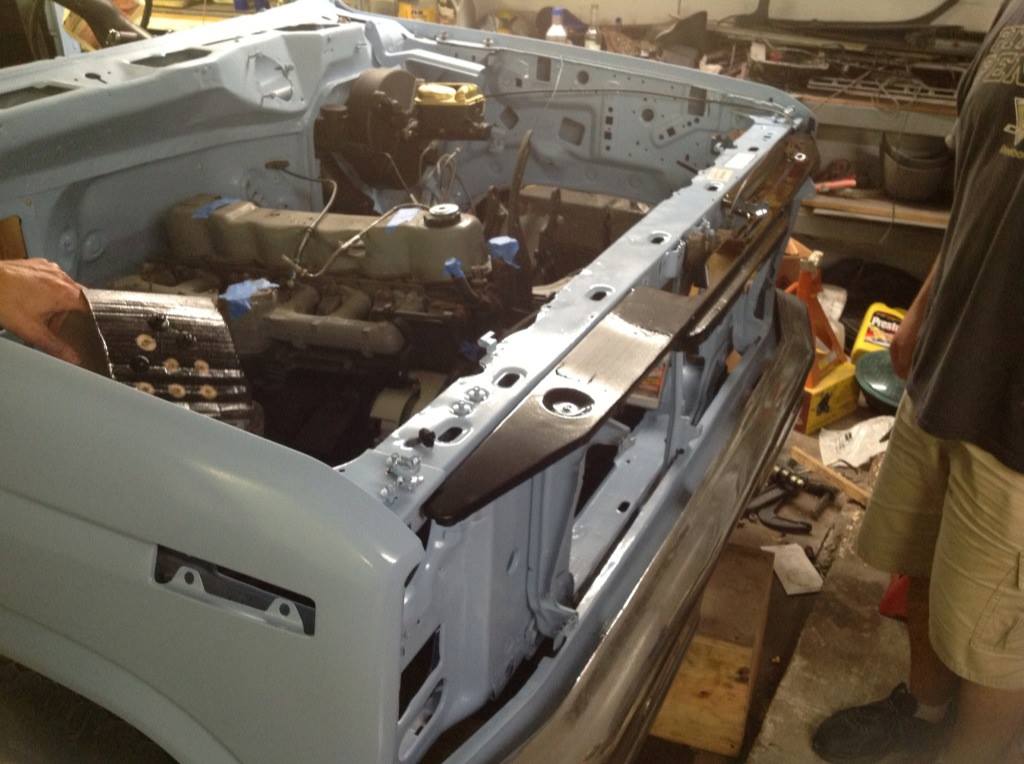
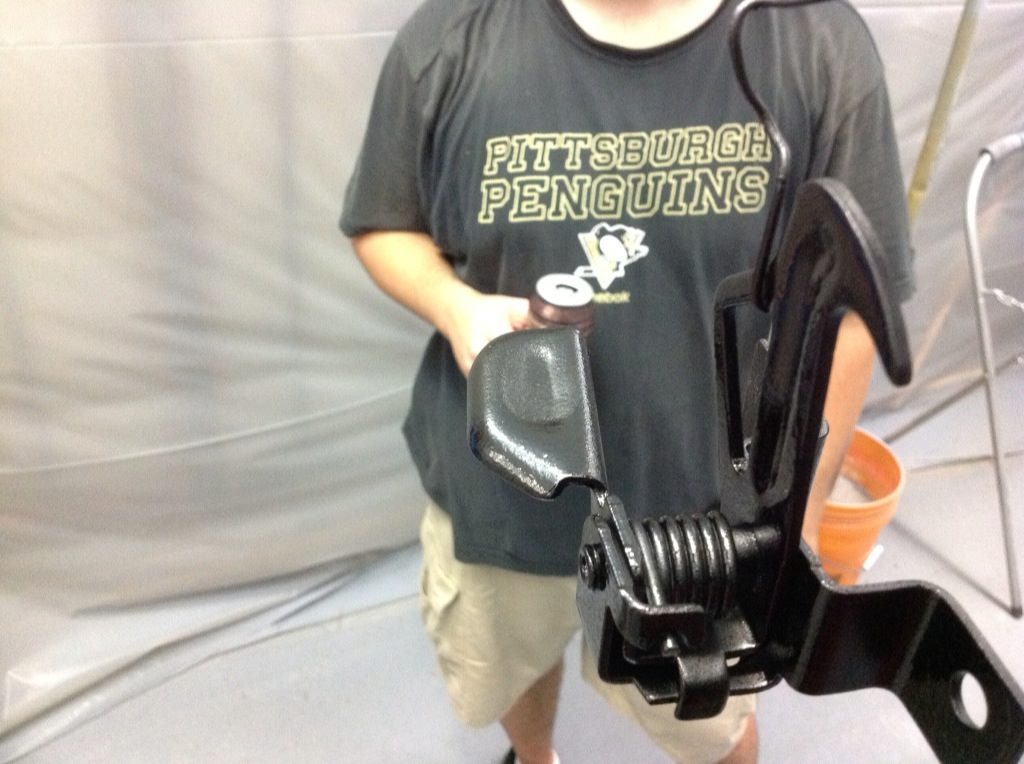
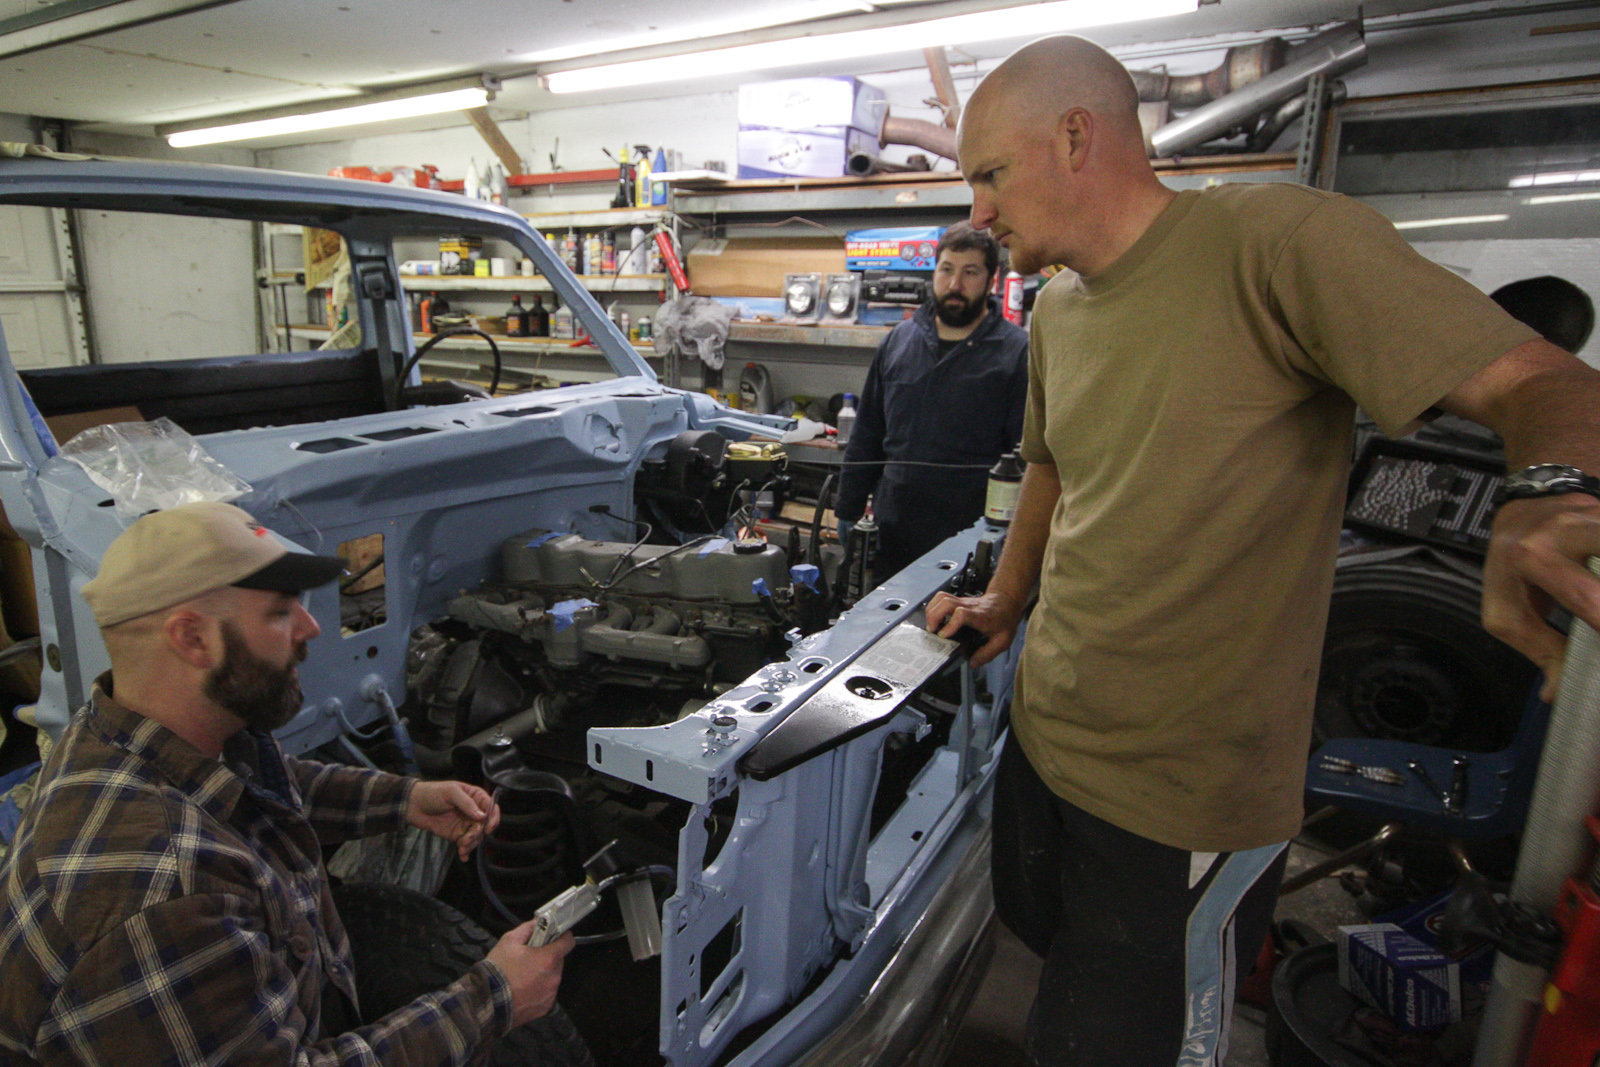
While I was at work on the 7th, Mike and Aldin went to the paint store to get some black, and wound up with a half-pint of BMW "Jet Black," which was shot onto the fill panel between the core support and grille, and the hood latch assembly. Also while I was gone, they decided to mock up the front end, which provides a nice picture of the progress...

http://www.ronman.org/pics/f150/1597601_10151964271198811_1301427623_o.jpg

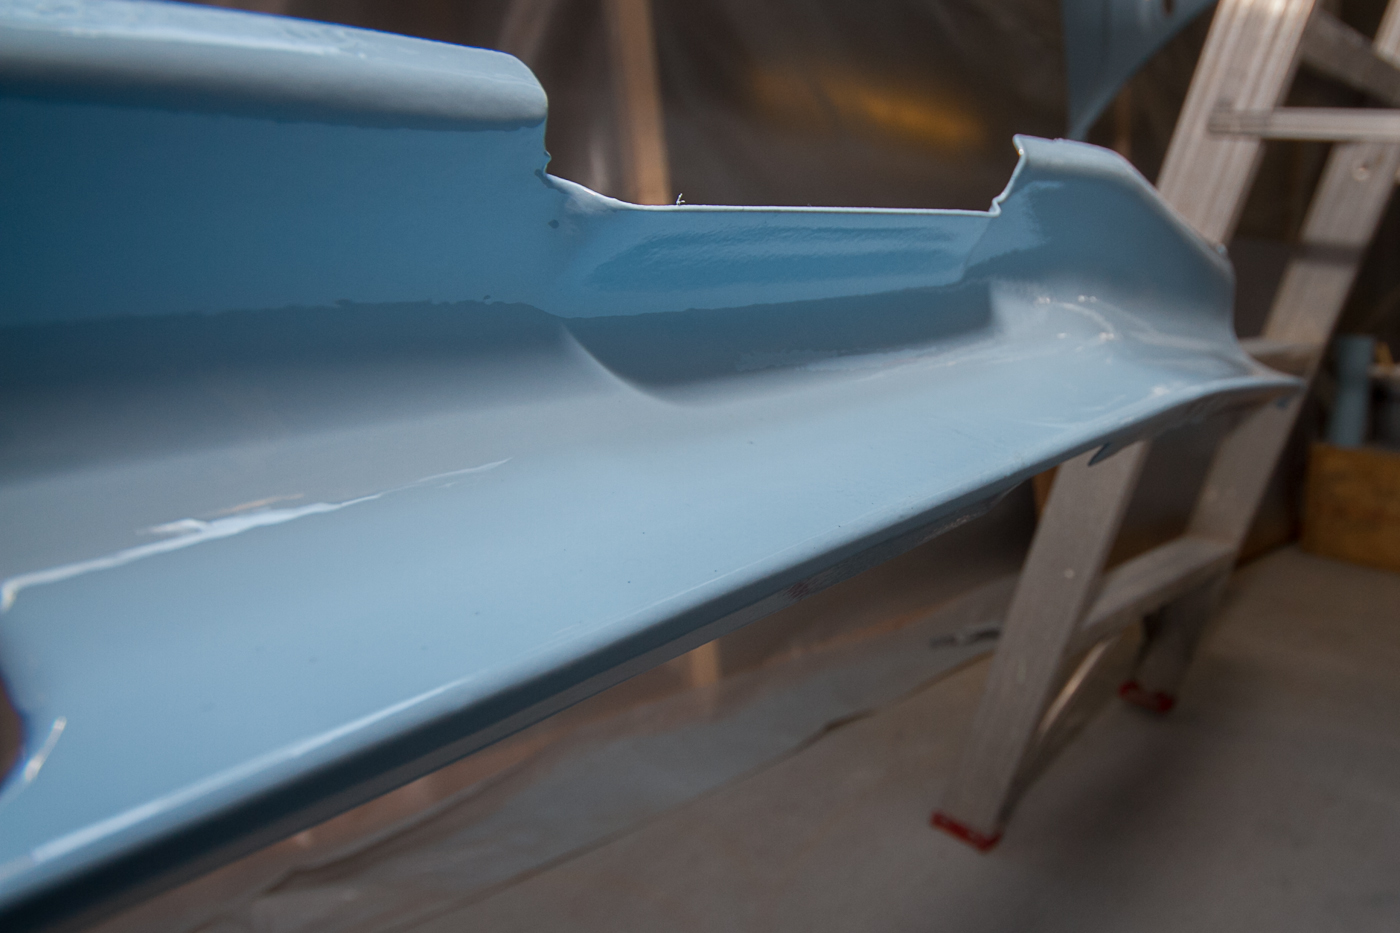
Aldin also decides that the clear on the hood release needs his thumbprint in it, so there's that...

http://www.ronman.org/pics/f150/1617123_10151964271203811_276289537_o.jpg

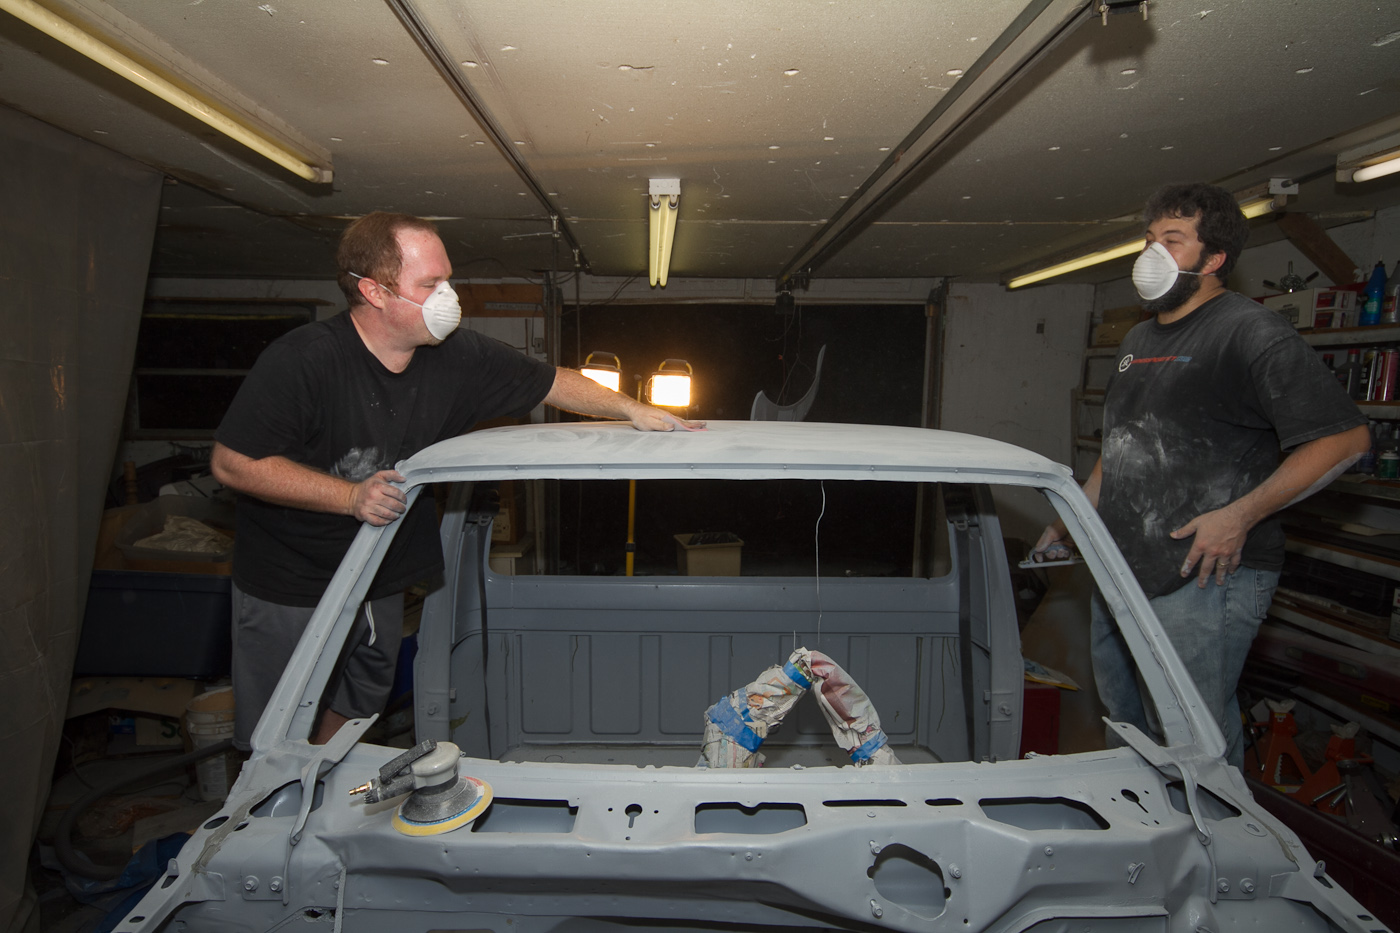
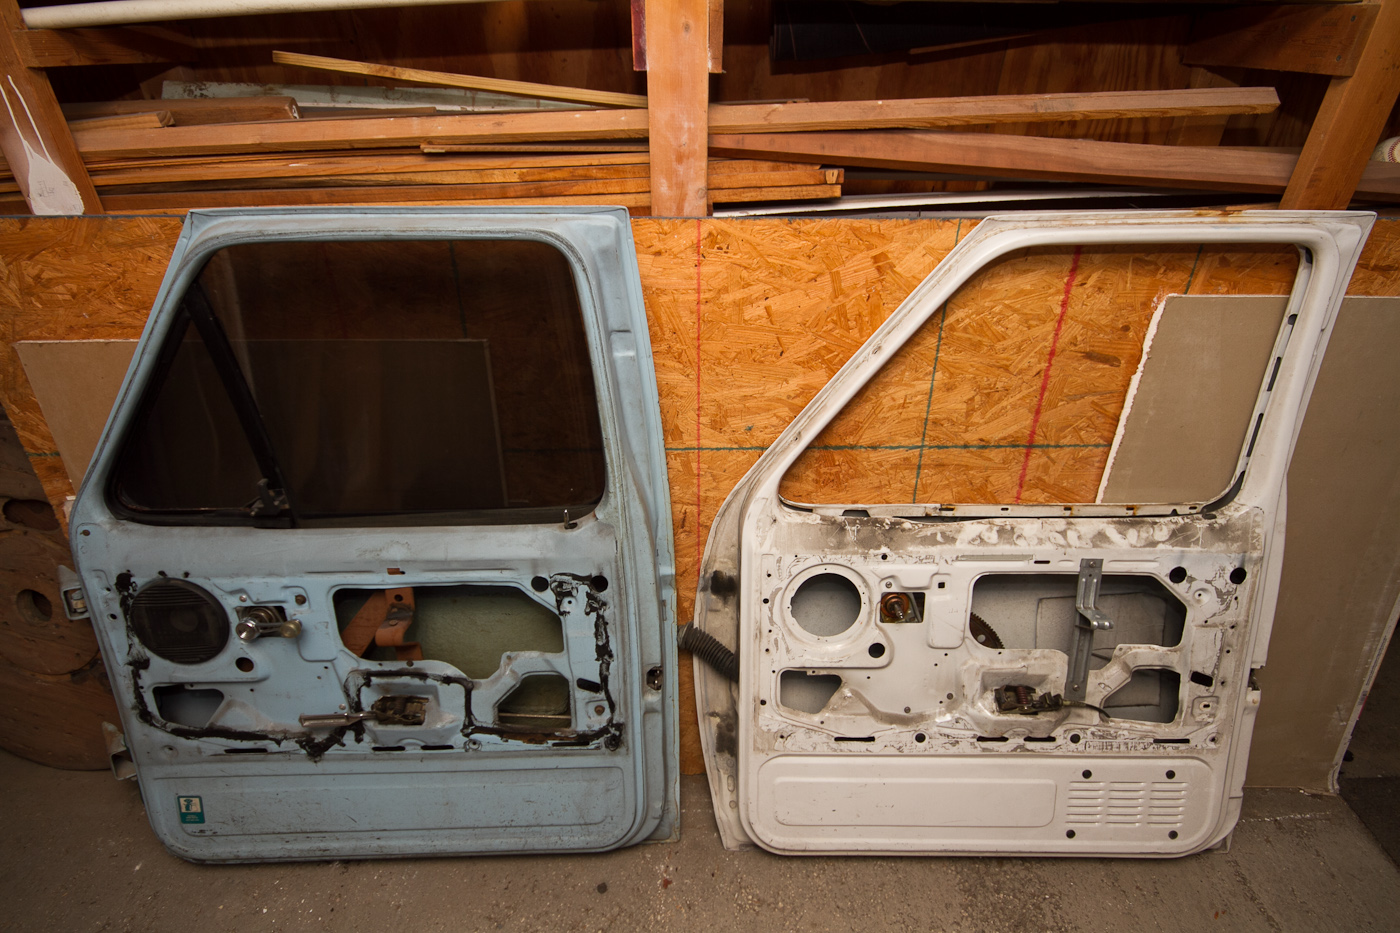
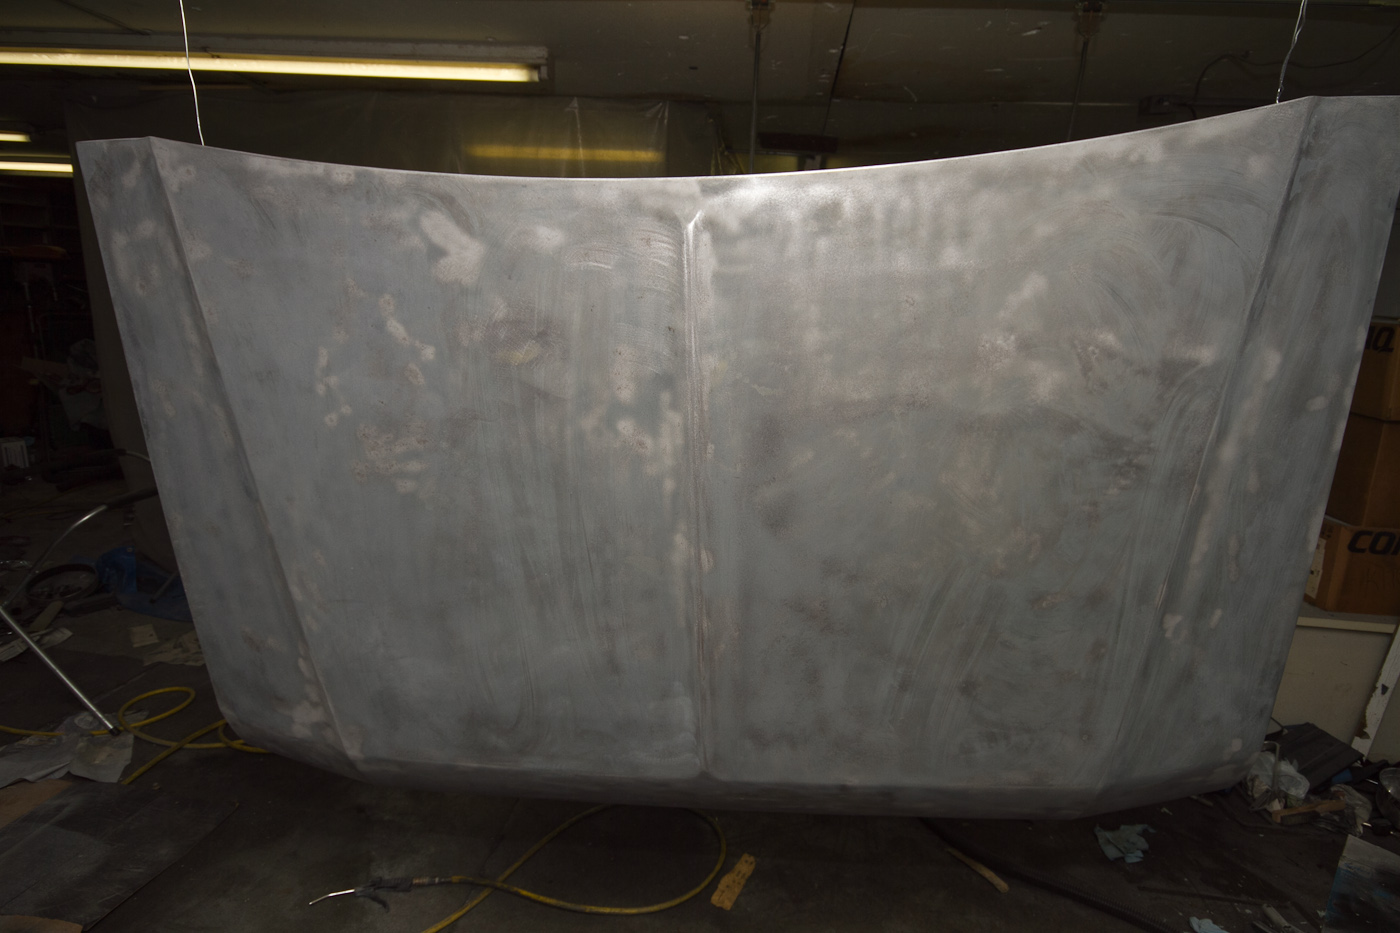
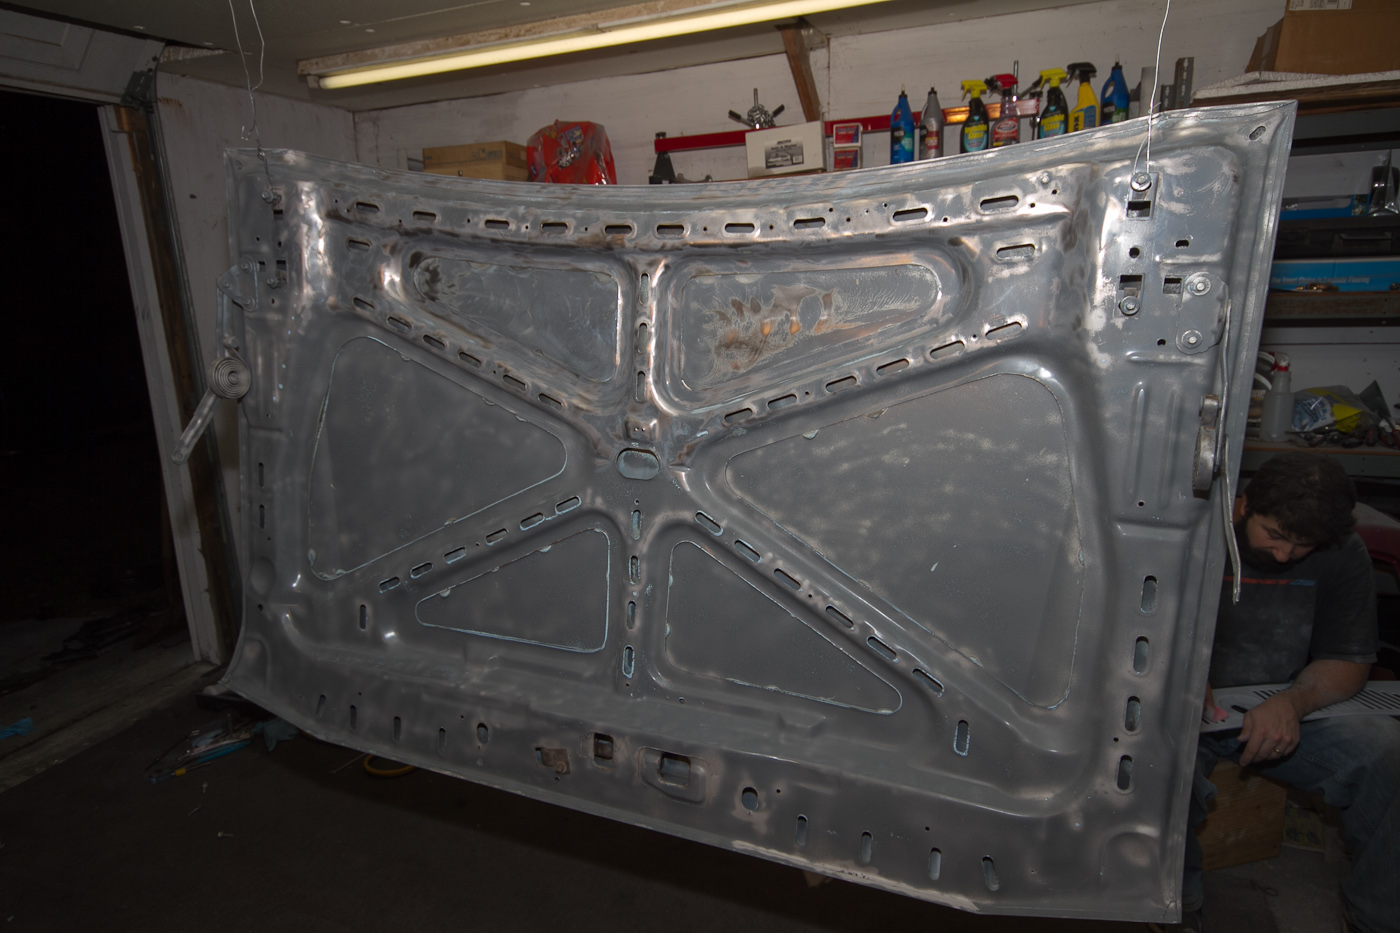
The next night finds us sanding doors...

http://www.ronman.org/pics/f150/IMG_9439.jpg

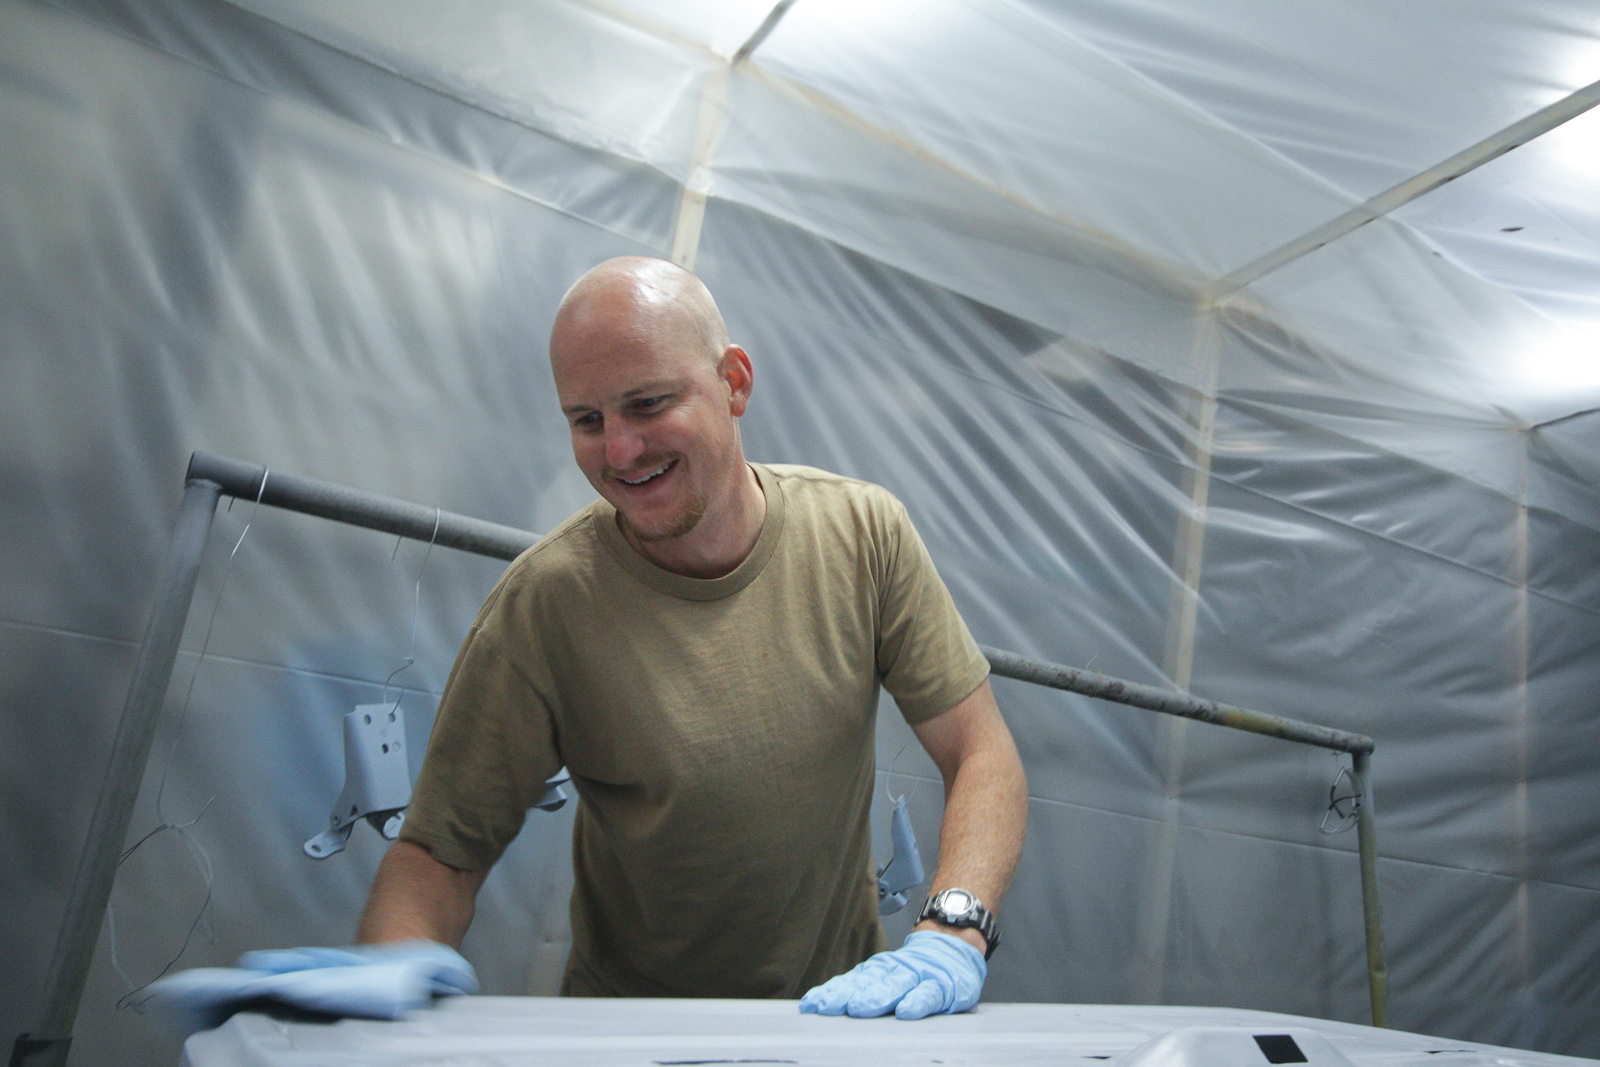
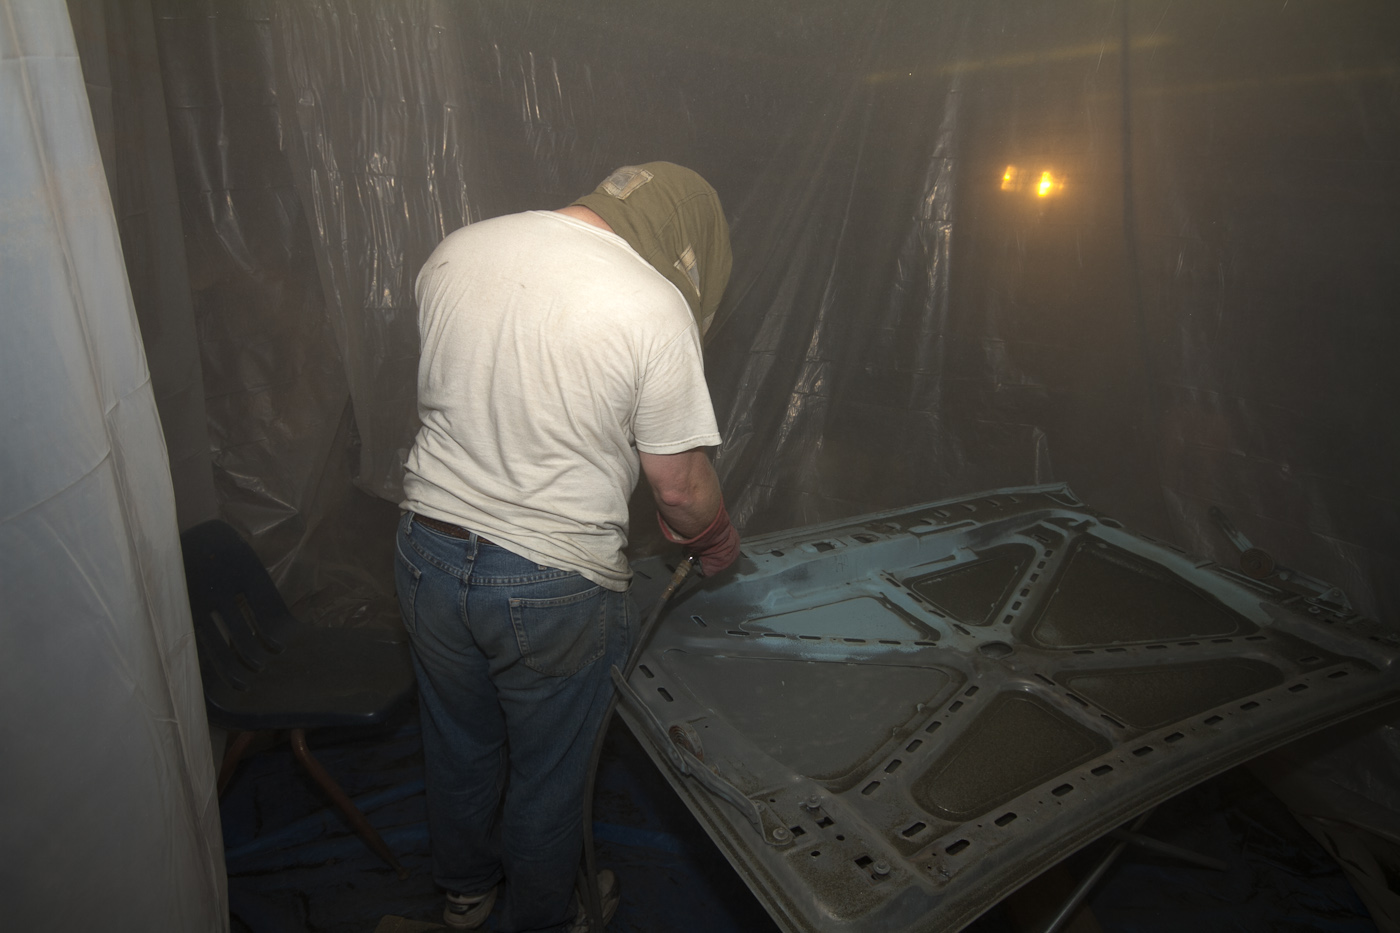
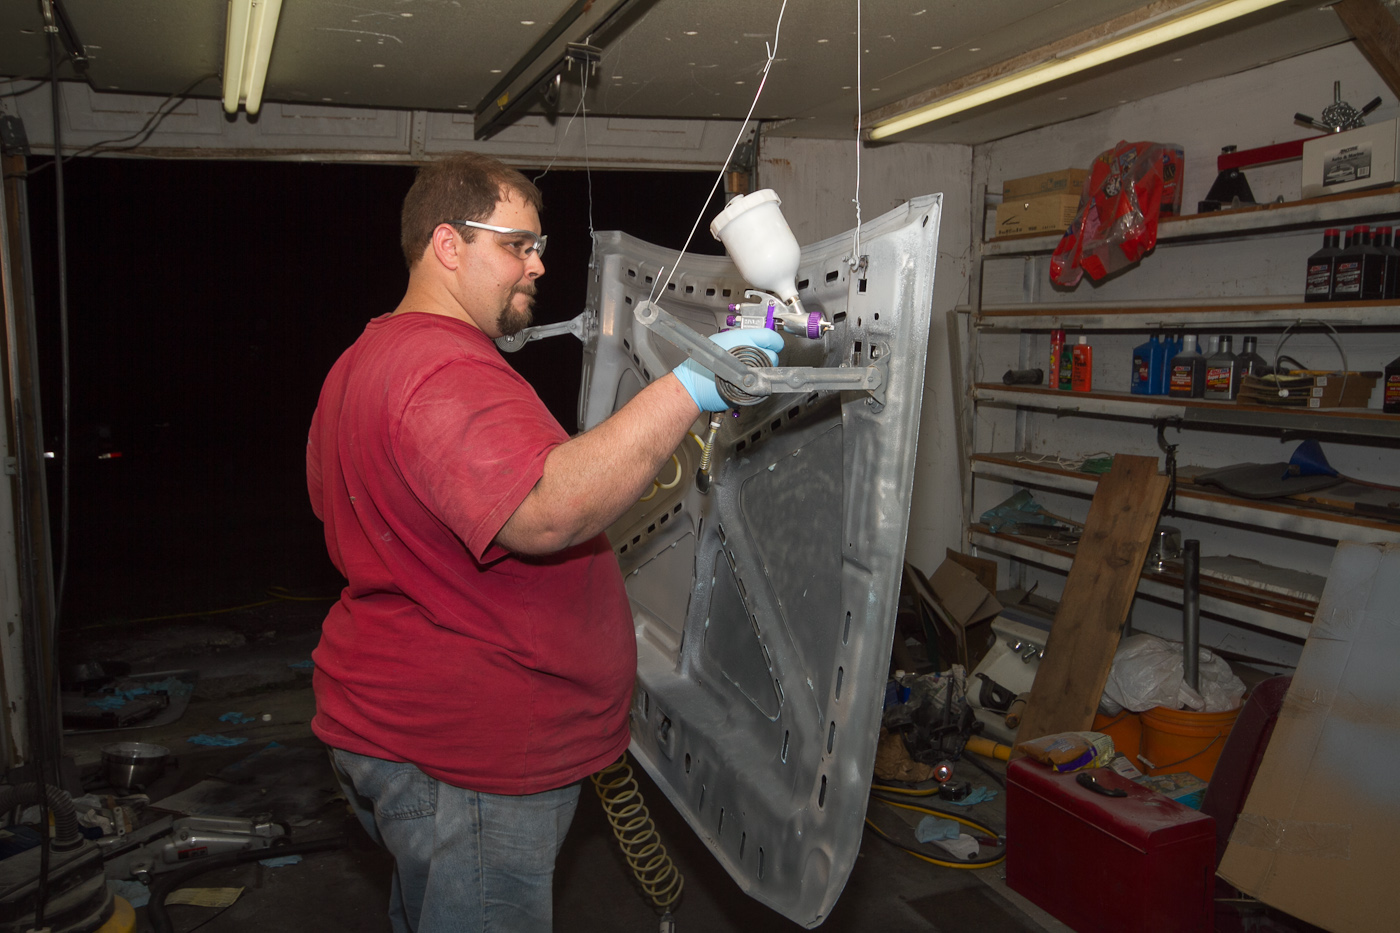
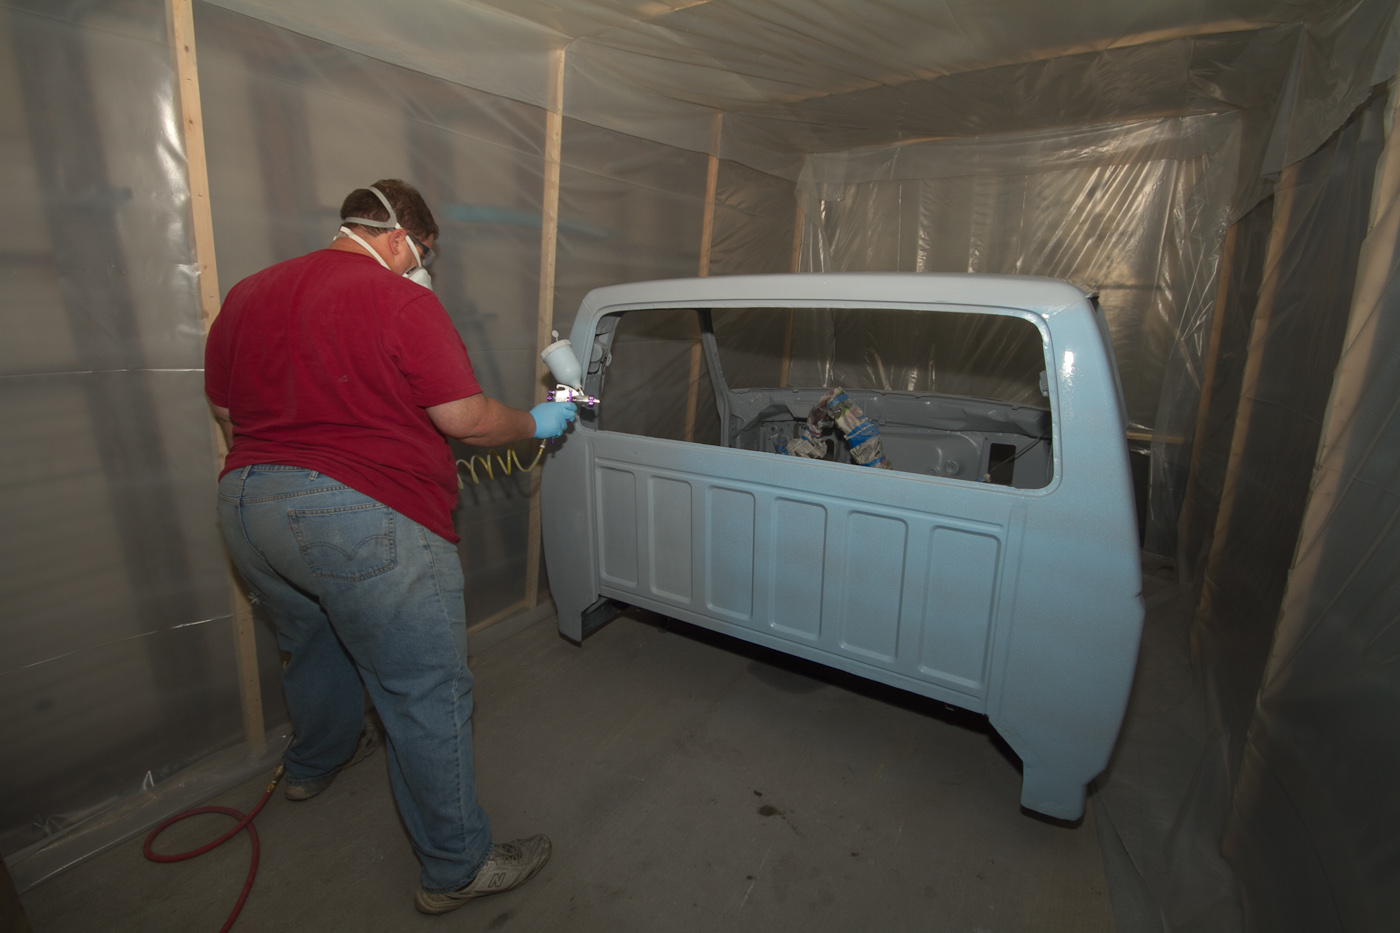
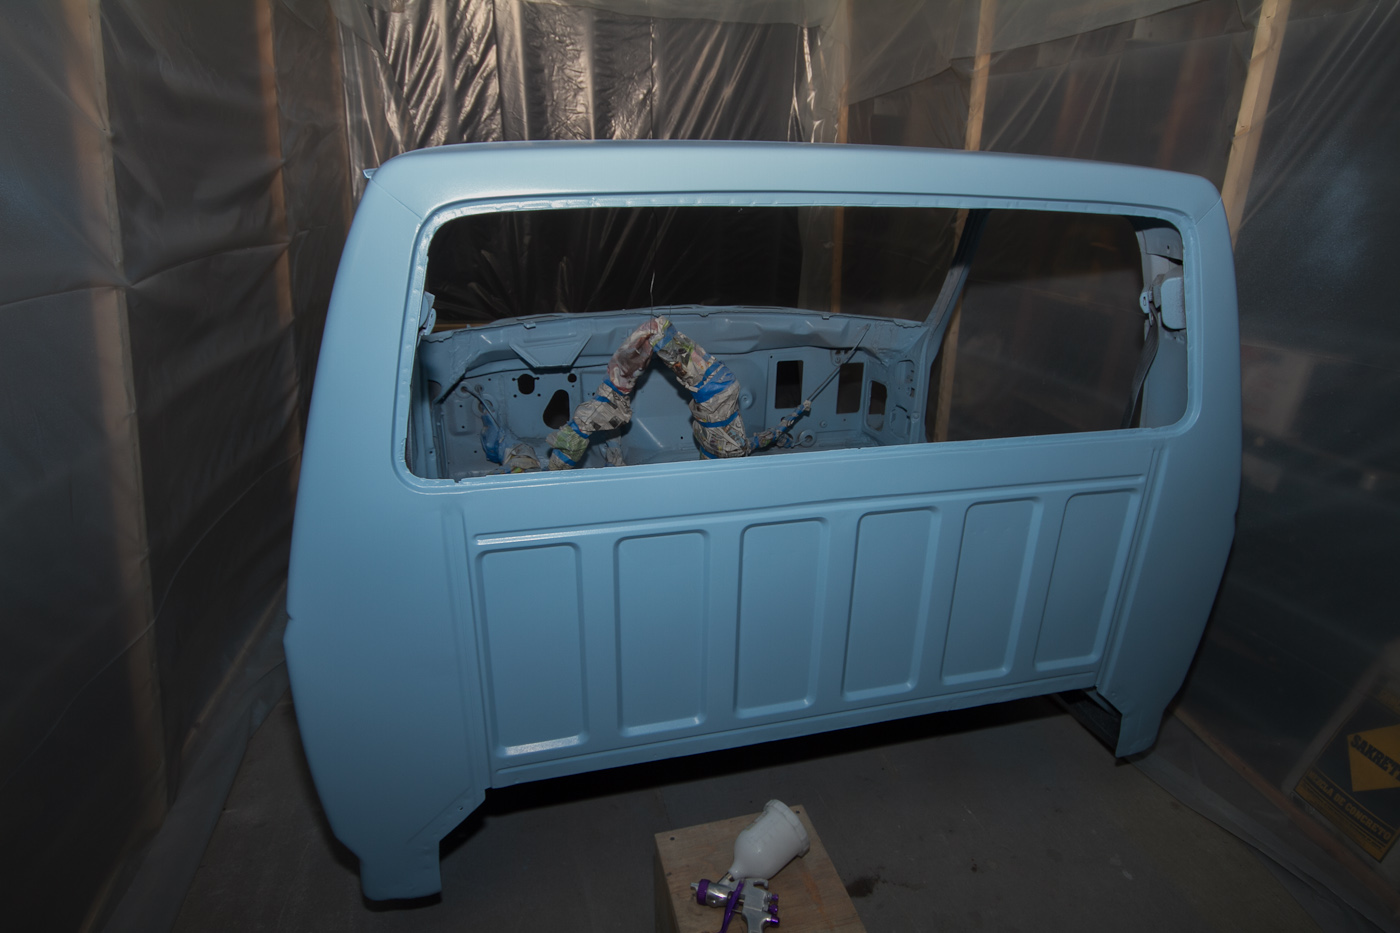
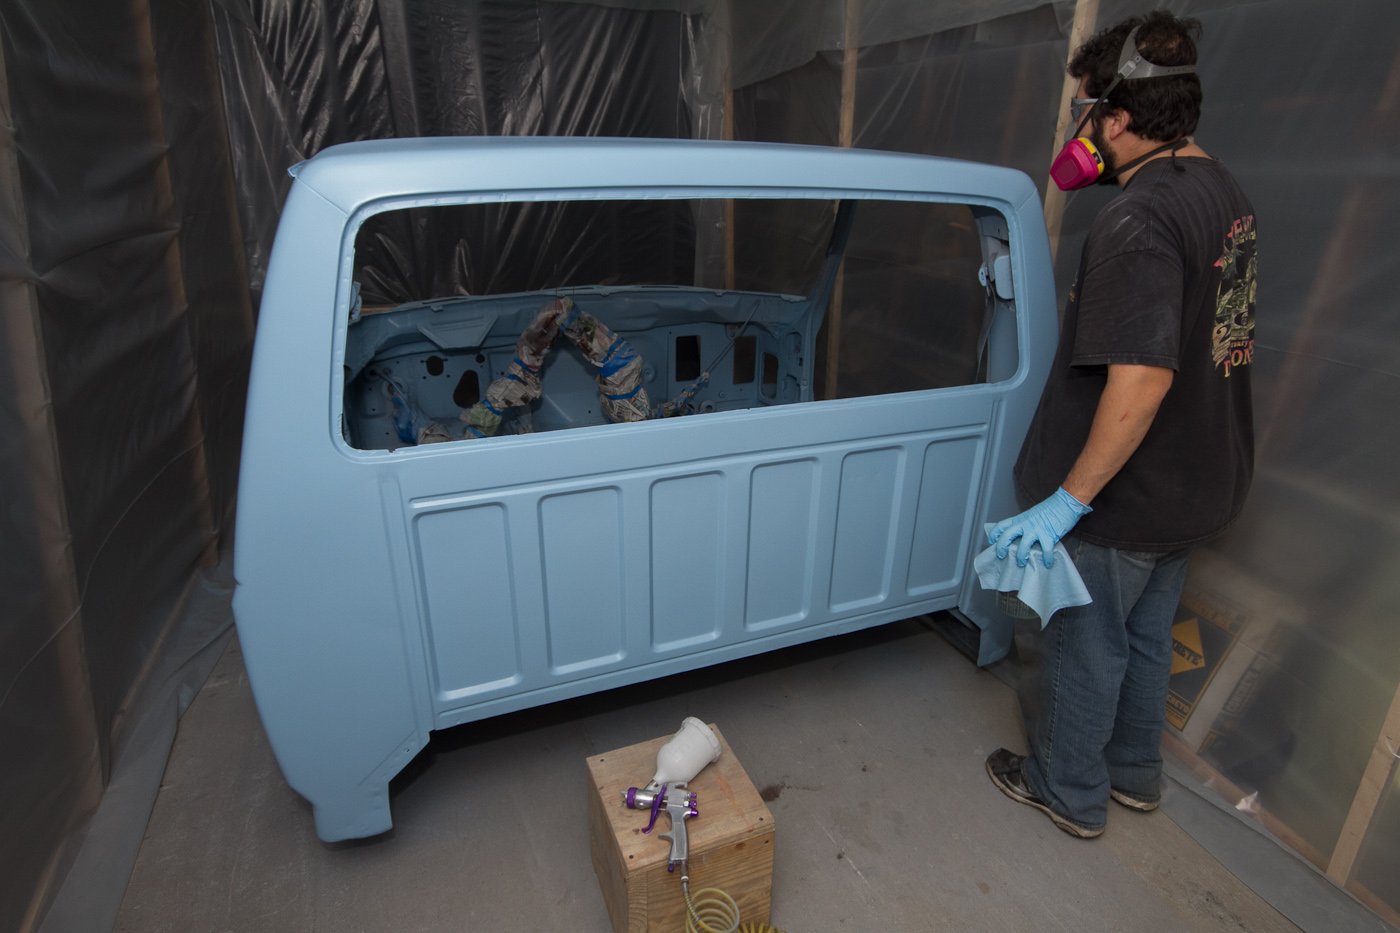
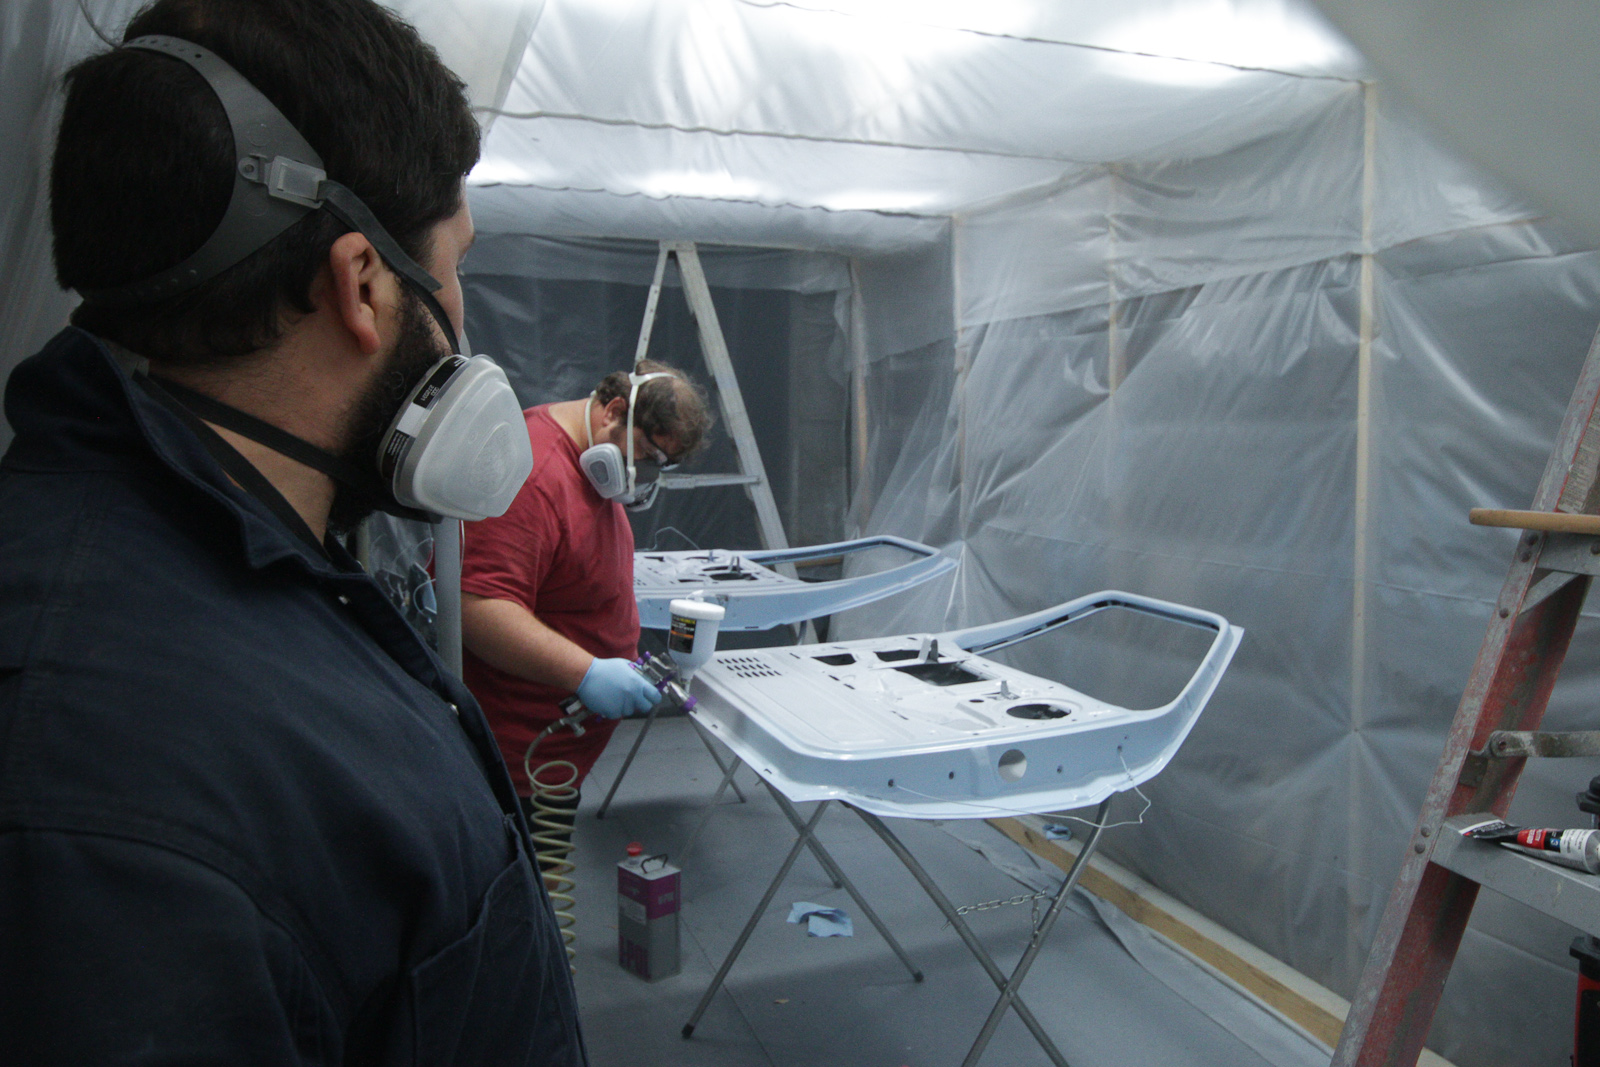
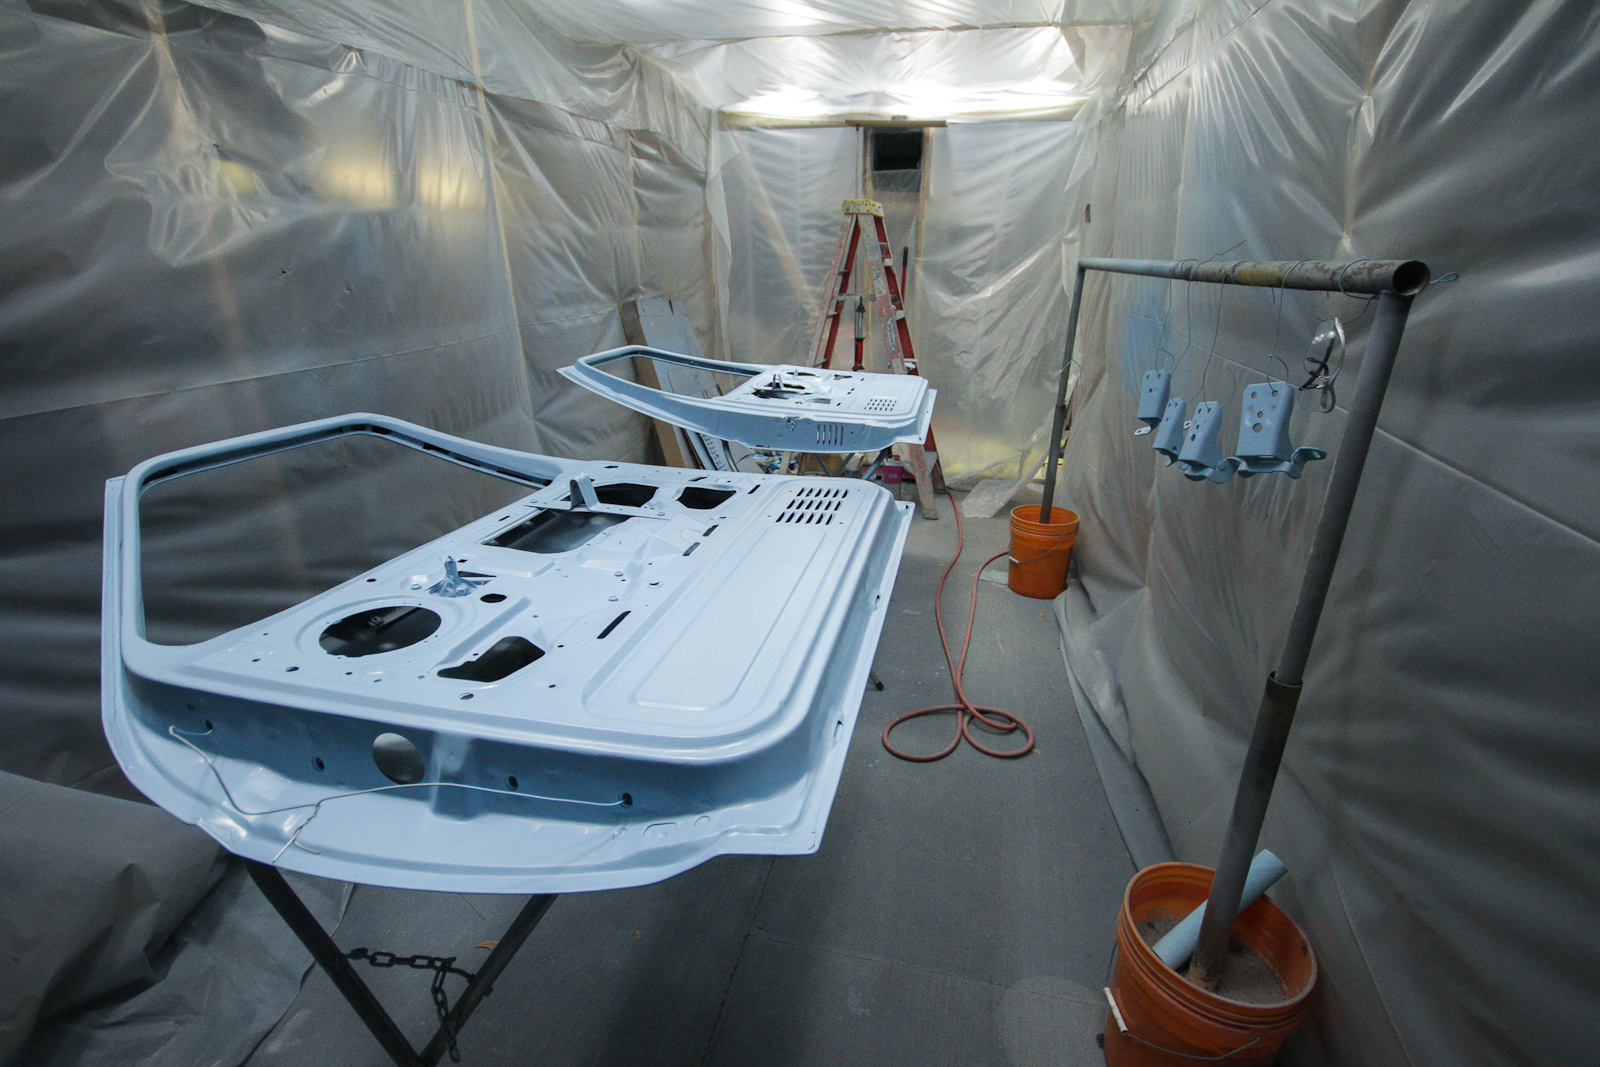
Painting doors... (I didn't get a picture of the paint going on the outside of the doors, which sat overnight before getting flipped so I could do the insides)

http://www.ronman.org/pics/f150/IMG_9449.jpg

http://www.ronman.org/pics/f150/IMG_9481.jpg

http://www.ronman.org/pics/f150/IMG_9482.jpg

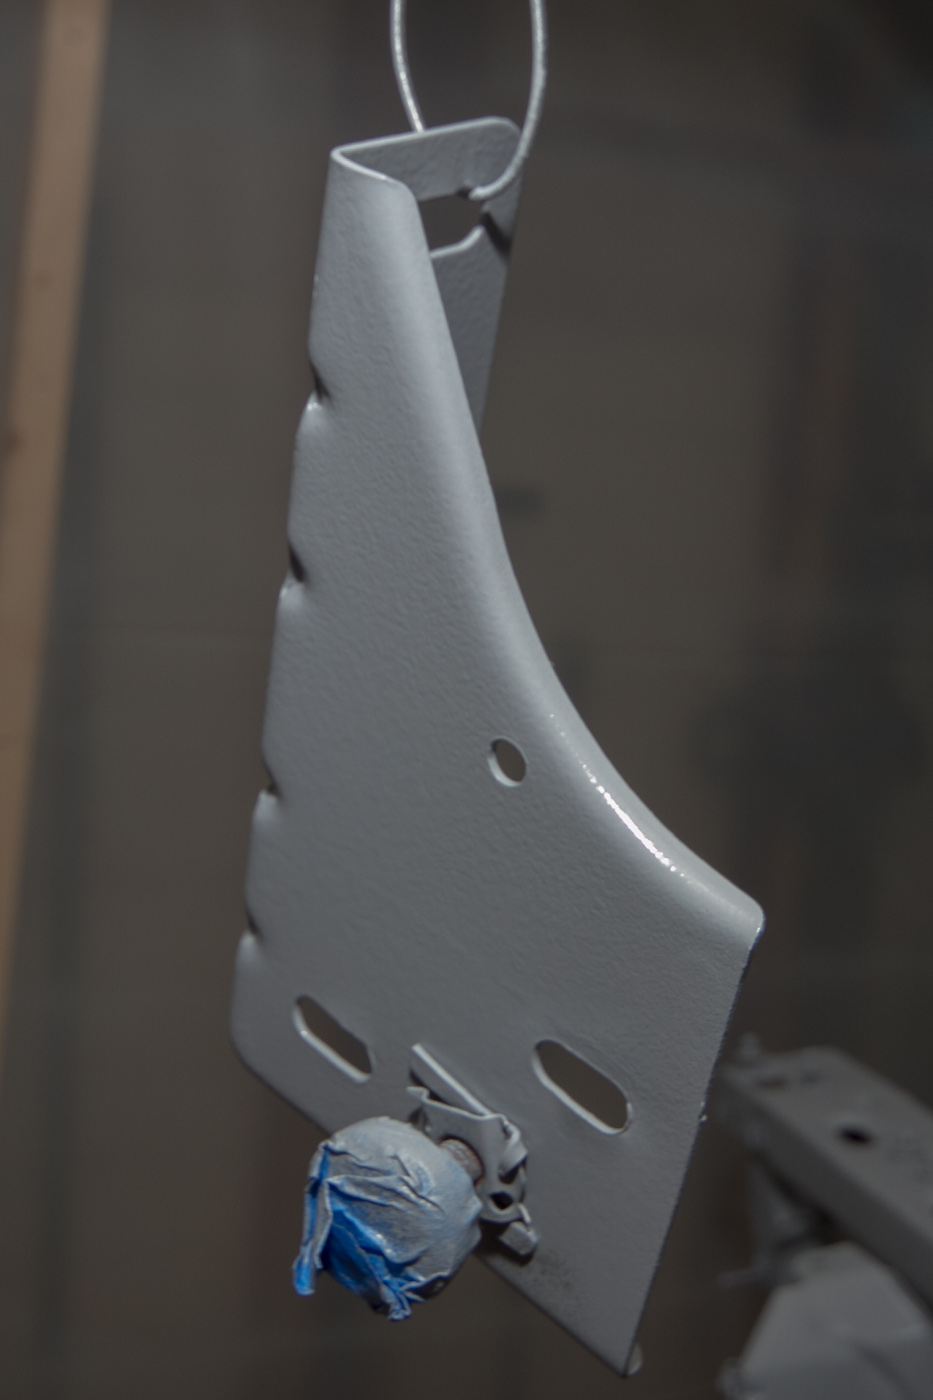
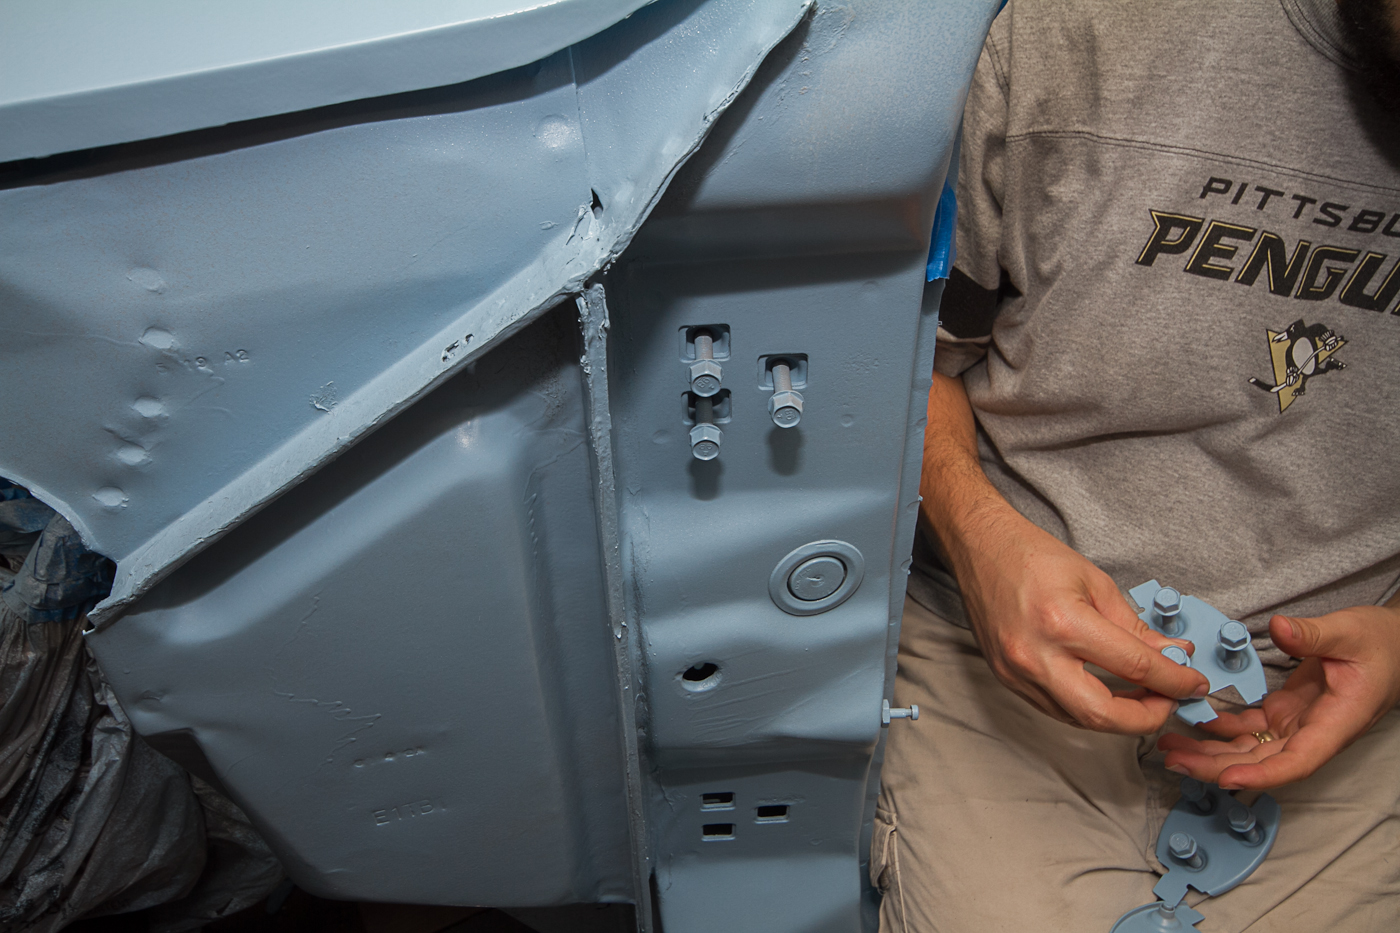
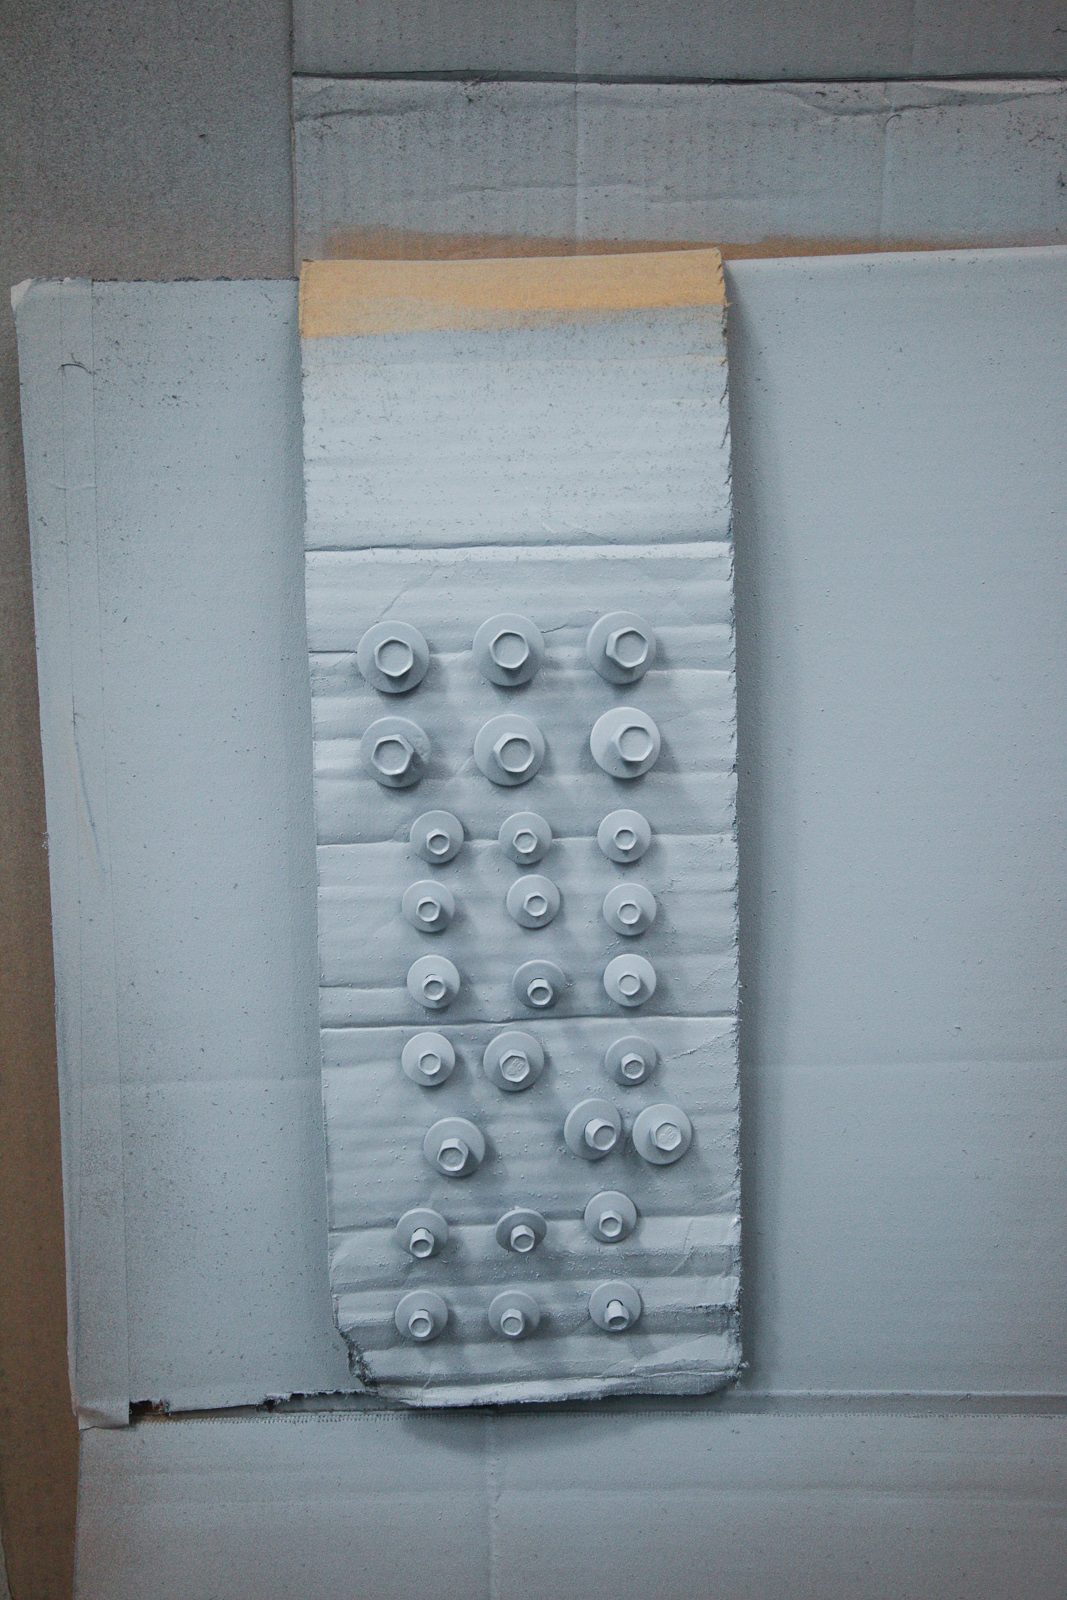
Painting hardware...

http://www.ronman.org/pics/f150/IMG_9477.jpg

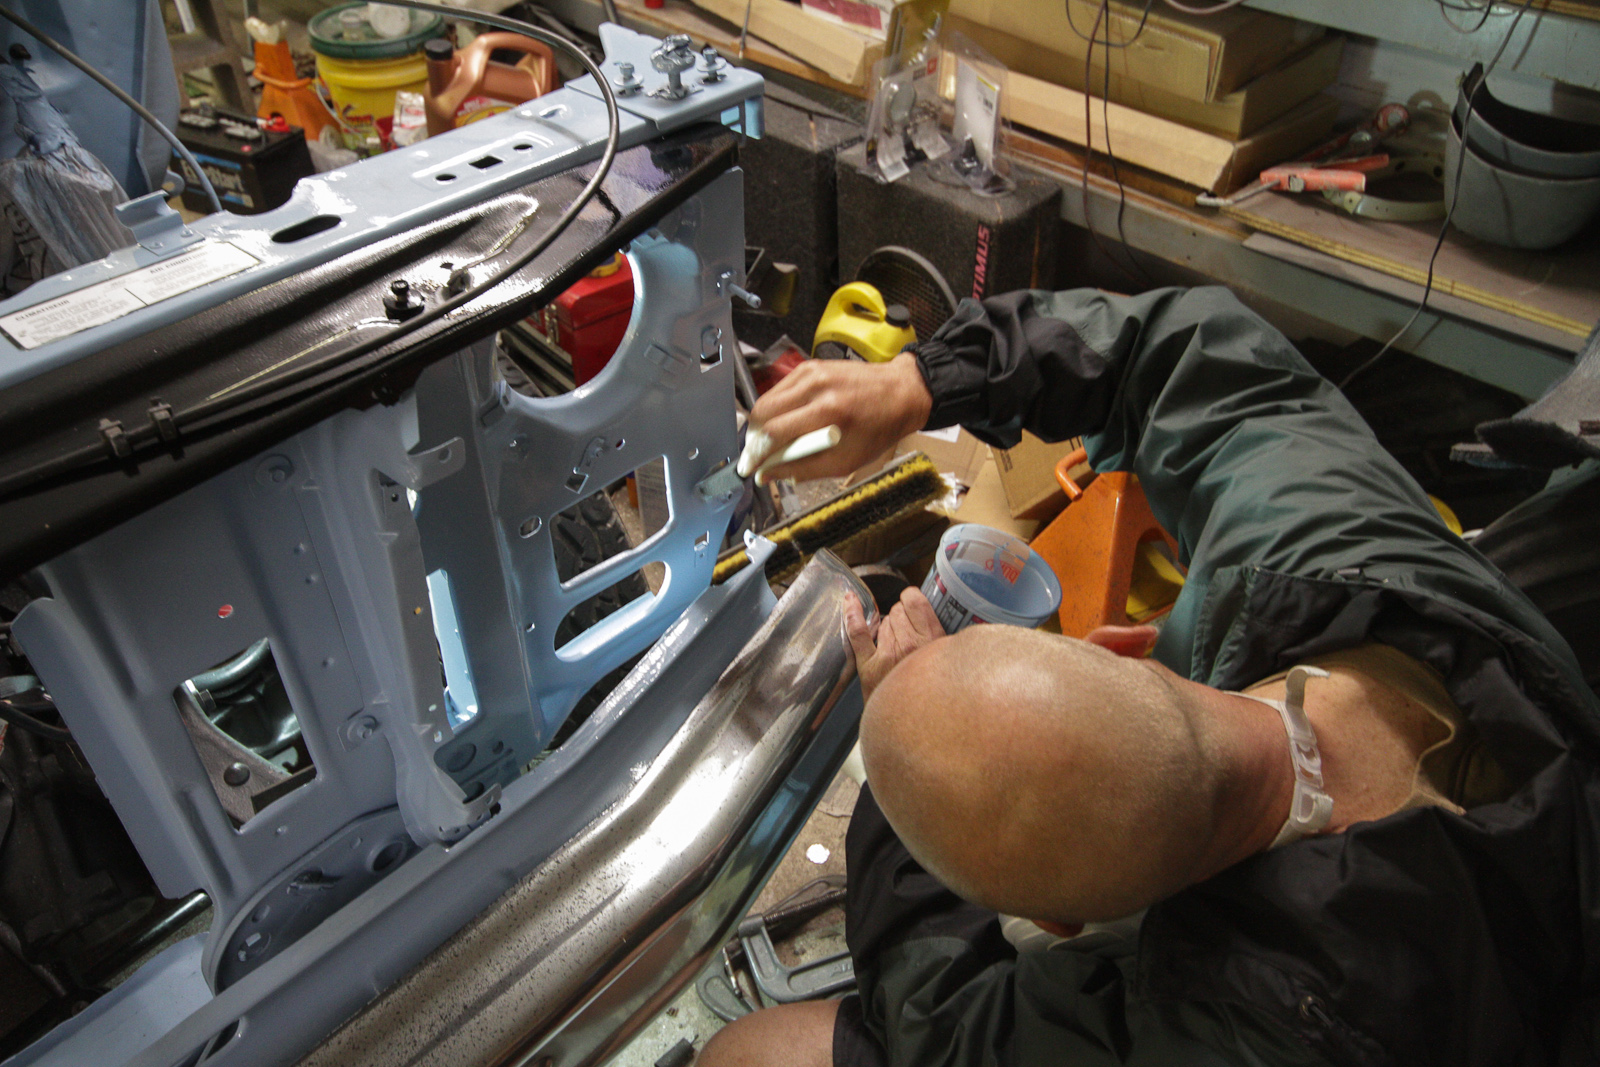
And touching up little scratches that have found their way onto the cab and core support over the last year.

http://www.ronman.org/pics/f150/IMG_9474.jpg

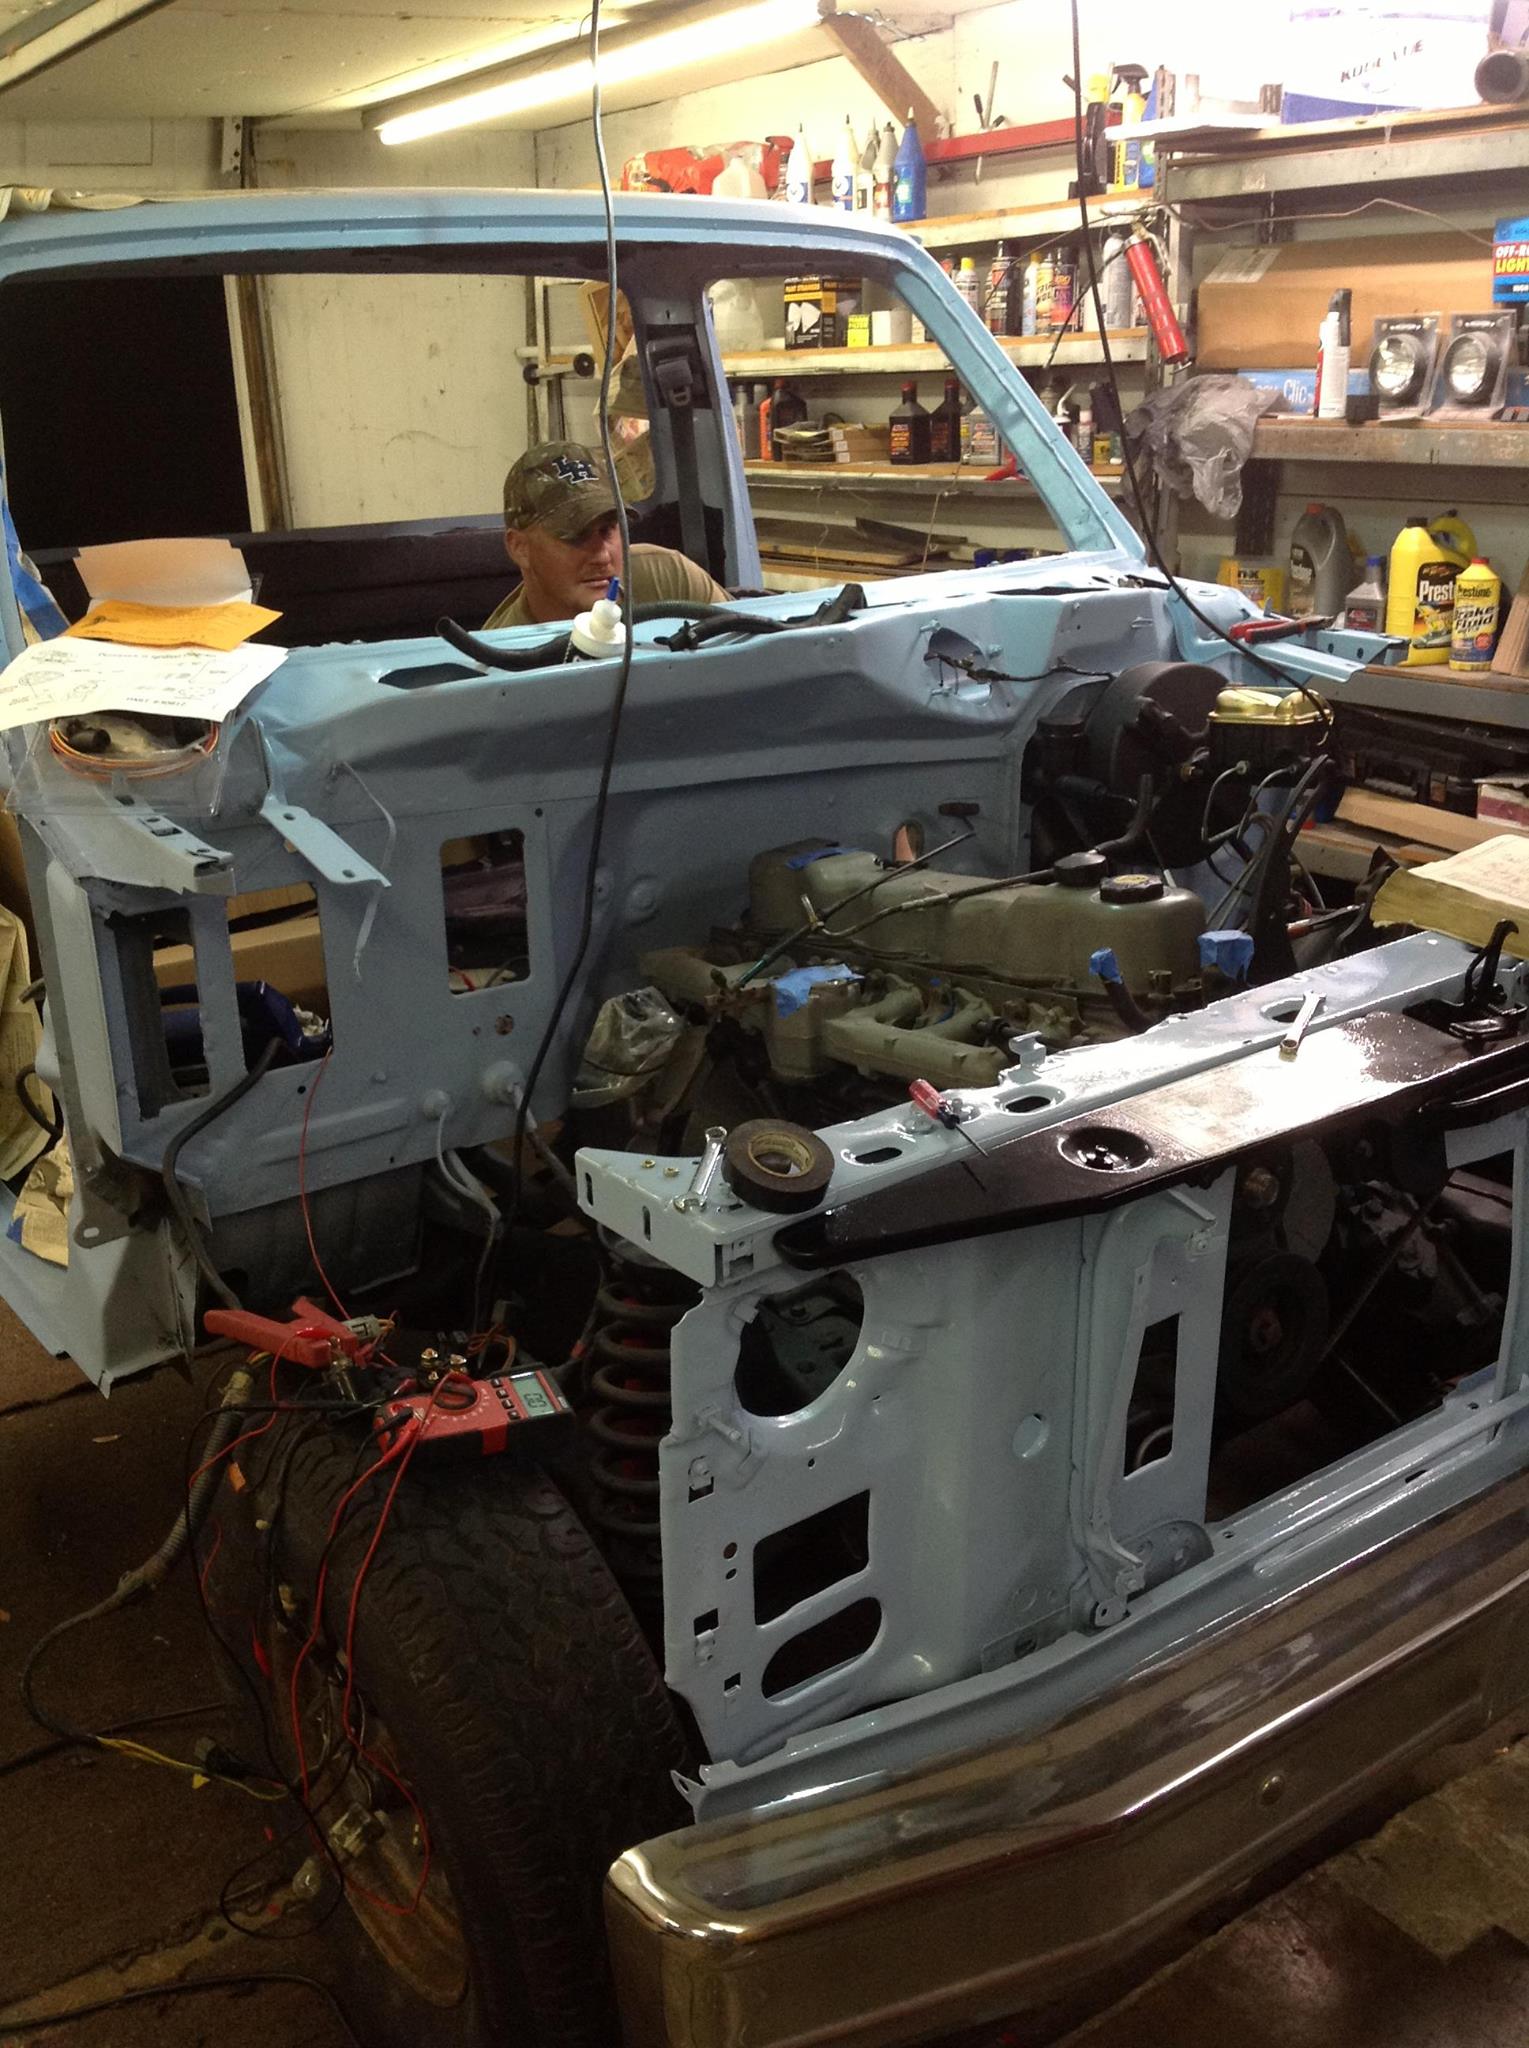
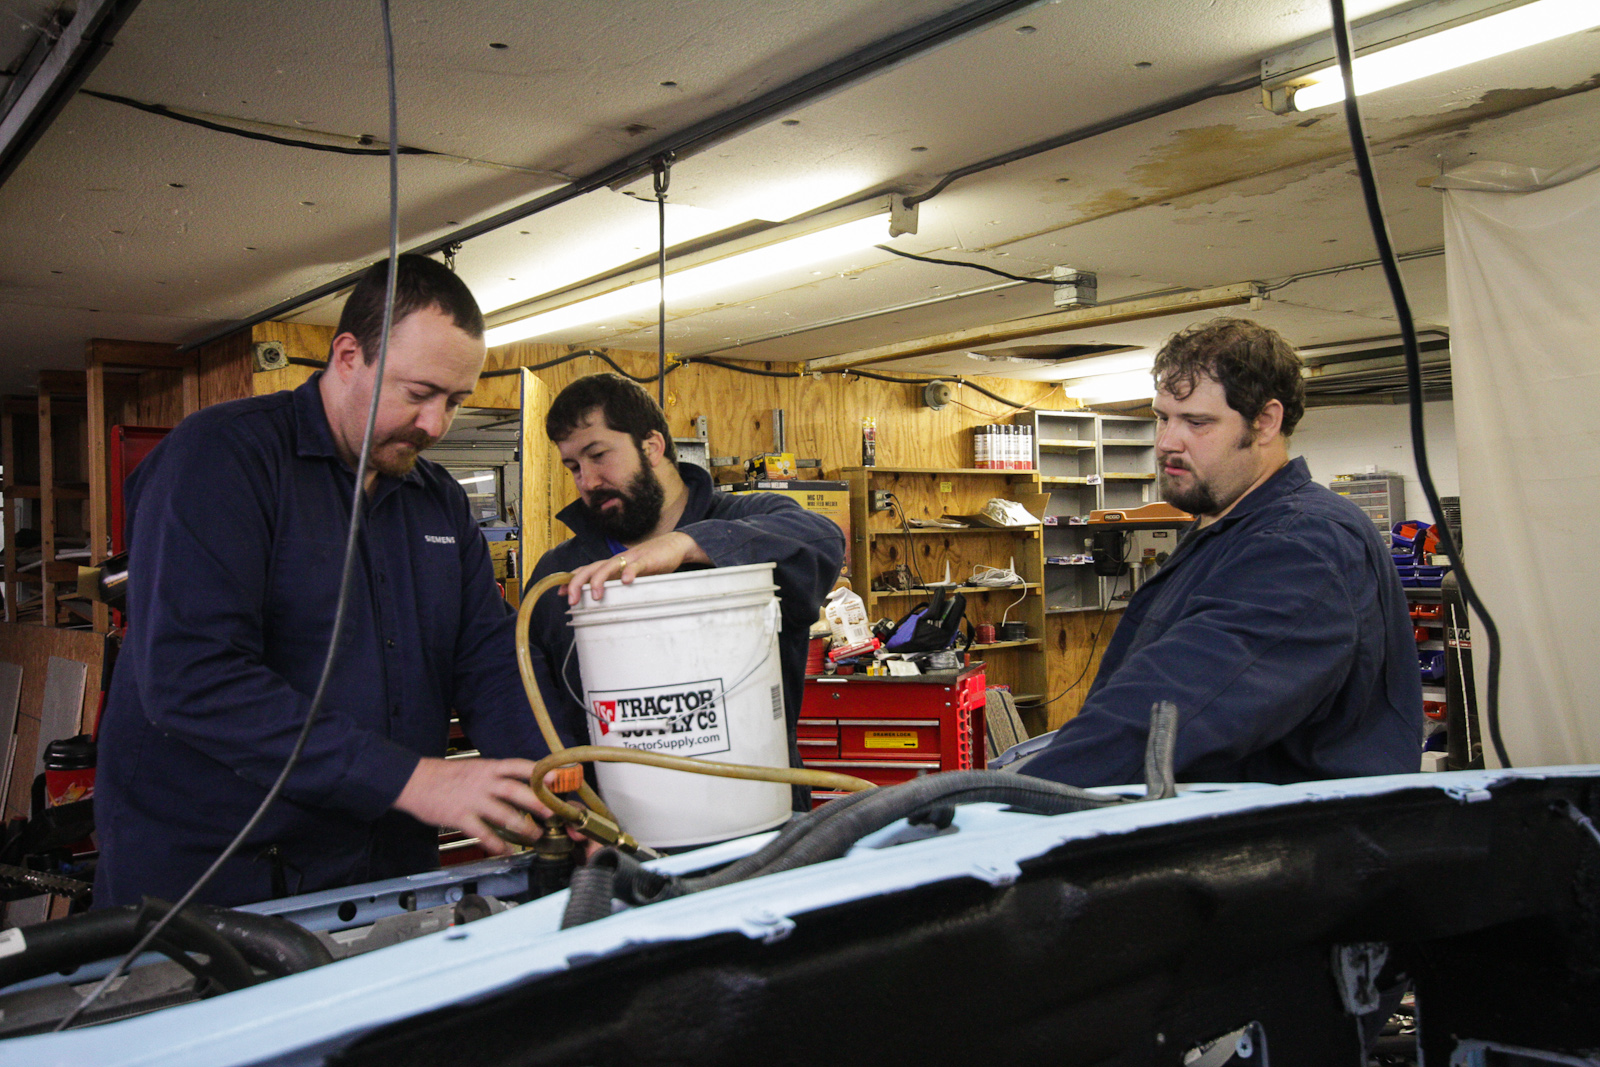
Also around this time we decided to get the brake lines wet (purged with cheap Valvoline "synthetic" and then flushed with Amsoil) since we had Josh over to help out one night.

http://www.ronman.org/pics/f150/IMG_9434.jpg

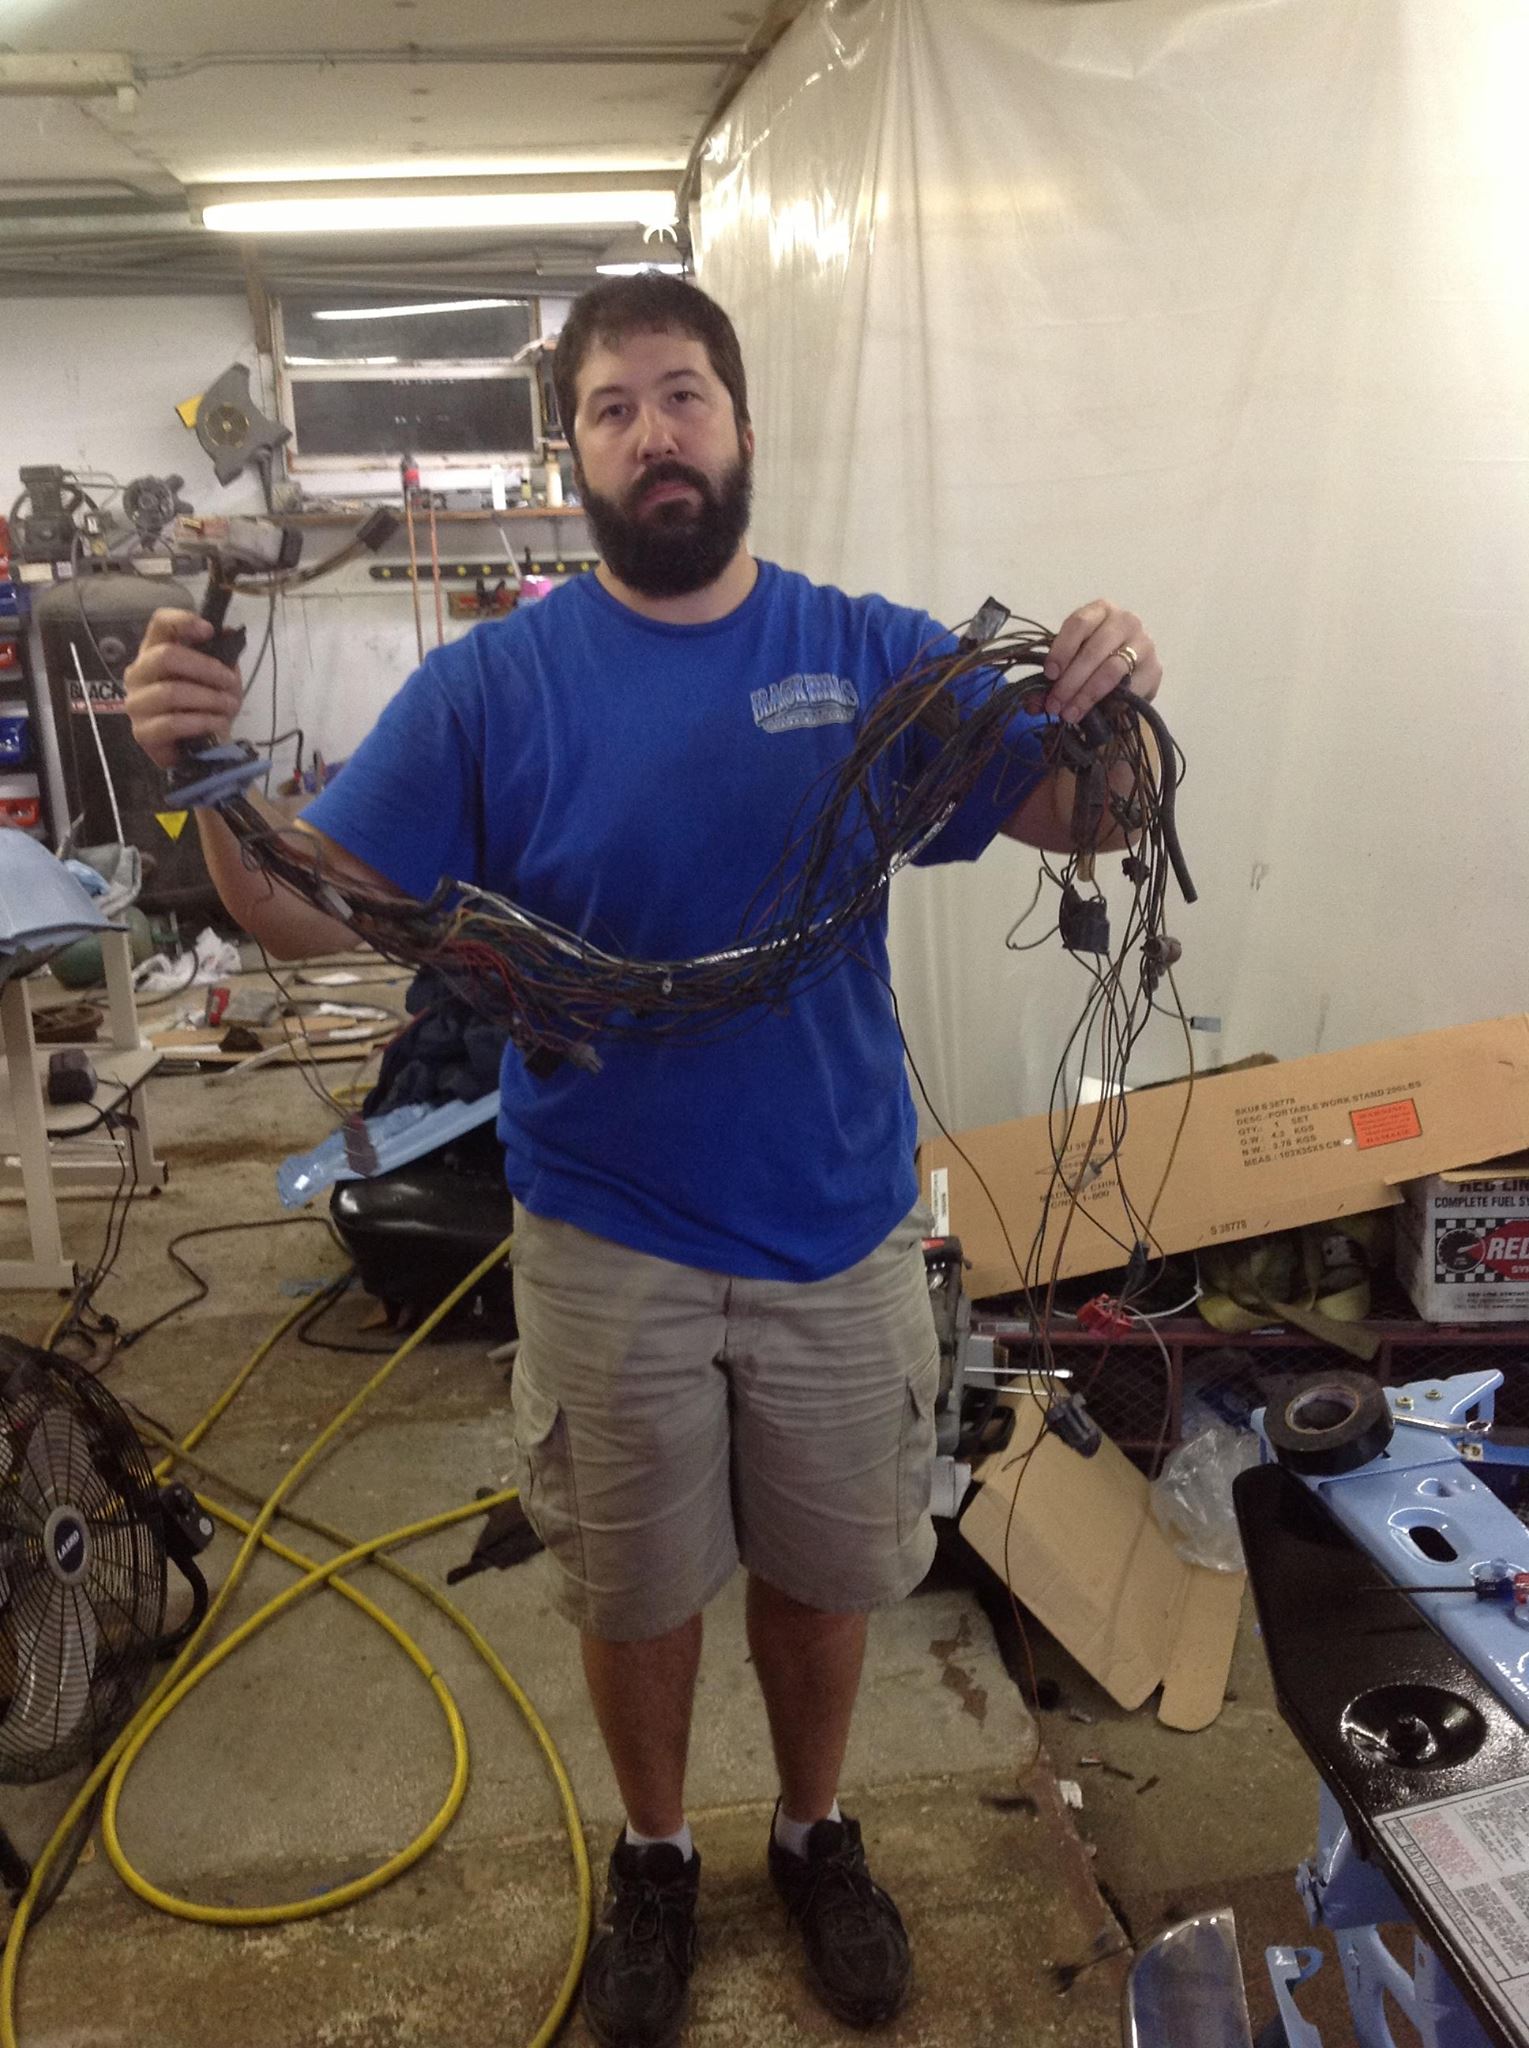
Friday night we decided to start on the underhood wiring, since the Painless Wiring Duraspark II kit we ordered arrived. We had to unbundle the zip-tied-and-plastic-bagged mess of EEC-IV wires under the hood and then, with the help of the wiring diagram, started fishing out the wires we would no longer need to run the truck. Also, I think Mike wanted to sit on the makeshift seat in the cab and make "vroom vroom" noises.

http://www.ronman.org/pics/f150/1601200_10151967668388811_776444522_n.jpg

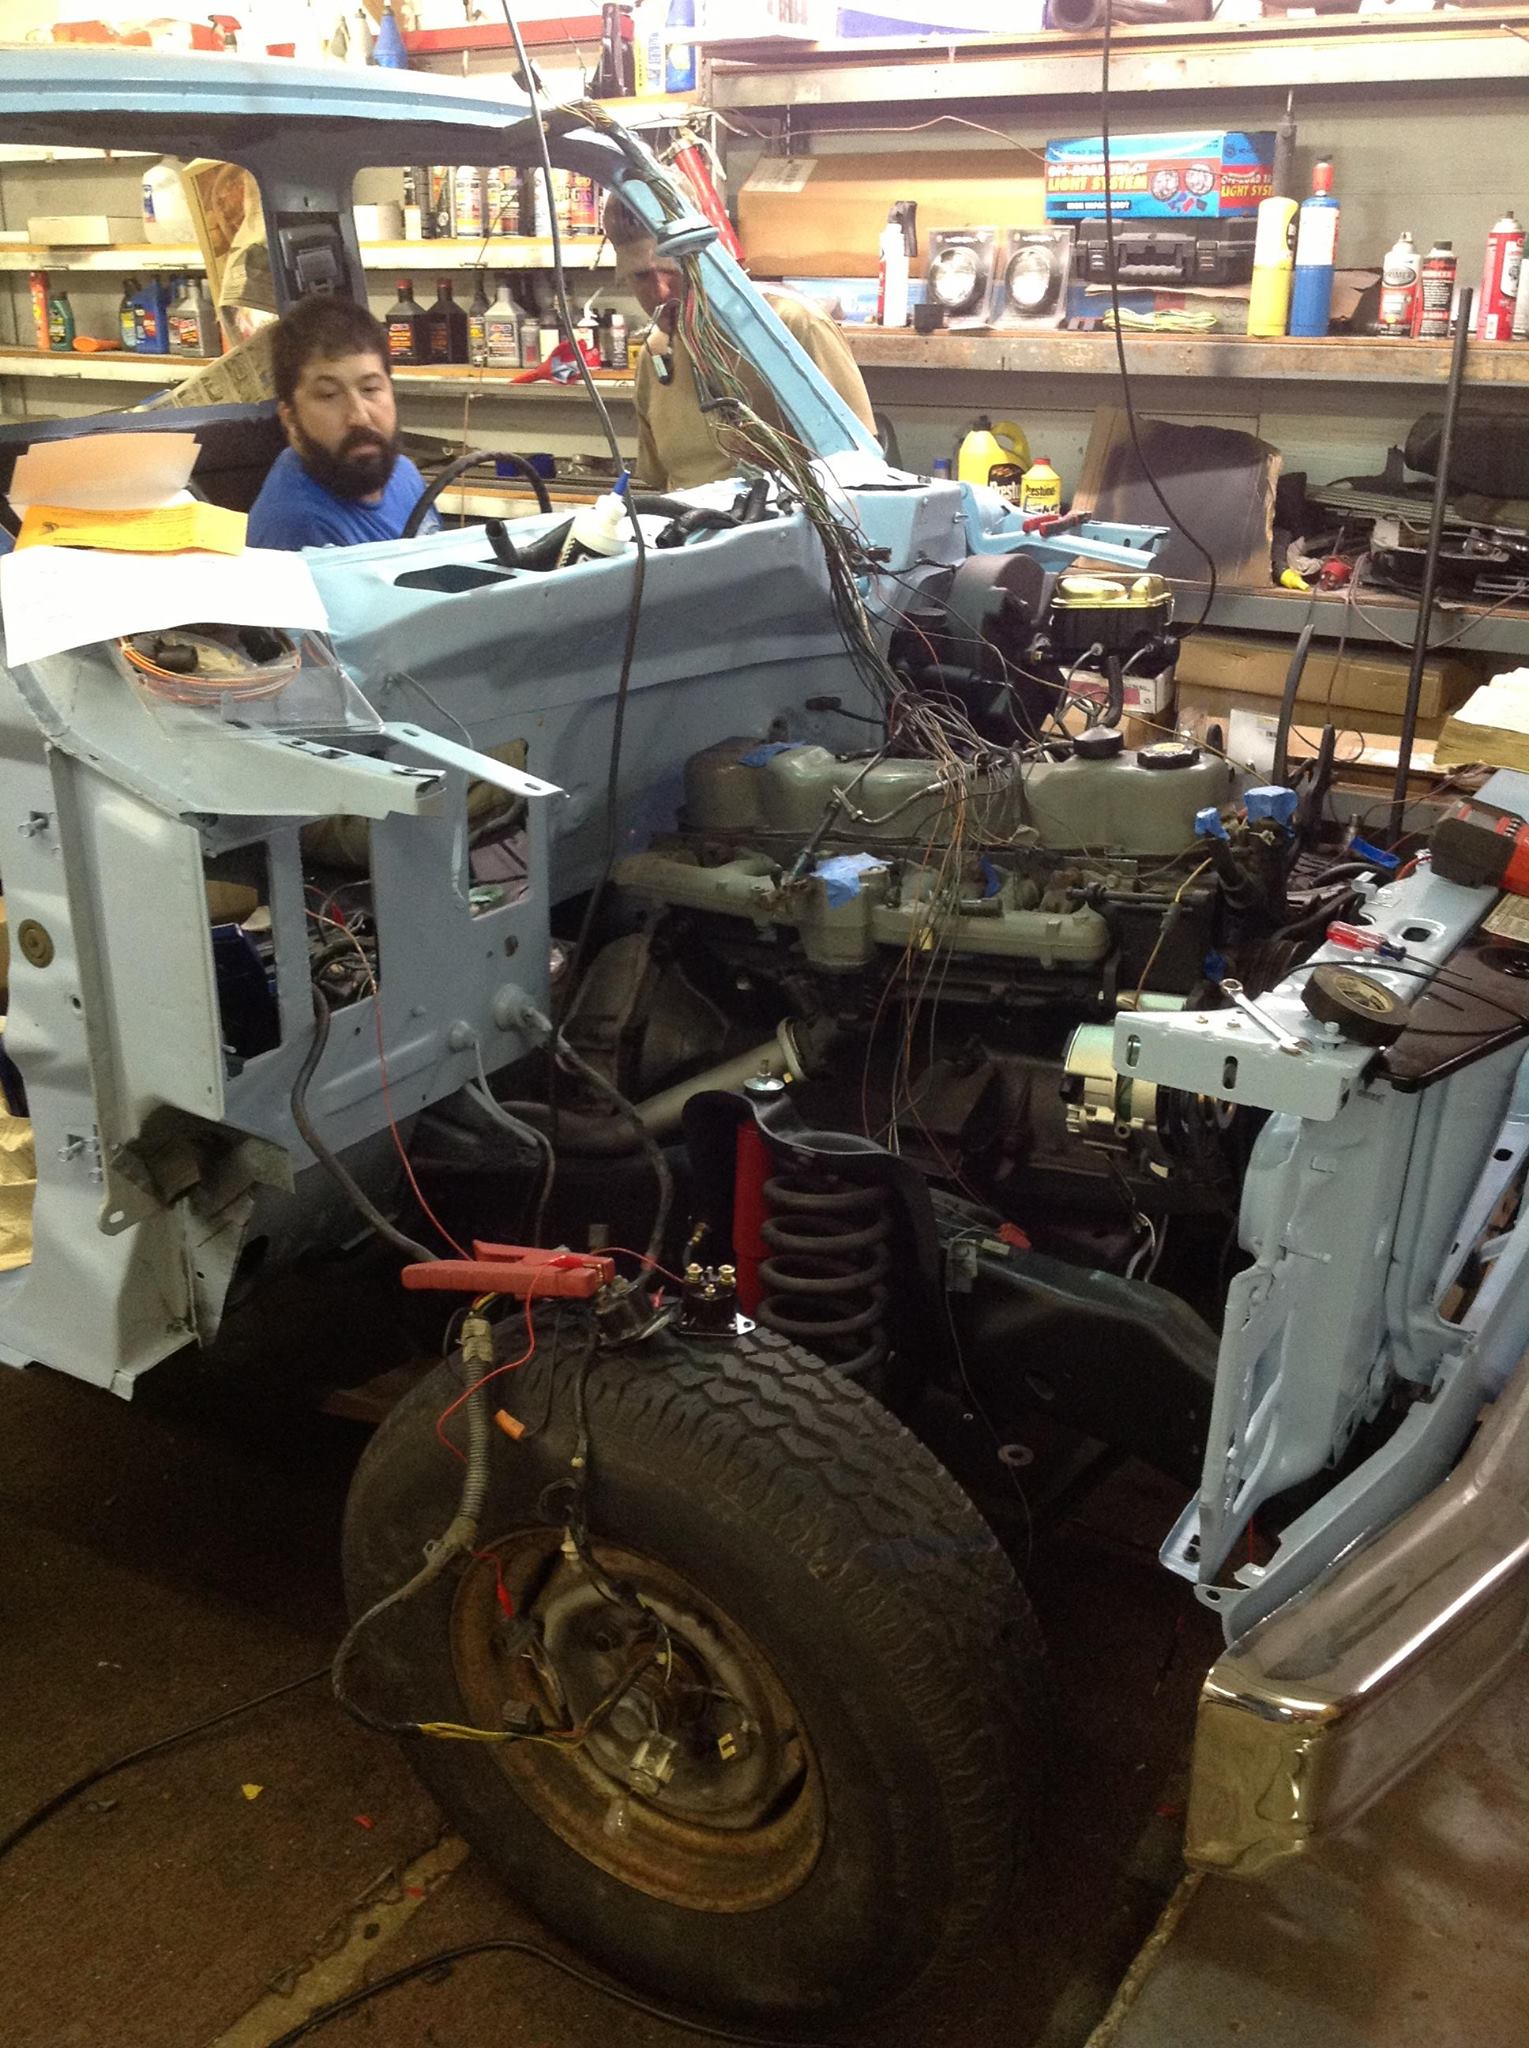
About two hours of fishing and diagram-consulting later,

http://www.ronman.org/pics/f150/1622373_10151967668918811_312851121_o.jpg

http://www.ronman.org/pics/f150/1669626_10151967669048811_382556422_o.jpg
(Aldin also wanted to sit in the cab and make "vroom vroom" noises.)

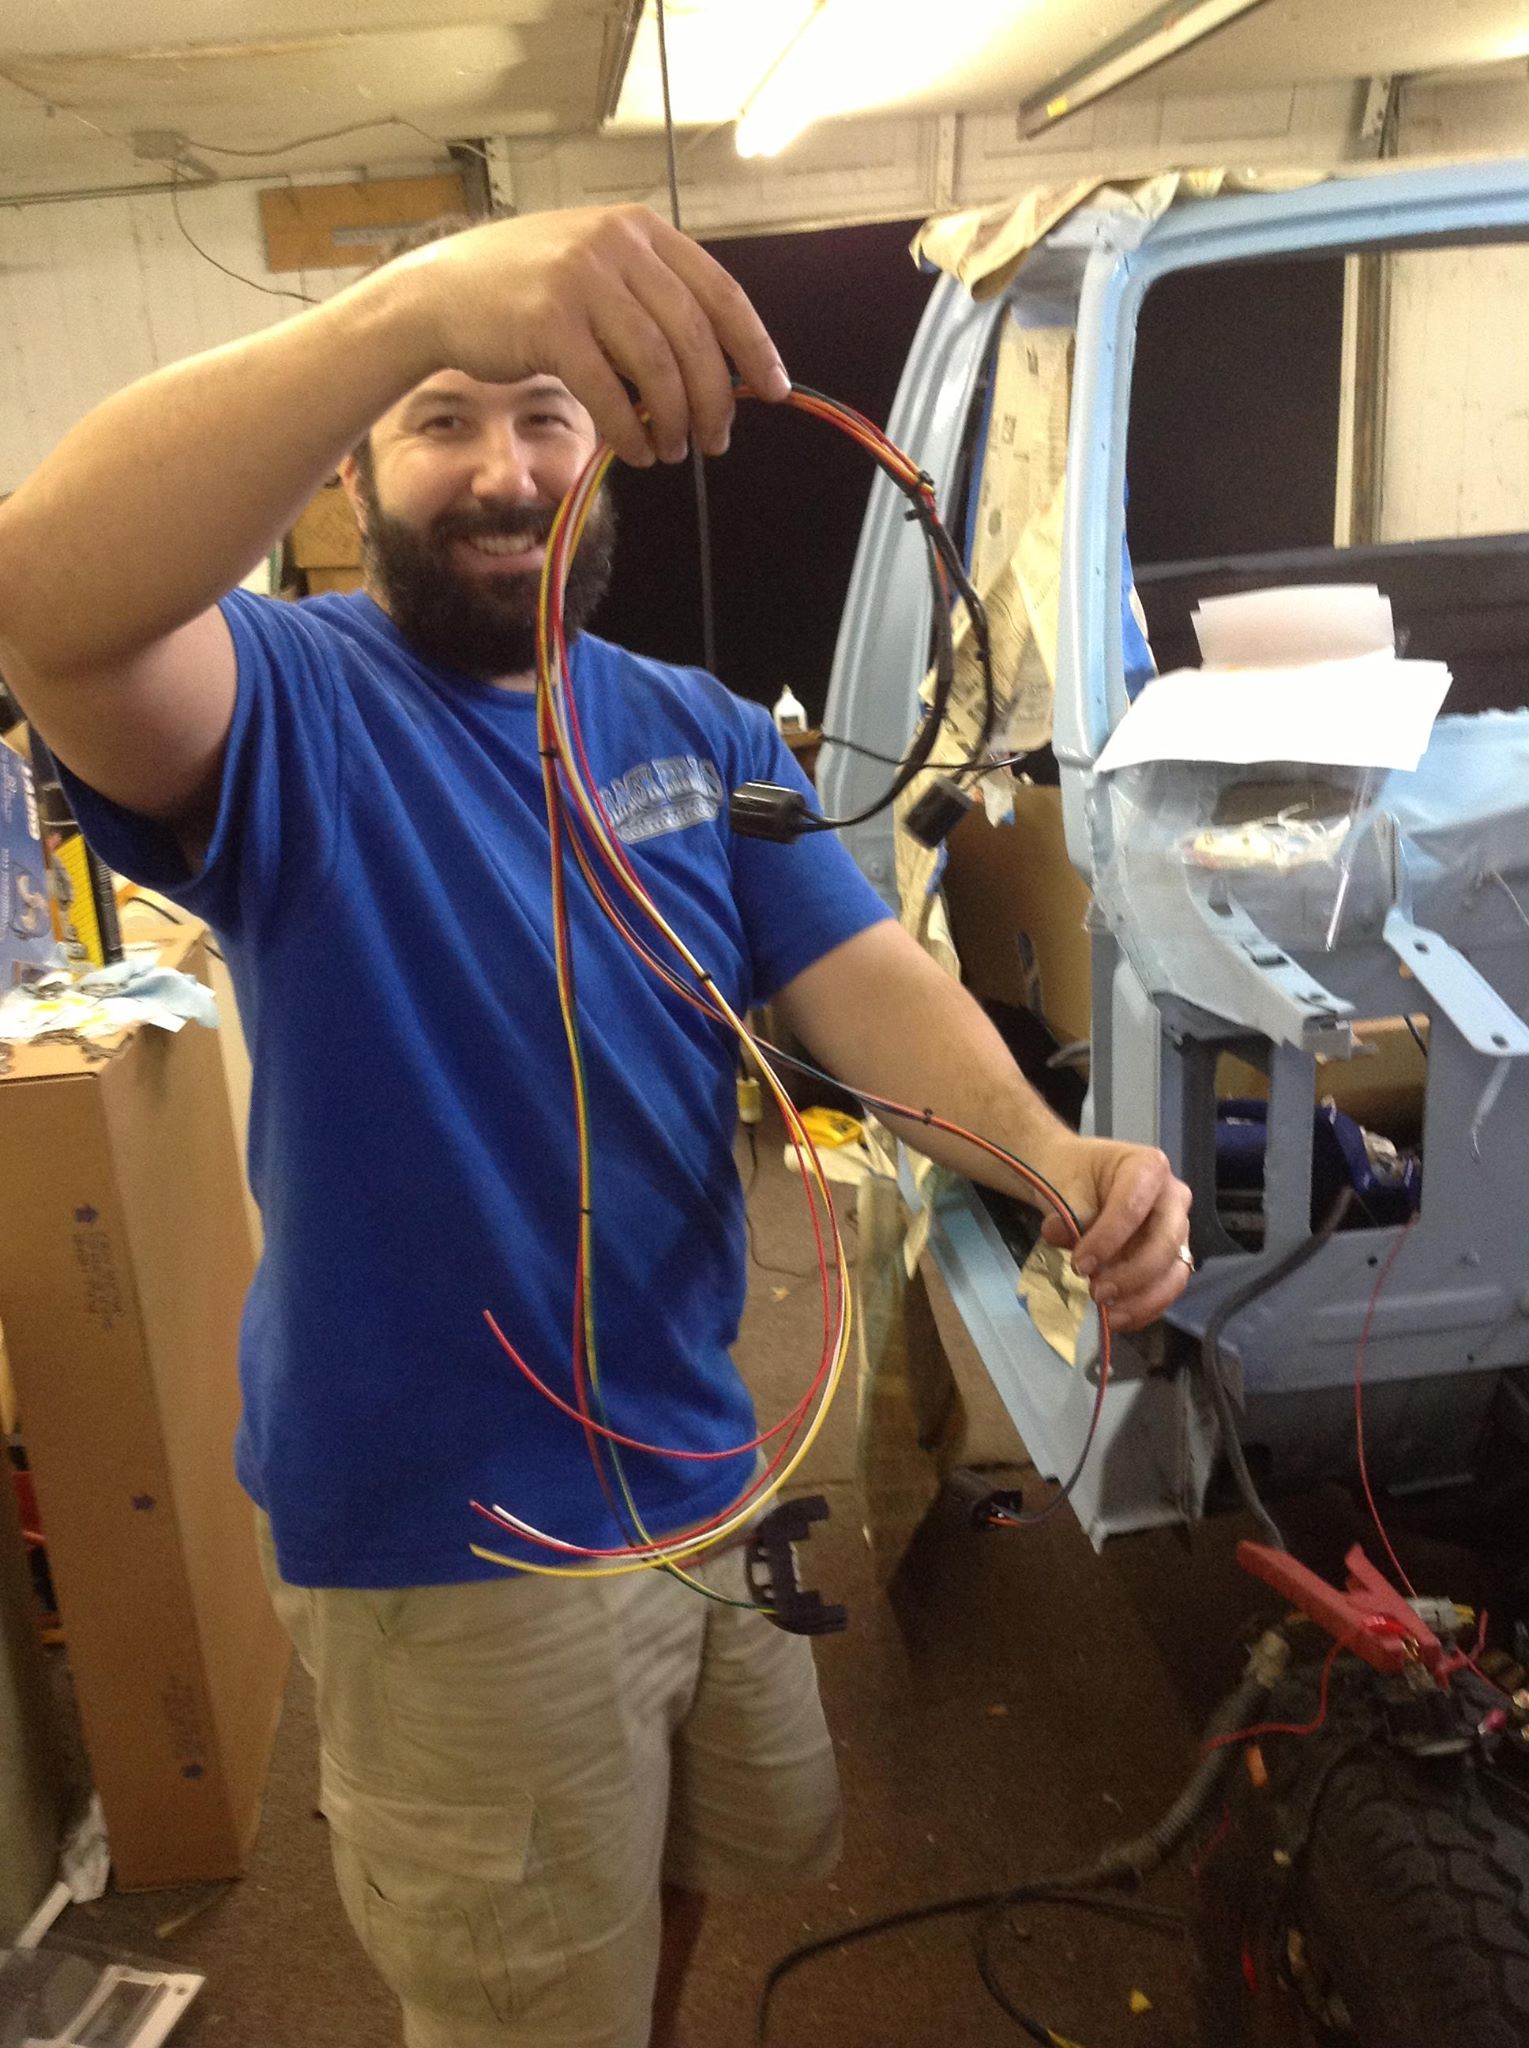
All that wiring two pictures up (the one with sad Mike) gets replaced by this, which makes Mike happy:

http://www.ronman.org/pics/f150/1658136_10151967675473811_2106883919_o.jpg

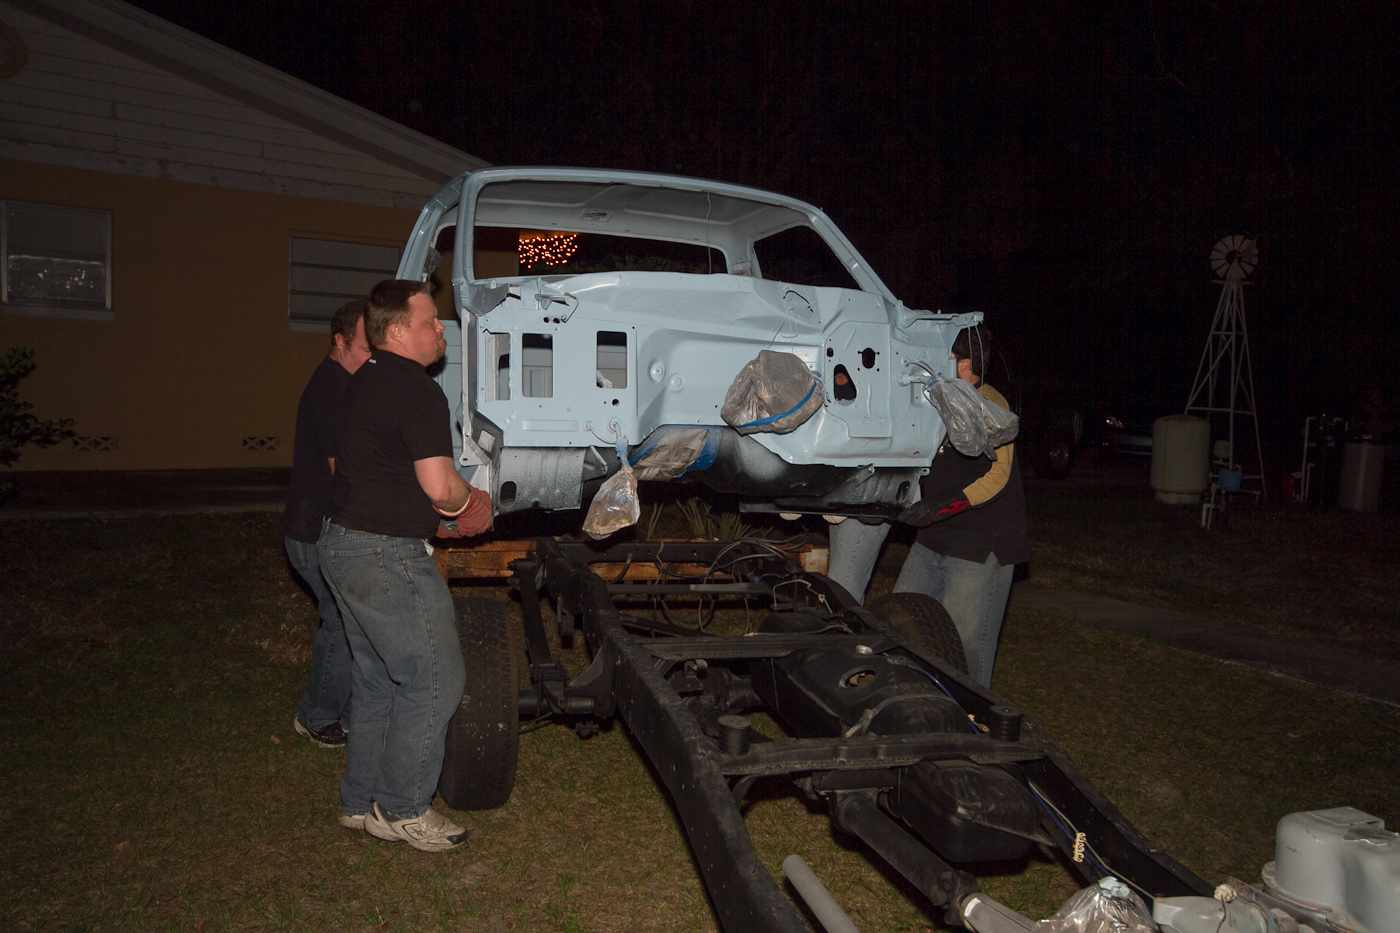
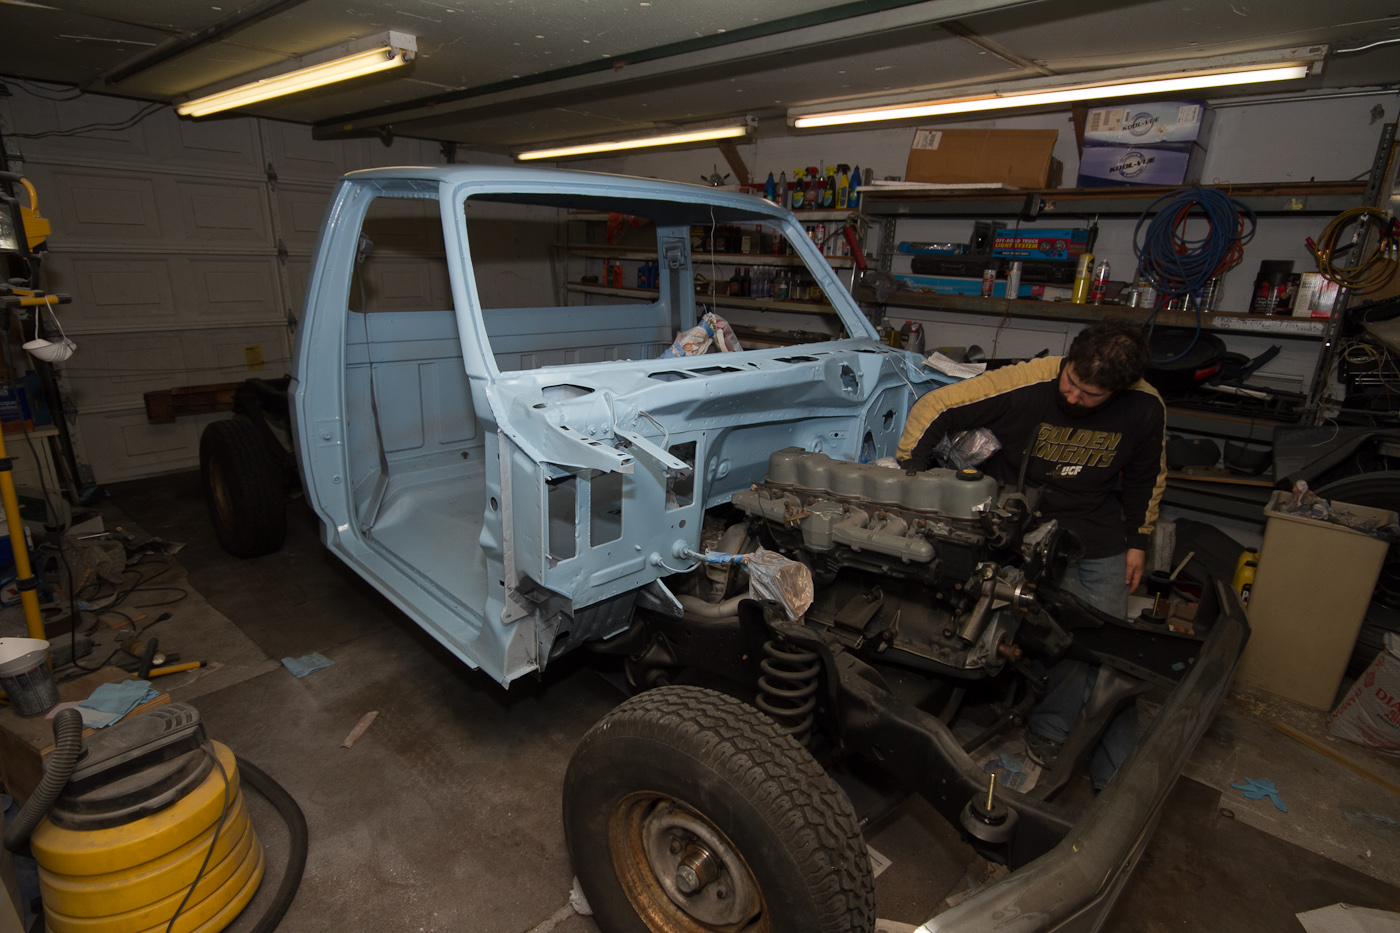
All this finally leads up to Saturday afternoon, when we get the Duraspark brain and associated wiring connected and alligator-clipped in place, the carb mounted and an inner fender mounted to put stuff on, and we decided we should try to start it for the first time since 2006.

http://www.ronman.org/pics/f150/IMG_9490.jpg

http://www.ronman.org/pics/f150/IMG_9491.jpg

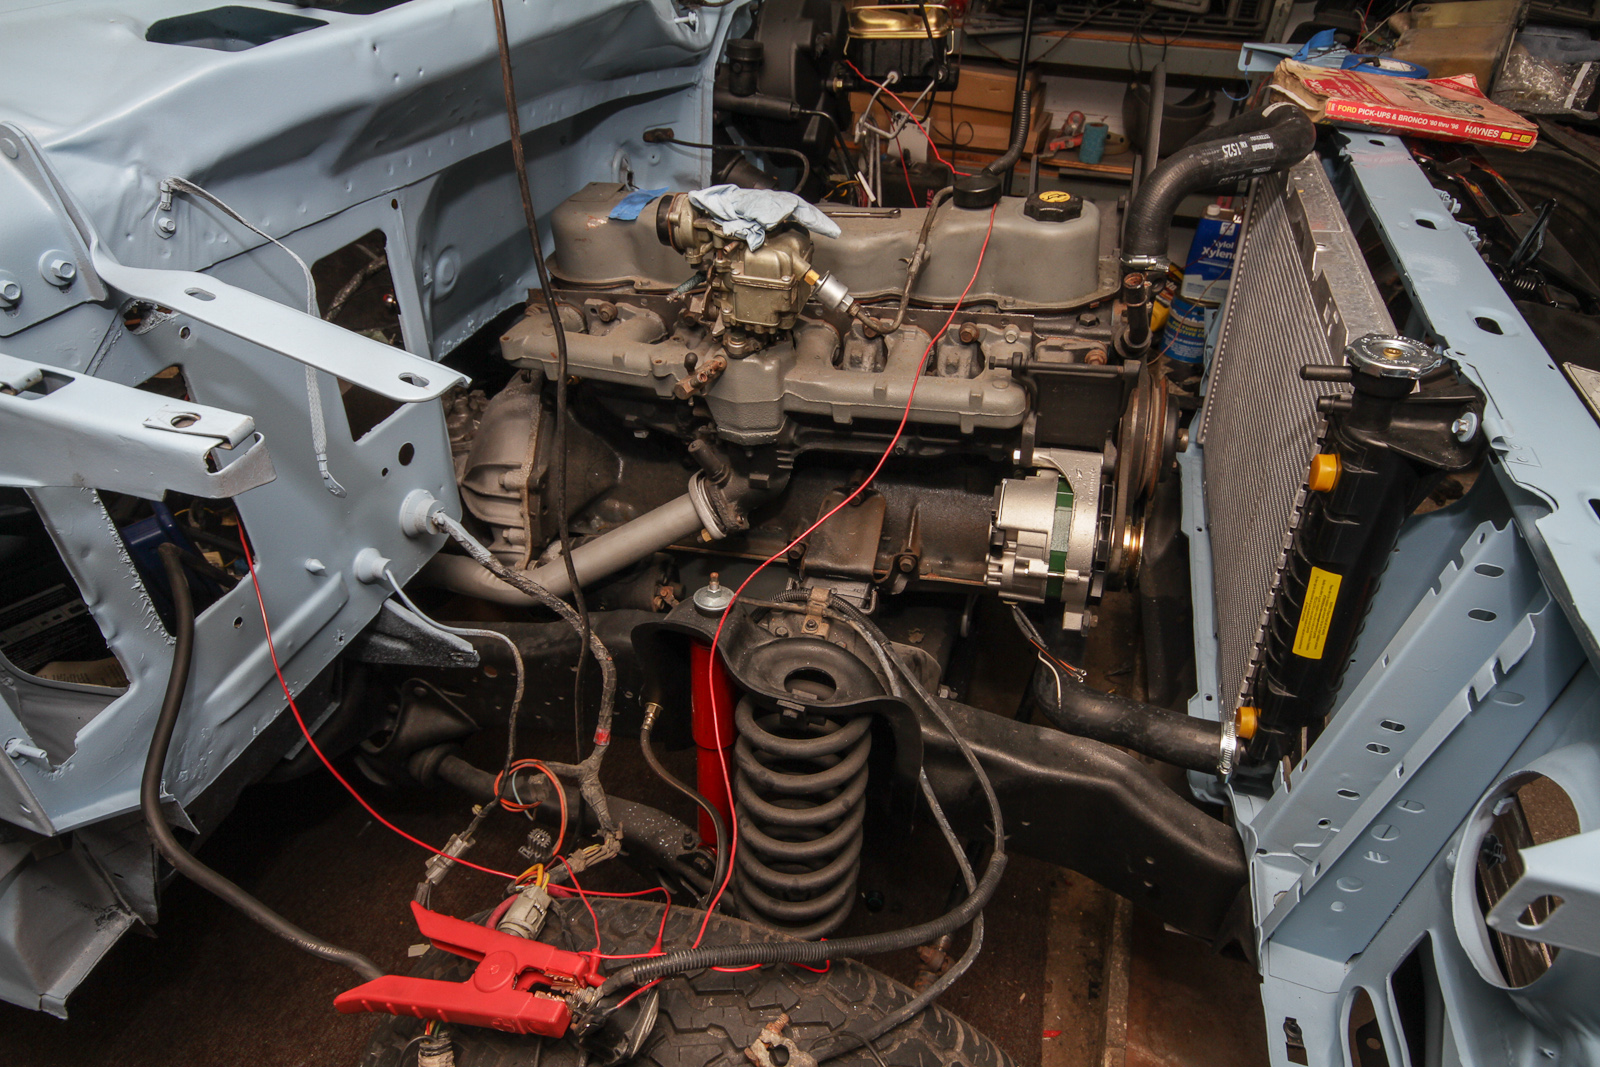
And son of a bitch, wouldn't you know it - the damn thing starts right up (if you don't count a weak jump box as a problem, which I don't.) It wants to live.

https://www.youtube.com/watch?v=vmILesyoOsE

Unfortunately, shortly after that video, the cooling system decided to pressurize and despite the engine only being ~140°, water started blowing out the radiator overflow. This was followed shortly thereafter by the pressure exceeding the 16psi cap and blowing that, too. Mike's neighbor, a former Ford master tech, came over to give it the once over, but his diagnosis was the same as mine - a failed head gasket. So, in other words, the one thing on the truck we didn't do failed spectacularly.

http://www.ronman.org/pics/f150/IMG_9505.jpg

We were trying to vacuum down the cooling system to make sure it was actually full of water, and not failing because of a big air bubble, but this was to no avail. So, this week, we'll order an ARP head stud kit, an MLS gasket (NOT a Felpro) and avail ourselves of the fact that the front clip is not attached and do a head job. On a freshly-"professionally-built" engine. And of course, the 12m/12k warranty has long expired, not that it really matters since the company is out of business anyway... so, there's that. But at least it ran for like 10 minutes, and Aldin was there to see it. Things have been shitty for me lately and that made me feel pretty good. cool

Official photographer/Team Police Brutality|Speedycop & the Gang
Lackey-mechanic-whatever/NSF Racing
Sycophant/Judge Phil, Jay Lamm, Kim Harmon
Galaxie Driver/not Parnelli Jones

Re: My F150 project

What ever happened with the truck, Ron? I got to thinking about it and had to dig this up.

I ended up buying a 1970 F250 that is about this same color. I love it.

Quad4 CRX - Wartburg 311 - Civic Wagovan - Parnelli Jones Galaxie - LS400 - Lancia MR2 - Boat - Sentra - 56 Ford Victoria
Known Associate of 3pedal Mafia, Speedycop, and the Russians.  Maybe even NSF.

121 (edited by billybobster 2016-01-07 09:37 PM)

Re: My F150 project

Nice stuff. Thanks for posting. Please update it if you can.

25X Loser - Delinquent Racing - '86 Rust-Tite Merkur - 9 years (when do I get to stop?).

Re: My F150 project

Wow. Reading the whole thread to realize it was abandoned over a year ago is tough.

Re: My F150 project

Sorry for getting your hopes up guys! Hopefully it wasn't abandoned.

Quad4 CRX - Wartburg 311 - Civic Wagovan - Parnelli Jones Galaxie - LS400 - Lancia MR2 - Boat - Sentra - 56 Ford Victoria
Known Associate of 3pedal Mafia, Speedycop, and the Russians.  Maybe even NSF.